websocket in php. We write our messenger

This article is intended for those who already know or are starting to learn PHP, but also a person who is far from programming can write his own messenger if he simply follows the instructions.
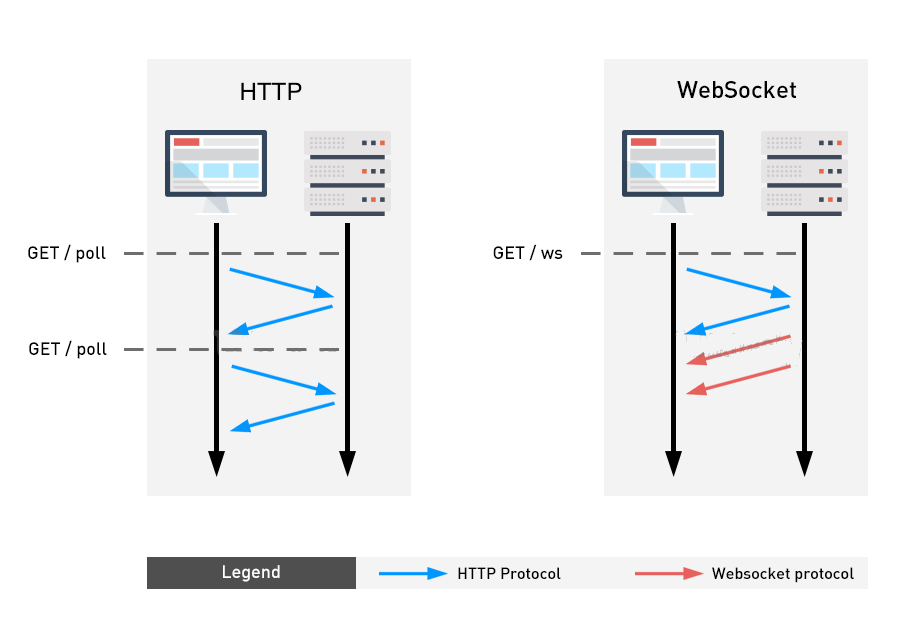
To begin with, let’s explain what WebSocket is, in simple words it is the same as AJAX (http) only here the Client (Frontend) connects to the Server (Backend) and does not break the connection and the connection remains active, and we can send requests as much as we like and the server too . That is, the server may not respond to our request, but we just send it, on the contrary, and we can send decent requests to each other. An illustration of how WebSockets work.
1. Install PHP

And so we understood what WebSocket is, now let’s install PHP (Programming Language).
For Windows users:
Step 1: Go to the official website ospanel.io.
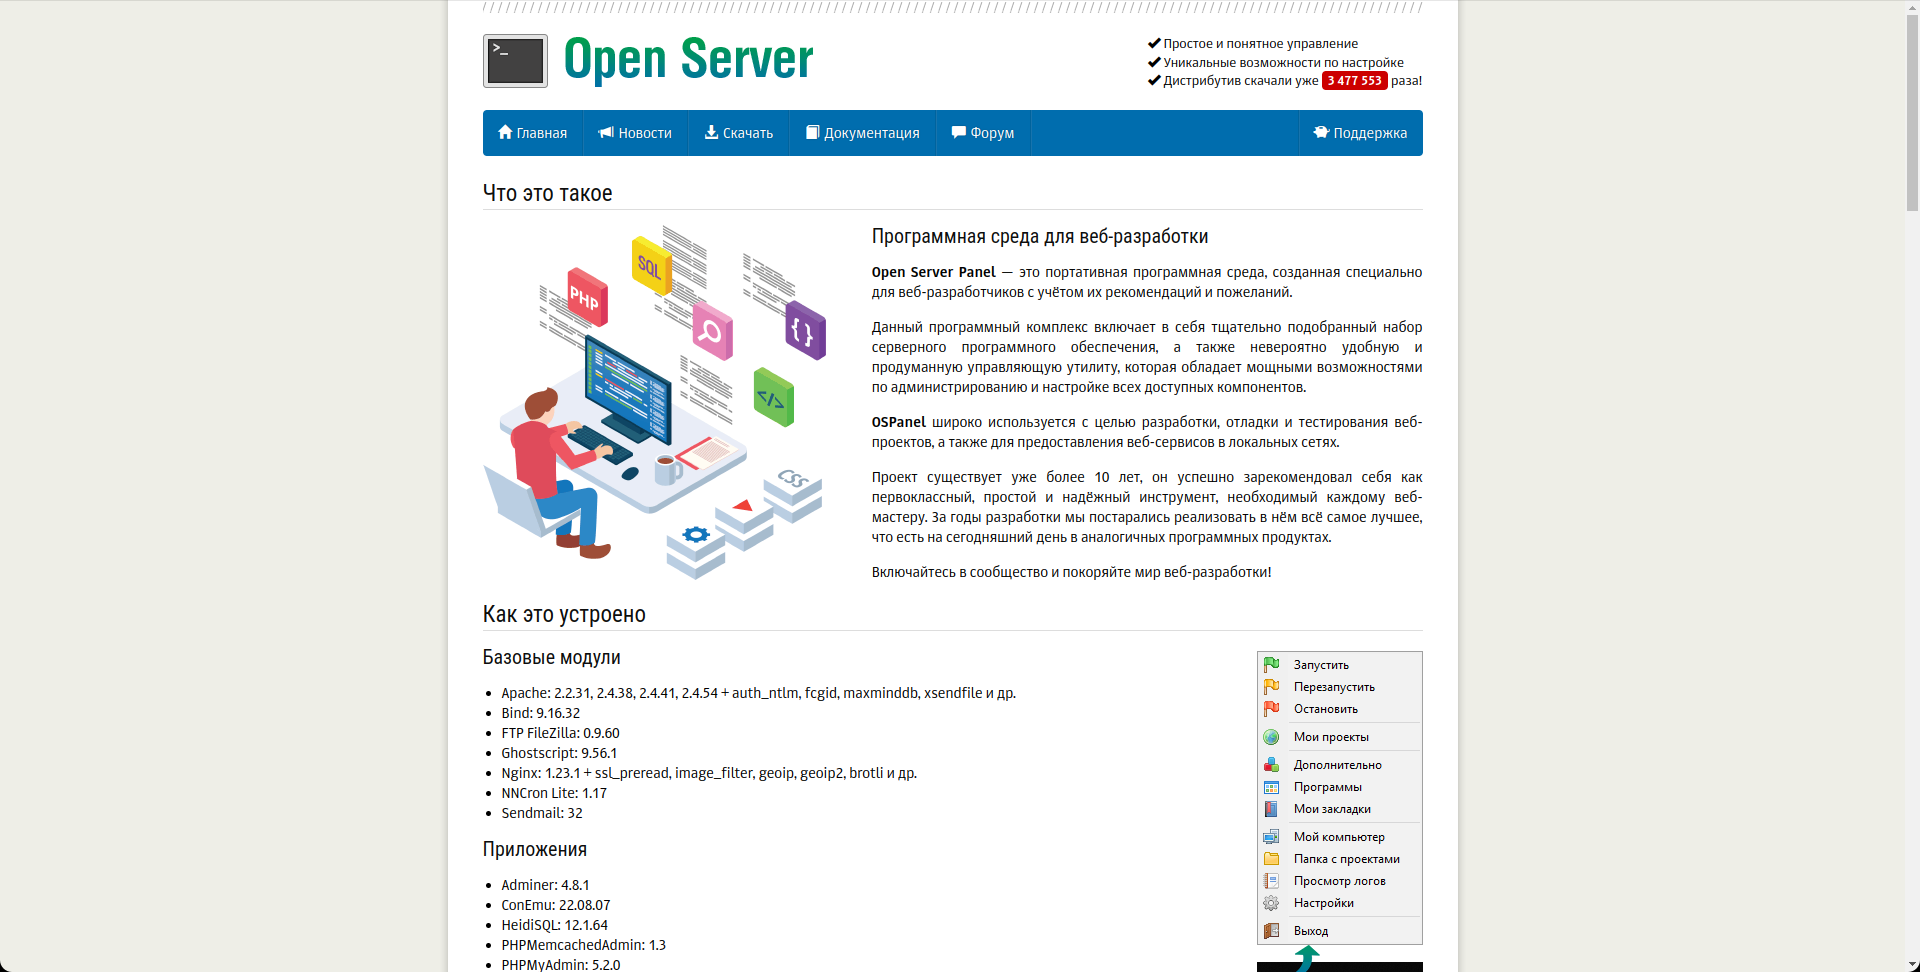
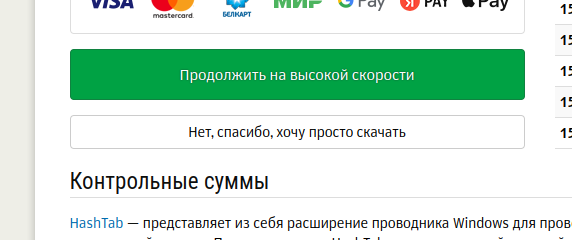
Step 2: Click download and on the page that opens, double-click on the button “No, thanks, I just want to download” and the download of Open Server will begin (while downloading, you can have a cup of tea 😉)
Step 3: Double click on the file. A window will open asking you to choose a location where to unpack the files from the archive. I chose drive D.
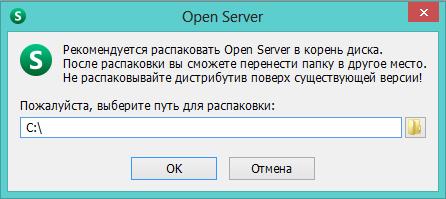
Click the OK button. The unzipping process will begin.
Step 4: Go to the folder you chose in the 3rd step. We see that the OpenServer folder has appeared. We enter it.
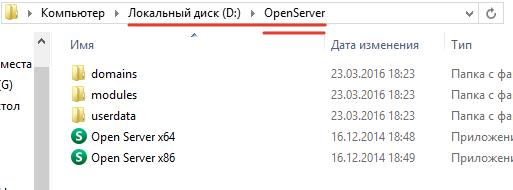
We see two shortcuts for launching the program (there can be only one shortcut, it depends on the bitness of Windows).
Double click on the Open Server x64 icon.
Since this is the first launch of OpenServer, the process of installing components (MicrosoftVC ++) will begin for the correct operation of the program.

After the installation is complete, the program will prompt you to restart your computer. Reboot.
Step 5: We go through the fourth step again – that is, we go to the OpenServer folder and run the program.
In the tray (the area in the lower right corner where the clock is) we see a new icon – a red flag.

We click on it, and the program menu will open.
Step 6: Push My favorites and Git-Bash

Step 7 (Last): Write on the window that appears php -v and see

For Linux Users:
Step 1: Open the terminal and write the command
For Arch Linux -> sudo pacman -S php
For Debiam Linux -> sudo apt -y install php8.2
For Fedora/RHEL -> sudo dnf install dnf-plugins-core
sudo dnf install http://rpms.remirepo.net/fedora/remi-release-37.rpm
sudo dnf module reset php
sudo dnf config-manager --set-enabled remi
sudo dnf module enable php:remi-8.2
sudo dnf module install php:remi-8.2
Step 2 (Last): Reboot the system and enter in the terminal php -vmust see

2. Installing Composer (PHP Package Manager)

We have PHP installed, now let’s install Composer to use the Ratchet framework to write WebSocket applications in PHP.
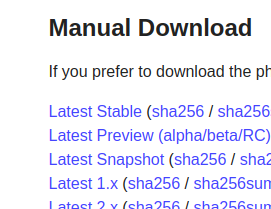
Step 1: Go to the site – https://getcomposer.org/download/ then go down below and click on the link Latest Stable you should download the file composer.phar.
Step 2: Create a folder somewhere in the system for the project and move the downloaded file there composer.phar.
Step 3: Open the terminal and go to the project directory and write cd [директория вашего проекта]
Step 4: Write in the terminal php composer.phar require cboden/ratchet to install the Ratchet framework
Now we are ready to write the code.
3. Write the code
And so let’s create files in the project folder client.html And server.php

We open server.php on any text editor that is convenient for you (I don’t have Word or its analogue, namely a text editor like a notepad in Windows or a code editor, for example, Notepad ++).
and write code there
<?php

require __DIR__ . '/vendor/autoload.php';

use Ratchet\MessageComponentInterface;
use Ratchet\ConnectionInterface;
use Ratchet\WebSocket\WsServer;
use Ratchet\Http\HttpServer;
use Ratchet\Server\IoServer;

// Создаем класс обработчика сообщений WebSocket
class WebSocketHandler implements MessageComponentInterface {
  protected $clients;

  public function __construct() {
    $this->clients = new \SplObjectStorage;
  }

  // Обработчик нового подключения клиента
  public function onOpen(ConnectionInterface $conn) {
    $this->clients->attach($conn);
    echo "New client connected: {$conn->resourceId}\n";
  }

  // Обработчик получения сообщения от клиента
  public function onMessage(ConnectionInterface $from, $msg) {
		foreach ($this->clients as $client) {
		  $client->send($msg);
		}
	}


  // Обработчик закрытия соединения клиента
  public function onClose(ConnectionInterface $conn) {
    $this->clients->detach($conn);
    echo "Client disconnected: {$conn->resourceId}\n";
  }

  // Обработчик ошибок соединения
  public function onError(ConnectionInterface $conn, \Exception $e) {
    echo "An error has occurred: {$e->getMessage()}\n";
    $conn->close();
  }
}

// Создаем новый WebSocket-сервер на порту 8080
$server = IoServer::factory(
  new HttpServer(
    new WsServer(
      new WebSocketHandler()
    )
  ),
  8080
);

// Запускаем сервер
echo "WebSocket server started\n";
$server->run();
The code on the 3rd line imports all installed libraries in the project folder.
The 5th to 9th line of code imports the Ratchet framework and its internals.
On the 12th line, we connect the interface of the Ratchet framework MessageComponentInterface to our class WebSocketHandler
On the 13th line of code, we create a protected variable $clientsthis variable stores all connected clients.
On the 16th line of code, we assign to our variable $clients an object SplObjectStorage so that we can conveniently manipulate the list of clients.
In the function on line 20, which is run every time the client connects to the server, adds the client ID to the list $clients and displays its ID on the terminal.
In the function on the 26th line that runs every time a message is sent, the function receives the sender’s data and his message and lists all connected clients from the list and sends a message to everyone including the sender himself so that he himself can see his sent messages.
In the function on line 34, which is called when the connection is broken from the server to the client, while removing its ID from the list $clients.
In the function on line 40 called on error with WebSocket, the server prints the error to the terminal and shuts down the entire server.
From line 47 to line 54 we create a host with port 8080, if it is not available, you can change it to 8081.
On line 58 we start the server.
And run the code on the terminal by writing php server.php.
We open client.html and write code there
<!DOCTYPE html>
<html>
<head>
    <meta charset="UTF-8">
    <title>WebSocket Chat</title>
</head>
<body>
    <div id="messages"></div>
    <form>
        <input type="text" id="message" autocomplete="off">
        <button>Send</button>
    </form>

    <script>
        const socket = new WebSocket('ws://localhost:8080');

        socket.addEventListener('open', function(event) {
            console.log('Connected to server.');
        });

        socket.addEventListener('message', function(event) {
            const messages = document.getElementById('messages');
            const message = document.createElement('div');
            message.innerHTML = event.data;
            messages.appendChild(message);
        });

        const form = document.querySelector('form');
        const input = document.querySelector('input');

        form.addEventListener('submit', function(event) {
            event.preventDefault();

            const message = input.value;
            socket.send(message);

            input.value="";
        });

    </script>
</body>
</html>
On line 15, a WebSocket connection is created with the address ws: // localhsot: 8080 with port 8080, as mentioned above, if it is busy, you can change it to 8081.
In the function on the 17th line of the code, which is executed when connecting to the server and displays the text Connected to server.
In the function on the 21st line that is run every time a message is received, which adds the text of the message to the tag with id messages.
And in the function on line 31 which is called when sending a message, which sends a message to the server.
4. Use
Our messenger is ready now we can test it to test open the file on two browser tabs client.html and write any message then press Enter or the Send button.

In the continuation of this article, we will install our messenger on the hosting so that everyone can use it.
Thank you for watching!
This is my first article and would be grateful if you point out my mistakes.
Sincerely, Tulenov Temur.
Powered by the ThinkUP Community