SwiftUI lessons (part 9)
link to part 8

Understanding List, ForEach and Identifiable
In UIKit for iOS, one of the most commonly used UI controls is the UITableView. If you have experience developing applications using UIKit, then you know that table view is designed to display lists of data. This UI control is widely used in content-oriented applications, such as news applications or basically any popular application such as Instagram, Twitter, Reddit and others.
SwiftUI uses a List for this purpose rather than a UITableView. If you've created table views with UIKit before, you know that it can take some time and effort, especially if you need a custom cell. SwiftUI simplifies this process and allows you to create table views in just a few lines of code. Even if you need custom cells, it won't require much time or effort. Don't worry if it seems difficult now. You'll understand how it works by seeing the examples. In this part, we'll start with a simple list and gradually move on to more complex layouts.
Creating a Simple List
Let's start by creating a simple list. Open Xcode and create a new project using the “App” template. Set the product name to “SwiftUIList” (or whatever name you prefer) and fill in all required values.
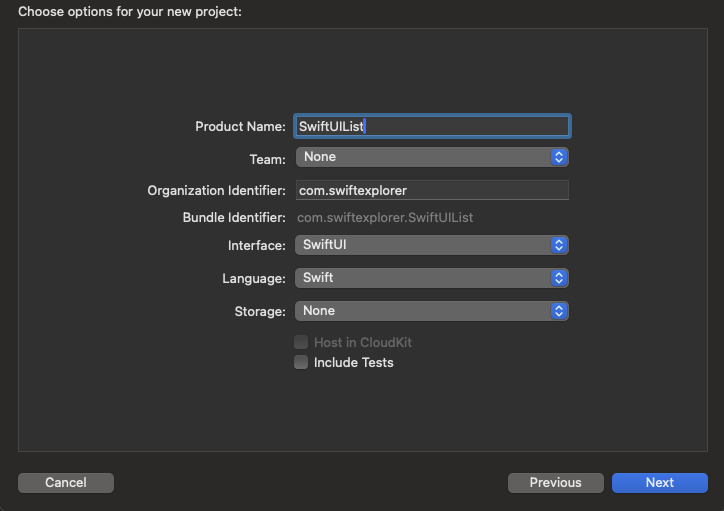
It is important that the “SwiftUI” option is selected for the interface. Once the project is created, Xcode will generate startup code in the ContentView.swift file. Find the “Hello World” text object and replace it with the following code:
struct ContentView: View {
	var body: some View {
		List {
			Text("Первый")
			Text("Второй")
			Text("Третий")
			Text("Четвертый")
		}
	}
}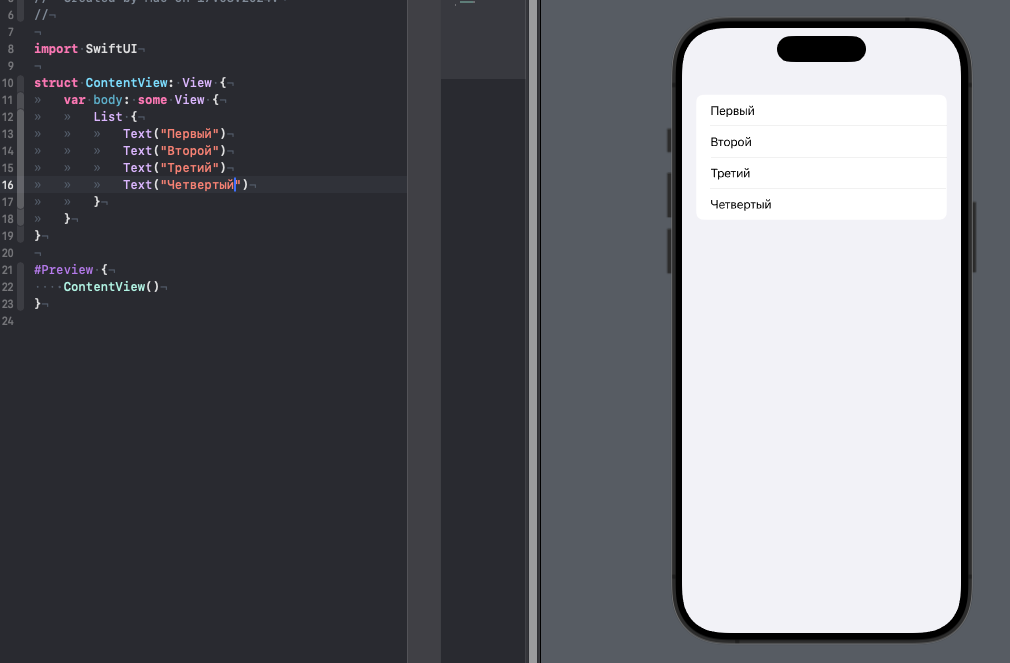
That's all you need to create a simple list or table. If you place text views inside a List, the list view will display the data as strings. In this case, each line contains a text representation with a unique description.
But in fact, this can be simplified, let's replace the code with the following using ForEach
struct ContentView: View {
	var body: some View {
		List {
			ForEach(1...4, id: \.self) { index in
				Text("Ячейка \(index)")
			}
		}
	}
}
Since our Text() view is the same in all cases, we simply used ForEach to loop through 1 to 4 and create four such test views.
Inside List, a ForEach loop is used to create a range of numbers from 1 to 4. Each number is assigned a unique identifier (id), which in this case is equal to the number itself (self).
For each number in the range, a text representation is created using Text, which displays the string “Cell” with the number of the current number. These text representations are added to a list that is displayed on the screen.
So this code creates a simple list of four cells, each containing a text representation with a cell number.
In fact, this can be simplified by removing the “index in”
struct ContentView: View {
	var body: some View {
		List {
			ForEach(1...4, id: \.self) {
				Text("Ячейка \($0)")
			}
		}
	}
}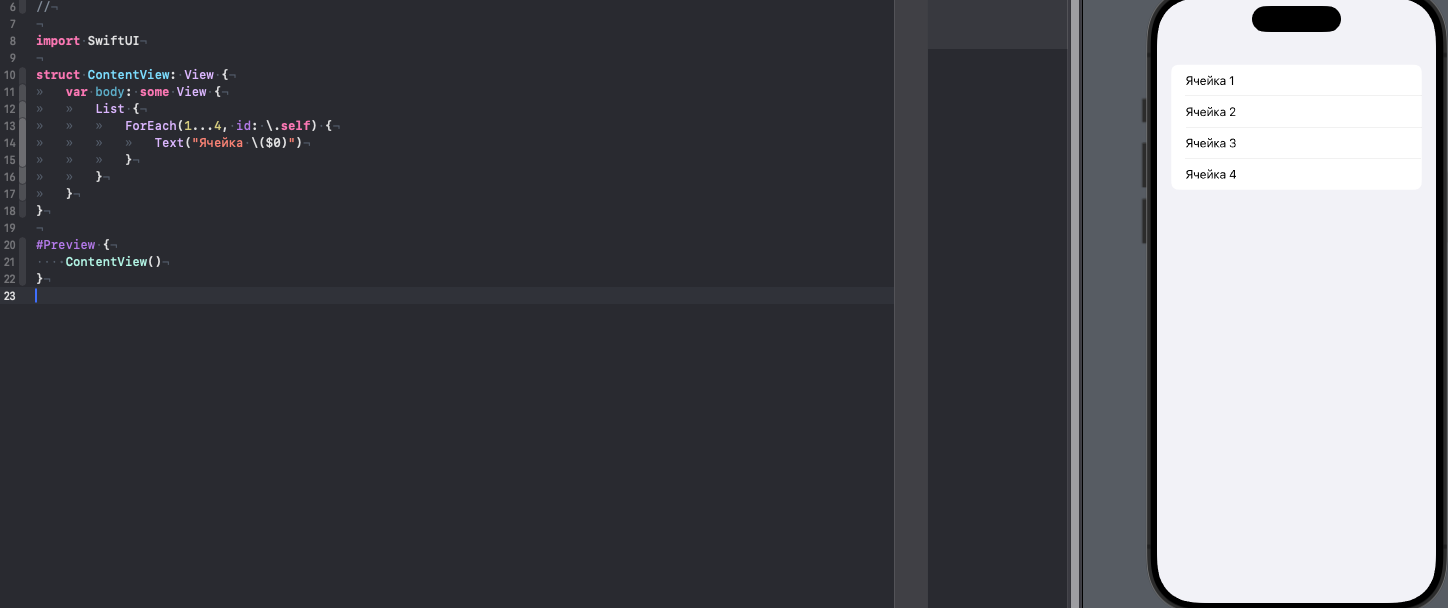
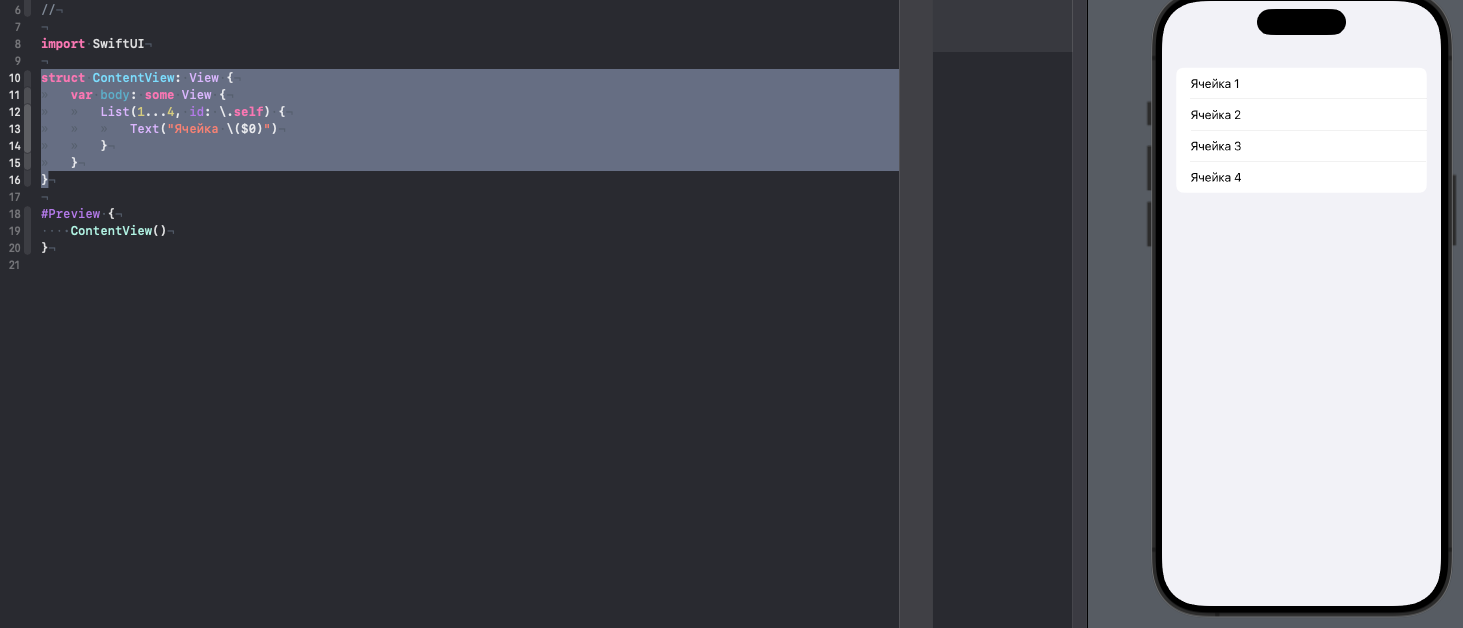
Now we'll simplify this code again and get rid of ForEach, because List provides a convenient initializer that can do the same thing under the hood
struct ContentView: View {
	var body: some View {
		List(1...4, id: \.self) {
			Text("Ячейка \($0)")
		}
	}
}
Create a List with text and pictures
Great, we have figured out the basic things, now we will create a normal table that will contain images and text. If you did this on UIKit, you probably know that you would need to subscribe to TableViewDelegate and TableViewDataSource, you would also need to create and register your own cell , you still had to write a bunch of code around all this so that the table would take off with the data that you load into it, but let's try to do the same on SUI
The first thing you need to do is download the pictures that I have prepared for you, we will use them in our table.
Once downloaded and unzipped, add them to the assets in our project.
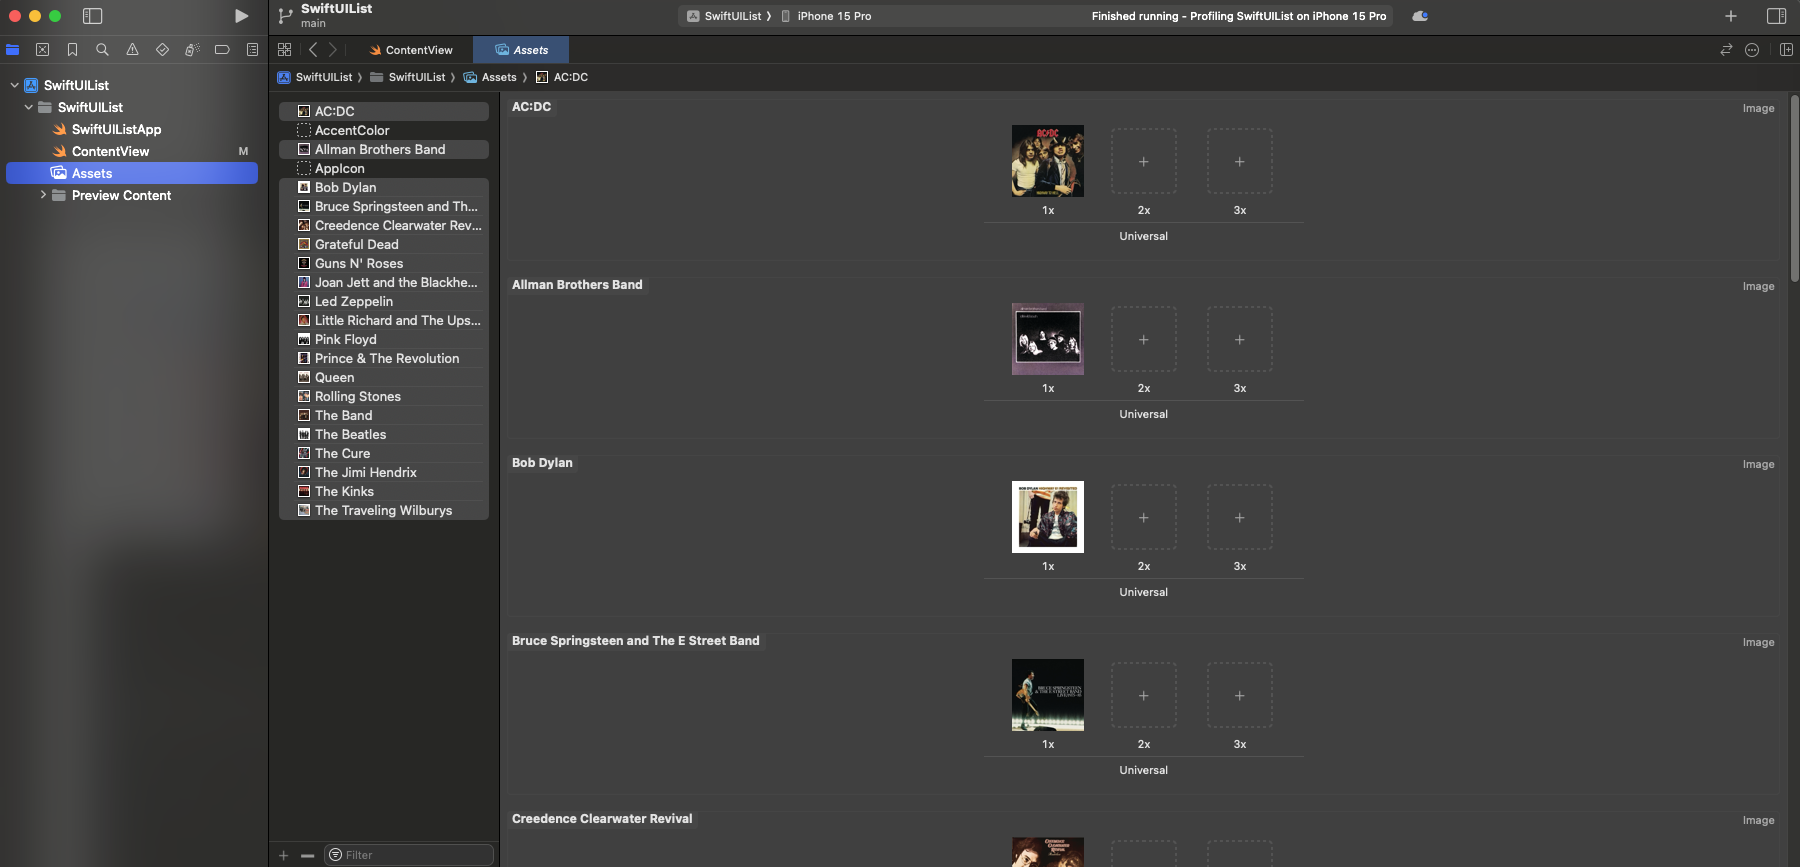
Next, add the following code to the content view
	// Очень плохая практика, никогда так не делайте - здесь это в качестве
	// быстрого сопоставления с предоставленными картинками и для показа работы таблицы,
	// так как тема урока именно они, а не кодстайл и архитектура
	var rockGroups = ["The Beatles", "Rolling Stones", "Prince & The Revolution", "Queen",
				  "Guns N' Roses", "AC:DC", "The Jimi Hendrix", "Led Zeppelin", "Bob Dylan",
				  "Joan Jett and the Blackhearts", "Pink Floyd", "Grateful Dead", "The Traveling Wilburys",
				  "Bruce Springsteen and The E Street Band", "Little Richard and The Upsetters",
				  "The Kinks", "Creedence Clearwater Revival", "The Band", "The Cure",
				  "Allman Brothers Band"]
For your convenience, I have collected all the names of the groups that correspond to the names of the pictures, but I ask you – never do this in work projects, your data should be stored in other places, only prepared data types that already contain data to be displayed should be submitted to the view, but since this is not the topic of this lesson, we will not go into this in more detail. Our task is to understand the tables.
So, now our goal is to pass a certain range to our List, this is quite simple to do, we can pass the rockGroups variable itself and the range of its indices using indices, let's also try to at least immediately display pictures to make sure that the plus or minus table works.
	var body: some View {
		List(rockGroups.indices, id: \.self) {
			Image(rockGroups[$0])
		}
	}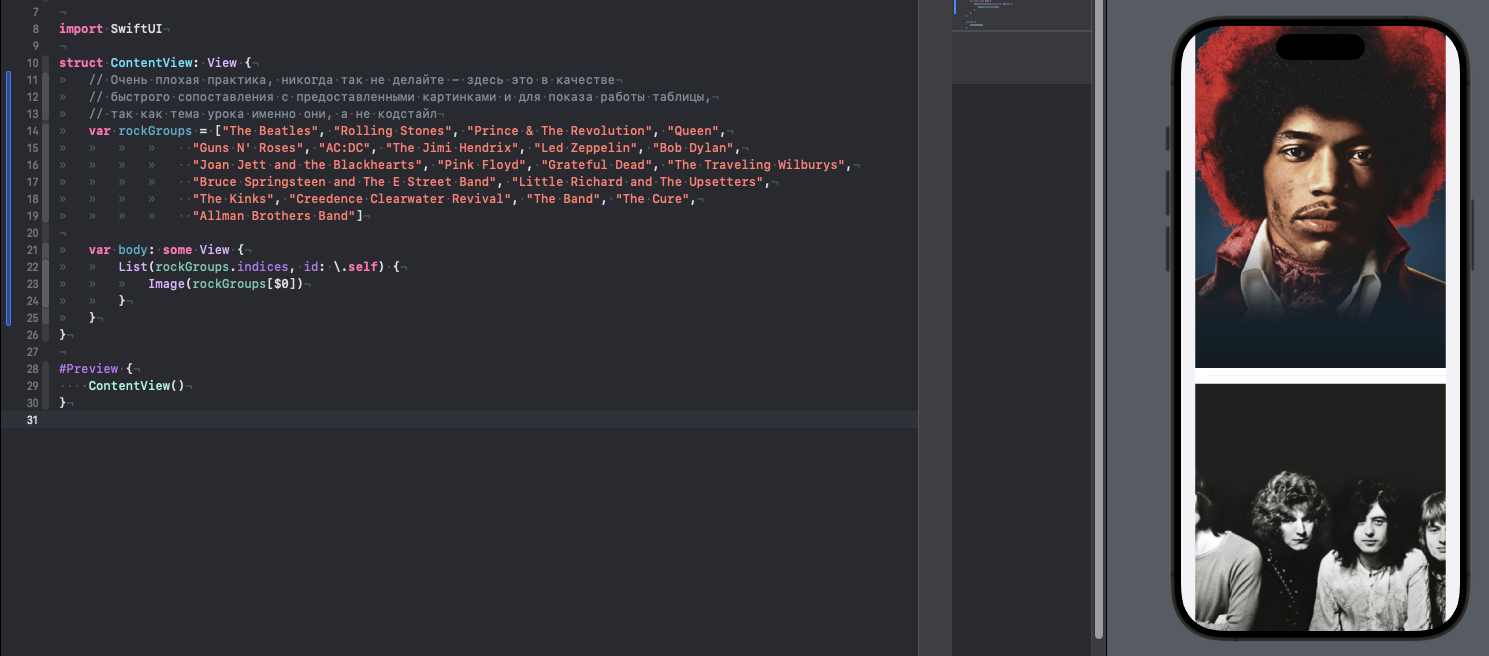
Great, the table has taken off and is already scrolling, just for fun – try creating the same thing in UIKit and time how long it takes you, especially if you don’t use snippets.
Okay, let's put our UI in order, because the task was to display pictures and text.
	var body: some View {
		List(rockGroups.indices, id: \.self) { index in
			HStack {
				Image(rockGroups[index])
					.resizable()
					.frame(width: 80, height: 80)
				Text("\(rockGroups[index])")
					.font(.system(.title3))
					.bold()
			}
		}
		.listStyle(.plain)
	}
Congratulations, you have created a one-to-one table just like in UIKit and quickly enough, without subscriptions to various protocols and other somersaults with rotations. Pay attention to the following parameter that I applied on line 32 .listStyle(.plain)

I recommend playing with these styles to understand how it can externally affect the display of your content.
Before moving on to the next part of the tutorial, let me explain this code.
List(rockGroups.indices, id: \.self) { index in … } – creates a list (List), where each element of the list corresponds to an index in the array rockGroups. rockGroups.indices generates a range of indices for an array rockGroupsA id: \.self specifies that the unique identifier for each list element will be the index itself.
HStack { … } is a horizontal stack (HStack) that arranges its children horizontally.
Image(rockGroups[index]) … – creates an Image from the current array element rockGroups by index index, .resizable() makes the image scalable, and .frame(width: 80, height: 80) sets the image dimensions.
Text(“\(rockGroups[index])”) … – creates text (Text) from the current array element rockGroups by index index. .font(.system(.title3)) sets the text font, and .bold() makes the text bold.
.listStyle(.plain) – sets the List style to “plain”, which means that the list will be simple, without additional visual effects.
Let's try to get rid of this array and create our own RockGroup data type, create a file of the same name and add the following code to it
struct RockGroup {
	var groupName: String
	var groupImageName: String
}
Let's create a property directly in this file that will store our data and subsequently use it.
struct RockGroupData {
	static let data = [
	RockGroup(groupName: "The Beatles", groupImageName: "The Beatles"),
	RockGroup(groupName: "Rolling Stones", groupImageName: "Rolling Stones"),
	RockGroup(groupName: "Prince & The Revolution", groupImageName: "Prince & The Revolution"),
	RockGroup(groupName: "Queen", groupImageName: "Queen"),
	RockGroup(groupName: "Guns N' Roses", groupImageName: "Guns N' Roses"),
	RockGroup(groupName: "AC/DC", groupImageName: "AC:DC"),
	RockGroup(groupName: "The Jimi Hendrix", groupImageName: "The Jimi Hendrix"),
	RockGroup(groupName: "Led Zeppelin", groupImageName: "Led Zeppelin"),
	RockGroup(groupName: "Bob Dylan", groupImageName: "Bob Dylan"),
	RockGroup(groupName: "Joan Jett and the Blackhearts", groupImageName: "Joan Jett and the Blackhearts"),
	RockGroup(groupName: "Pink Floyd", groupImageName: "Pink Floyd"),
	RockGroup(groupName: "Grateful Dead", groupImageName: "Grateful Dead"),
	RockGroup(groupName: "The Traveling Wilburys", groupImageName: "The Traveling Wilburys"),
	RockGroup(groupName: "Bruce Springsteen and The E Street Band", groupImageName: "Bruce Springsteen and The E Street Band"),
	RockGroup(groupName: "Little Richard and The Upsetters", groupImageName: "Little Richard and The Upsetters"),
	RockGroup(groupName: "The Kinks", groupImageName: "The Kinks"),
	RockGroup(groupName: "Creedence Clearwater Revival", groupImageName: "Creedence Clearwater Revival"),
	RockGroup(groupName: "The Band", groupImageName: "The Band"),
	RockGroup(groupName: "The Cure", groupImageName: "The Cure"),
	RockGroup(groupName: "Allman Brothers Band", groupImageName: "Allman Brothers Band")
	]
}
Again, I have simplified the task for you and have already added all the names and titles of the pictures, I understand that the situation is not super representative given that our group names coincide with the names of the pictures, so it may seem that why do we need the RockGroup data type at all, but often the name the image does not match the name of the group or anything else that you will use in the project, and you and I need to learn how to use custom data in our projects with tables.

Now let's replace the code in our contentview
var rockGroups = RockGroupData.dataNotice how our compiler immediately began to swear, this is understandable, because now we are feeding it not raw data, but a whole array of data types with its own properties, let’s save the situation.
	var body: some View {
		List(rockGroups, id: \.groupName) { group in
			HStack {
				Image(group.groupImageName)
					.resizable()
					.frame(width: 80, height: 80)
				Text("\(group.groupName)")
					.font(.system(.title3))
					.bold()
			}
		}
		.listStyle(.plain)
	}
Please note that now we passed directly our array with rock groups (names and pictures) to the List initializer and specified .groupName as a unique identifier for each of them, so that our table could draw each of the groups.
The most attentive of you have probably already wondered, what’s with this id? Why do we need it at all and could any problems arise because of it? For example, in our case, if we create two groups with the same name, what will happen?
Let's do an experiment, and then I'll tell you about this very id
Replace the name of the Rolling Stones with The Beatles as shown in the screenshot.

Don’t switch to contentview and think, what happened to our table? How should it display the data now? It seems that, logically, she should delete this group from the List because it is not unique. But let's check

So, now we have two Beatles groups, and even the picture is the same, as you understand, yes – id can become a problem if the identifier is not unique.
For now, return the Rolling Stones to their place back in our data array and I’ll tell you about id
When you create a list, SwiftUI needs to keep track of each element in the list so that it updates them correctly when the data changes.
For example, if you add a new element to the array from which the list is being created, SwiftUI needs to understand that it needs to add a new element to the list rather than updating an existing one. SwiftUI uses element IDs for this.
Property id allows you to specify which value will be used as a unique identifier for each list element. The identifier can be any value that uniquely identifies the element.
For example, it could be the index of an element in an array, as we used earlier in our project, or it could be some property of the element that is guaranteed! unique for each element.
If you don't specify a property id explicitly, SwiftUI will use the values of the list items as identifiers. However, this can lead to errors if the element values are not unique. Therefore, it is recommended to always specify the property explicitly id for each element of the list.
We’ve sorted out the id and the importance of its uniqueness, but how can we make sure that our data is truly unique? Everything is quite simple, we can use the UUID data type
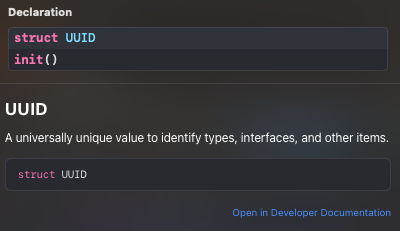
It will allow you to create a unique value for your object, of course you need to understand that once a year the hash function does not produce a unique value, but still this is the best way out, with a UUID you are almost 100% likely to get a unique value.
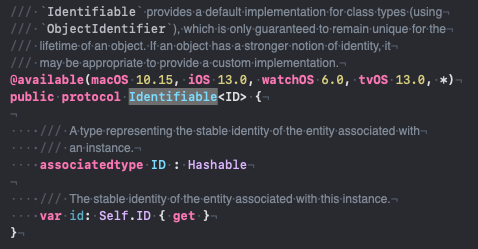
struct RockGroup: Identifiable {
	var id = UUID()
	var groupName: String
	var groupImageName: String
}
You probably already noticed that I additionally signed RockGroup under Identifiable, this is literally necessary for our table to see that our data type that we are feeding it has a unique id, in fact this protocol requires implementing the id property
Now let's go back to our ContentView and replace the code with the following.
struct ContentView: View {
	var rockGroups = RockGroupData.data

	var body: some View {
		List(rockGroups) { group in
			HStack {
				Image(group.groupImageName)
					.resizable()
					.frame(width: 80, height: 80)
				Text("\(group.groupName)")
					.font(.system(.title3))
					.bold()
			}
		}
		.listStyle(.plain)
	}
}
Please note that we used an initializer that only accepts data, in our case it is (rockGrups) and all this is due to the fact that we subscribed to Identifiable
Before we move on, let's refactor the code because it's always better to have one line of code instead of 2. Hover over HStack and select ExtractSubview, then rename the new view to RockCell

struct RockCell: View {
	var body: some View {
		HStack {
			Image(group.groupImageName)
				.resizable()
				.frame(width: 80, height: 80)
			Text("\(group.groupName)")
				.font(.system(.title3))
				.bold()
		}
	}
}
Now your cell is swearing because it does not understand what kind of group we are talking about. Let's add such a property to our cell.
struct RockCell: View {
	var group: RockGroup

	var body: some View {
		HStack {
			Image(group.groupImageName)
				.resizable()
				.frame(width: 80, height: 80)
			Text("\(group.groupName)")
				.font(.system(.title3))
				.bold()
		}
	}
}
And accordingly, we will replace the code for ContentView with the following
struct ContentView: View {
	var rockGroups = RockGroupData.data

	var body: some View {
		List(rockGroups) { group in
			RockCell(group: group)
		}
		.listStyle(.plain)
	}
}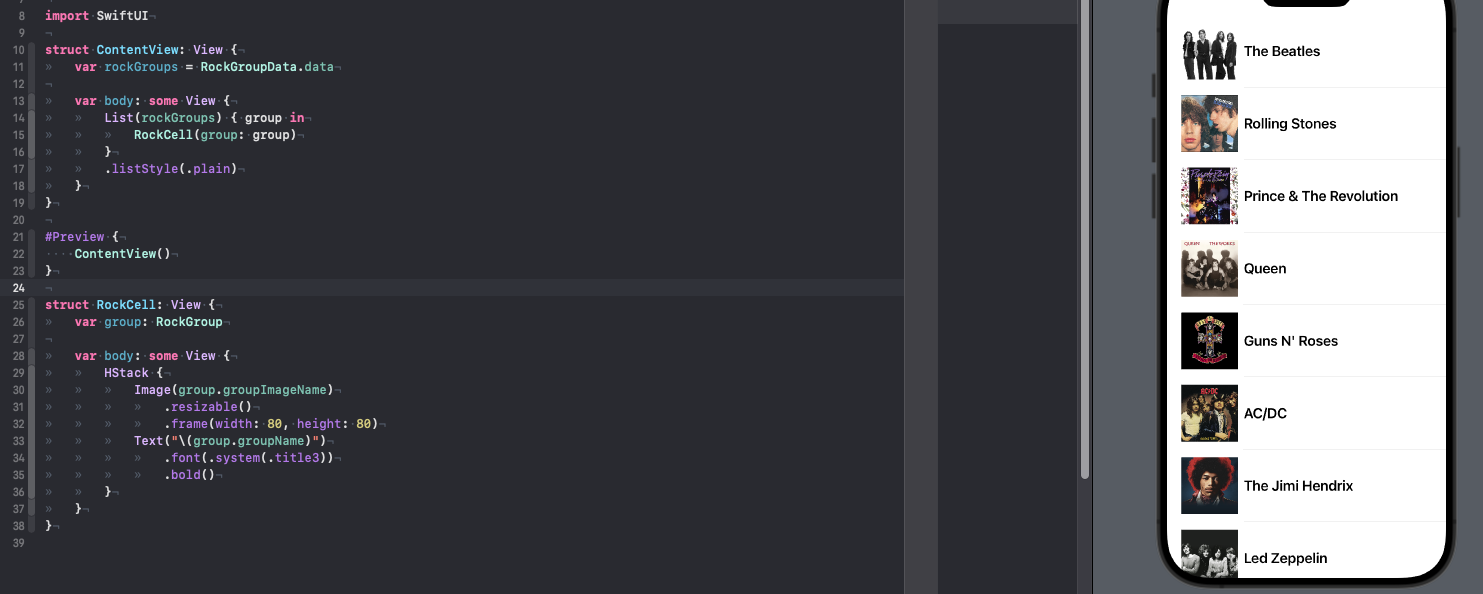
Everything also works great, and the cell can now be used anywhere else in the application.
List Visual Modifiers
Let's imagine that you want to change the color of the separator from gray to any other, this is quite simple to do, all we need is to use the .listRowSeparatorTint modifier
struct ContentView: View {
	var rockGroups = RockGroupData.data

	var body: some View {
		List(rockGroups) { group in
			RockCell(group: group)
				.listRowSeparatorTint(.red)
		}

		.listStyle(.plain)
	}
}
What if you want to get rid of delimiters altogether? This is also possible.
struct ContentView: View {
var rockGroups = RockGroupData.data
var body: some View {
List(rockGroups) { group in
RockCell(group: group)
.listRowSeparator(.hidden)
}
.listStyle(.plain)
}
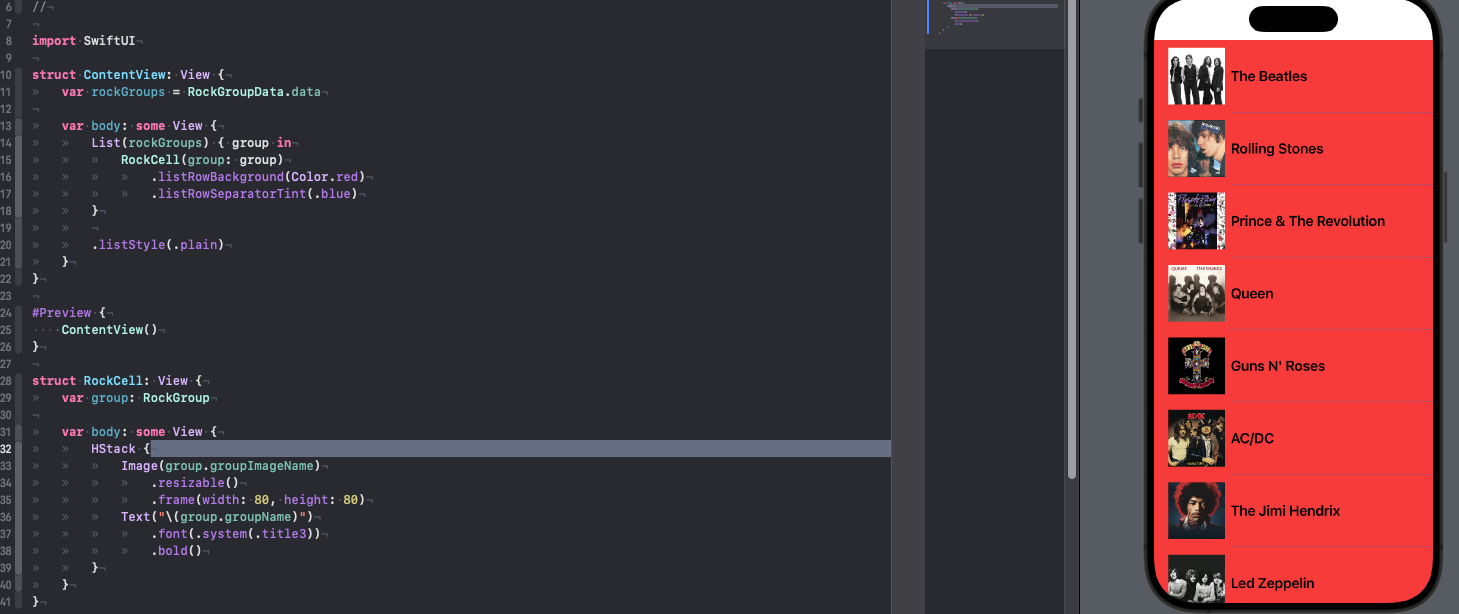
}We can also replace the color of the table, actually replacing the background of our cell, and also using only one modifier. .listRowBackground
struct ContentView: View {
	var rockGroups = RockGroupData.data

	var body: some View {
		List(rockGroups) { group in
			RockCell(group: group)
				.listRowBackground(Color.red)
				.listRowSeparatorTint(.blue)
		}

		.listStyle(.plain)
	}
}
You can also more flexibly adjust the indents within our cell and this can also be done using the modifier – .listRowInsets
struct ContentView: View {
	var rockGroups = RockGroupData.data

	var body: some View {
		List(rockGroups) { group in
			RockCell(group: group)
				.listRowBackground(Color.red)
				.listRowSeparatorTint(.blue)
				.listRowInsets(EdgeInsets(top: 90, leading: 50, bottom: 90, trailing: 90))
		}

		.listStyle(.plain)
	}
}
Don’t pay attention to the fact that we didn’t get the most beautiful cells, we just needed this to show that the indents can be of different sizes. The only thing I personally can’t come to terms with yet is the fact that the white status bar ruins the whole picture. Add the List modifier ignoresSafeArea() and the problem will be solved.
My final code looks like this
struct ContentView: View {
	var rockGroups = RockGroupData.data

	var body: some View {
		List(rockGroups) { group in
			RockCell(group: group)
				.listRowBackground(Color.red)
				.listRowSeparatorTint(.blue)
				.listRowInsets(EdgeInsets(top: 20, leading: 50, bottom: 20, trailing: 50))
		}
		.ignoresSafeArea()
		.listStyle(.plain)
	}
}

#Preview {
    ContentView()
}

struct RockCell: View {
	var group: RockGroup

	var body: some View {
		HStack {
			Image(group.groupImageName)
				.resizable()
				.frame(width: 180, height: 180)
			Text("\(group.groupName)")
				.font(.system(.title3))
				.bold()
		}
	}
}
This article has come to an end, I hope you enjoyed working with tables, of course, I suggest you try to recreate the table yourself from some application that you use yourself. For example, you could go to the AppStore on your iPhone and try to recreate the Today page.

It just contains only vertical elements, which means a table is used here, or in our case List.
By the way, I recommend not to delete the application that we made with you during this lesson, since we will use it for the next one.
As before, subscribe to my telegram channel – https://t.me/swiftexplorer
I will be glad to see your comments and likes!
Thanks for reading!