How to install a node for the io.net project
A little about the project itself:
IOnet is a new platform that creates a decentralized network of GPUs for machine learning and AI computing.
Now let's move on to the guide itself:
1) Let's go to https://xorek.cloud/ (I just took it here but you can look for any other hosting) and create an account
2) Go to Services>Virtual

3) Choose Germany and buy DE-I9–16
4) We pay.
5) Go to services>virtual servers>look for your server>go
6) In setting up the virtual machine, leave everything as is and select OC>UBUNTU 20.04, complete the setup.

Further :
1) Go to https://cloud.io.net/worker/devices and establish a new connection.
2) Select everything as shown below:

Now the small matter is small, we write the commands:
1) we need to connect to the server via ssh connection, to do this we write the following command in the terminal (command line in Windows)
ssh root@ip_host
Example letter:
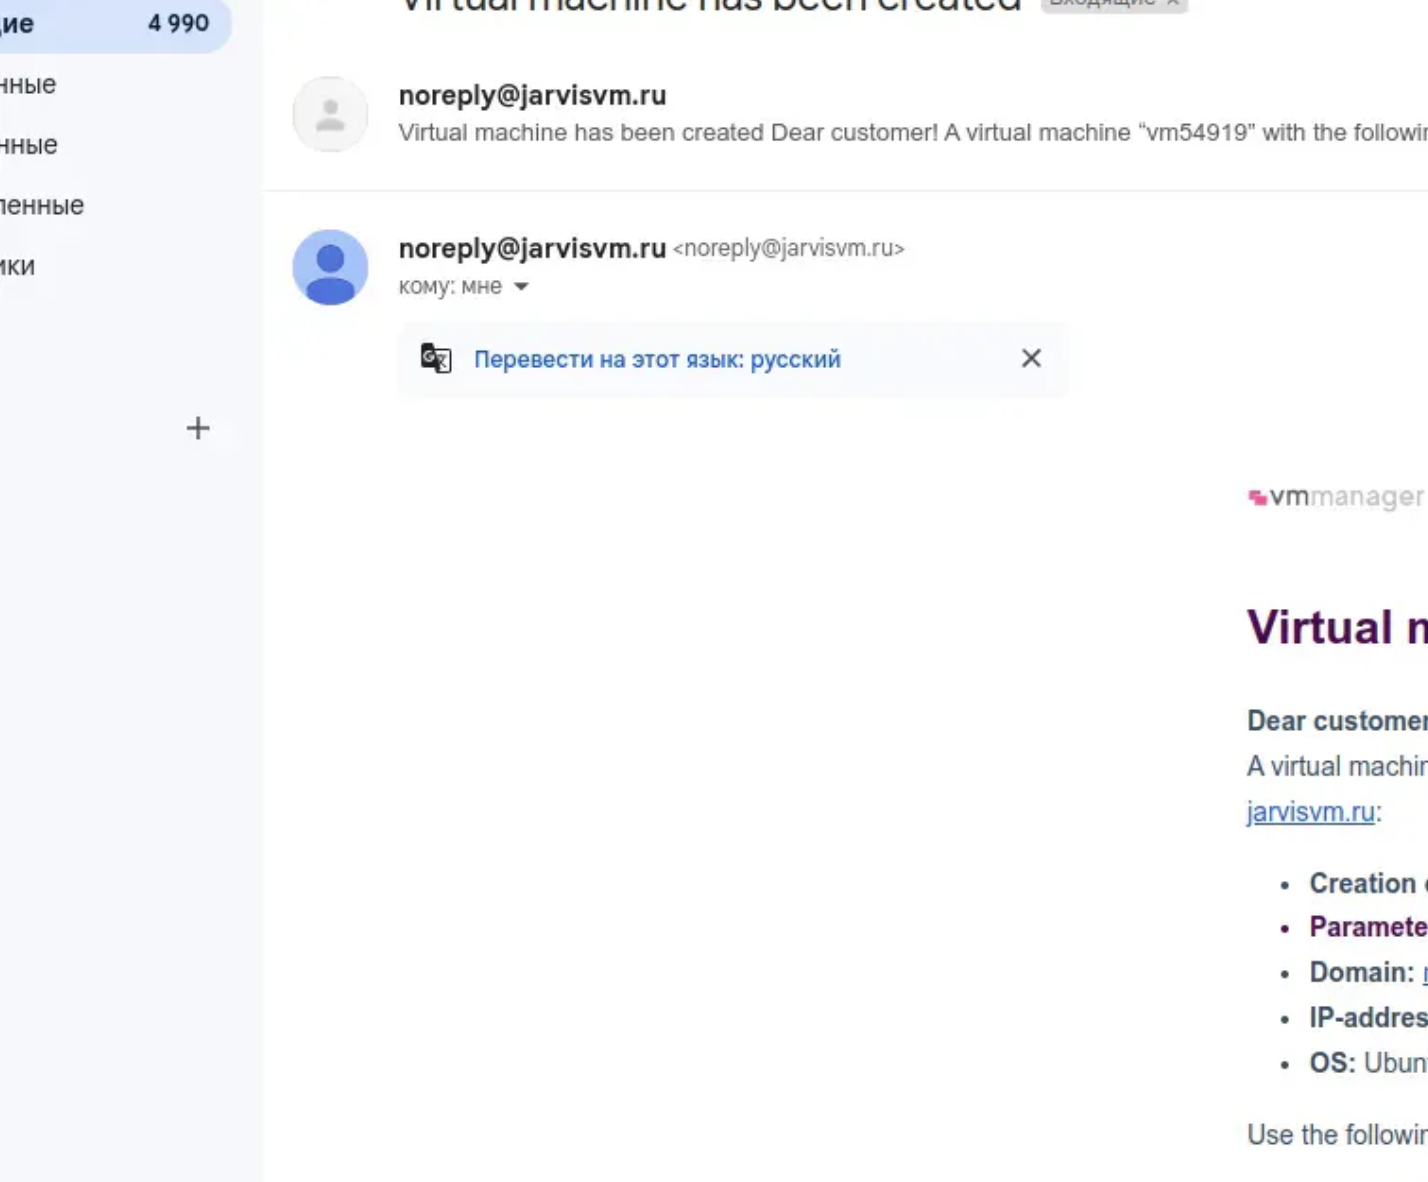

2) enter the password (sent by email) and you’re done.
PS. The password is not displayed not because something is wrong, but because it shouldn’t, so everything is ok (you can paste it in the terminal using ctrl+shift+v)
3) Execute commands for the node
curl -L https://github.com/ionet-official/io-net-official-setup-script/raw/main/ionet-setup.sh -o ionet-setup.sh
chmod +x ionet-setup.sh && ./ionet-setup.sh
curl -L https://github.com/ionet-official/io_launch_binaries/raw/main/launch_binary_linux -o launch_binary_linux
chmod +x launch_binary_linux
And at the end, to get this whole thing going:

done, so we installed the node.