Deployment of .NET applications for the little ones. Part 0
A long time ago, when Linux was still at kernel 2.6 and PHP5 was a breath of fresh air, I first became interested in the world of web technologies. I read textbooks, articles, hung out on forums, but still could not understand much how the code that I see on the screen turns into magical sites with buttons, forms and animations. I learned about LAMP and its analogues for Windows, and found out that, it turns out, there are hosting sites where such sites are hosted. As soon as the external Internet appeared without traffic, I hastened to transfer my local projects to the outside world, simultaneously learning about the wonderful FTP protocol. It was just a world of magical discoveries for me, especially when I learned that you don’t need to write your forum from scratch, but you can use something from phpBB, vBulletin and other ready-made engines.
The main thing from all this is that over time I understood in general terms how hosting works, that there is a treasured public_html folder where you need to transfer all the files, create a table through PhpMyAdmin and that’s it – here you have a working website for further use. Many years later, when I plunged into the “fascinating” world of finance, business and procurement, I realized that I still wanted to develop software products, and not compile reports that needed to be passed on to the top.
And when I switched to the world of .NET and began studying it, the skills listed earlier played a cruel joke on me – for a long time I could not understand how I could find hosting for .NET applications. Why is it that all the hosting sites I know easily provide the opportunity to deploy PHP applications, even offering some pre-installed versions of the CMS, but in the daytime you can’t find hosting for .NET. My misunderstanding of the principle of deploying applications was aggravated by articles that suggested placing them in suitable services like Heroku, Digital Ocean or Azure – it’s so simple and cheap… Then, of course, I realized that such a folder does not exist, and applications are not “hosted” at all (on then they are applications), but let's be honest – seniors are not born with knowledge and understanding of such things, understanding of obvious things does not immediately come to everyone.
Therefore, as a logical continuation of the previous article, where we launched our applications locally, we will transfer them to an external server and deploy a database using ssh and git, consider specific examples via Github and Gitlab, and at the same time, in practice, we will find answers to the following questions, which, are likely to be puzzling to newbies learning .NET programming. The series of articles is intended to address the following issues:
How to transfer the code to an external server and run it?
How to connect an SSL certificate?
How to deploy your database?
How to safely store sensitive data and use it on the server?
How to automate application deployment?
Specifically, in this article we will look at the basic principles of publishing without unnecessary problems. In the following articles we will analyze various tools that allow you to run several applications simultaneously in containers, deploy a database, connect a certificate and set up CD process automation. In general, we will complicate the solution as the series of articles progresses.
So, let's start from the very beginning and the simplest thing – create an empty application using the current .NET 8.0.
dotnet new razor -n SimpleApp
cd ./SimpleApp
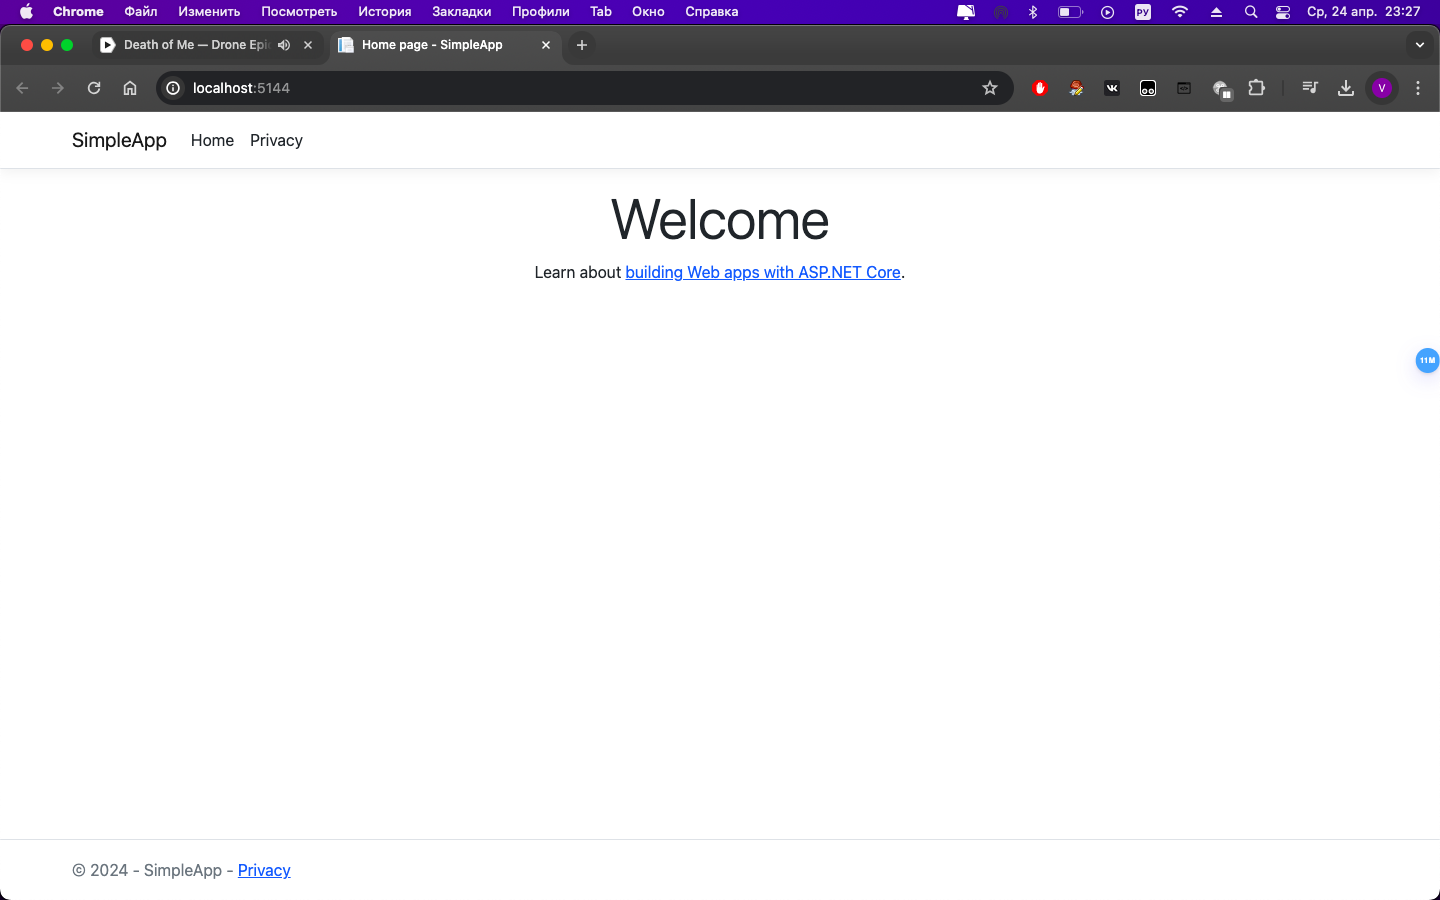
dotnet runAfter this, the browser will launch along the path specified in ./Properties/launchSettings.json. In my case it's http://localhost:5144. Upon transition, we will see a standard greeting.
Let's say we have a domain name and we now want to make the application available at our address and available 24/7, how can we do this? First you need to rent a VPS; absolutely any will do for our simple and empty application. As the operating system to install, select something from the Debian family, for example Ubuntu 22.04. After paying for the tariff, you will be given access to the control panel, where the IP address will be indicated where you can access the dedicated machine, and also link your domain to this address.
I’ll point out the obvious here, but believe me, for beginners it’s not always obvious and understandable. Essentially, deploying .NET applications in some external environment, be it a cloud or a VPS, is no different from simply running an application on your machine. How you run an application via dotnet run locally (or through an IDE, or via docker) – the same must be repeated, but on a remote machine provided by the provider. You don't need any special environment, you just need a computer with a pre-installed operating system where you can build and run the application.
And all deployment of .NET applications and deployment comes down to simply transferring code from your machine (or from a version control system) to some external virtual machine. It's simple.
Then perhaps you have a logical question: “Why then the complexity with Heroku, Azure and other specialized services for hosting .NET applications? Why use them then, if you can simply “copy” the code to the VPS and run it?” And, to answer briefly, in our case such services are not needed, just as they are not needed for a large number of production solutions. In addition to the fact that they are more expensive than regular VPS rental (if we are talking about long-term hosting), their main advantage is the automation of the deployment of your applications after changing the code, which can be configured by using various tools, such as Jenkins for more complex tasks, or using Github / Gitlab in simpler cases. Again, if you are interested in more details, google CI/CD and everything related to it. This is a separate extensive topic and we will not consider it now.
Copy using SSH
So, returning to our main question, how to copy the code to a rented VPS? There are two ways, as usual, one is simple, the other is correct. Let's start with a simple one, since for some simple one-time launches it may also be sufficient. This is a normal copying of your project via ssh to a rented VPS.
scp -r ~/SimpleApp root@100.92.66.104:/root/Where SimpleApp – folder with your project, root – account name for access via ssh to the VPS, 100.92.66.104 – VPS address, :/root/ – a folder on the VPS where you should copy the code (specify the one that is convenient for you).
It's worth clarifying here that using root is a bad practice, but by default it is the only entry that exists in the system. After creating the VPS, you should create another account, allow it to access sudo, disable the ability to connect remotely via root, and also change the port from 22 to something different. This is not difficult to do, you can find out exactly how in Google or GPT. If suddenly something goes wrong, then you always have the opportunity to connect via VNC through the virtualization control panel.
After entering the root password, the project folder will be copied and available along the path /root/SimpleApp. Connect to the VPS via ssh and check.
ssh root@100.92.66.104
# ls /root/ | grep 'SimpleApp'
SimpleApp
There is absolutely nothing left to do – go to the folder and launch the application. To do this, just install the necessary launch environment for .NET applications. You can find out in detail how to do this Here.
sudo apt-get update && \
  sudo apt-get install -y dotnet-sdk-8.0
The environment is installed, we can go to the folder and launch the application.
cd SimpleApp && dotnet runConclusion
Building...
warn: Mi-crosoft.AspNetCore.DataProtection.KeyManagement.XmlKeyManager[35]
      No XML encryptor configured. Key {bc671e4e-e40d-4f31-a79e-4badce1e734f} may be persisted to storage in unencrypted form.
info: Microsoft.Hosting.Lifetime[14]
      Now listening on: http://localhost:5144
info: Microsoft.Hosting.Lifetime[0]
      Application started. Press Ctrl+C to shut down.
info: Microsoft.Hosting.Lifetime[0]
      Hosting environment: Development
info: Microsoft.Hosting.Lifetime[0]
      Content root path: /root/SimpleApp
The launch was successful, which means our application is now available locally at the address, we check it through lynx.
Lynx
lynx localhost:5144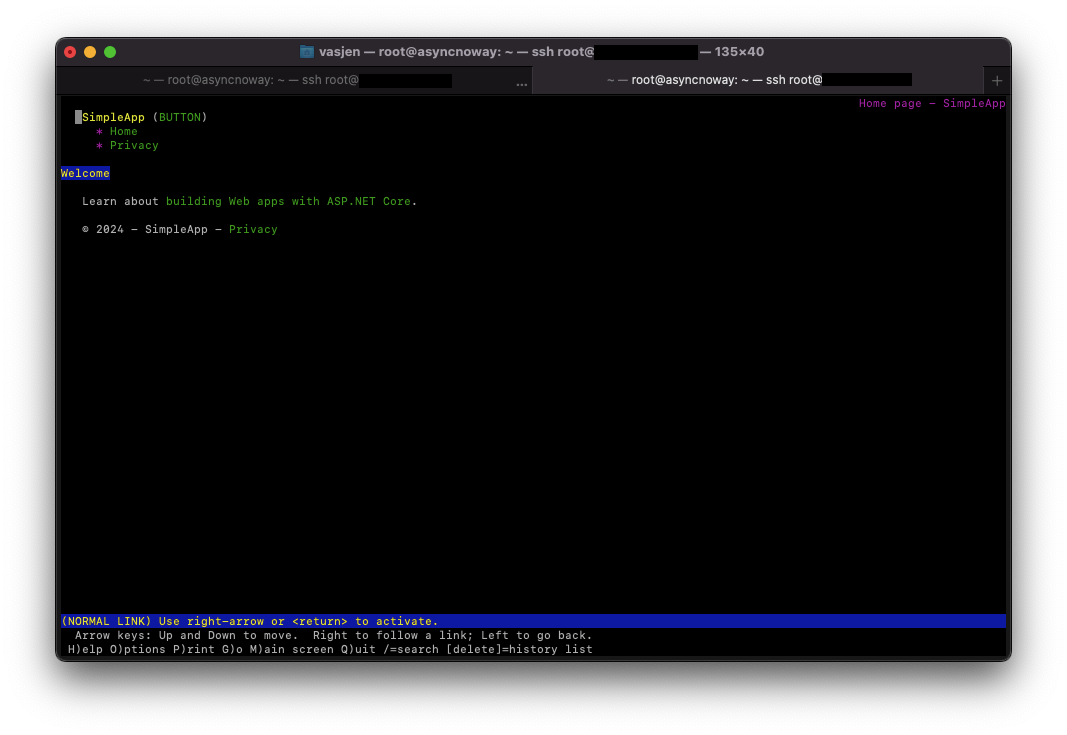
Unfortunately, by default our application will not be accessible from the outside.
netstat -tuln
Active Internet connections (only servers)
Proto Recv-Q Send-Q Local Address           Foreign Address         State
tcp        0      0 127.0.0.1:5144          0.0.0.0:*               LISTEN
tcp        0      0 0.0.0.0:22              0.0.0.0:*               LISTEN
tcp        0      0 0.0.0.0:5555            0.0.0.0:*               LISTEN
tcp        0      0 127.0.0.53:53           0.0.0.0:*               LISTEN
tcp6       0      0 ::1:5144                :::*                    LISTEN
tcp6       0      0 :::22                   :::*                    LISTEN
tcp6       0      0 :::5555                 :::*                    LISTEN
udp        0      0 127.0.0.53:53           0.0.0.0:*
In order for our application to be accessible from the outside via a domain name or IP address, we need to use a reverse proxy. A reverse proxy such as Nginx is great for this. Setting it up is not difficult, and if you use ChatGPT, it’s generally simple. It needs to be installed and configured to your liking (in the example, redirecting incoming external requests on port 80 to our local 5144).
Installing and configuring Nginx
If NGINX is not already installed on your server, you can install it using the package manager apt on Ubuntu:
apt update
apt install nginx
Create a new configuration file for your web application in the directory /etc/nginx/sites-available/ and create a symbolic link to it in /etc/nginx/sites-enabled/to activate the configuration. In our specific example, this is a web application running on port 5144:
nano /etc/nginx/sites-available/mydotnetappAdd the following configuration to it
server {
    listen 80;
    server_name asyncnoway.ru; # Замените на ваш домен или IP-адрес
location / {
    proxy_pass http://localhost:5144; # Перенаправление на ваше .NET приложение
    proxy_http_version 1.1;
    proxy_set_header Upgrade $http_upgrade;
    proxy_set_header Connection keep-alive;
    proxy_set_header Host $host;
    proxy_cache_bypass $http_upgrade;
    proxy_set_header X-Forwarded-For $proxy_add_x_forwarded_for;
    proxy_set_header X-Forwarded-Proto $scheme;
}

}
Adding a link
ln -s /etc/nginx/sites-available/mydotnetapp /etc/nginx/sites-enabled/Checking for errors
nginx -tAnd if everything is ok, then restart the service
systemctl restart nginxNow NGINX will accept incoming connections on port 80 and redirect them to your .NET web application running on port 5144. We can connect by domain name or IP (depending on what you added to /etc/nginx/sites-available/mydotnetapp)

Best the enemy of the good.
Of course, this method can hardly be called good, and I in absentia agree with everyone who is outraged by this approach. However, if you need to quickly deploy and check something, and you do not use a version control system, then this is quite an effective method. Ideally, it is better, of course, not to usedotnet run, since the application is launched in the Development environment, but still make a release and run it in the Production environment. Whether you need this specifically is up to you to decide, you can easily find it on the Internet.
Copying using GIT
However, it is worth understanding that the above method has several significant disadvantages. Firstly, the speed of copying via ssh is quite slow, which means that as the project grows, copying will take more and more time. Secondly, if the project is live and you constantly change something in it, then with each change you will have to copy all the files. Or copy only the changed files, but you need to somehow record their changes. In fact, this is exactly what git is for. When using a version control system on a VPS, only changed files will be updated, pulling updates via git pull from the code storage service. Using Github or Gitlab is purely a matter of taste, and in the context of our task there is only one significant difference between them: when trying to clone or update a private repository for Gitlab, it is enough to enter the login password for your account, but for GitHub this option is not available due to security reasons, so you will have to worry about creating keys and adding them. If you are using a public repository, then there is no difference. Therefore, in the future I will use a private Github repository, but all actions are completely similar for Gitlab, with the exception of adding an authentication key. Let's get started.
The easiest way is to submit the project using any IDE – VSCode, Rider or Visual Studio. In such systems, you can save the account token once and avoid access problems when working with Github, and all interaction will be built through pressing buttons. Let's create a private repository in Github with the name of our application – for simplicity, just on the Github website. Then we will create a local repository, make the first commit and push the application to the remote repository.
dotnet new gitignore
Шаблон "файл gitignore dotnet" успешно создан.

git init
Initialized empty Git repository in /Users/vasjen/SimpleApp/.git/
git add . && git commit -m "Init"
git remote add origin https://github.com/vasjen/SimpleApp.git
git push -u origin master
Enumerating objects: 98, done.
Counting objects: 100% (98/98), done.
Delta compression using up to 4 threads
Compressing objects: 100% (94/94), done.
Writing objects: 100% (98/98), 914.56 KiB | 2.34 MiB/s, done.
Total 98 (delta 33), reused 0 (delta 0)
remote: Resolving deltas: 100% (33/33), done.
To https://github.com/vasjen/SimpleApp.git
 * [new branch]      master -> master
Branch 'master' set up to track remote branch 'master' from 'origin'.
The upload was successful, and our project with our commit appeared in our remote repository. Now, in order to transfer the application, you just need to clone the repository via git clone, and after changing the code, update them via git pull. But, as I said earlier, since our repository is private, it is accessible only to you by default, which means you must explicitly specify your account for authentication on the VPS. Switch to the VPS console
git clone https://github.com/vasjen/SimpleApp
Cloning into 'SimpleApp'...
Username for 'https://github.com': vasjen
Password for 'https://vasjen@github.com':
remote: Support for password authentication was removed on August 13, 2021.
remote: Please see https://docs.github.com/get-started/getting-started-with-git/about-remote-repositories#cloning-with-https-urls for information on currently recommended modes of authentication.
fatal: Authentication failed for 'https://github.com/vasjen/SimpleApp/'
As we can see from the logs, this cannot be done simply by entering a login-password combination, unlike Gitlab. Therefore, you need to create an SSH key and point it to Github
ssh-keygen -t rsa -b 4096 -C "vasjen@github.com" #замените на имя вашей учетной записи
eval "$(ssh-agent -s)"
ssh-add ~/.ssh/id_rsa
cat ~/.ssh/id_rsa.pub
We completely copy and paste the output key into your Github profile, in the section keys. We indicate a convenient name, mark the key as authorization. Let's try to clone again via ssh
git clone git@github.com:vasjen/SimpleApp.git
Cloning into 'SimpleApp'...
The authenticity of host 'github.com (140.82.121.3)' can't be es-tablished.
ED25519 key fingerprint is SHA256:+DiY3wvvV6TuJJhbpZisF/zLDA0zPMSvHdkr4UvCOqU.
This key is not known by any other names
Are you sure you want to continue connecting (yes/no/[fingerprint])? yes
Warning: Permanently added 'github.com' (ED25519) to the list of known hosts.
remote: Enumerating objects: 98, done.
remote: Counting objects: 100% (98/98), done.
remote: Compressing objects: 100% (61/61), done.
remote: Total 98 (delta 33), reused 98 (delta 33), pack-reused 0
Receiving objects: 100% (98/98), 914.56 KiB | 1.92 MiB/s, done.
Resolving deltas: 100% (33/33), done.
Now we can work with our private repository. In case we add something to the project and push it into the repository, we can easily pull up the changes without having to copy the entire project from our computer.
git pull
Already up to date. # на текущий момент проект в актуальном состоянии
Next, we repeat the steps from the beginning – launch the application in a way convenient for you, be it a simple launch via dotnet run or application release.
In the next series, we will do it more intelligently, repeat the steps from the last article by creating a dockerfile, and use it to launch the application. Let's add SSL keys and configure work via HTTPS. If you have questions and suggestions about what topics should be considered, leave them in the comments. You can subscribe to my telegramto stay up to date with plans for future articles.