CUBIC or how to build your own Ubuntu
Introduction
A few months ago I was wondering if I could build my own build or even a linux distribution. As it turns out (suddenly), I can do both. But in this article we will talk specifically about creating your own assembly.
So, we will use CUBIC and create our own build based on Ubuntu. CUBIC – Custom Ubuntu ISO Creator, this program allows you to assemble a full-fledged assembly based on Ubuntu without much trouble. Let’s take a closer look at this process.
CUBIC installation
So, in order to build Ubuntu, we need the actual CUBIC and an image of the version of Ubuntu on the basis of which we will build our assembly. Let’s install CUBIC on Ubuntu by running the following commands in the terminal:
sudo apt update
sudo apt install cubic
And in fact, that’s all for the installation.
Creating an Assembly
Let’s move on to the most interesting part of this article – creating the assembly. Open Cubic, you can do this using the GUI or simply entering cubic in the terminal. And the following window will open:
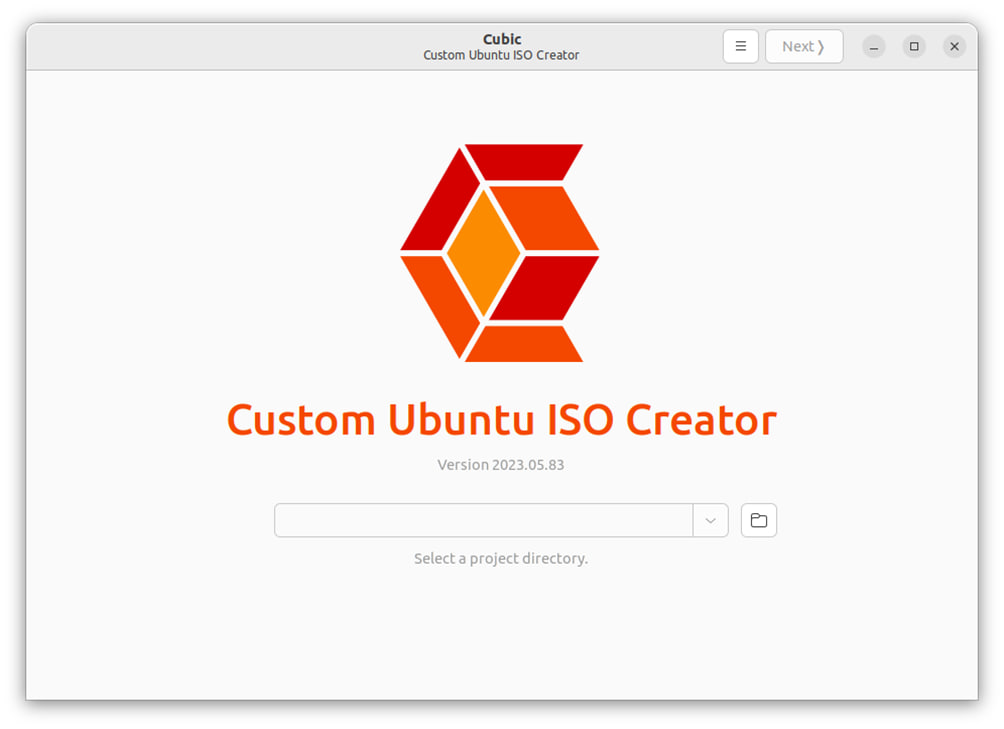
After opening, we will immediately be asked to select a folder for the project. All files will be located in this folder while working with the image. Once you select a folder for your project files, click the Next button in the top right corner. You will then be asked to select the original drive and name and select some options for the custom drive.

So you need to select the original disk and some of the fields will be filled in automatically. Let’s take a closer look at the custom image fields:
Version – should be automatically filled in with the current date, you can indicate the version of your project there.
Filename – the file name of your custom image.
Directory – the folder in which your image will be after it is created, in fact the folder that we selected at the beginning.
Volume Id – disk identifier.
Disk Name – disk name, what will be displayed during OS installation
Release – Ubuntu version
Once completed it will look something like this:

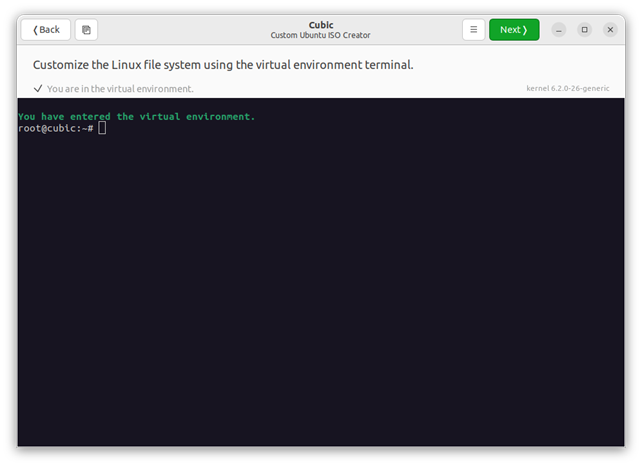
Once you click Next, Cubic will extract the ISO image and give you root access to the terminal emulator, so you can install everything you need into the image.
It will look something like this:
Well, let’s install a couple of programs just for the sake of example.
For example, I will install Cubic there via a PPA repository (yes, that was also possible), to do this, run these commands:
sudo apt-add-repository ppa:cubic-wizard/release
sudo apt-key adv --keyserver keyserver.ubuntu.com --recv-keys 6494C6D6997C215E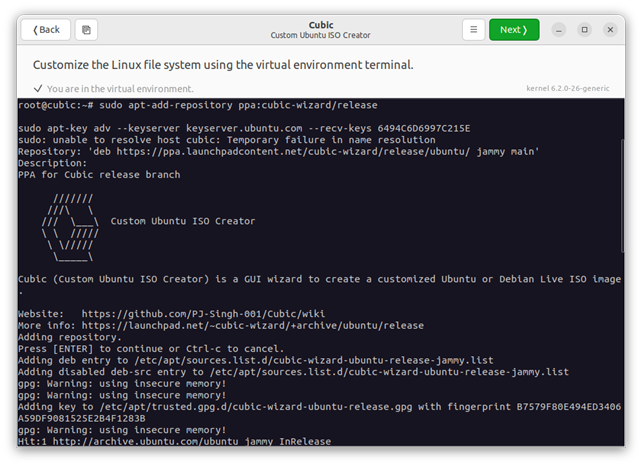
Well, for an example – that’s enough.
We press the Next button and we are given the choice of packages that will be removed after installation. So for example we can turn Ubuntu into a super lightweight OS even without a desktop GUI.

There are a lot of packages here, and it’s better for you to read about each one separately… Google will help you.
After you finish selecting packages and click Next, you will be prompted to select a kernel version.

In my case, I will use the base kernel. Here, in the Preseed tab, you can configure auto installation, and in the Boot tab, some additional configurations.
After this, you need to select file compression. There is a very clear diagram here:

The lower and to the right, the slower, but the smaller the size, and the further to the left and higher, the faster, but the larger the volume.
I will leave the middle ground and move on. After clicking the Generate button, packages will be packaged and the iso image will be built.
Then you should see that the disk was successfully created and you can test it or close the program.
Let’s try to run the image we collected not in QEMU, which Cubic suggests using for testing (I have nothing against this emulator, but running a virtual machine on a virtual machine is not the most convenient and fastest solution), but on VMwere. I did not install this OS, but will simply show you the download page:
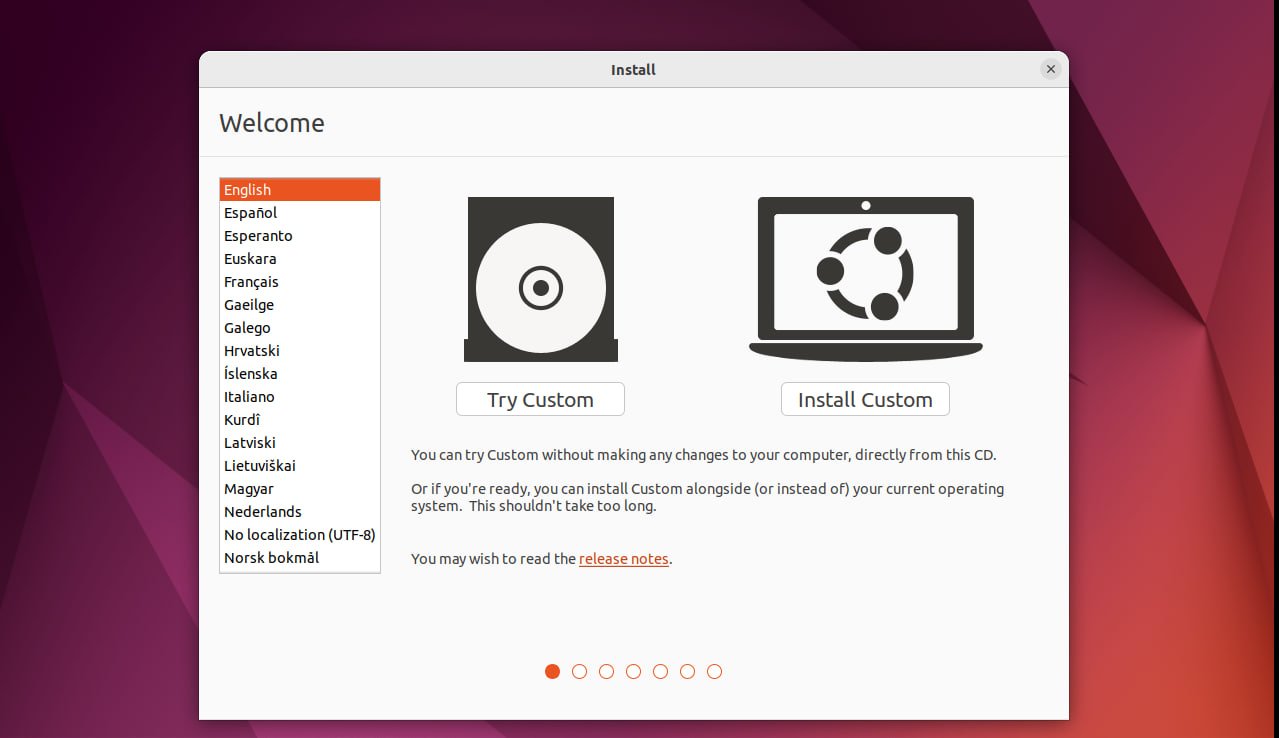
As you can see, the standard Try and Install buttons are labeled not Ubuntu, but Custom. So, everything is in order and we succeeded!
Bottom line
Cubic is a really good program that allows you to build Ubuntu without much trouble. With its help, you can create an image with pre-installed programs that you need, install a different kernel, exclude some packages from Ubuntu to lighten or optimize the OS, configure auto installation and much more.
This article presented the shortest possible guide for beginners to get acquainted with this program. However, if someone is really interested in this, I can prepare a more extensive article on this subject, in which I will talk about in practice all the features of working with Cubic using the example of assembling an OS for myself.
From the author:
Thank you for reading the article to the end, I hope it was useful to you and saved you time. If you want to influence the publication of further articles, you can subscribe to my telegram channel, there will also be polls regarding the release of new articles as well as a variety of interesting materials. If you want to contact me or suggest a topic for an article, my contacts are on website.
Thanks again for reading this far!
Good luck!