Create a google chrome extension for screen recording and camera
In this article, we will look at the main points when creating a google chrome extension for screen recording and camera. It can record the entire screen, a single window, or a tab. In screen recording mode, you can insert a window with a front camera inside the page on which the plugin is active, or outside the browser. You can also enable microphone recording or system sound. Well, in addition, you can only record from the camera.
The extension will also use internationalization (i18next). The onChange library will be used to manage the state. To navigate the embeddable camera on the jquery-ui page. And for styling the video player, the plyr-player.
Link to the source code of the extension
The first step is to configure the main google chrome extension file – manifest.json
"action": {
    "default_popup": "html/popup.html"
 },
default_popup: The HTML file that will be displayed in the dropdown menu when the user clicks on the action icon. In our case, this will be a loader, after loading which we will insert an iframe on the user’s page.
"background": {
    "service_worker": "js/background.js",
    "type": "module"
 },
The background.js file is required for all google chrome extensions. It can be used to perform various tasks in the background, such as updating data, sending requests to the server, monitoring web pages, etc. This allows the extension to run in the background even if the user is not active in the browser. In our case, there is no need for it, so let’s just create it and leave it empty.
"content_scripts": [
    {
      "matches": [
        "https://*/*",
        "http://*/*"
      ],
      "js": [
        "js/content-script.js"
      ]
    }
  ],
Perhaps the main file of our extension is content-script.js. It can be used to change the look and feel of a web page, add or remove elements on a page, interact with page content, and more. matches: The URLs of the web pages where the script should be run.
"web_accessible_resources": [
    {
      "matches": [
        "<all_urls>"
      ],
      "resources": [
        "html/popup.html",
        "html/iframe.html",
        "js/renderContent/camera.js",
        "js/renderContent/iframe.js",
        "libs/jquery-3.6.0.min.js",
        "libs/jquery-ui.min.js"
      ]
    }
  ],
The “web_accessible_resources” file in the Google Chrome Extension is used to define the resources that can be accessed on a web page, even if they are outside of the extension.
"permissions": [
    "tabs",
    "storage",
    "downloads",
    "activeTab",
    "scripting"
  ]
Well, “permissions” is an important element in the development of Google Chrome extensions, allowing the extension to request the necessary permissions from the user in order to perform the necessary actions. Without this file, the extension will not be able to access some browser features, which may limit its functionality.
setTimeout(() => {
    chrome.tabs.query({ active: true, currentWindow: true }, function (tabs) {
      chrome.tabs.sendMessage(tabs[0].id, "open")
      window.close()
    })
 }, 1500)
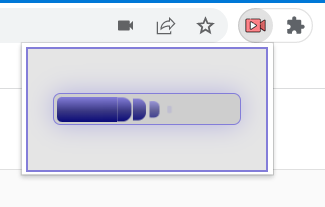
So, in the popup drop-down window, we display a loader, after loading which, using a timer, a message is sent to content-script and our popup is closed using window.close()
chrome.runtime.onMessage.addListener((msg, _, sendResponse) => {
  const iframePlugin = document.querySelector("#record_plugin")

  switch (msg) {
    case "close": {
      iframePlugin?.remove()
      break
    }
    case "open": {
      ;(async () => {
        const src = chrome.runtime.getURL("js/renderContent/iframe.js")
        const contentScript = await import(src)
        contentScript.renderIframe(iframePlugin)
      })()
      break
    }
In content-script, we listen to messages that come to us from popup and from our iframe, which we embed right there.
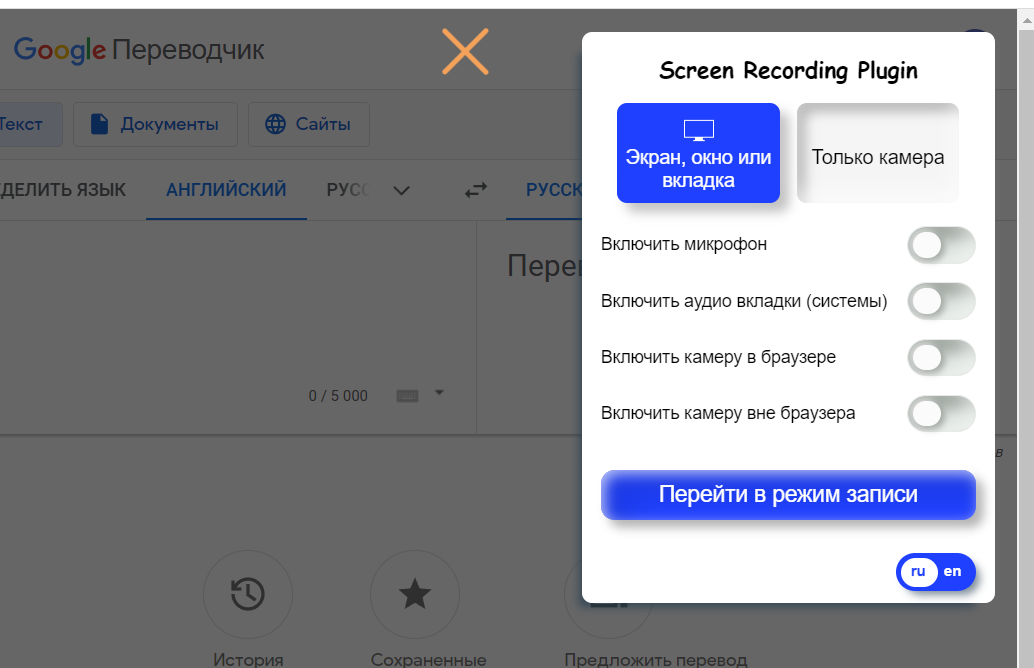
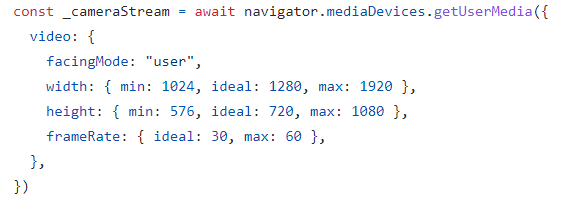
Inside the iframe, the main expansion logic will happen. The Media class will be responsible for accessing the screen content, system sound, microphone, and camera using the navigator.mediaDevices.getDisplayMedia and navigator.mediaDevices.getUserMedia methods.

if (state.mode === "screen") {
        combine = new MediaStream([
          ...this.screenStream.getTracks(),
          ...this.voiceStream.getTracks(),
        ])
      } else {
        combine = new MediaStream([
          ...this.cameraStream.getTracks(),
          ...this.voiceStream.getTracks(),
        ])
      }
This creates a media stream that includes video and audio tracks depending on the mode (screen recording or camera recording).
let blobData = new Blob(data, { type: "video/mp4" })
// Convert the blob data to a url
let url = URL.createObjectURL(blobData)
// Assign the url to the output video tag and anchor
output.src = url
downloadTitle.href = url
Processing the finished stream of media data and placing them inside the player and links (for downloading a video file).
const player = new Plyr("#video", {
    controls: [
      "play-large",
      "play",
      "progress",
      "current-time",
      "volume",
      "captions",
      "settings",
      "fullscreen",
    ],
  })
  const newMedia = new Media()
  const defaultLanguage = lStorage.get("language_plugin") || "en"
  newMedia.getFlowCamera()

  const i18nInstance = i18next.createInstance()
  await i18nInstance.init({
    lng: defaultLanguage,
    debug: false,
    resources,
  })
So inside the iframe, first we create an instance of the player, then a Media instance for working with video and audio streams, request access to the camera, get the current language from localStorage and initialize the texts.
const initialState = {
    //активность записи
    recording: false,
    language: defaultLanguage,
    // полный экран для плеера
    fullscreen: false,
    // проверка на то, что запись не пустая
    emptyRecord: true,
    // режим - screen или camera
    mode: "screen",
    UIState: {
      wiewIframe: "control",
      switch: {
        microphone: false,
        camera: false,
        cameraLocal: false,
        audio: false,
      },
    },
  }
We create an iframe state, the state of which we will track using the onChange library and, as a result of these changes, redraw our UI.
We also create an object with all the necessary elements, on which we hang handlers, inside which our state will change.
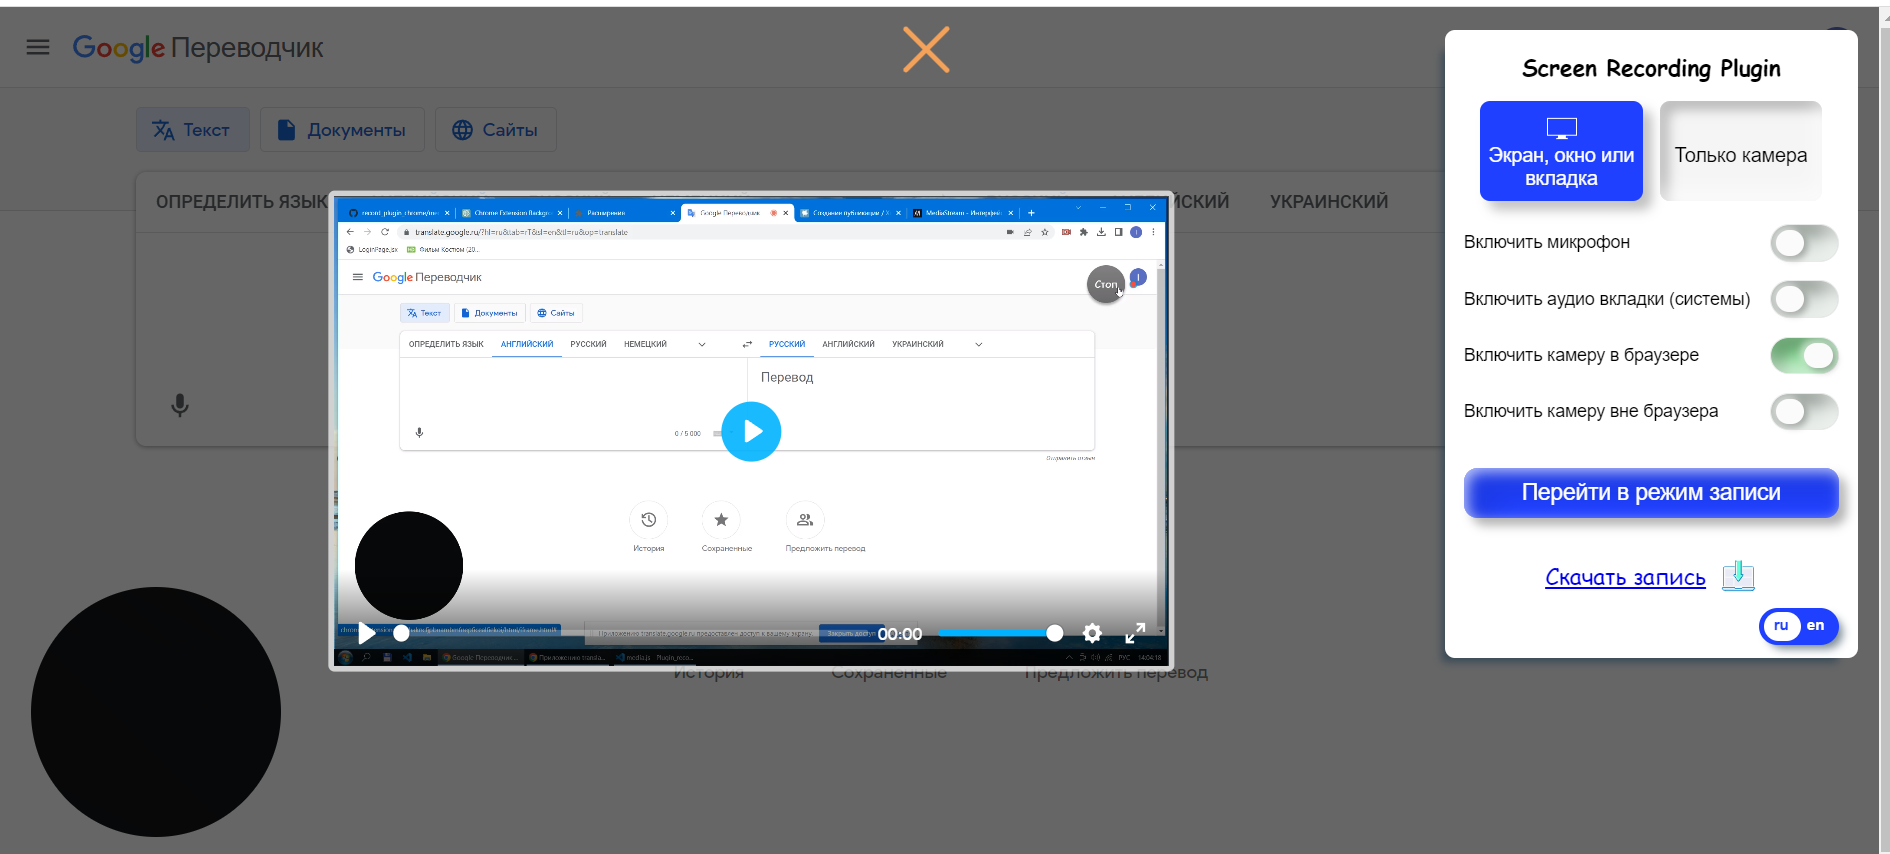
Thus, in this article, we have briefly considered the creation of a google chrome extension for screen recording and camera. Source – for more detailed acquaintance with the extension.
