Adding Joomla Fields to Smart Search Results Using JFilters

The Smart Search results page allows us to display some fields (image, category, date, etc.) but not custom fields. Because Joomla fields provide a very flexible way to add additional properties to our content, displaying them in search results can make the results more meaningful.
Explanation of terms from the translator
Smart Search – a built-in search component that comes as a boxed Joomla 4 solution instead of the standard Joomla 1.0-3.x search, which was discontinued as an outdated solution.
JFilters – extension for content filtering.
Custom fields – built-in Joomla functionality that allows you to use the new field entity in different components.
The same layout that is used in Joomla Smart Search is also used by JFilters. Thus, our setting will affect both the Smart Search results and the JFilters component.
IN another lesson When setting up the search results layout, it was already mentioned that we can create sub-layouts for each specific result content type. For example, we can create different nested layouts for our articles and contacts. We can create these sub-layouts using Cassiopeia's Joomla template overrides.
In this tutorial, we'll create a sublayout for article search results and modify it accordingly to display custom fields.


Creating a Sublayout for Articles
Go to “System” > “Templates” > “Site Templates”and then select Cassiopeia Information and Files.
From there click the button “Folder Management”.
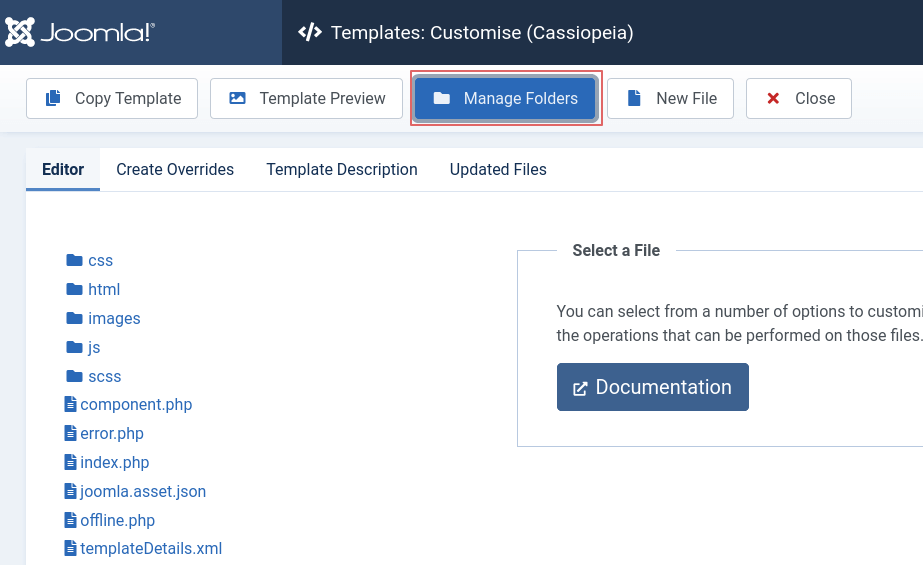
Then go to the folder html and create a new folder com_finder.
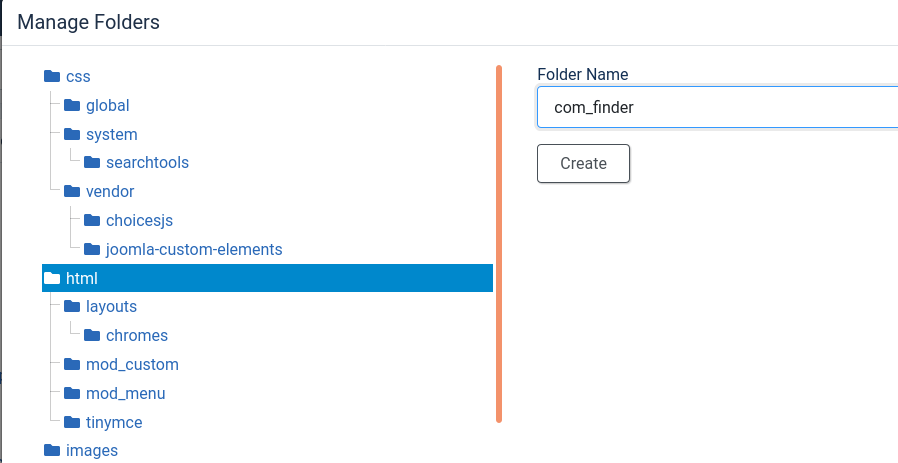
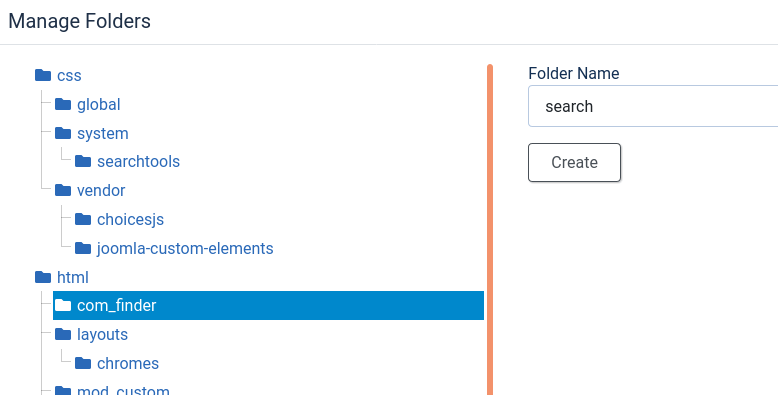
Now, inside the com_finder folder created in the previous step, create another folder called search.
Now let's create new file inside the folder com_finder/search.
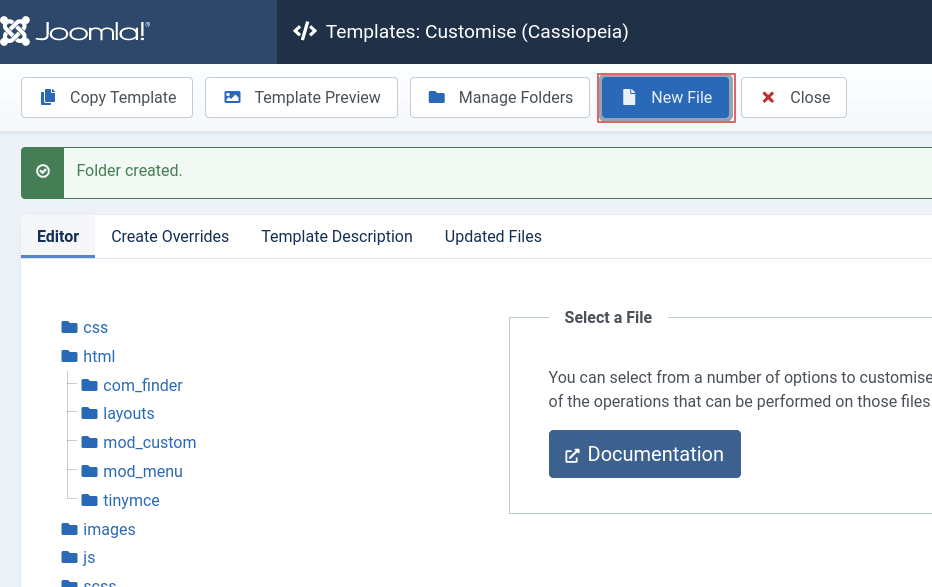
The file will be called default_article and you need to select php as the file type.
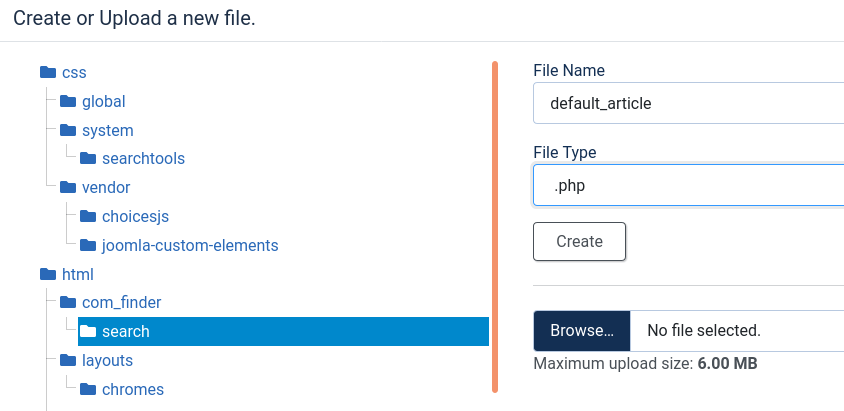
So, we get the following path to the layout override file: /templates/cassiopeia/html/com_filder/search/default_article.php

Adding code to our sublayout
As a basis we will use the code from the file components/com_finder/tmpl/search/default_result.php. This file generates the content that is displayed in the result element (search item). Let's take the contents from this file and copy it to our new file (templates/cassiopeia/html/com_filder/search/default_article.php).
Thus, we redefine the search result through template redefinition and then we will be able to make our own changes that will not be lost during the next Joomla update.
PHP code can be edited in default_article.phpeither from the template editor (loaded after selecting a file in the template) or from your chosen IDE.
Adding Custom Fields
At the beginning of the file after line 20 add:
// Создаём массив со всеми настраиваемыми полями текущей статьи. Параметр true позволяет нам получить визуализированное значение вместе с необработанным значением (rawvalue).
$articleCustomFields = Joomla\Component\Fields\Administrator\Helper\FieldsHelper::getFields('com_content.article', $this->result, true);

// Создаём ассоциативный массив, используя идентификатор настраиваемого поля в качестве ключа.
$articleCustomFields = \Joomla\Utilities\ArrayHelper::pivot($articleCustomFields, 'id');
Next, keep track of the IDs of the custom fields you want to display.
Go to Materials > Fields and find the IDs of the fields you want to display.
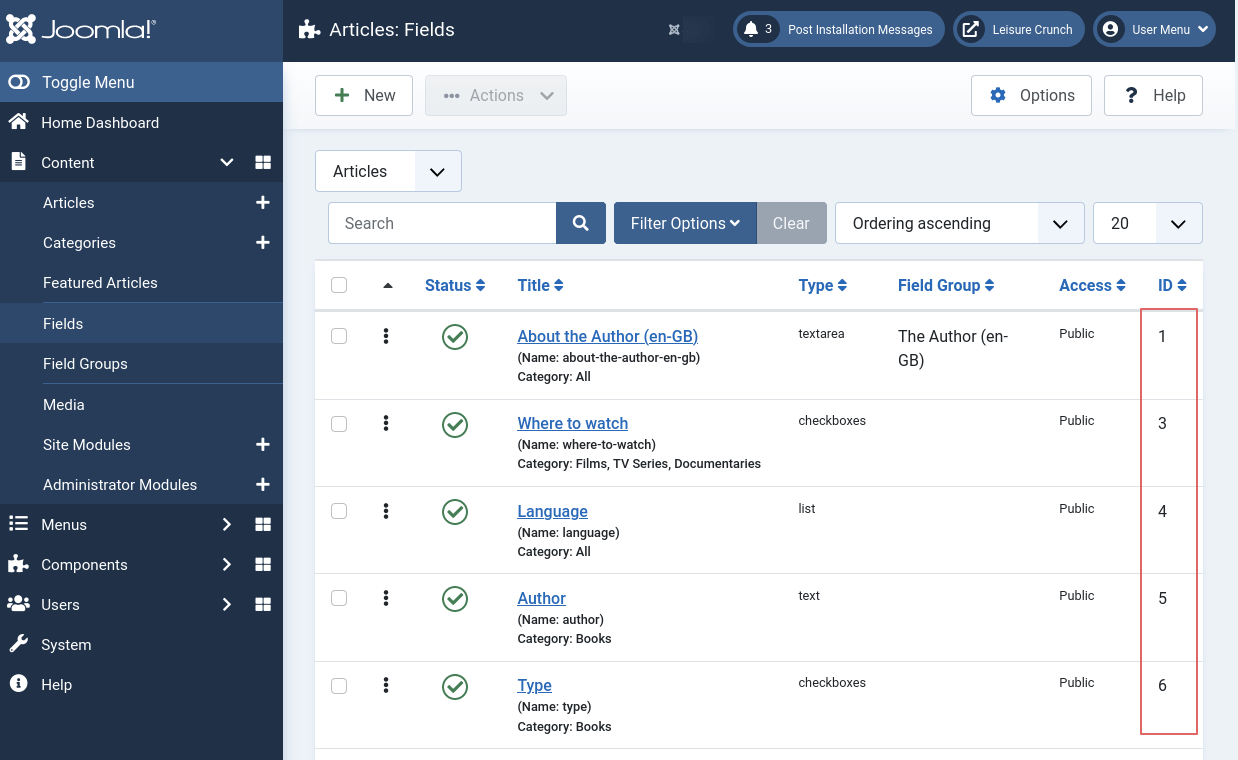
Now we can add the html code to display the custom fields.
Before element </li> at the end of the file add:
<ul class="fields-container">
        <?php
        // Мы используем настраиваемые поля с идентификаторами 10 и 3.
        if (!empty($articleCustomFields[10]->value)) : ?>
            <li class="field-entry">
                <span class="field-label"><?= $articleCustomFields[10]->label ?>:</span>
                <span class="field-value"><?= $articleCustomFields[10]->value; ?></span>
            </li>
        <?php
        endif; ?>

        <?php
        if (!empty($articleCustomFields[3]->value)) : ?>
            <li class="field-entry">
                <span class="field-label"><?= $articleCustomFields[3]->label ?>:</span>
                <span class="field-value"><?= $articleCustomFields[3]->value; ?></span>
            </li>
        <?php
        endif; ?>
    </ul>
Now, if you search or filter on the front end of the site, we'll see results with custom fields!
Use alternate layouts for custom fields
Each custom field can have its own alternative layout, which can be selected from its internal parameters. If this layout is selected, the code we used will not work. In this case, we need to render the custom field through its renderer by specifying the layout.
The code should be like this:
<?php // мой альтернативный макет имеет такое же название, как и макет ?>
    <?= Joomla\Component\Fields\Administrator\Helper\FieldsHelper::render('com_content.article', 'field.myAltLayout', ['field' => $articleCustomFields[10]]); ?>
Layout code default_article.php can be found in its entirety at Github
The author of this article would like to thank Marc Dechevre @woluweb for initially covering this topic and for the code, some of which was used in this article.


