Using Ionic and Vue 3 to build mobile apps
In today’s world, mobile applications play an important role in our daily lives. Mobile app development has become more and more popular, and there are many frameworks and tools for building cross-platform apps. In this article, we’ll walk through the mobile app development process using Ionic, Vue 3, and Capacitor, which combine the flexibility of Vue.js with the cross-platform development capabilities of Ionic and Capacitor. Forward under the cut)
What is Ionic?
Ionic is a framework for developing hybrid mobile applications using web technologies. It allows you to create applications that can run on different platforms, including iOS and Android. Ionic provides a set of components as well as tools for developing, building, and deploying applications.
Ionic has several features and benefits that make it popular among mobile app developers:
Cross platform: Applications developed using Ionic can be run on different platforms, which greatly simplifies the development process and allows you to reach a wide audience of users.
Use of web technologiesA: Ionic uses familiar web technologies such as HTML, CSS, and JavaScript. This allows us to easily start building mobile applications without having to learn new languages or platforms.
UI ComponentsA: Ionic provides a rich set of pre-styled UI components such as buttons, forms, lists, and more. This makes it easier to create an interface for an application.
Plugin supportA: Ionic integrates with Capacitor, allowing you to use plugins to access device features such as camera, geolocation, and notifications. This extends the app’s capabilities and allows us to interact with the device’s system API.
What is Capacitor?
Capacitor is a framework that allows you to create native applications using HTML/CSS/JS. It is part of the Ionic ecosystem and is used to access native device APIs such as camera, geolocation, file system, and others.
Capacitor itself works like this:
A developer builds an app using Ionic and Vue.js.
Capacitor provides a set of plugins that allow you to interact with the device’s native capabilities.
The application is built into a native project for each platform (for example, Android or iOS).
Capacitor creates a bridge between the app and the device’s native code, allowing us to use native APIs.
The application runs on the device and can use the functionality provided by native APIs.
Getting started on a project
To start, we need @ionic/cliwe can install it globally:
npm i -g @ionic/cli
Now we can create an ionic project with capacitor support:
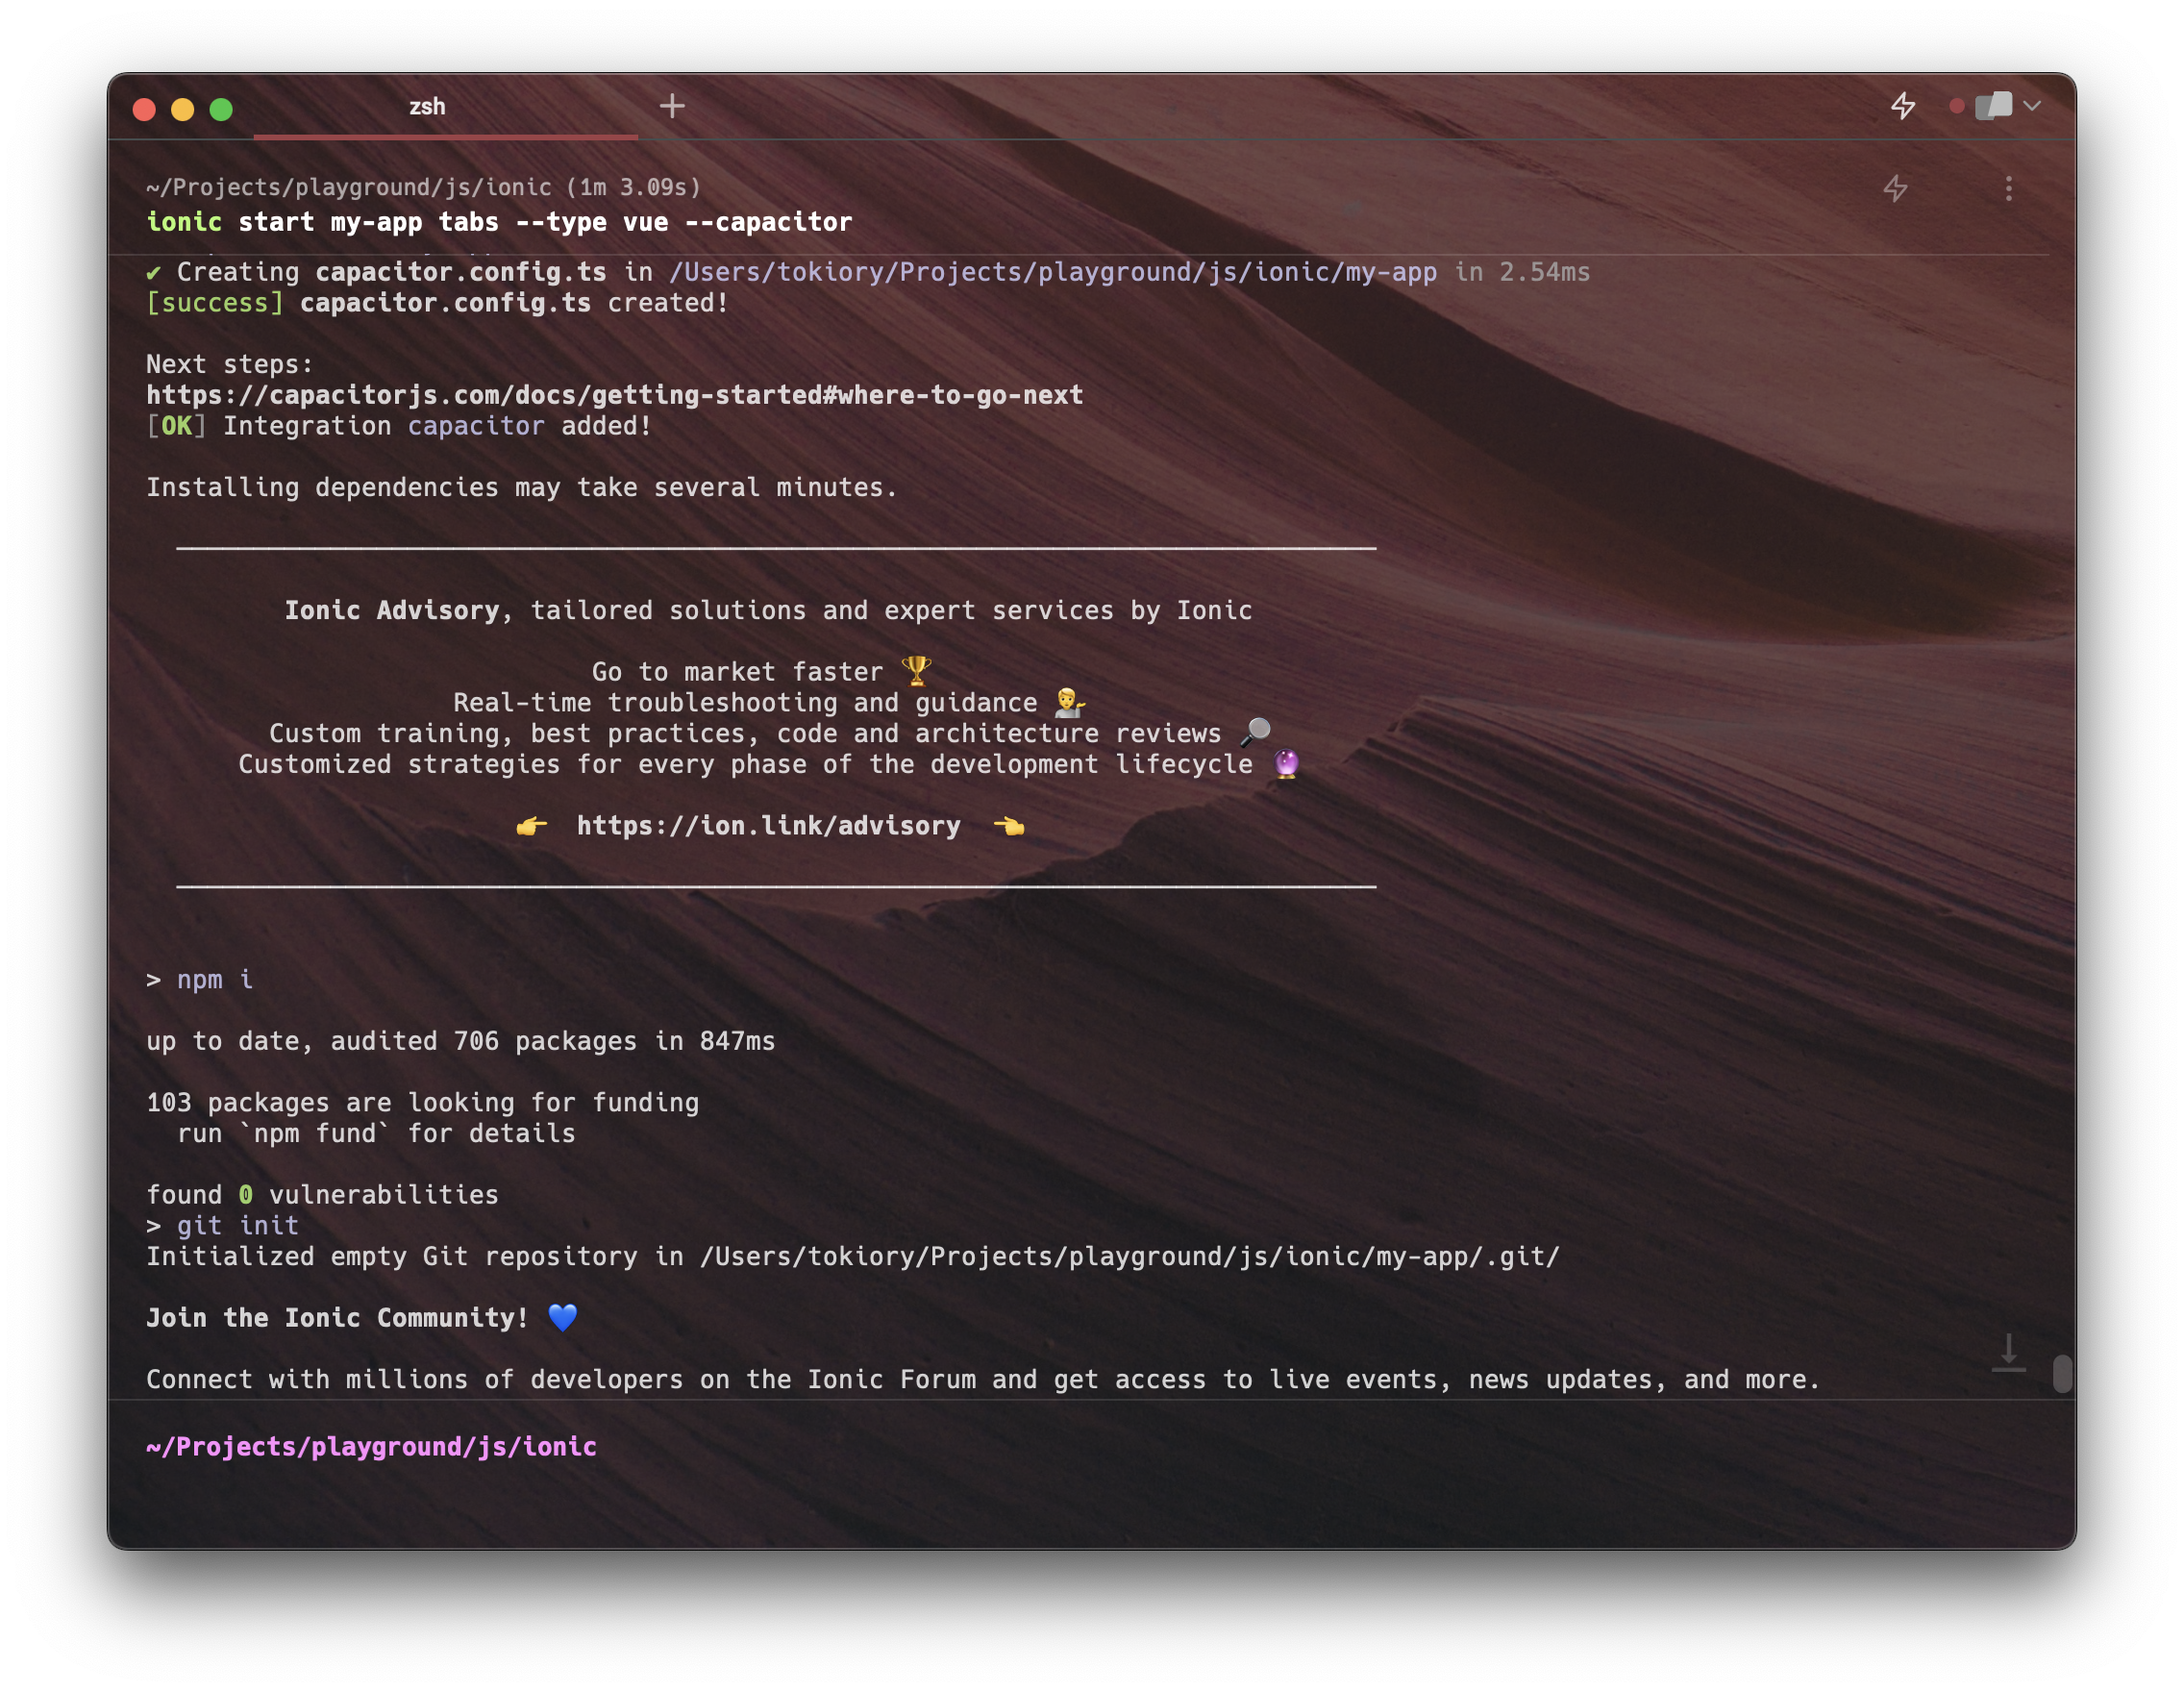
ionic start my-app tabs --type vue --capacitor
Previously, we were able to create applications using Cordova, but the Ionic team abandoned this technology. Now all applications that use Ionic use Capacitor
In the process of creating a boilerplate, ionic may ask you to create an account, feel free to refuse:
If we go to the directory my-app and look at the files that were created there, we will see something like this:
exa -lbGF --git --tree --level=1
drwxr-xr-x@     - tokiory 18 Jun 22:12 -- ./
.rw-r--r--@   223 tokiory 18 Jun 22:11 -- ├── capacitor.config.ts
.rw-r--r--@   417 tokiory  5 Jun 22:51 -- ├── cypress.config.ts
.rw-r--r--@   903 tokiory  5 Jun 22:51 -- ├── index.html
.rw-r--r--@    90 tokiory 18 Jun 22:11 -- ├── ionic.config.json
drwxr-xr-x@     - tokiory 18 Jun 22:11 -I ├── node_modules/
.rw-r--r--@ 587Ki tokiory 18 Jun 22:11 -- ├── package-lock.json
.rw-r--r--@ 1.0Ki tokiory 18 Jun 22:11 -- ├── package.json
drwxr-xr-x@     - tokiory 18 Jun 22:10 -- ├── public/
drwxr-xr-x@     - tokiory 18 Jun 22:10 -- ├── src/
drwxr-xr-x@     - tokiory 18 Jun 22:10 -- ├── tests/
.rw-r--r--@   535 tokiory  5 Jun 22:51 -- ├── tsconfig.json
.rw-r--r--@   184 tokiory  5 Jun 22:51 -- ├── tsconfig.node.json
.rw-r--r--@   387 tokiory  5 Jun 22:51 -- └── vite.config.ts
Ionic provided us with a template based on Vite, Vue 3, Typescript, and added Cypress as a framework for End-to-End testing. Naturally, we can clean the template from unnecessary technologies (I would replace Cypress with Playwright right at the start), however, for now, the fact that we can disable unnecessary technologies from our template is enough, the application build itself will not break from this.
A bit about styling and web components
If we run our application, it will look like this:
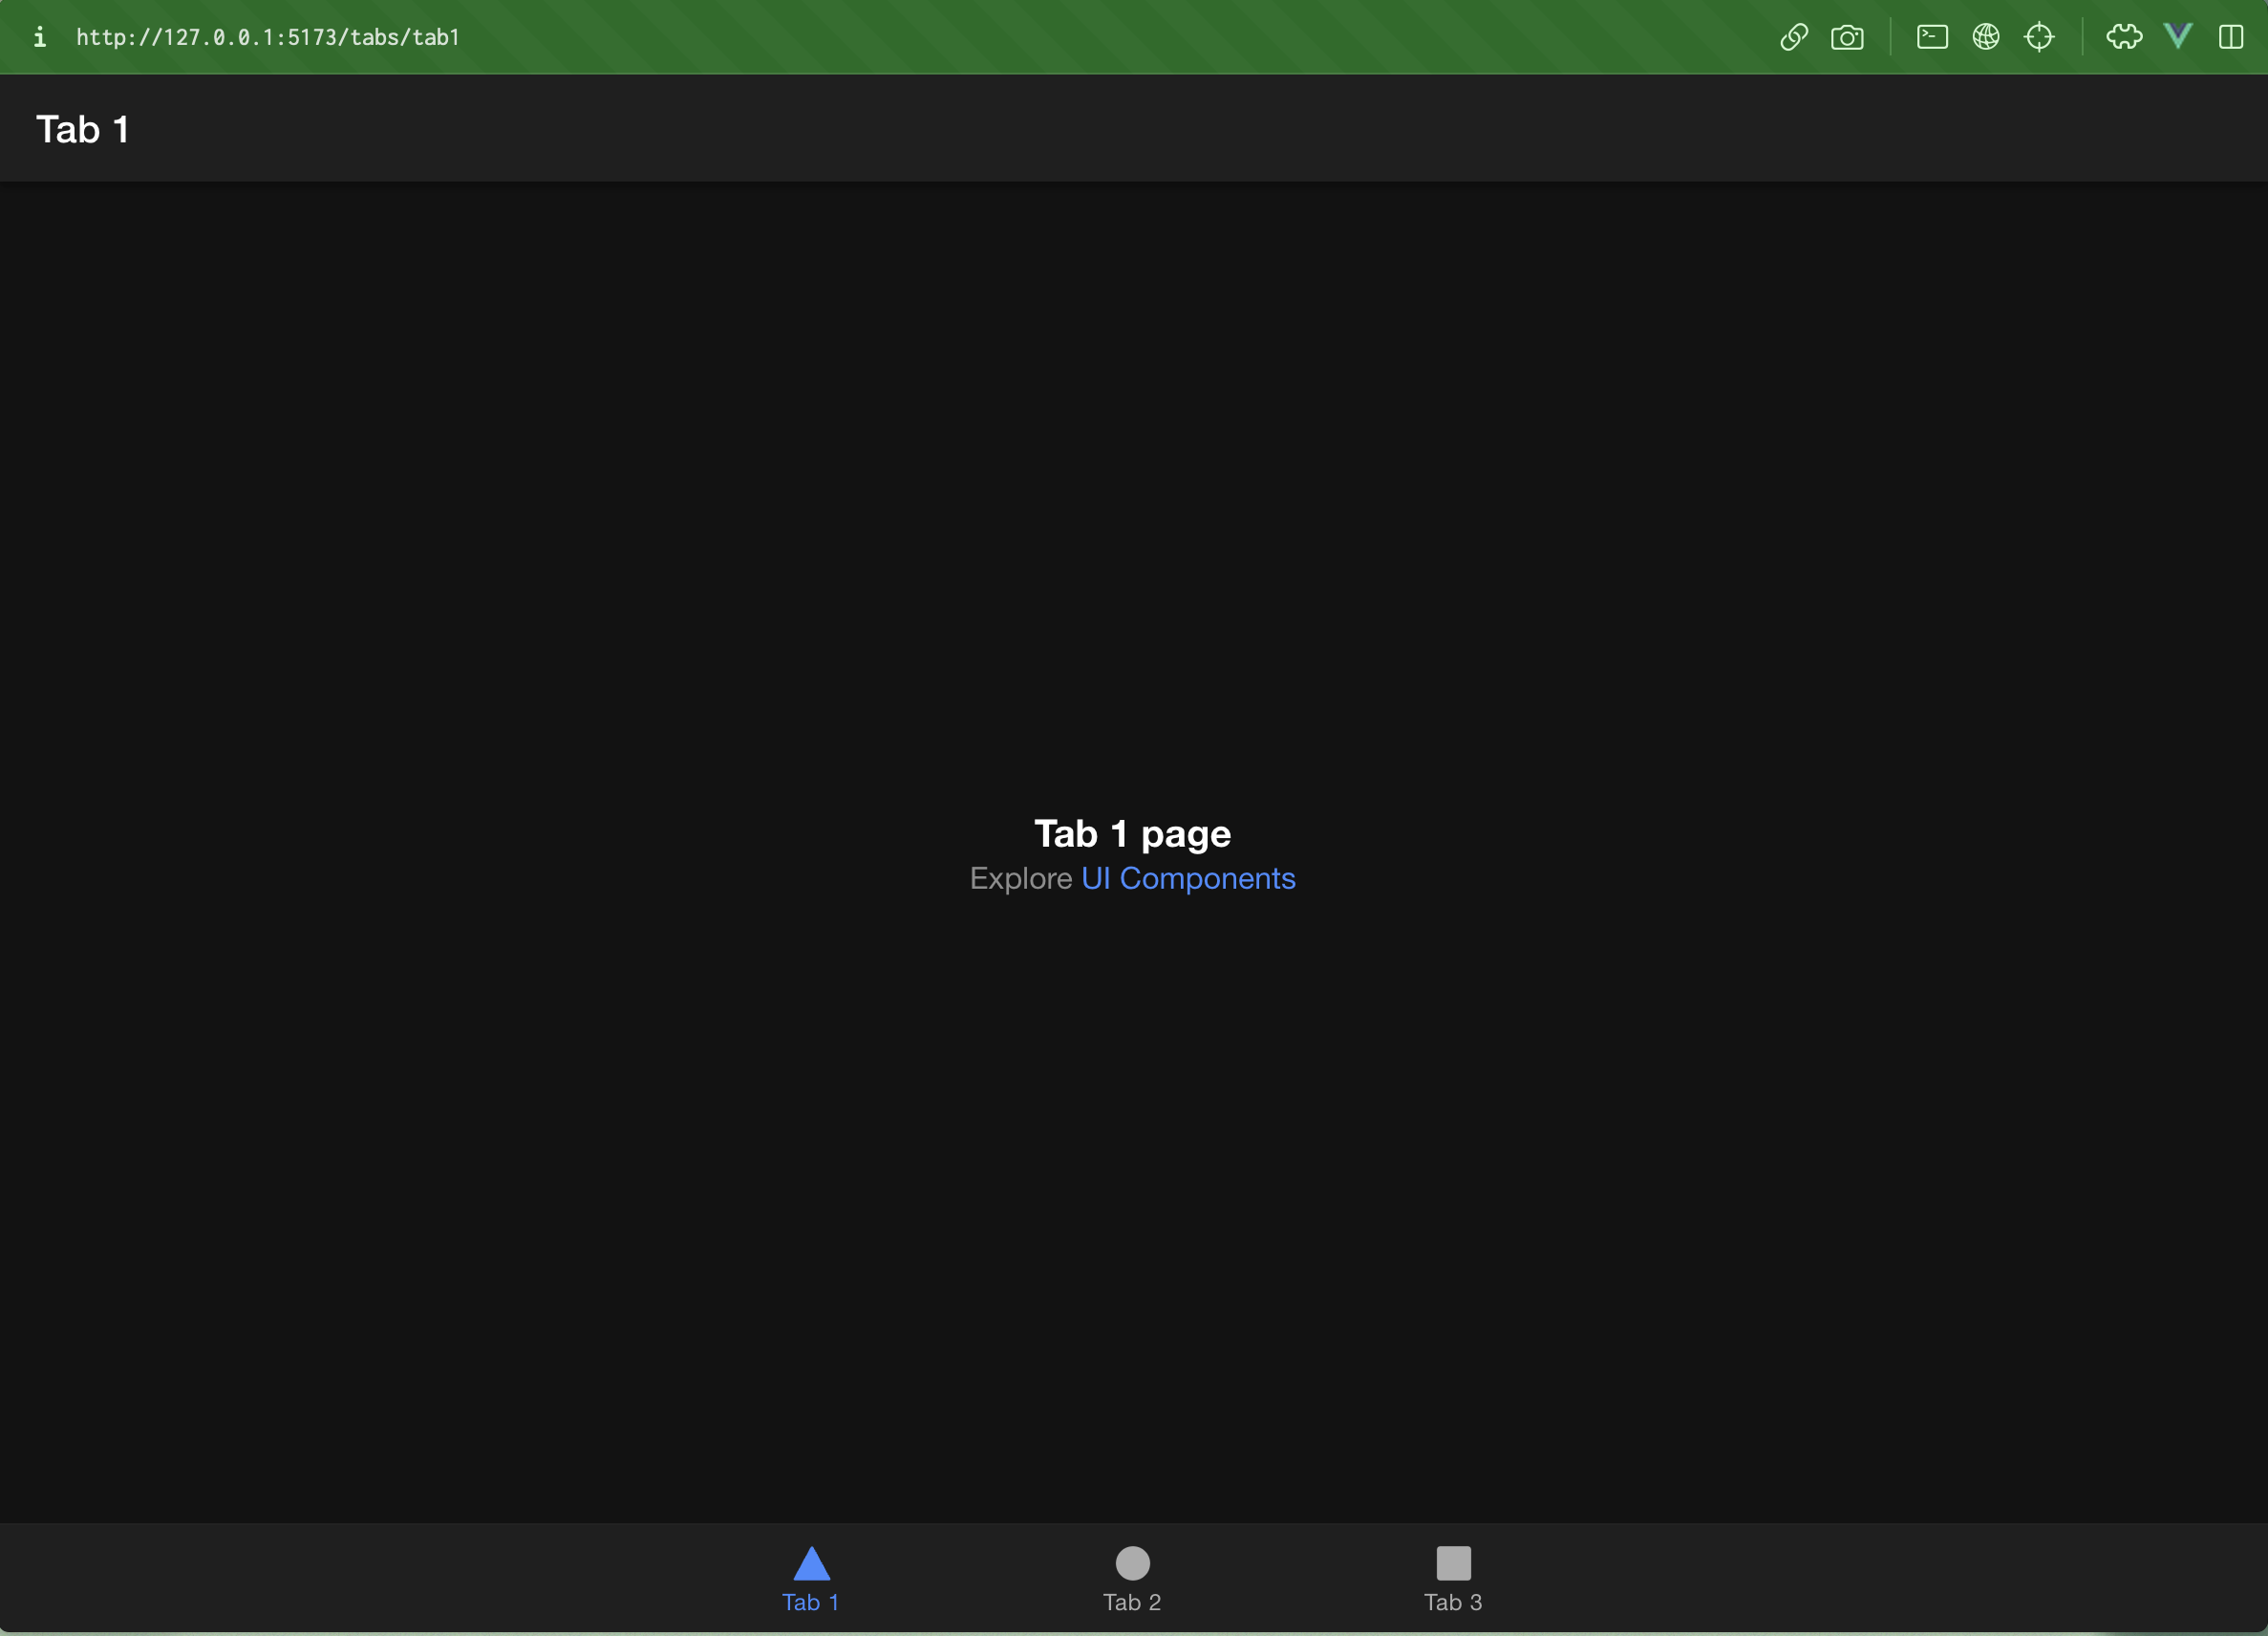
As we can see, Ionic has adopted Material Design by default, which is mostly used on Android devices. Once during project development firecode I was faced with the task of making a cross-platform application (Android / iOS), Ionic components literally became a salvation, because their style changes with just one line of code:
// main.ts

const app = createApp(App)
  .use(IonicVue, {
    mode: 'ios',
});
Now if we look at our page, we will see that the tabbar has changed its styles, and the application header has become transparent:
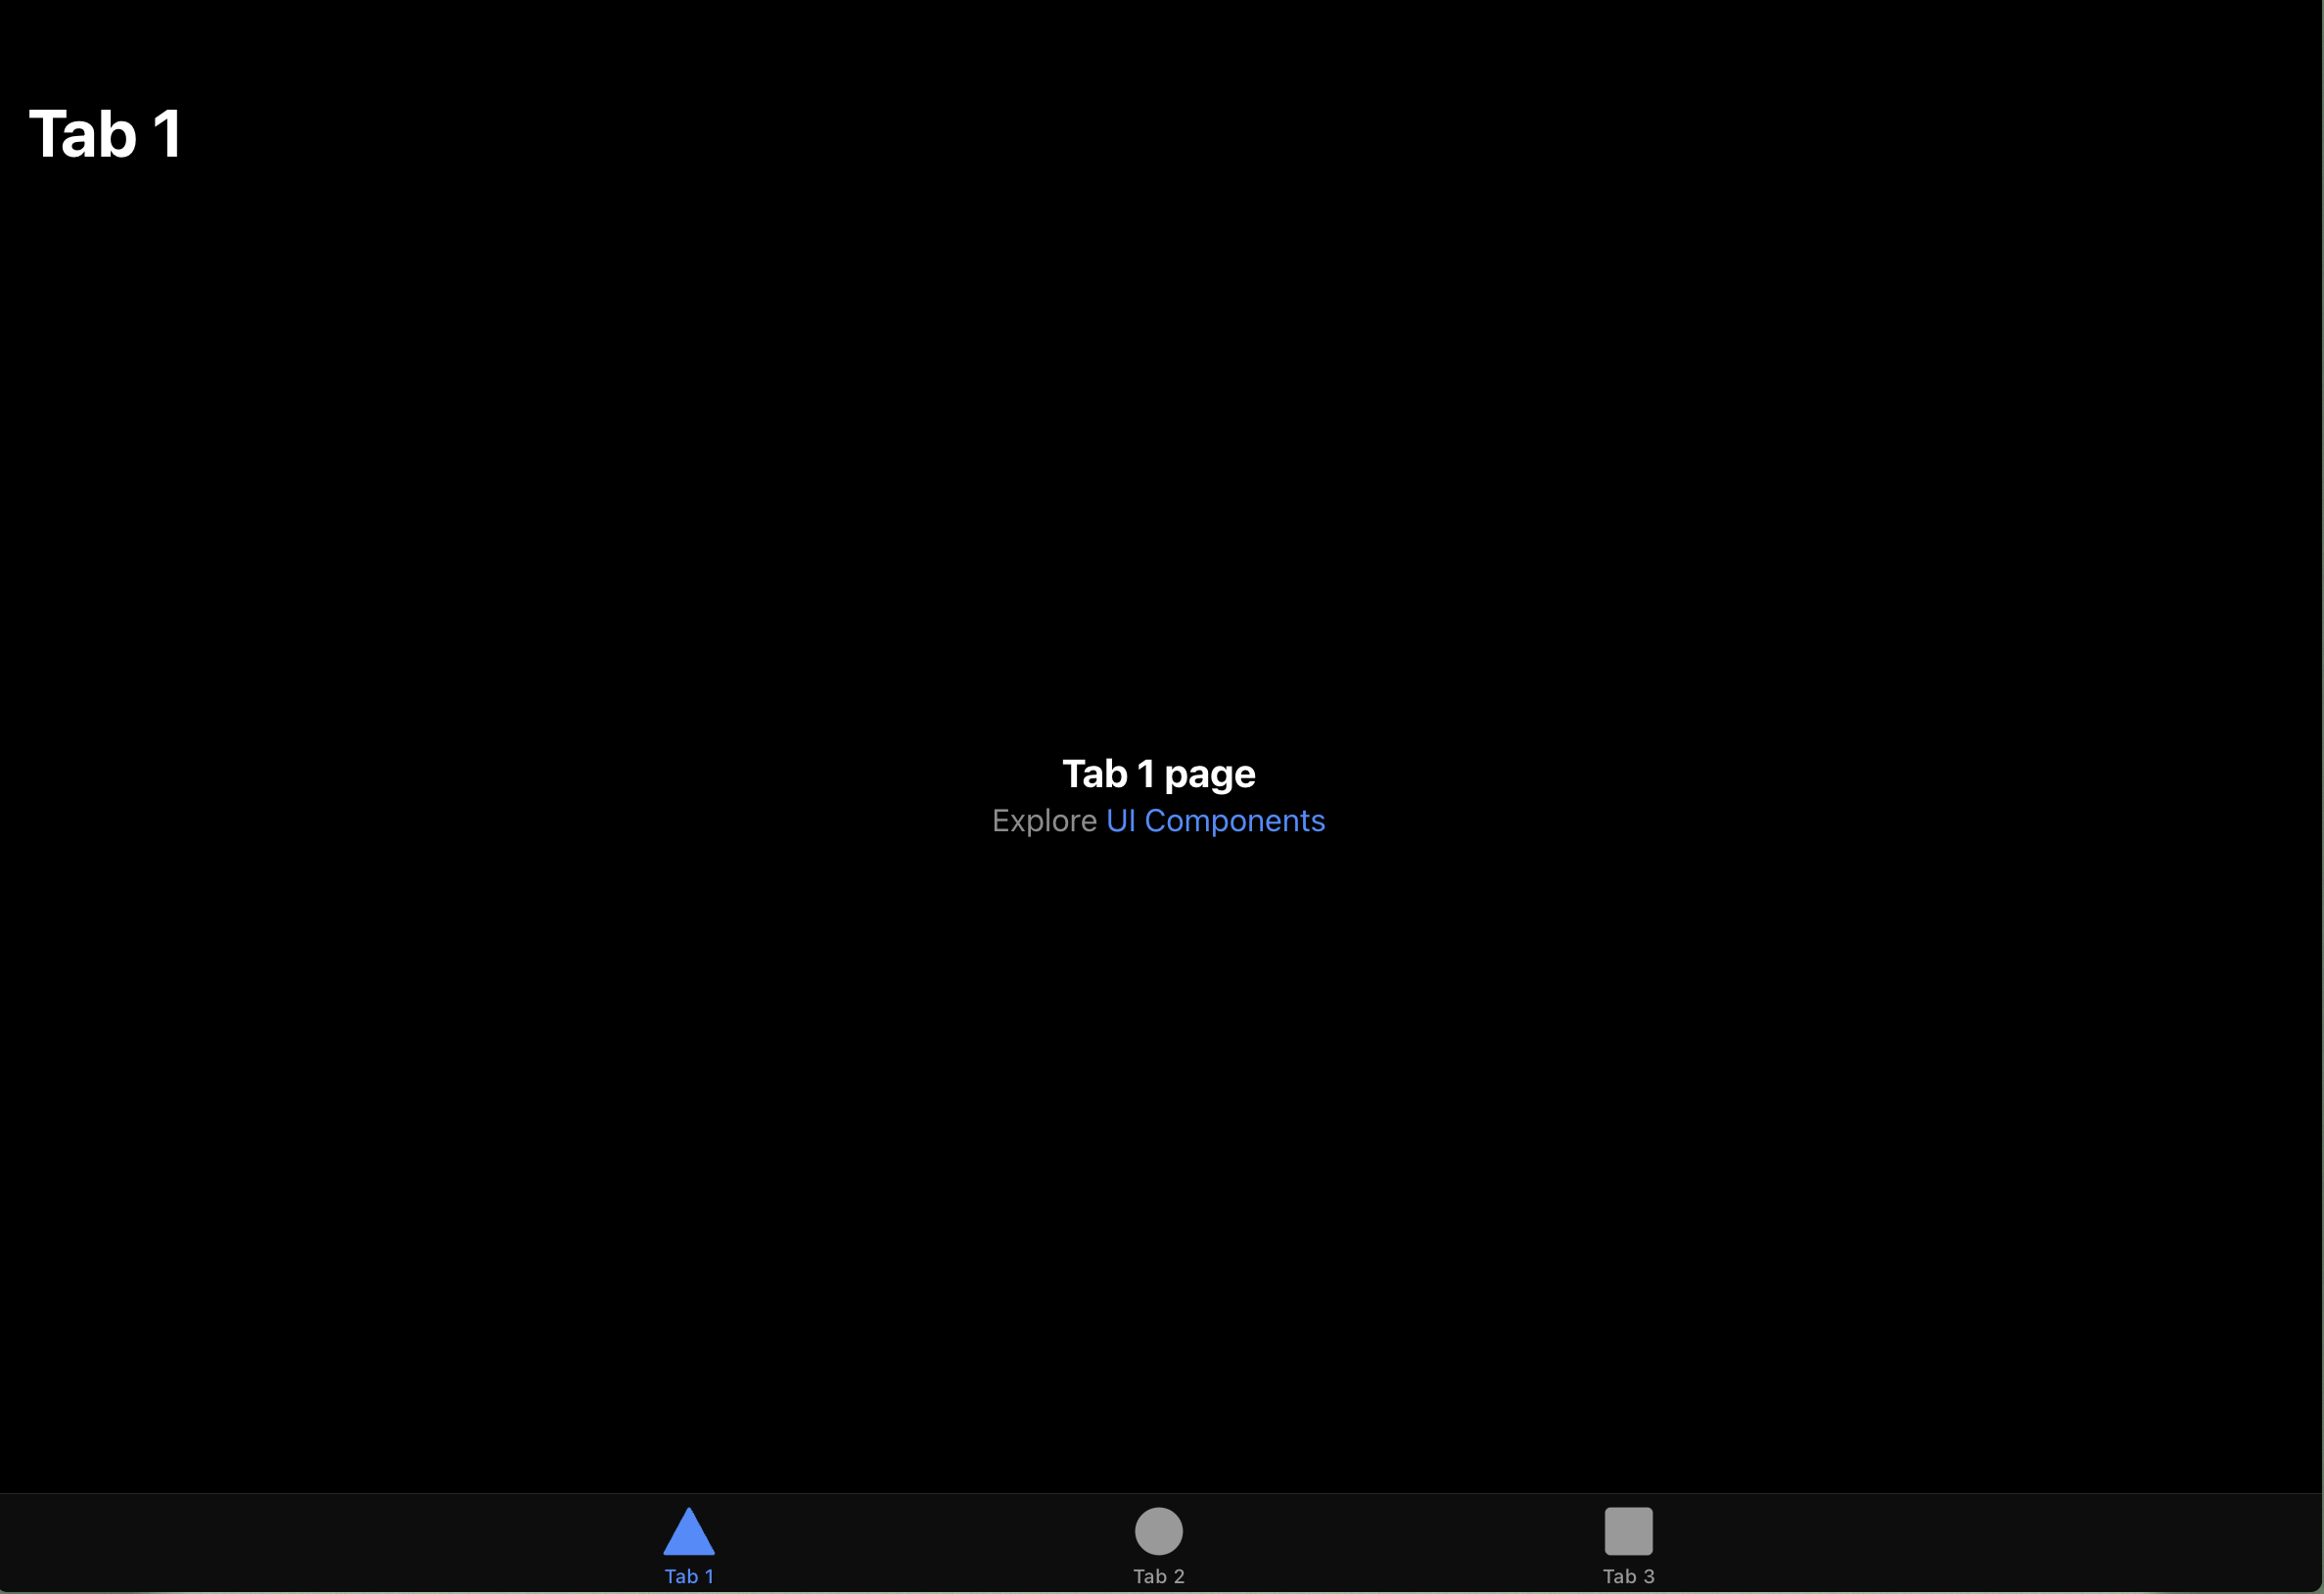
Ionic is based on Stencil components. Stencil is also part of the Ionic ecosystem and is used to create web components. If we look into DevTools and look at the DOM tree, we will see the following there:
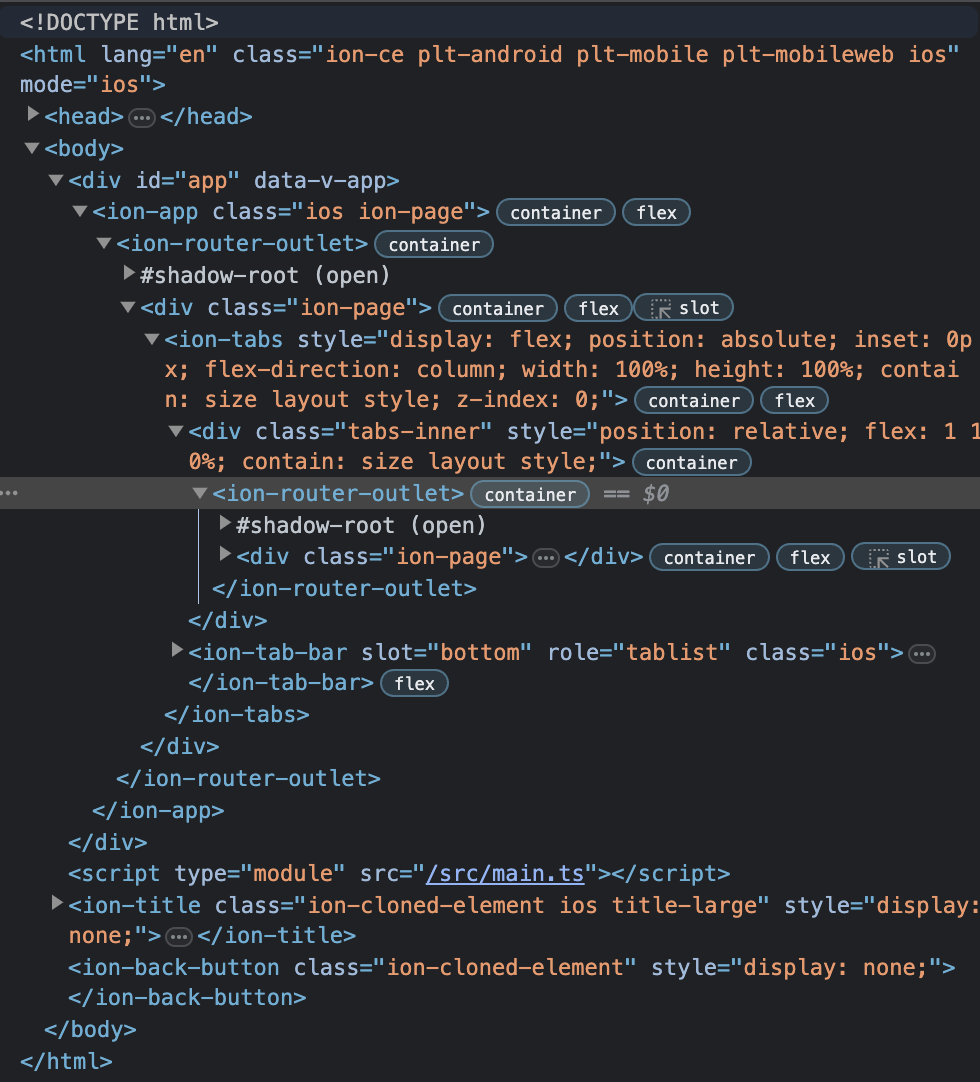
It may seem strange that instead of header, footer and heaps div ionic uses web components, but you’ll get used to it with time. Moreover, this brings certain benefits..
ionic has components for literally everything you need, in documentation contains a complete list of them.
Routing
Surely, using applications on your smartphone, you have seen how transitions between screens are performed. ionic has built-in functionality for routers that allows us to implement these animations.
At the moment, there are only three tabs in our application. Let’s create a new page, call it HelloPage.vue:
// src/views/HelloPage.vue

<template>
  <ion-page>
    <ion-header>
      <ion-toolbar>
        <ion-title>Hello</ion-title>
      </ion-toolbar>
    </ion-header>
    <ion-content :fullscreen="true">
      <ion-card>
        <ion-card-content>
          <ion-card-title>Страница приветствия</ion-card-title>
          <ion-text>Данная страница создана для демонстрации роутинга</ion-text>
        </ion-card-content>
      </ion-card>
    </ion-content>
  </ion-page>
</template>

<script setup lang="ts">
import { IonPage, IonHeader, IonToolbar, IonTitle, IonContent, IonText, IonCard, IonCardTitle } from '@ionic/vue';
</script>
Now we need to add an entry to router/index.ts:
const routes = [
	// ...
	{
    path: '/hello',
    component: () => import('@/views/HelloPage.vue'),
  },
	// ...
]
If we go to at /hellowe will see the following:

Now let’s try to make a transition from page to page with animation. If we just use vue-router, then there will be no animation. In order to use the transition animation, we will use the composable provided by ionic:
// src/views/Tab1Page.vue

<template>
  <ion-page>
    <ion-header>
      <ion-toolbar>
        <ion-title>Tab 1</ion-title>
      </ion-toolbar>
    </ion-header>
    <ion-content :fullscreen="true">
      <ion-header collapse="condense">
        <ion-toolbar>
          <ion-title size="large">Tab 1</ion-title>
        </ion-toolbar>
      </ion-header>
      <ion-button
          expand="block"
          @click="onGoToHelloPage"
      >
        Переход на страницу приветствия
      </ion-button>
    </ion-content>
  </ion-page>
</template>

<script setup lang="ts">
import { IonPage, IonHeader, IonToolbar, IonTitle, IonContent, IonButton } from '@ionic/vue';
import {useIonRouter} from "@ionic/vue";

const ionRouter = useIonRouter();
const onGoToHelloPage = () => {
  ionRouter.push('/hello');
}
</script>
useIonRouter is an extension to vue-router and just adds animation.
Plugins
Using plugins in Capacitor allows developers to extend the functionality of their Ionic app by adding access to phone/tablet/other device APIs such as camera, geolocation, notifications and more. Plugins provide an abstraction over the platform’s native APIs.
Installing plugins in Capacitor is usually done using the Capacitor CLI command line tool.
After installing the plugin, we need to add the appropriate code to our Ionic application in order to use the functionality provided by the plugin. This usually involves importing the plugin into the appropriate component and calling its methods to interact with the device’s native capabilities. Capacitor provides a consistent interface for working with plugins across platforms, making it easier to develop cross-platform applications.
Here is an example using the camera plugin:
import { Plugins } from '@capacitor/core';

const { Camera } = Plugins;

async function takePhoto() {
  const image = await Camera.getPhoto({
    quality: 90,
    allowEditing: false,
    resultType: 'base64'
  });

  // Дальнейшая обработка полученного изображения
}
Instead of a conclusion
If you liked this article, then you can always go to my blogthere is more related information about web development.
If you have any questions – feel free to ask them in the comments. Have a good time! 💁🏻♂