Setting up ZSH in Fedora, Linux Mint and other ubuntu-like distributions
Everyone wants to make their workplace a little better and more convenient than it comes from the “Box”. In this manual, you can quickly and painlessly configure the ZSH Shell terminal to better display information and, if necessary, expand its functionality with plugins. Along the way, we’ll install one of the Kitty terminals, which allows you to use tabs and “windows” in your work. Using it you can structure your workplace easily and quickly. The advantage of this instruction is that you will receive fresh and stable versions of NeoVim and some packages, because installation and assembly will be carried out directly from the repositories.
First, let’s update all the packages, please note that there will be different lines for different distributions. (Ubuntu and Ubuntu are similar distributions such as Linux Mint, etc. we will write Ubuntu for brevity):
Ubuntu: sudo apt update
Fedora: sudo dnf update
Let’s install Git to download packages. (if you have it installed, you can skip this step):
Ubuntu: sudo apt install git
Fedora: sudo dnf install git
Next, install the Kitty terminal, install it from the repositories of the systems themselves. Information about the terminal itself and hotkeys can be read here (https://sw.kovidgoyal.net/kitty/):
Ubuntu: sudo apt install kitty
Fedora: sudo dnf install kitty
It’s time to install Shell ZSH itself
Ubuntu: sudo apt install zsh
Fedora: sudo dnf install zsh
Just in case, let’s create a configuration file if it was not created during installation:
touch ~/.zshrc
Let’s assign zsh as the default command shell (shell) in our system, depending on your settings in the system, you may need to enter a password to change the shell:
chsh -s $(which zsh)
To be able to install additional plugins and “upgrade” ZSH, we will install the OhMyZsh framework for it; information about it can be read here (https://ohmyz.sh/)
sh -c "$(curl -fsSL https://raw.githubusercontent.com/ohmyzsh/ohmyzsh/master/tools/install.sh)"
For further installation, so as not to litter our directories, we will create a tmp folder in the root of the profile
cd ~/ && mkdir tmp && cd tmp
Download scripts from my repository, in it you can find working settings for various applications used in work, such as (i3 – tile manager, polybar, helix – code editor, wezterm – multiplex terminal, picom – beauty for a window manager, nvim – code editor , kitty – multiplex terminal), we are specifically interested in the installation script for the necessary fonts:
git clone https://github.com/apilot/dotfiles.git
cd ~/tmp/dotfiles
We select the fonts we want to install. the main fonts have already been selected. If necessary, you can remove the comment before the font name in the list or comment out those that are not needed. in any case, later you can then delete unnecessary things from the folder itself ~/.local/share/fonts :

Let’s make the script executable:
chmod +x ./fonts_install.sh
run it:
./font_install.sh
Next, we’ll install a theme with a manager to fine-tune it:
git clone --depth=1 https://github.com/romkatv/powerlevel10k.git ${ZSH_CUSTOM:-$HOME/.oh-my-zsh/custom}/themes/powerlevel10k
The file needs to be edited ~/.zshrcreplace the ZSH_THEME key value with:ZSH_THEME="powerlevel10k/powerlevel10k"
launch the editor:
nano ~/.zshrc

press to save Ctrl + X and press Enter
close the terminal
press ALT-F2 and type the command
kitty
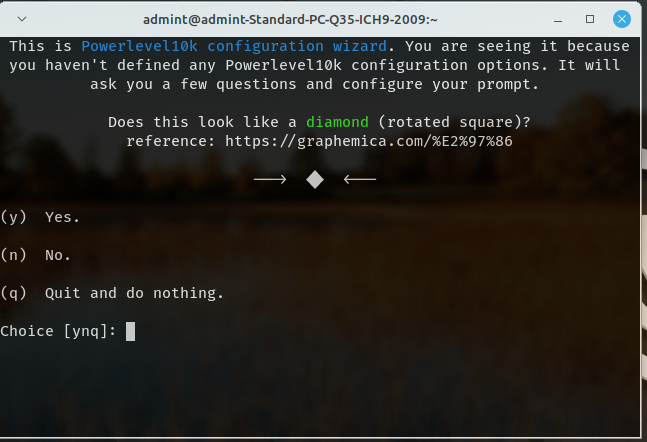
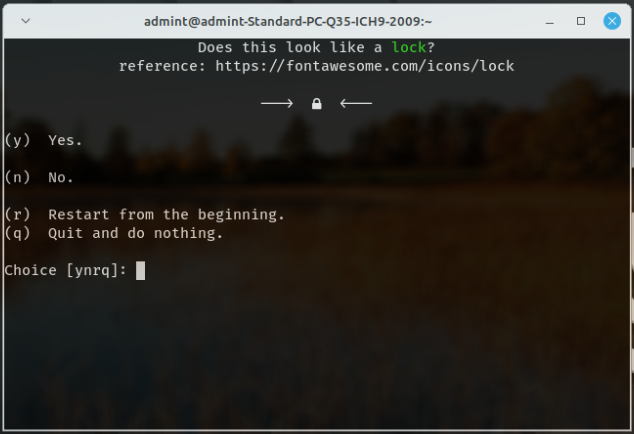
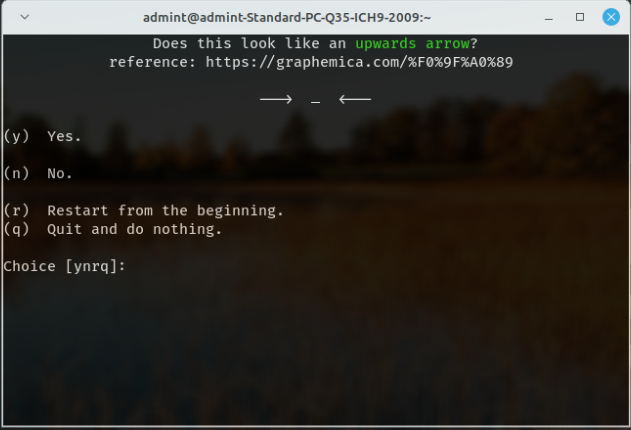
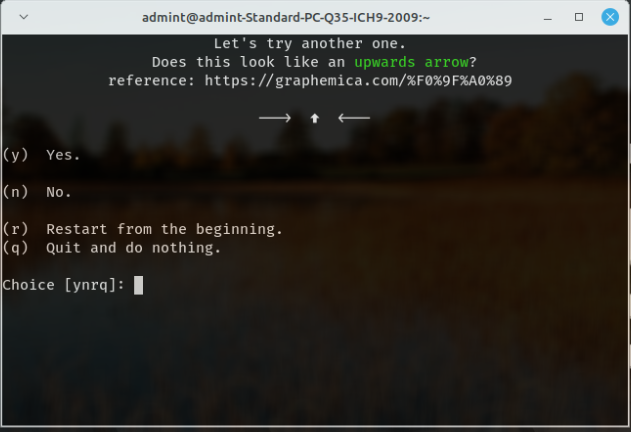
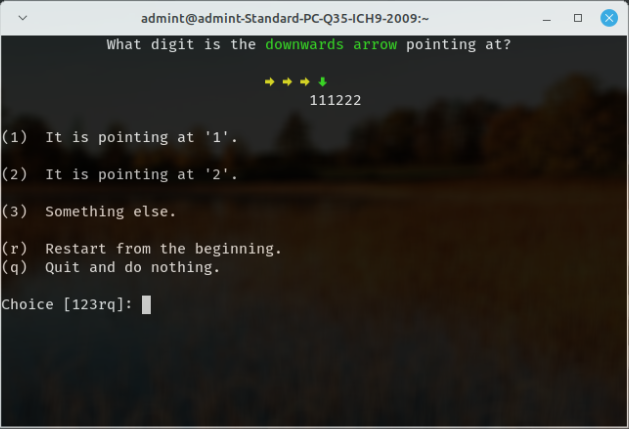
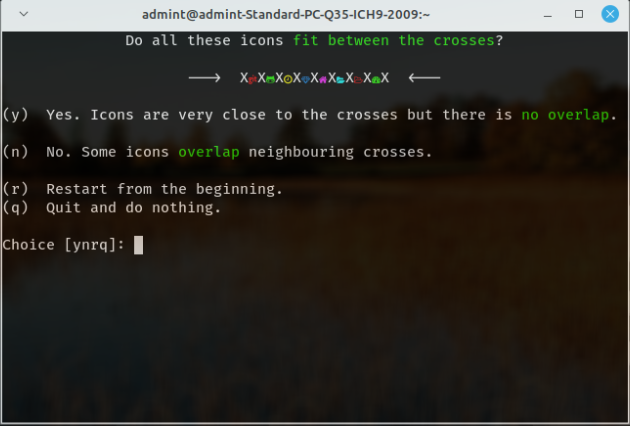
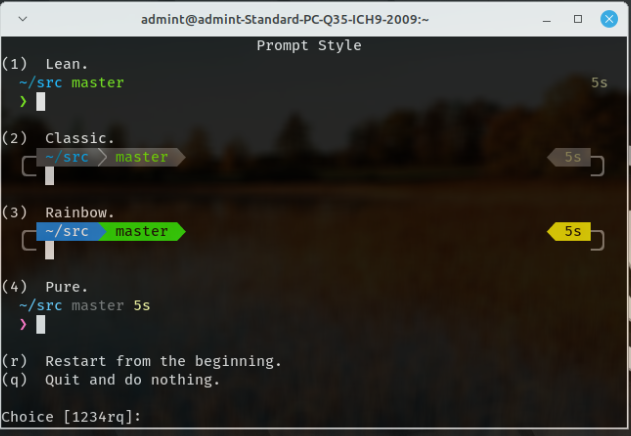
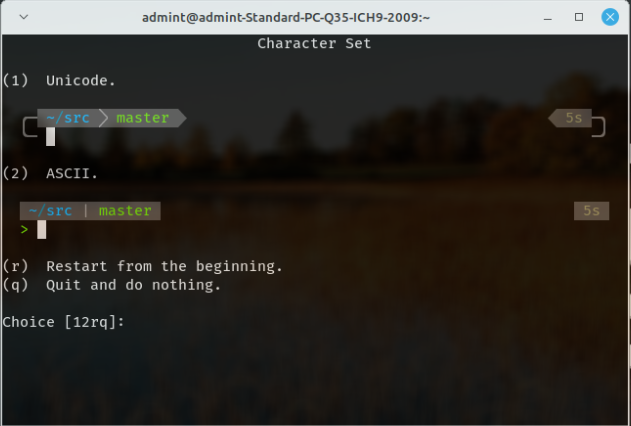
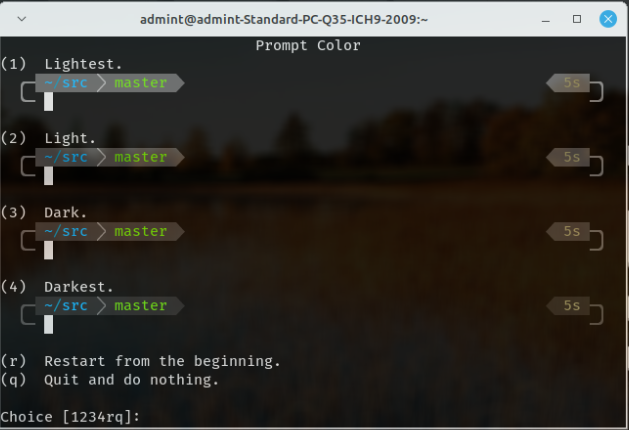
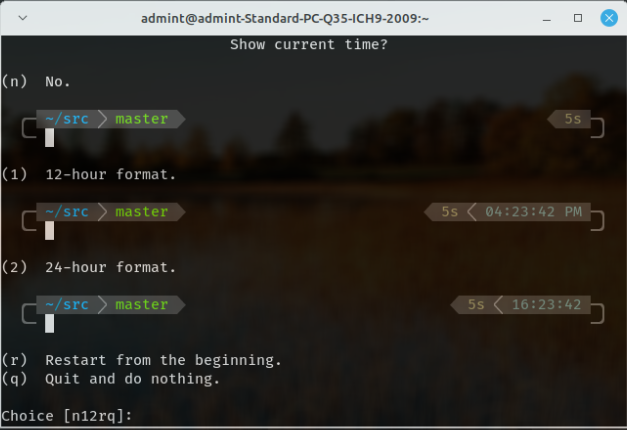
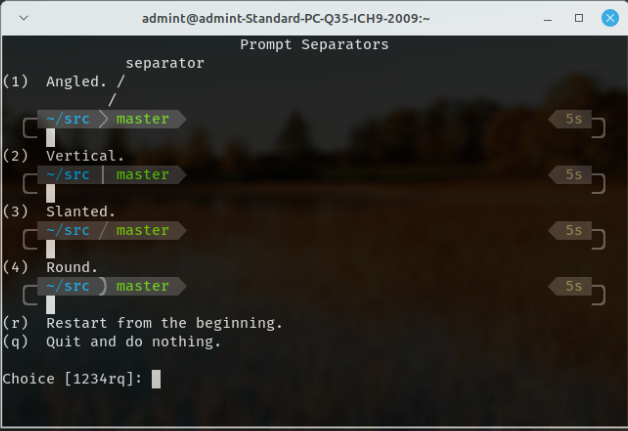
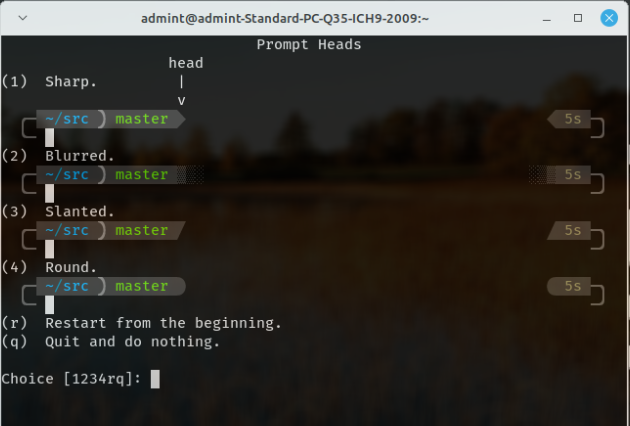
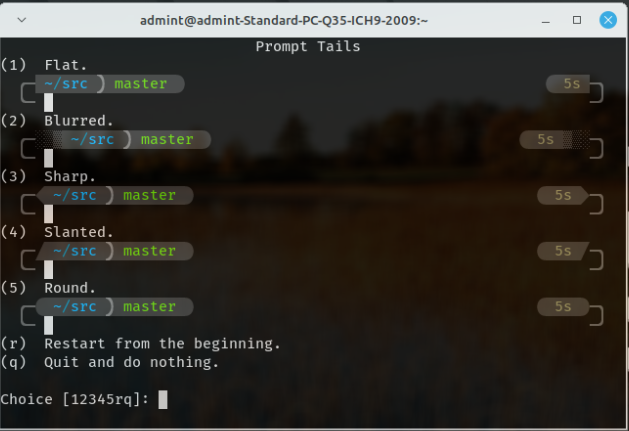
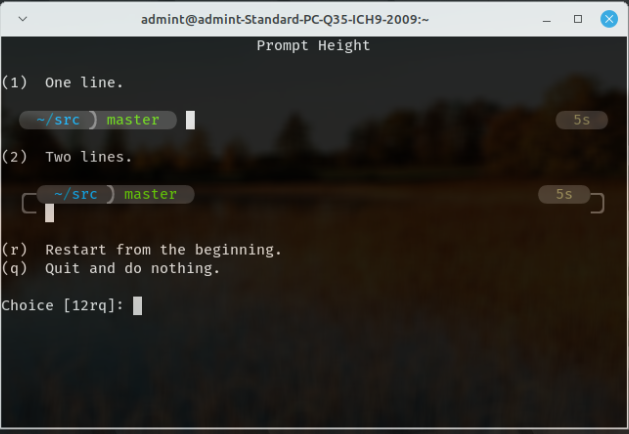
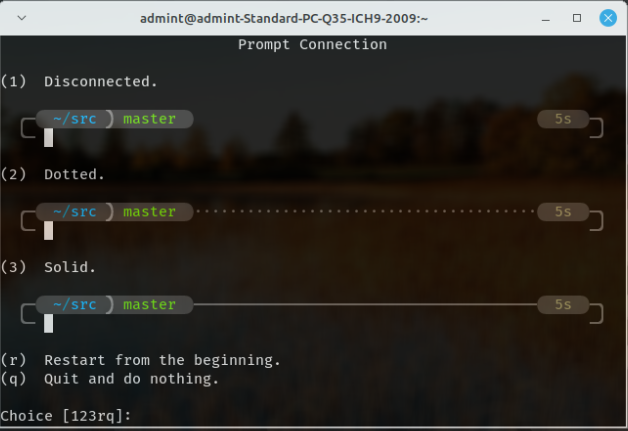
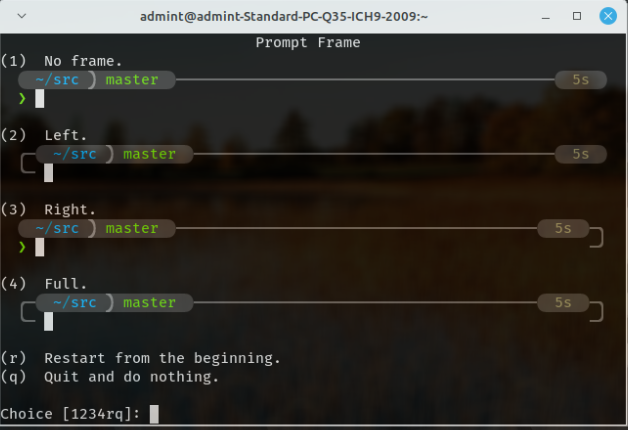
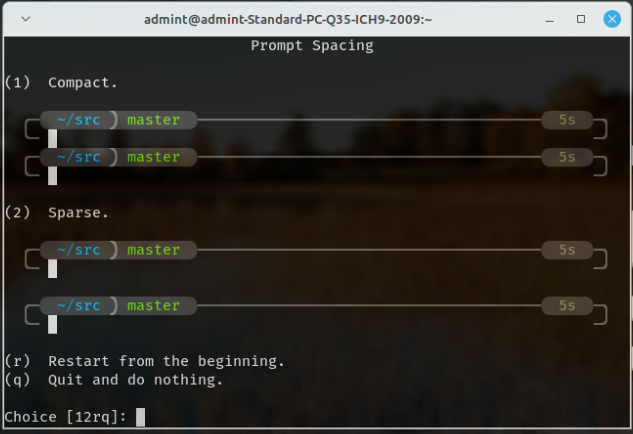
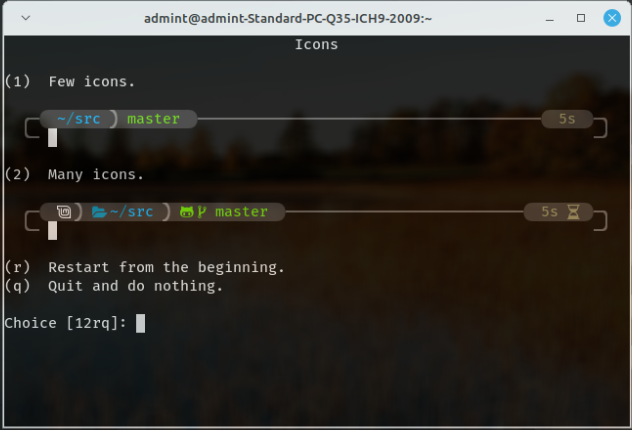
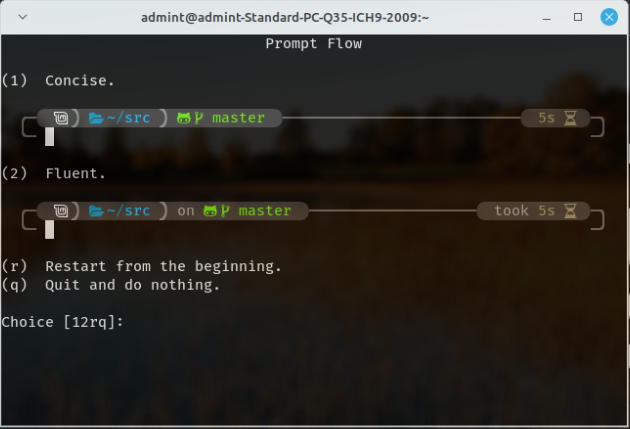
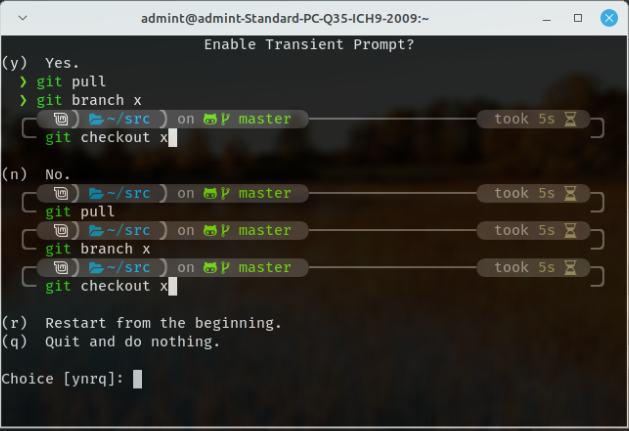
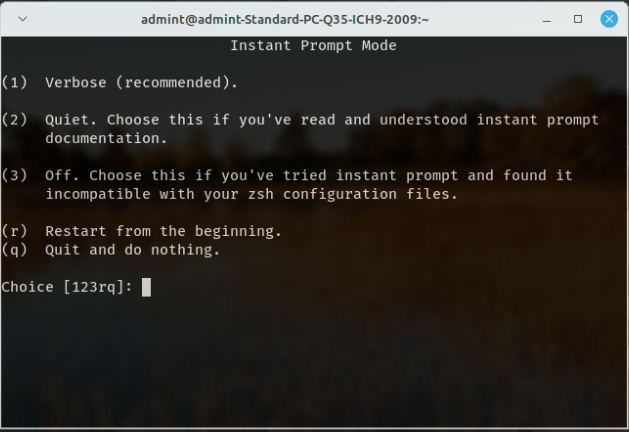
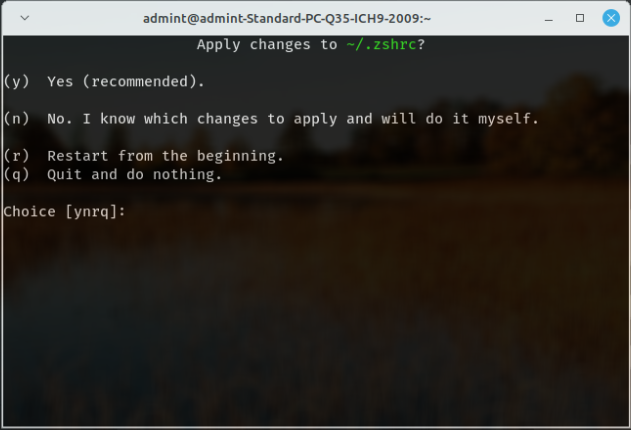
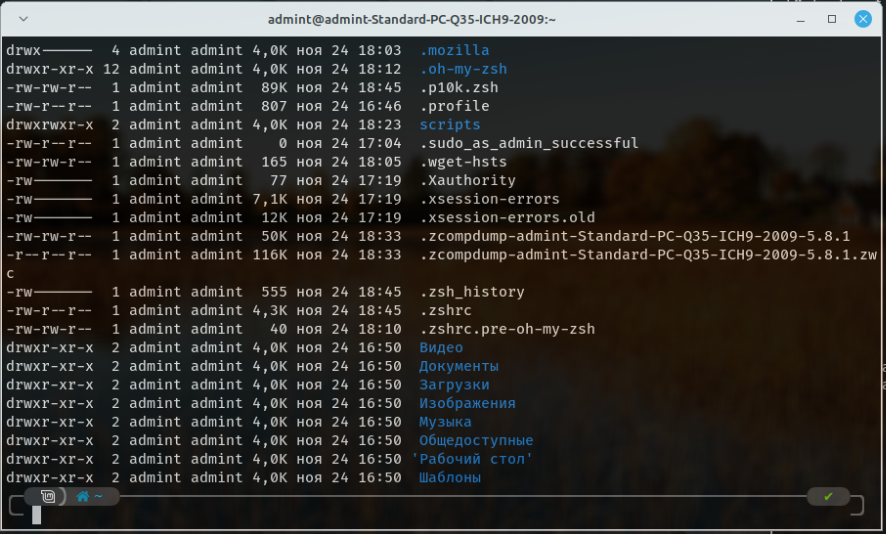
Then we follow the instructions for setting up our Powerlevel10k theme, everything is quite simple and transparent. For your convenience, I took step-by-step pictures of the window:

All the best!
