Python – making a Flask application in a local environment
Any application development on Python starts from the local environment. Let’s create a project (application or website) on a microframework Flask for its subsequent transportation to the server. An example will be given for Mac OS, but for Windows everything is about the same.
This material is from a series of articles on website development in python: from local development to deployment on a remote server.
First you need to update your python version through Homebrew.
Creating a Flask project
There are several programs for working with python IDE… I prefer PyCharm and further there will be examples with it.
You can create a virtual development environment through PyCharm or on your own. Below are 2 options.
a) Through PyCharm
Creating a project via PyCharm:
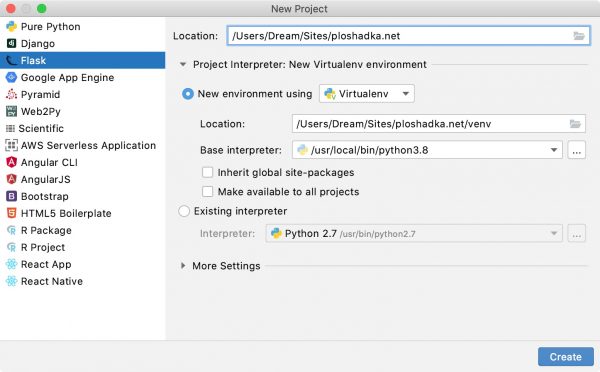
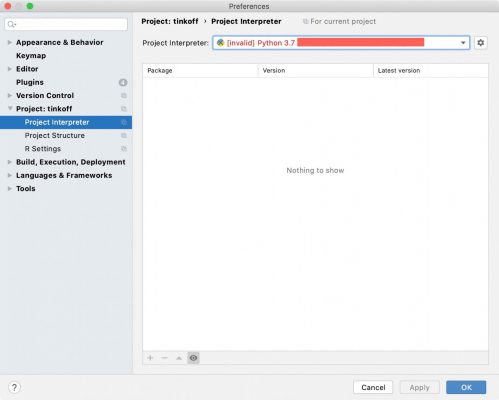
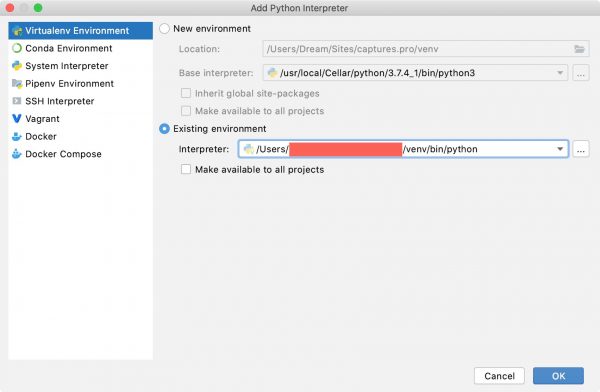
In this case PyCharm will install the interpreter itself. But sometimes you have to specify the interpreter yourself in the settings, because PyCharm may not see it. This happens after upgrading python to new versions.
In addition, in the process of creating a project on PyCharm, he himself will install the necessary files and dependencies for Flask…
b) Independently
Let’s create a virtual environment for python ourselves:
Let’s go to the virtual environment:
Updating the package management system pip:
pip install –upgrade pip
Next, in the PyCharm settings, select the interpreter of the installed virtual environment. The same must be done if we suddenly update the python version for our virtual environment.
Now install flask:
Install SQLAlchemy:
pip install Flask-SQLAlchemy
pip install Flask-Migrate
pip install psycopg2-binary
Learn more about how to integrate SQLAlchemy into Flask.
Install the uwsgi server. You will need it later in production:
pip install wheel
pip install uwsgi flask
Project structure
The project structure will be created automatically if a Flask project is created via PyCharm.
If manual creation was chosen, then create the following structure:
ploshadka.net
… app
.. __init__.py
.. models.py
.. templates
… venv (was created above)
… run.py (will run in local development)
… wsgi.py (will be used in production)
… config.py (configuration for connecting to the database)
… .gitignore (will be needed when we fill in git)
Inside the run.py file, write:
if __name__ == “__main__”:
app.run()
Inside the file __init__.py in the directory app:
from flask_sqlalchemy import SQLAlchemy
from flask_migrate import Migrate
def create_app():
app = Flask(__name__)
# Must be above db = SQLAlchemy (app)
app.config…from_object(‘config.DevelopmentConfig’)
# Later set in config.py
app.config[‘SECRET_KEY’] = ‘set of characters for the secret key’
return app
app = create_app()
db = SQLAlchemy(app)
migrate = Migrate(app, db)
File contents config.py will be added later in the article.