How to make a fiber optic LED lamp
I’ve done similar projects before, but this time I wanted to do something simpler, something that would be easy to make, and something that many of you could do. The “mechanical” parts of the lamp are 3D printed, the electronics are pretty simple, and the plastic optical fiber is eye catching. Now I will tell you how easy and simple it is to make such an LED lamp.
Step 1. Details, materials required
Many component pictures

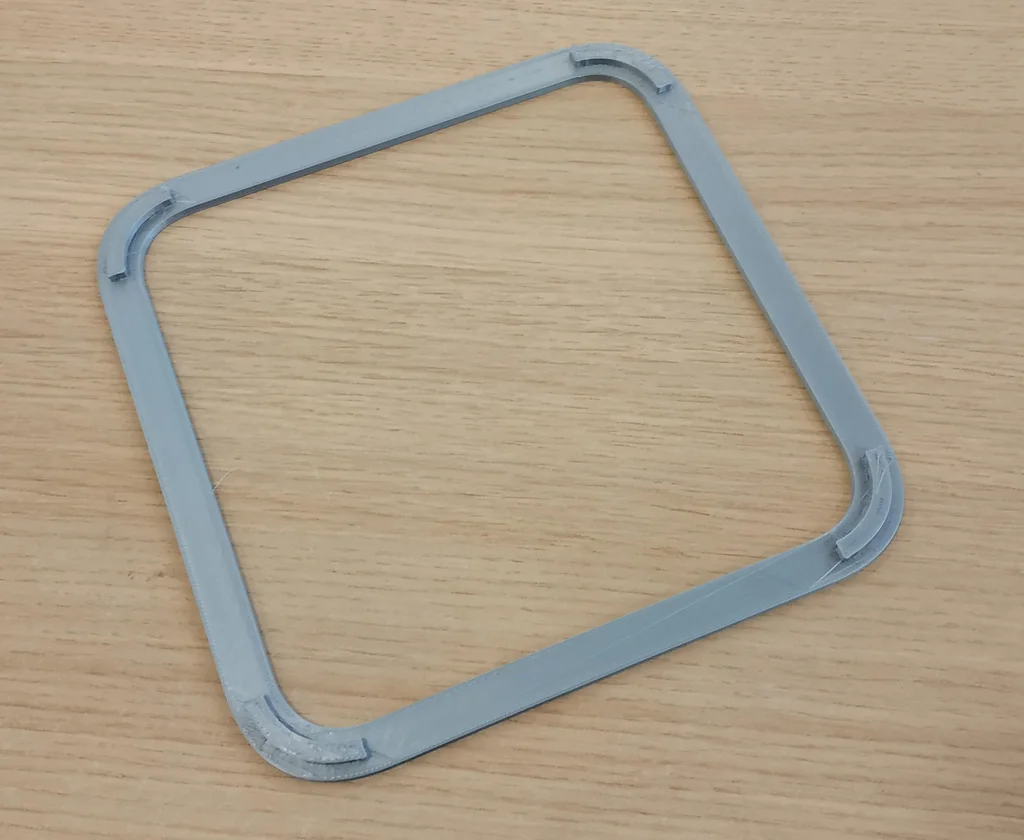


3D printed parts, tinkercad files;
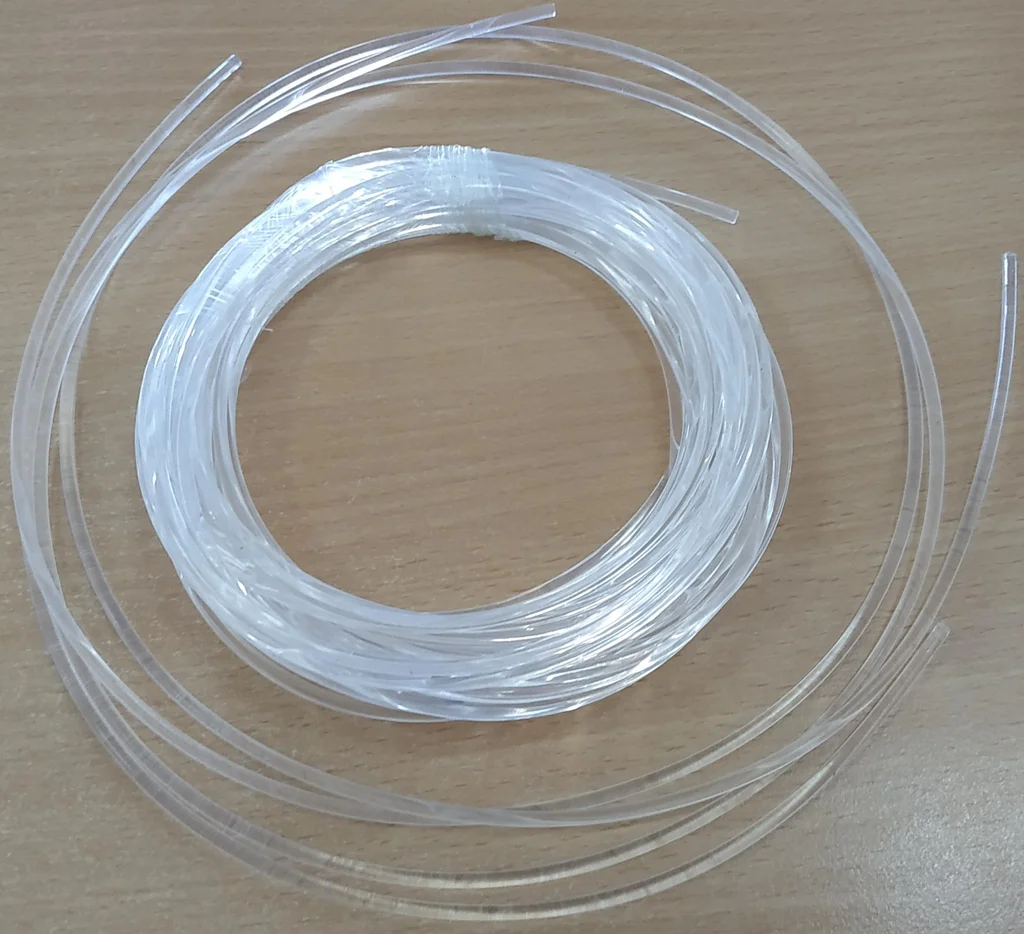
Side Glow Plastic Fiber… Thickness – 3 mm, length – about 5 m;
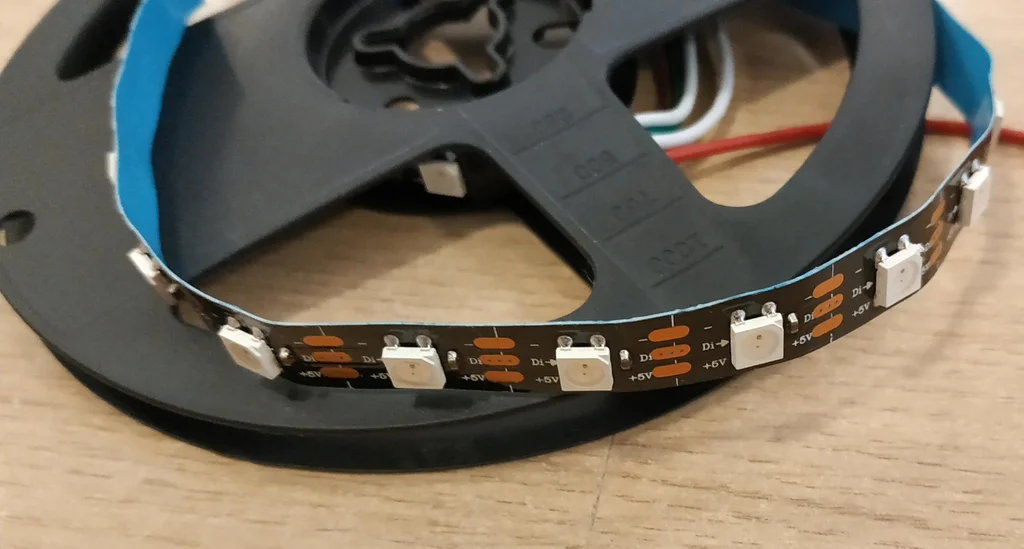
Addressable LEDs WS2812 (made of tape, 60 LEDs per 1 m) – 32 pcs.;
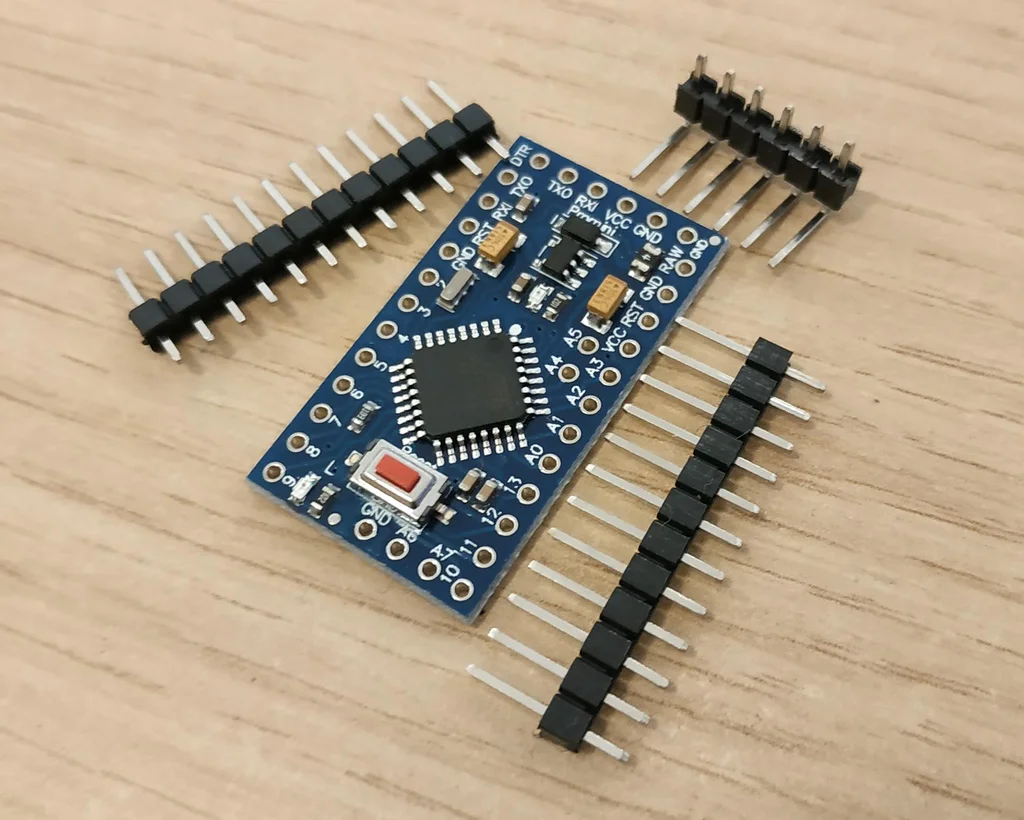
Arduino Mini Pro microcontroller 5 V – 1 pc .;
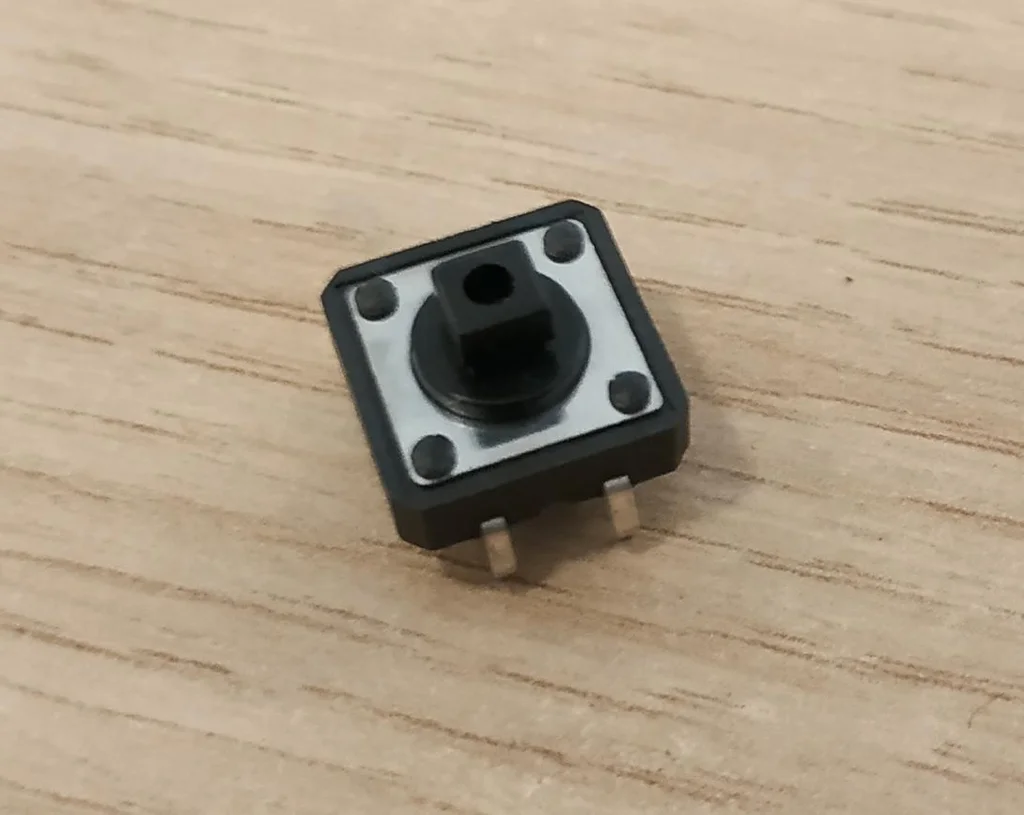
Push button 12x12x7.3 mm – 1 pc .;
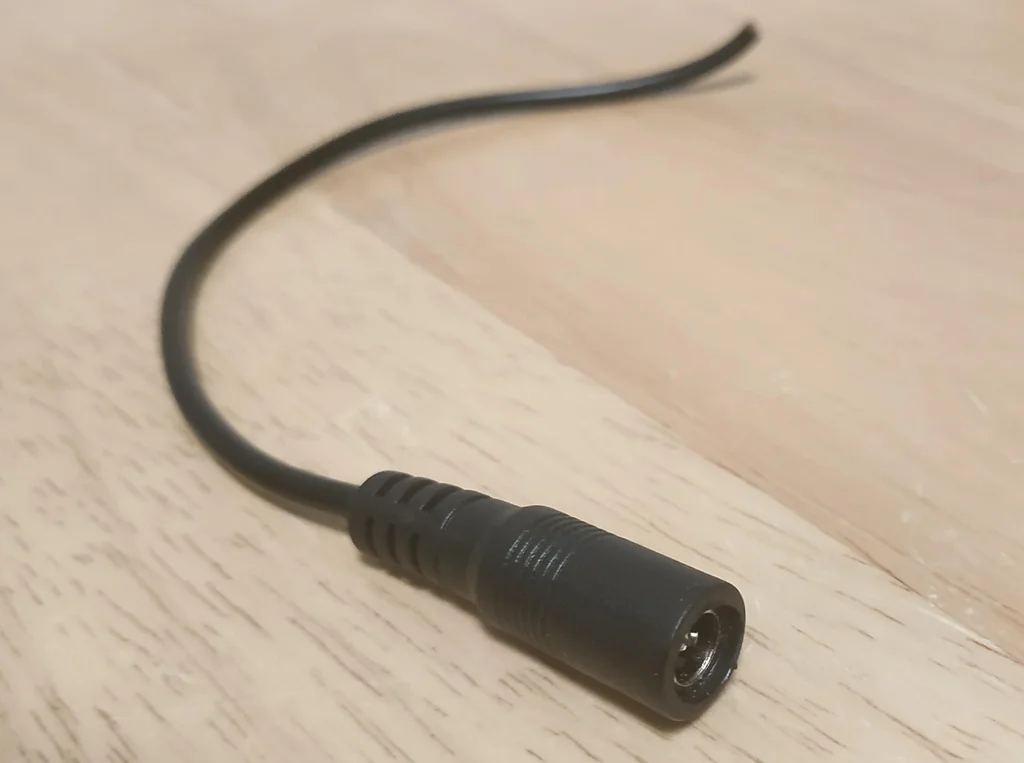
5V power cable with DC plug 5.5×2.5 mm – 1 pc .;
5V / 1A power cable with a 5.5×2.5 mm plug – 1 pc .;
And a little more on the little things: wires, heat-shrinkable sleeves for joints and glue for hot gluing.
If you have no experience with tinkercad, I attach stl files:
Step 2. Electronic circuit

As you can see from the figure, the device diagram is extremely simple.
Step 3. Build
Many assembly pictures
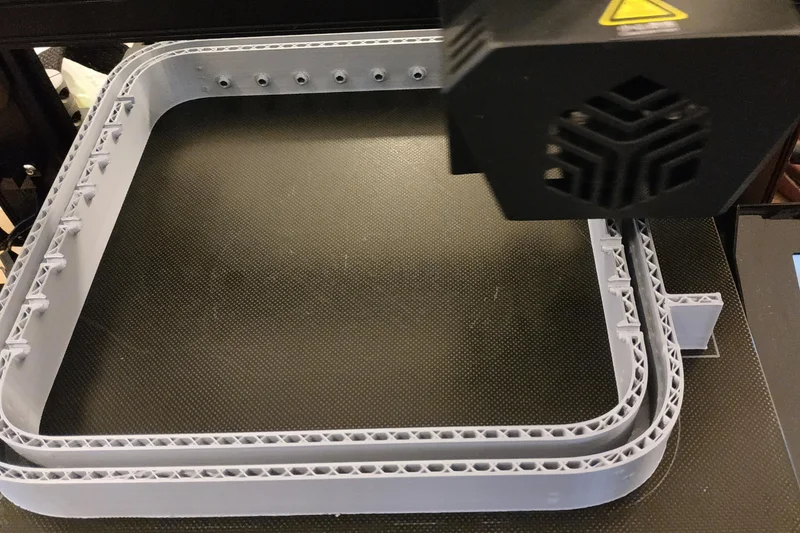

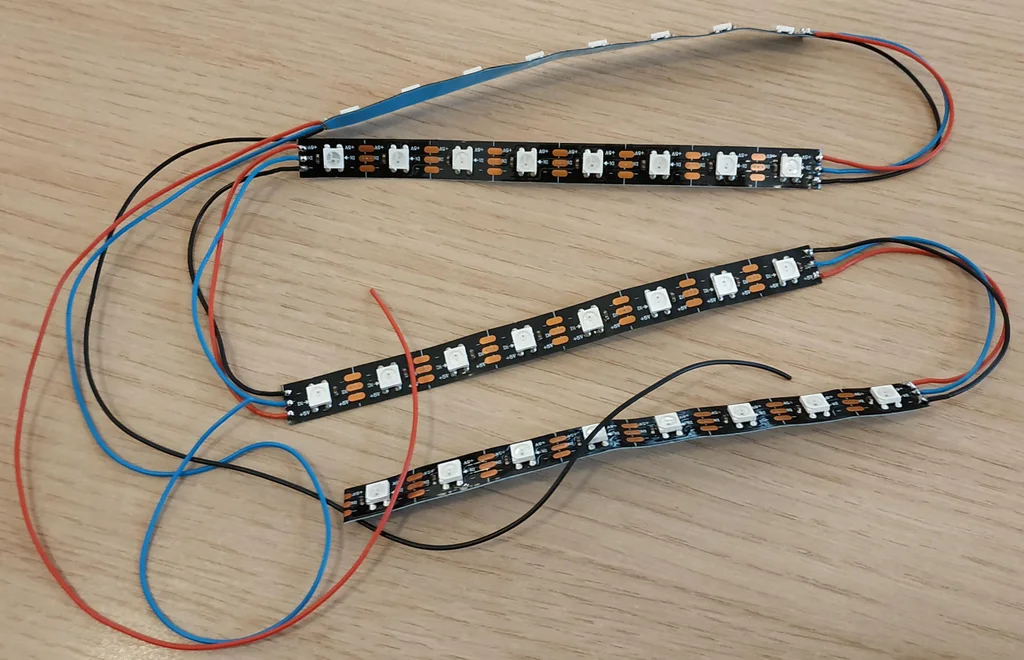


I started by 3D printing the components. The process itself takes quite a long time, so during the printing of the components, I was engaged in connecting the parts of the LED strip to each other. Before installing the soldered parts, it is advisable to check the correct operation of the LEDs in accordance with the instructions given in step 3 of the project “Fiber Optics & LED Lamps – Wall Decoration“(the only thing I have changed is – this is the DATA PIN value at 5 and NUM_LEDS at 32).
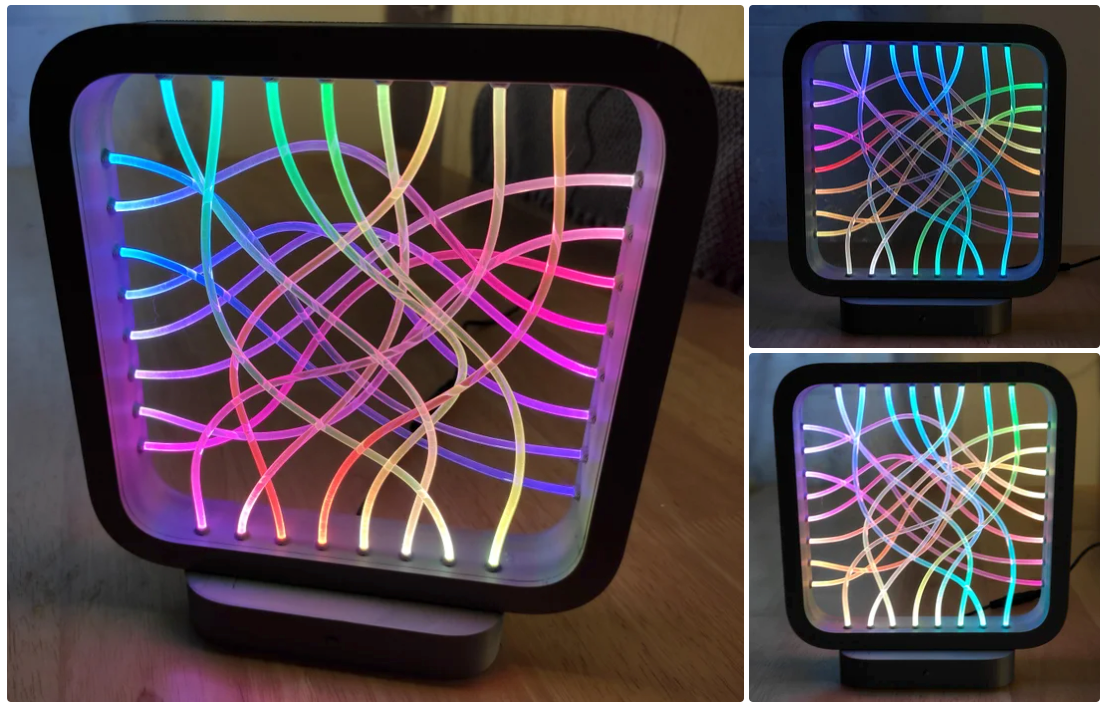
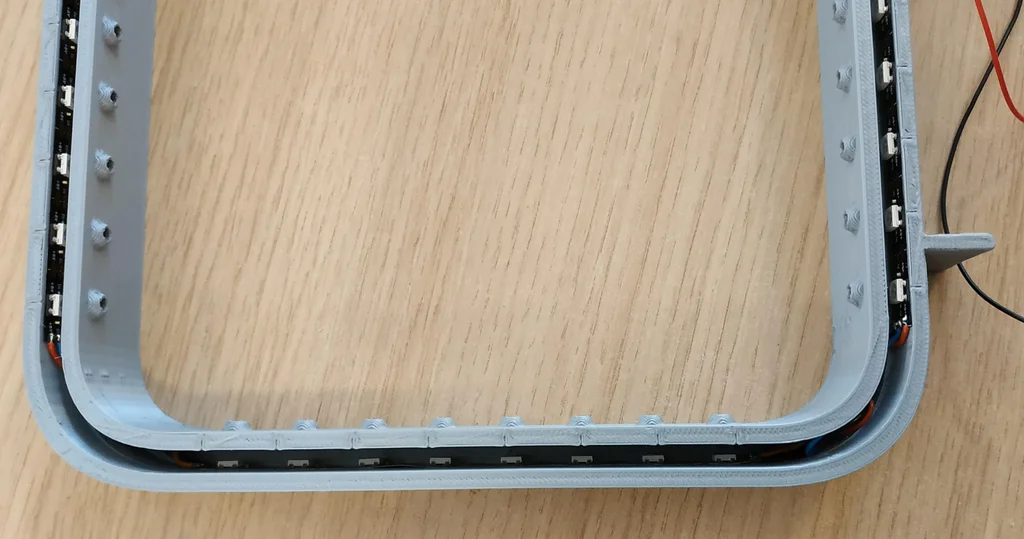
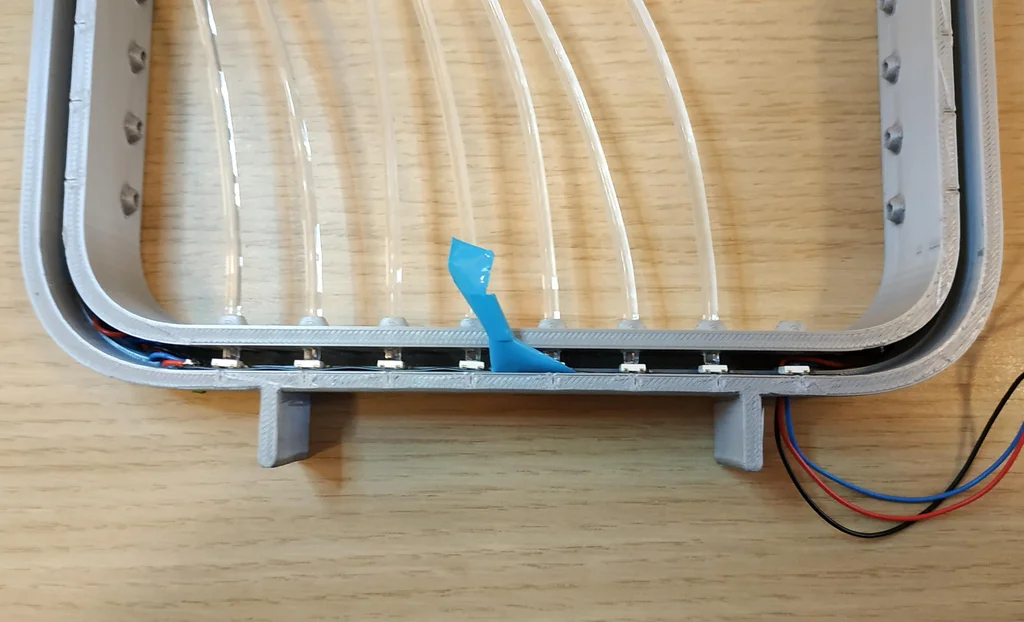
After the frame was printed, the most difficult part followed – installation and fastening in the channels of the lamp frame of four strips of LED strip with 8 LEDs in each. I slightly lifted the protective plastic of the self-adhesive layer of the LED strip and used several fiber optic ends inserted through the side holes for a more precise fixation. Then I carefully removed the protective layer and, pressing the tape to the frame, secured it. The photos above show these operations in detail.
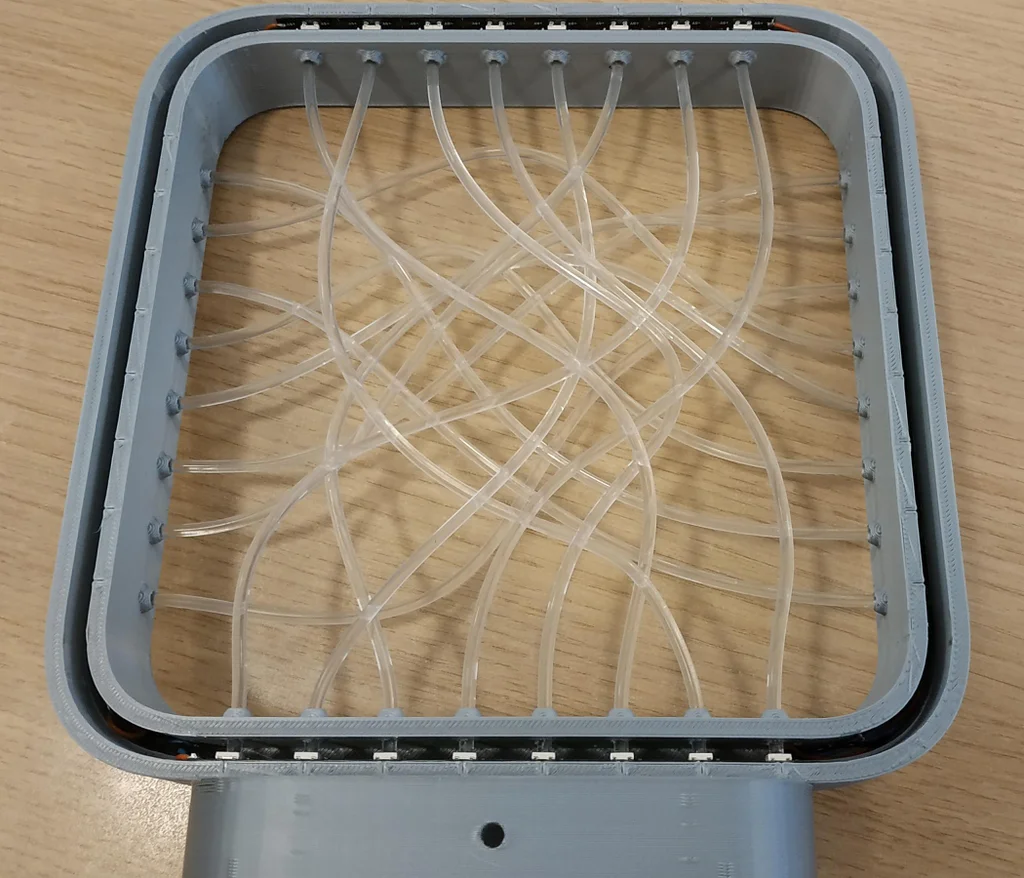
After this procedure, I inserted several pieces of plastic fiber into the side holes. I cut out the pieces as perpendicularly as possible using the same pattern as in the project. “Fiber Optics & LED Lamps – Wall Decoration“. It turned out 8 pieces of fiber, a total of 16 pieces of different lengths connect pairs of holes located at the same distance from the sides of the lamp frame (see photos above).
The rest of the connections I made in accordance with the electronic circuit, then I installed the lamp support and fixed it with a lot of hot glue, I also attached the push button with hot glue (this must be done after installing the push pin), then in the appropriate place supports fixed the Arduino Pro Mini module. That’s all!
Step 4. Software

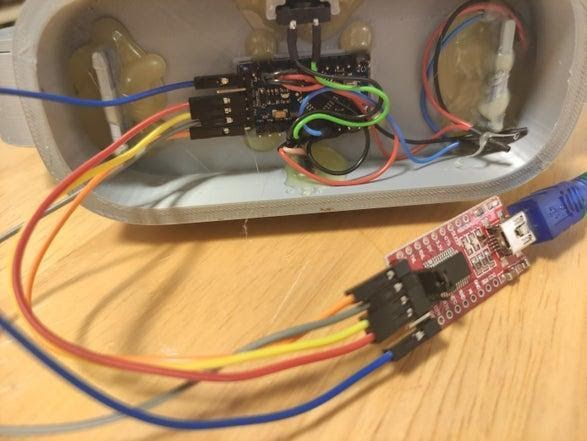
The last step in making a lamp is to download the program to the Arduino microcontroller. As you can see from the photos above, I used a USB to serial adapter with an FT232RL chip attached. Naturally, you can download the code using other adapters from the USB port to the serial port. There are many articles on the internet about programming techniques for the Arduino Pro Mini module.
The source code of the program can be downloaded from here: github…
A few words about the program …
The lamp operates in three main modes that can be selected by double-clicking the button: solid color (with a “breathing” effect), palette mode, and effects mode. A single press of the button in the solid color mode selects various colors (9 colors) also with the “breathing” effect, in the palette mode several color palettes are selected, which can be found here: PaletteKnife for FastLED, and in effect mode, selectable … yes, you are right, effects 🙂
The program is adapted codes from FastLED Breath to create a “breathing” effect, codes from palettes with button control to create different color palettes and codes from DemoReel100 with button to create effects. In order to put the Arduino Pro Mini module into sleep mode by double clicking on the button, I used the instructions from the following articles… This double-click also saves the current operating mode and the settings for each operating mode.
I used the following external libraries (the sleep.h and EEPROM.h libraries are already built into the Arduino module): FastLED and ArduinoMultiButton…
Step 5. Using the lamp
How to use the lamp is shown in the video below.
Step 6. Some conclusions
I must admit that I made this lamp for myself, as I wanted to get something unusual in the end.

I put the lamp on the bedside table, used it for a few days, and loved it. I am very pleased that the lamp performed so well in the end. However, perhaps in the future I will make some changes to its design …
For example, in color palette mode, I would slightly lower the brightness or choose color palettes with lower brightness. I would also add a number of effects. For example, add a noise effect or power the LED strip through a MOSFET transistor, thereby reducing the power consumption of the lamp in sleep mode. Now, if I turn off the lamp by double pressing the button, it consumes about 30 mA, in working mode it consumes a maximum of 400 mA.
Thank you for reading and happy crafting!

Find out the detailshow to get a Level Up in skills and salary or an in-demand profession from scratch by taking SkillFactory online courses with a 40% discount and a promotional code HABR, which will give another + 10% discount on training.
Other professions and courses
PROFESSION
COURSES