Exploiting a buffer overflow in a simple TCP server
Hello to all binary developers and people who want to practice exploiting a buffer overflow vulnerability. We come up with various attack scenarios for our cyber training ground and saturate it with various misconfigurations and numerous vulnerable software for training the “blues” and “reds”. And the software discussed in this article is just one of these. In this article, we will walk through the entire process from identifying a vulnerability to obtaining a reverse shell from a compromised host.
Especially for this example, I compiled a vulnerable TCP server that accepts connections on port 3301 (Cicada?).
What we need:
Attacked vehicle. Laba based on Windows 7 (I took it so as not to run a vulnerable server on the main OS).
Debugging tools (Immunity Debugger, mona.py (github.com/corelan/mona) is a Python script that can be used to automate and speed up certain searches when developing exploits).
Vulnerable TCP server (you can download from my Github).
Kali Linux attack machine.
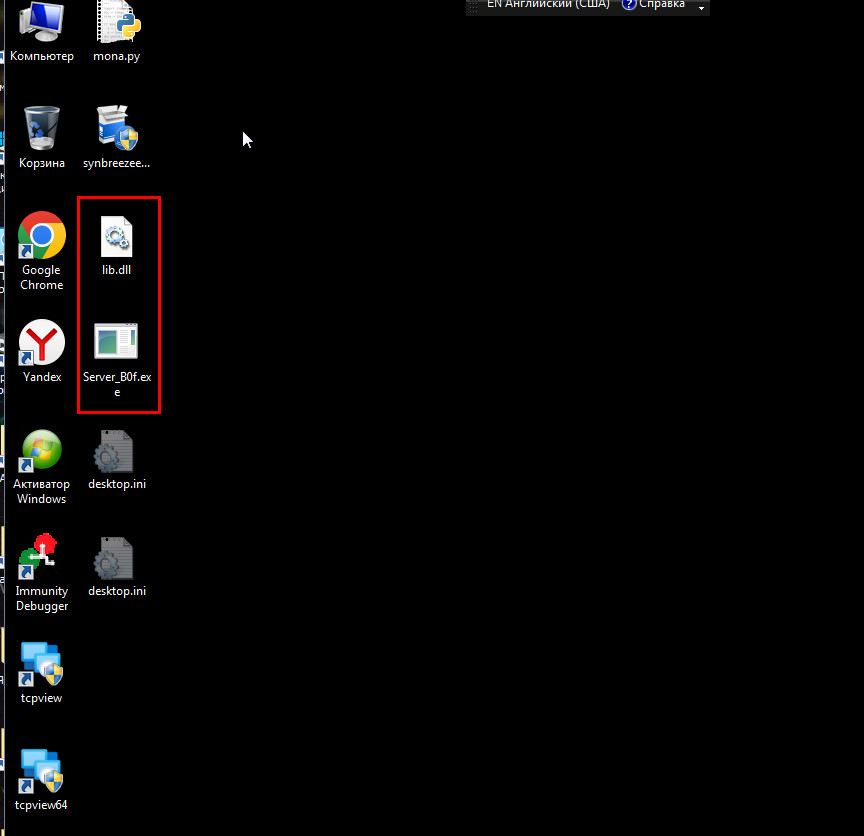
Our server consists of two files: Server_B0f.exe And lib.dll.
Let's run it:


To simulate the “blackbox” format, let’s scan our target host from a Kali attack machine:

Make sure that port 3301 is open and accessible. Let's start connecting:

After entering the HELP command, we see a list of commands that we can use. Now we need to determine which of the commands can cause an overflow. To do this, we will use the fuzzing technique. Fuzzing (English) fuzzing) is a software testing technique, often automatic or semi-automatic, that involves providing incorrect, unexpected, or random data as input to an application.
We will use a 3000 character argument in each command. For example, the characters “A”. Let's write a small script in Python:

When checking each of the commands, it turned out that the passed argument was 3000 characters long in the command BRUN caused the server to crash:

Now let's restart the server, open the debugger, attach to the process and run our script again:


We see that the EIP register has been overwritten with the characters “A”. Thus, with the help of a simple fuzzer, we were able to detect a vulnerability in the application! When an overwrite occurs, it results in a stack overflow. We'll use this to trick the CPU into executing whatever code we want.
Now we need to find a place for our shellcode. Our next step will be to determine the 4 bytes that overwrite the EIP register. To do this, we will send a unique string instead of the A's, which we can generate with the following command:

Let's modify our script by inserting the previously generated line:

Restart the server and run the script:

In EIP we see a new value – “43 396F43”. Let's use the command msf-pattern_offsetto determine the offset in our string:

Great! The offset is 2007 bytes. To make sure that we control the EIP register, let's rewrite our exploit code as follows: we will try to overwrite the EIP with 4 “B” bytes, and also pad the remaining “C” bytes:

Let's run the exploit:

Great! We also see that the ESP register points to the beginning of the “C” buffer, which we placed in the payload immediately after the 4 bytes of “B”.
At the moment we have control over the EIP register. Our next task is to find a way to redirect the execution flow to the shellcode located at the memory address pointed to by the ESP register at the time of the crash. The most intelligent approach is to try to replace the B characters that overwrite the EIP with the address that appears in the ESP register at the time of the failure. However, as we have already said, the ESP value varies from failure to failure. Therefore, hardcoding a specific stack address will not be a reliable way.
We can store our shellcode at the address pointed to by the ESP, but we need a way for that code to be executed. One solution is to use the JMP ESP instruction, which, as the name suggests, “jumps” to the address specified in the ESP when executed. If we can find an address containing this instruction, we can forward EIP to that address and the JMP ESP instruction will be executed at the time of failure. This transition will bring the flow of execution into our shellcode. Many libraries on Windows contain this commonly used instruction, but the addresses used in the library must be static, which excludes libraries compiled with ASLR support. And the instruction address should not contain any “bad” characters that could break our exploit (we'll talk about them a little later), since the address will be part of our input buffer.
P.S. To simplify the task, I disabled ASLR and DEP at the system level. Bypassing ASLR/DEP is a separate topic that deserves a separate article.
So, first we will query information about all the DLLs loaded by our vulnerable server into process memory using the “!mona modules” command:


We find lib.dll (this file is located next to Server_B0f.exe). Let's try to find JMP ESP in it:


Let's select, for example, the JMP ESP instruction at address 0x62501559. Let's go to the address and make sure that the instructions exist:

Let's update our exploit and rewrite the EIP address of the JMP ESP instruction in Little endian format:

PS Typically, the format used to store addresses in memory depends on the architecture of the operating system. Little endian is currently the most common format used in the x86 architecture.
Let's run the exploit and make sure that we have correctly overwritten the EIP register:

Our next step will be to check for the presence of “bad” symbols. Depending on the application, the type of vulnerability, and the protocols used, there may be certain characters that are considered “bad” and should not be used in our transmitted buffer or shellcode. One example of a common bad character is the null byte 0x00. This character is considered bad because the null byte is also used to terminate a string in low level languages such as C/C++. This will cause our buffer to be trimmed at the first zero byte it encounters. To check for “bad” characters, we will send characters 01 through FF (excluding 00 since we have already determined that it is “bad”) to the application and manually check the results in the debugger.

Let's restart the server, connect the debugger and set a breakpoint (F2) on the previously found JMP ESP instruction:

Let's run the exploit:

As we can see, no symbols are distorted in the debugger.
Let's move on to generating shellcode and updating our shellcode. To generate the shellcode, we will use the msfvenom command. We will use a Meterpreter payload and specify the IP address and port of our listener. The standard exit method in Metasploit shellcode after execution is the ExitProcess function. This method will terminate the entire service process. We can try to avoid this by using ExitThread, which will terminate only the affected program thread. This will allow our exploit to work without interrupting the normal operation of the vulnerable server. We will indicate “0×00” as a “bad” symbol (since no others were found). We will also encode our payload and for this we will specify the “xor_dynamic” encoder (XOR encoder with a dynamic key size):

Our shellcode was 421 bytes.
Let's update our exploit with the addition of NOPs (to be sure, we'll add 32 NOPs, maybe less):

Due to the encoding (in our case, xor_dynamic), the shellcode is not executable and is therefore supplemented with a decoder stub. The job of this “stub” is to decode the bytes into their original executable form. In our case, the shellcode uses encryption, and the decryptor needs to obtain the absolute address of the encrypted part. GetPC code is used for this. GetPC code (Get Program Counter) is a code that calculates its location in the address space of the executing process:

The GetPC routine ends up corrupting at least a couple of bytes close to the address pointed to by the ESP register. Unfortunately, this small change in the stack is a problem for us because the decoder starts at the exact address that the ESP register points to. In short, executing the GetPC procedure causes several bytes of the decoder itself (and possibly the encoded shellcode) to change, ultimately causing the decoding process to fail and the target process to crash.
One way to solve this problem is to create a wide “landing area” for our JMP ESP. So when the execution lands anywhere on that pad, it goes to our payload. This may seem complicated, but we simply preface our payload with a series of No Operation (or NOP) instructions that have an opcode value of 0x90. As the name suggests, these instructions do nothing but simply pass execution to the next instruction. This allows the processor to “slide” through the NOP until the payload is reached.
Now our exploit is completely ready. Let's run a listener to receive a return shell from the target host:

And let's run the exploit:
")
Great! We created a fully working exploit for the buffer overflow vulnerability from scratch and got a reverse Meterpreter wrapper!
Thank you all for your attention! We will also be glad to see you at our penetration testing course! If you read to the end, I think it won’t be difficult to find! 🙂
All scripts used in the article will also be in archive with a vulnerable server!