Elementary, Watson: you integrate with Voximplant

Work with natural languages (NLU, NLP) is a zone of active competition between IT giants. As well as the development of AI. Well and, accordingly, the intersection of these sets is also a hot niche, for which it is interesting to observe and master the new. Voximplant has long made friends with Google Dialogflow, and it’s so good that we made a wrapper for this integration – Dialogflow Connector. IBM has a counterpart, Watson-based Voice Agent, which performs the same task — automate flexible, adequate communication with the customer to replace the classic IVR. We tried the technology on a simple demo and today we will step by step tell you how to do the same. In the meantime, you will read this, our developers will continue to make a wrapper already for this integration …
What do we do?
No rocket science – let's create the simplest bot we will call, he will say hello, will offer two options to choose from: one will ring the conversation, the other will finish the conversation and the bot will say goodbye. Nuance: at the time of this writing, Watson only supports four languages - English, Arabic, Portuguese and Chinese (simplified) – so the demo will be in English as the most familiar of them.
Resource creation
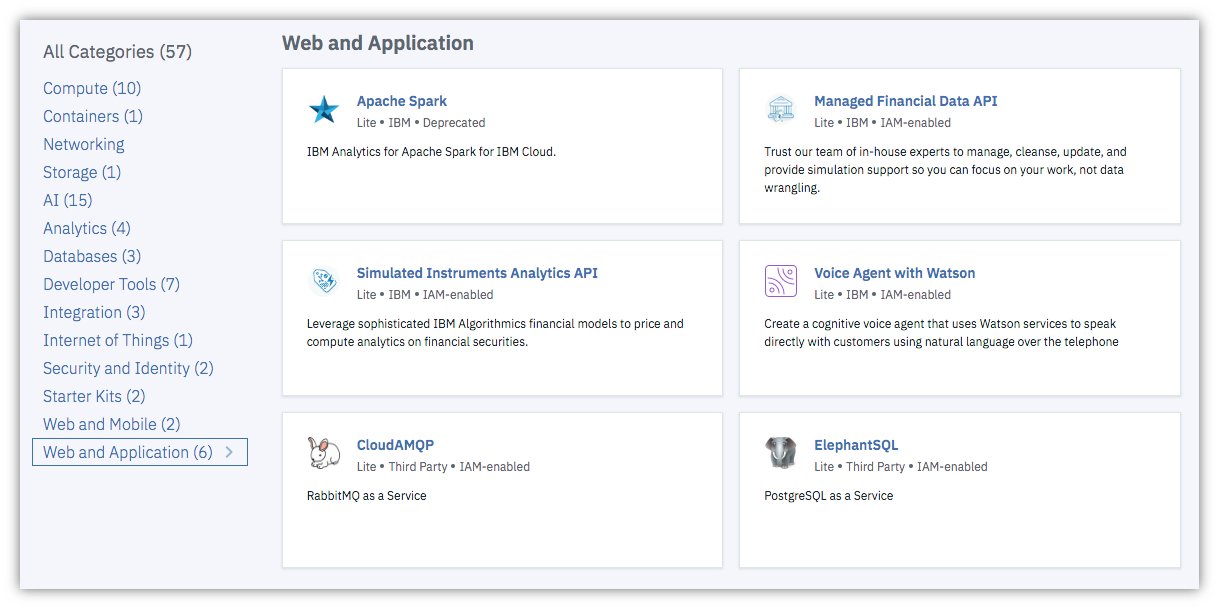
If you do not have an IBM Cloud account, register here. Log in to the account, in the upper right corner click on Create resource, the resource directory will open. On the left, select the Web and Application category, then on the right side of the screen click on Voice Agent with Watson.
You can leave all the default fields (Service Name, region, etc.) – at the bottom of the screen, click Create and go make tea (this is a joke, because the IBM Cloud does not always turn over quickly). When the resource is created, you will be taken to the dashboard of this newly created resource; Here you will see the name of the resource, location (Washington, DC), as well as the resource management menu – it is located on the left. Soon we will need the Manage item from this menu, but first we need to buy …
Voximplant Room
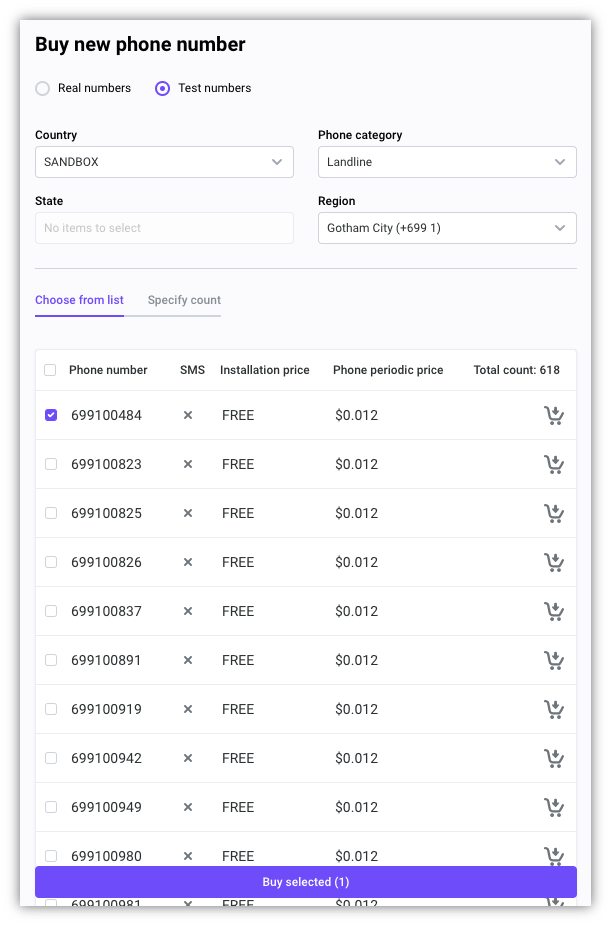
The agent needs a number to which he can be reached. To do this, go to the Voximplant panel, the Numbers section -> My Phone Numbers, in the upper right corner click on Buy new phone number. A virtual number is suitable for our purposes – check the Test numbers box, check one number from the list and at the bottom click on Buy selected, then click on Buy in the window that opens.
You will immediately see this number in your list of numbers. Copy it and return to IBM Cloud, to the Voice Agent with Watson resource.
Agent creation
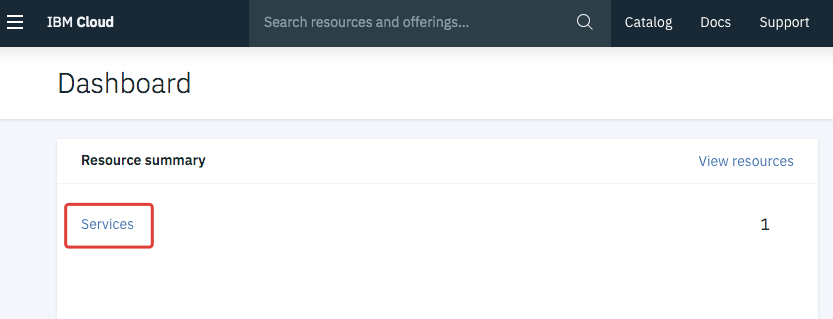
Council If you closed the tab with the resource, here's how to quickly open the resource from the main page. On dashboard cloud.ibm.com click on the word Services, a list of current resources of your account will open.
In this case, the Services group will already be deployed and the Voice Agent is visible in it. Click on it – hooray, you again opened the desired resource.
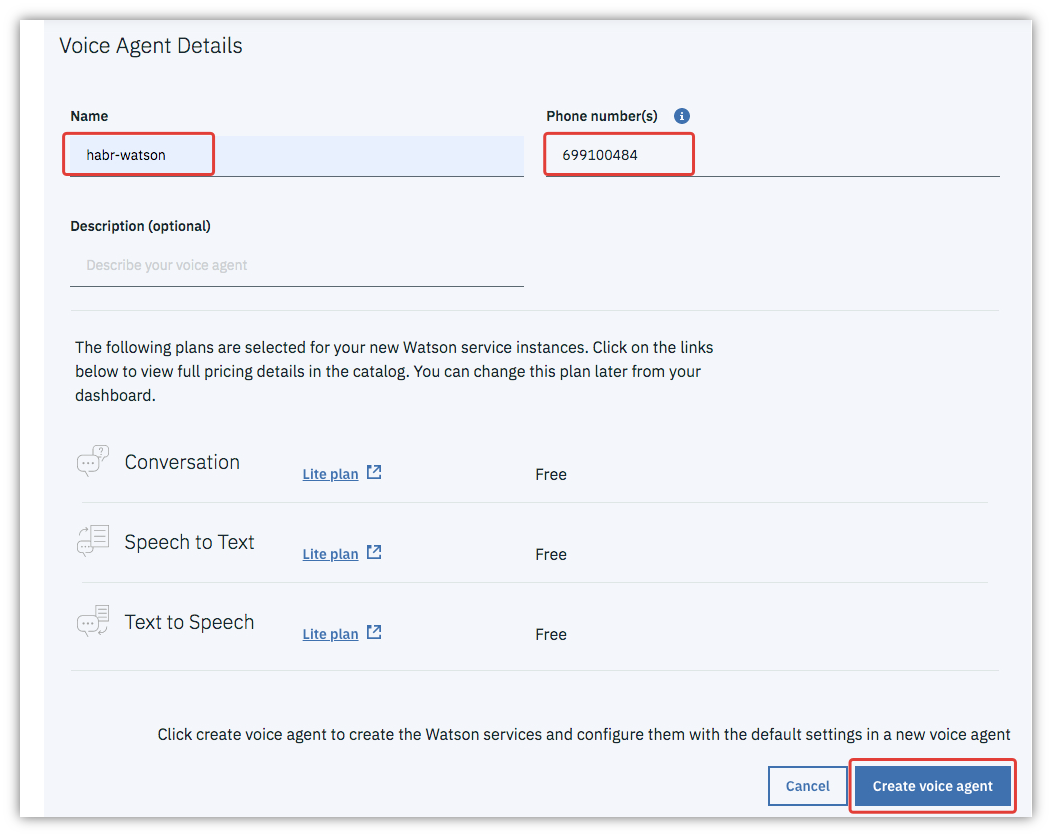
In the left menu, select Manage, then on the right side of the screen, click the Create a voice agent button. Enter the name of the agent and insert the purchased virtual number, scroll down – Create voice agent.
IBM Cloud will think a little and show a message about the successful creation of the agent and 3 nested services. Great, now you need to teach the agent how …
Talking to leather bags
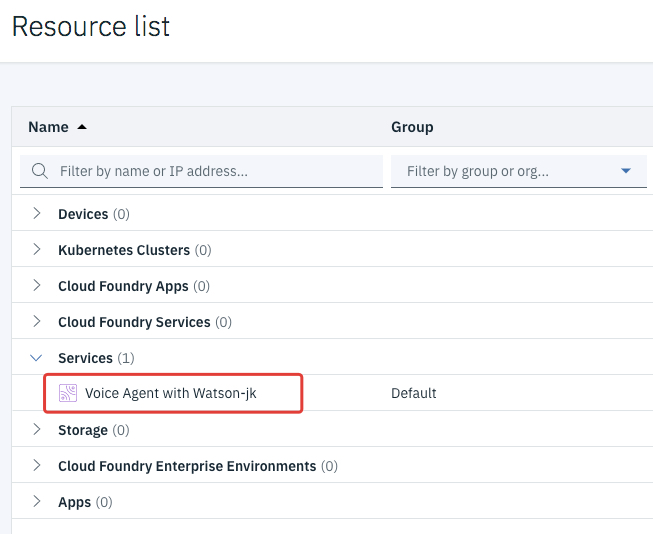
In the upper left corner click on the hamburger icon, select Resource list. In the resource list, select VoiceAgent-WatsonAssistant (lower in the list). In the dashboard, click the Launch tool. The Watson Assistant Control Panel opens. At the top, select the Skills tab. You will see that VoiceGatewayConversation is already there, a set of phrases and a dialogue flowchart that the wizard added when creating the agent. You can use this skill, but for the sake of interest, we offer to create your own.
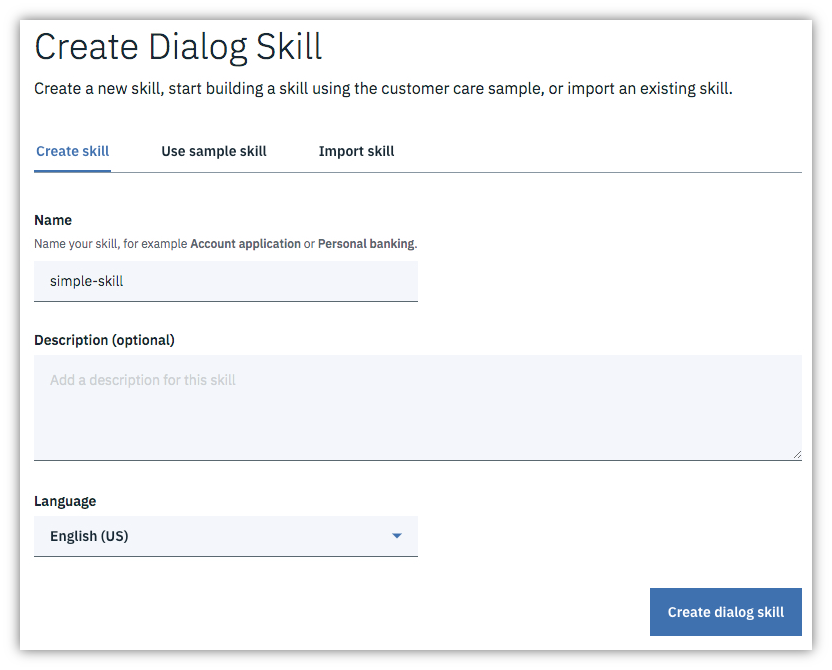
To do this, on the Skills tab, click Create skill. Call it simple-skill, leave the language English (US), click Create dialog skill.
Inside the skill you will need three tabs:
- Intents – the intentions of the client. In fact, these are phrases and their variations;
- Entities – recognition keywords and their synonyms;
- Dialog – a dialogue flowchart.
On the Intents tab, add the statement #whatcanido and list several options for it (“What can I do?”, “Show me the options”, etc.).
On the Entities tab, add:
continue with synonyms “go on”, “continued”;
options with synonyms “options”, “option”, “choices”;
stop with the synonyms "stopped", "quit".
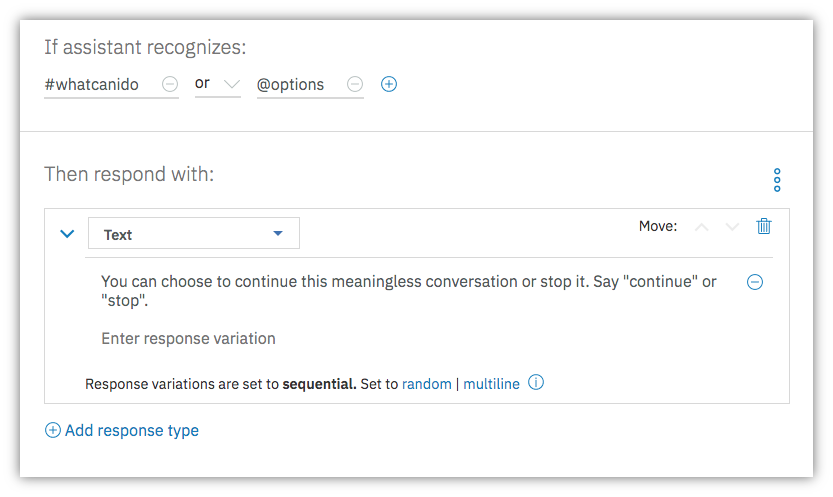
On the Dialog tab, click Create dialog, the Welcome and Anything else blocks will appear. Open Anything else and set the settings as shown in the screenshot (text: "You can choose it. Say" continue "or" stop "."). Please note that in the recognition condition we have added not only an intent, but also a keyword for safety.
Then click on the three points on the Anything else block, select Add child node, create a continue block. Create inside Anything else. Create another child block – stop. Block settings:
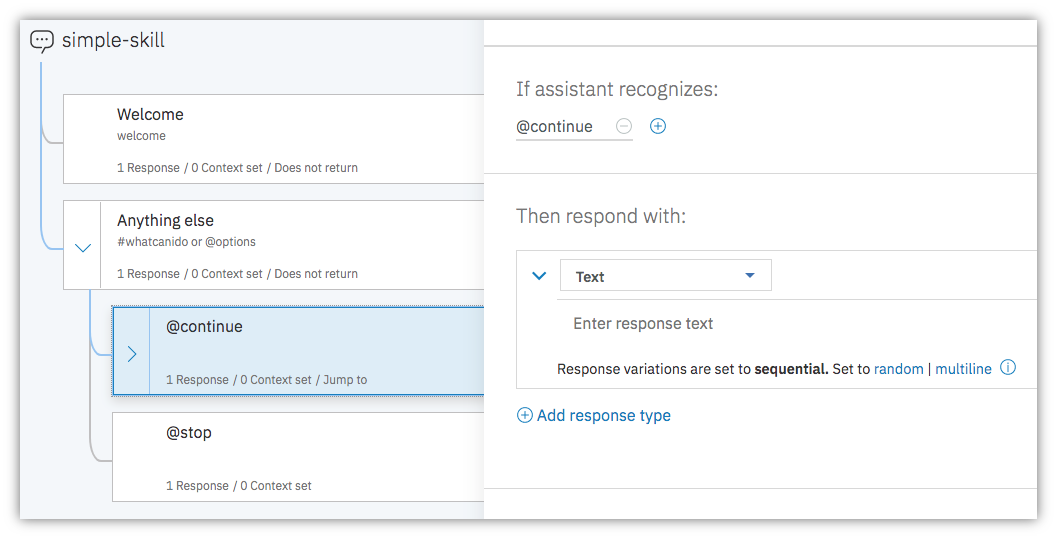
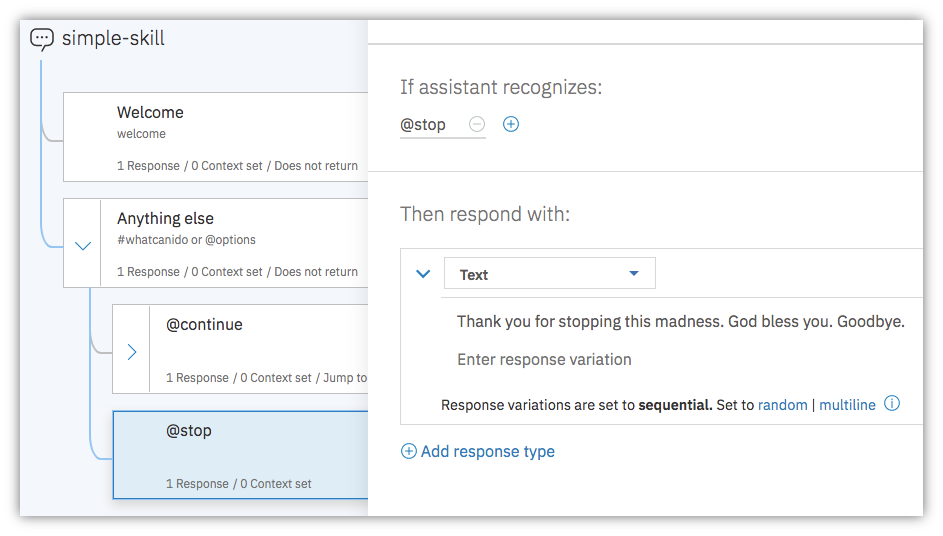
Thus, the bot will either endlessly repeat the text about the choice while the person says “continue”, or ends the dialogue when the person says “stop”. Truly, meaningless conversation.
If you are too lazy to do all this, you can download our json file and import it as a skill. To do this, on the Skills tab, click Create skill, switch to the Import skill tab, click Choose JSON file, specify the downloaded file and at the end click Import.
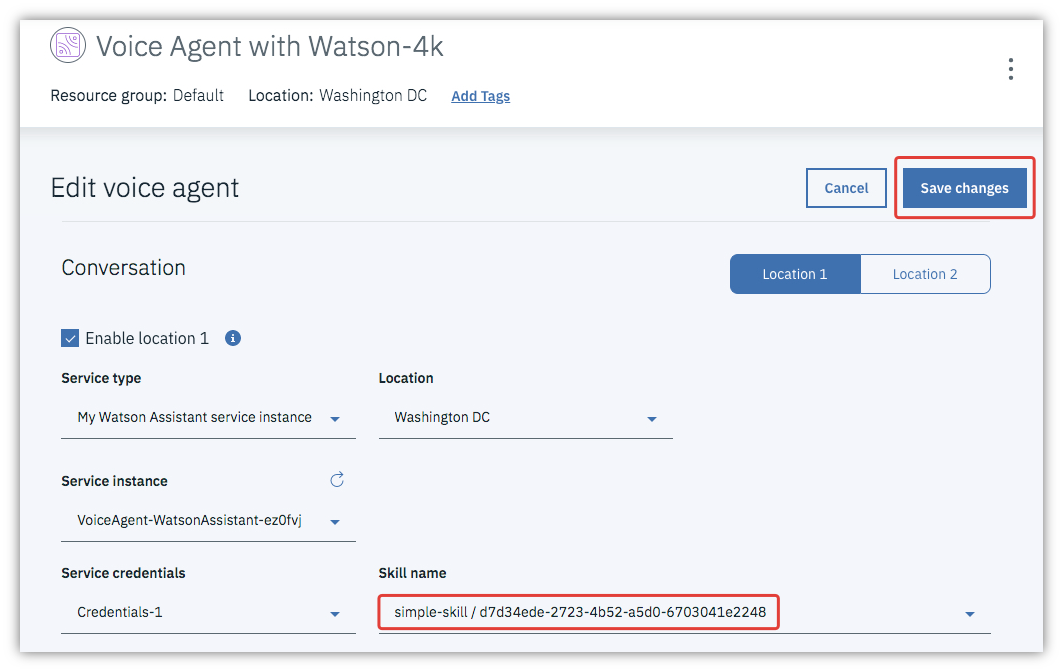
Last but not least, go back to cloud.ibm.com, open the Resource list, click on Voice Agent with Watson, go to the Manage tab. At the habr-watson agent click on the three dots, select Edit agent. In the Conversation section, change the Skill name, specifying the skill you just created:
Done, now the agent knows how to communicate with people! There was a final touch, namely …
Voximplant application and script
In the Voximplant control panel, create a watson application. All the following steps must be done inside this application. Go to the Scenarios tab and create a watson-scenario script with code:
require (Modules.ASR)

VoxEngine.addEventListener (AppEvents.CallAlerting, (e) => {
  let call2 = VoxEngine.callSIP ("sip: 699100484@us-east.voiceagent.cloud.ibm.com")

  const recognition = VoxEngine.createASR ({
    lang: ASRLanguage.ENGLISH_US
  })
  let botSpeech = ""

  recognition.addEventListener (ASREvents.Result, e => {
    botSpeech + = e.text
    botSpeech.includes ("goodbye")? VoxEngine.terminate (): Logger.write ("There is no 'goodbye' yet.")
  })

  call2.addEventListener (CallEvents.Connected, () => call2.sendMediaTo (recognition))

  VoxEngine.easyProcess (e.call, call2)

})
Do not forget to substitute the phone number that you bought earlier in the call to the callSIP method and specified it in the IBM agent settings!
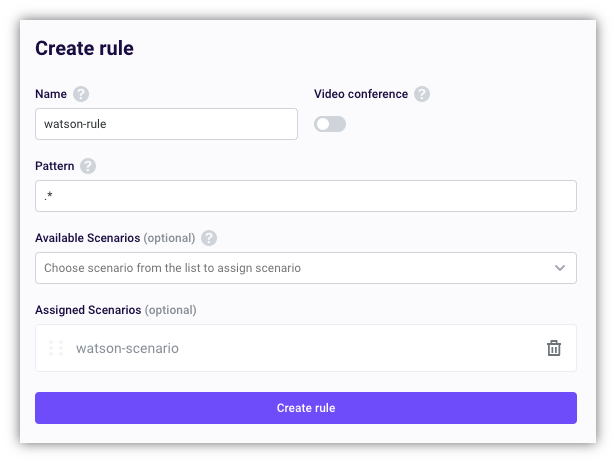
Then go to the Routing tab and create a watson-rule. Specify the watson-scenario:
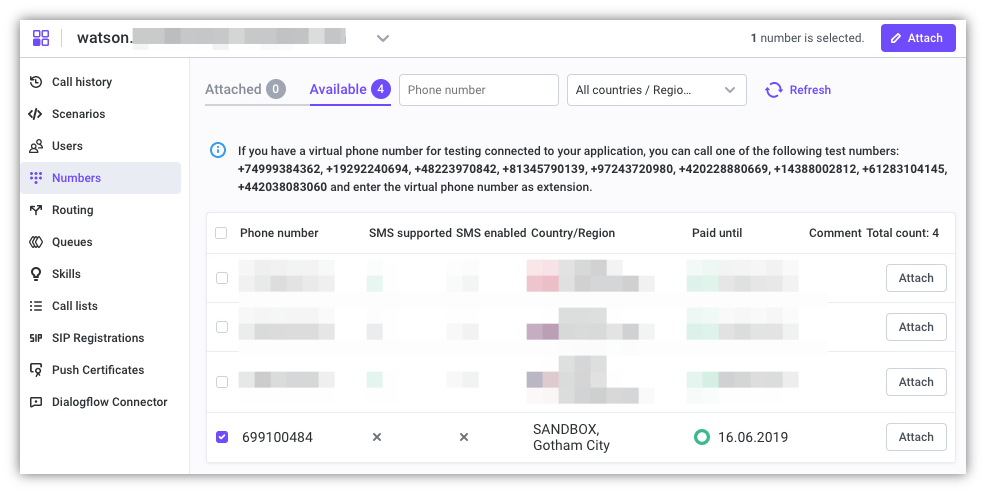
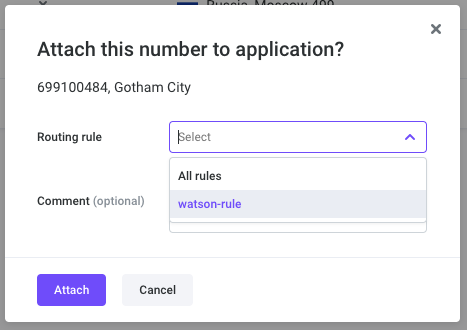
Finally, go to the Numbers tab, where there will be Attached (it’s still empty) and Available sections. Switch to Available, mark the purchased number and click Attach.
In the window that opens, specify the rule watson-rule, then Attach.
Now the number will appear in the Attached section. Here you will see the numbers to which you can call, then enter the purchased virtual number in tone mode and start a highly intelligent conversation with the IBM bot.
Similar Posts