How I restored an 8-bit portable console from a flea market. Oxides, cleaning, soldering, microscope, that’s all …
What is a miracle device?
I bought it for 5 euros, out of pure curiosity – I saw her, unhappy, under a pile of all sorts of things that an Arab was selling. It was dirty, wet, but I found it interesting. It was immediately obvious that the device was not particularly expensive, but still it was a game console, so I wanted to know what kind of games it was.
And just recently stood out for an hour, I decided to disassemble and see what’s inside. The device did not turn on and did not charge, so I assumed that the device either burned out or lay on the open-air flea market for too long. And there the sun can also heat up to a temperature at which you can cook scrambled eggs without a fire, and pour rain (though when it’s raining right, the sellers collect the goods and leave).
In addition, the climate in the place where I live is humid, so the device in the open, and in the morning, could just pick up a little moisture. Looking ahead – everything turned out to be so.
Disassembling the console turned out to be easy – there are only a few standard screws, so a regular screwdriver was enough. And yes, no one dismantled the prefix before me – the warranty stickers were intact. In the photo they are damaged – but I already did this with a screwdriver. By the way, the photos are not very high quality, for which I apologize – I shot the assembly and disassembly process with an action camera, in which for some reason the low-resolution mode was activated, which I found out already when writing the article.
But on the other hand, I filmed the cleaning / soldering process under a microscope, and everything is already fine there – the video is posted after the photos. But even not very high-quality photos allow you to understand what condition the console was in. Let’s start with disassembly.
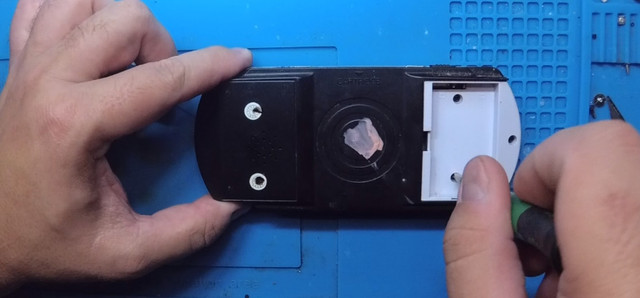
But the console with the cover removed – you don’t need a particularly high resolution in order to see what condition it is in. Oxides and rust everywhere and everywhere, including the contacts of the LED, volume control and power slider.
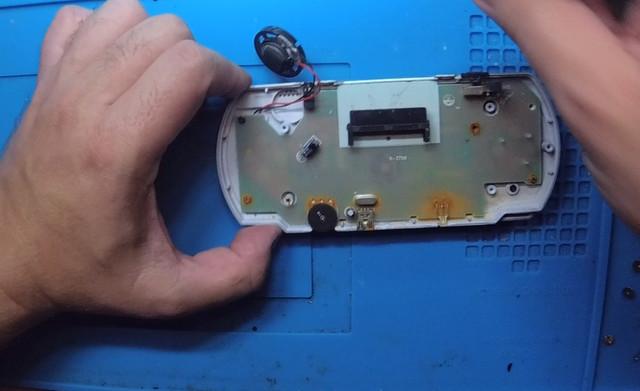
We remove the screen (by the way, it’s not bad, it can be useful in DIY projects – this one on Ali costs more than 5 euros). In the photo you can see a white coating – oxides. They are just everywhere, both on SMD components and on button contacts.
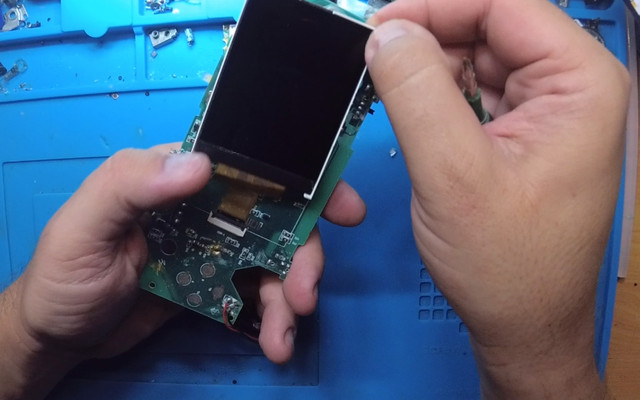
Here you can see it a little better.
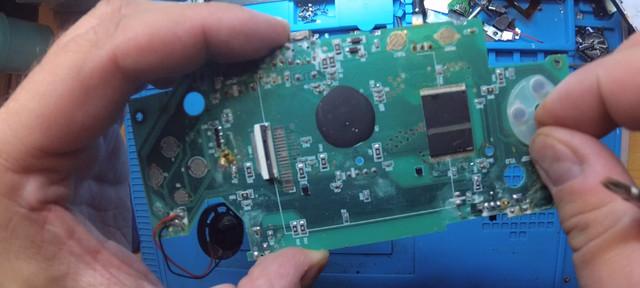
And here too.
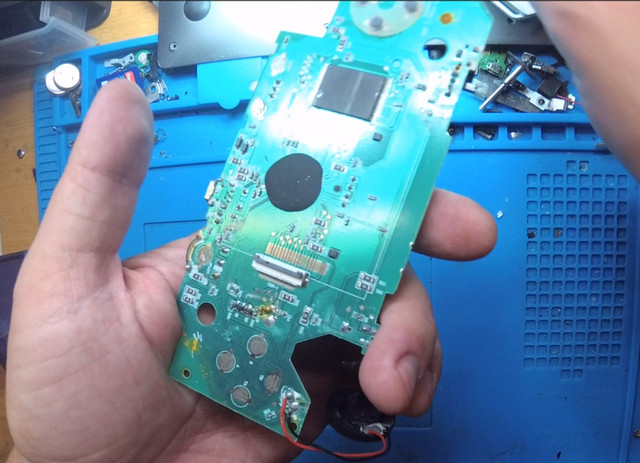
The black plaque in the middle is the most important part of the board, it was not damaged. The board itself contains very few components, and I was lucky – none of them were critically damaged by moisture. I cleaned the oxides with alcohol, soldered something, and the state of the board became much better.

By the way, after I assembled and checked the console, I took it apart again, placed the board in an ultrasonic bath with isopropyl alcohol – and it became, if not like new, then close to that.
Here’s another photo before cleaning.
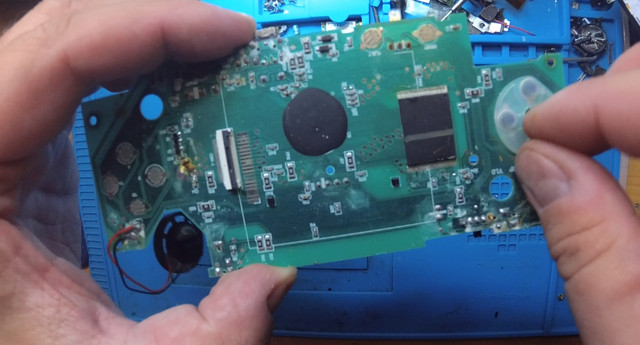
And here – after cleaning, but before the ultrasonic bath, after which everything there generally shines and sparkles. By the way, if you have not bought such a bath yet, I recommend it. In it, you can and should clean jewelry, watches and everything else that you value and want to shine.

Main works
Before checking the board under a microscope, I wiped it with alcohol, first with cotton swabs, and then with a toothbrush, which is dedicated to such tasks. It turned out well.
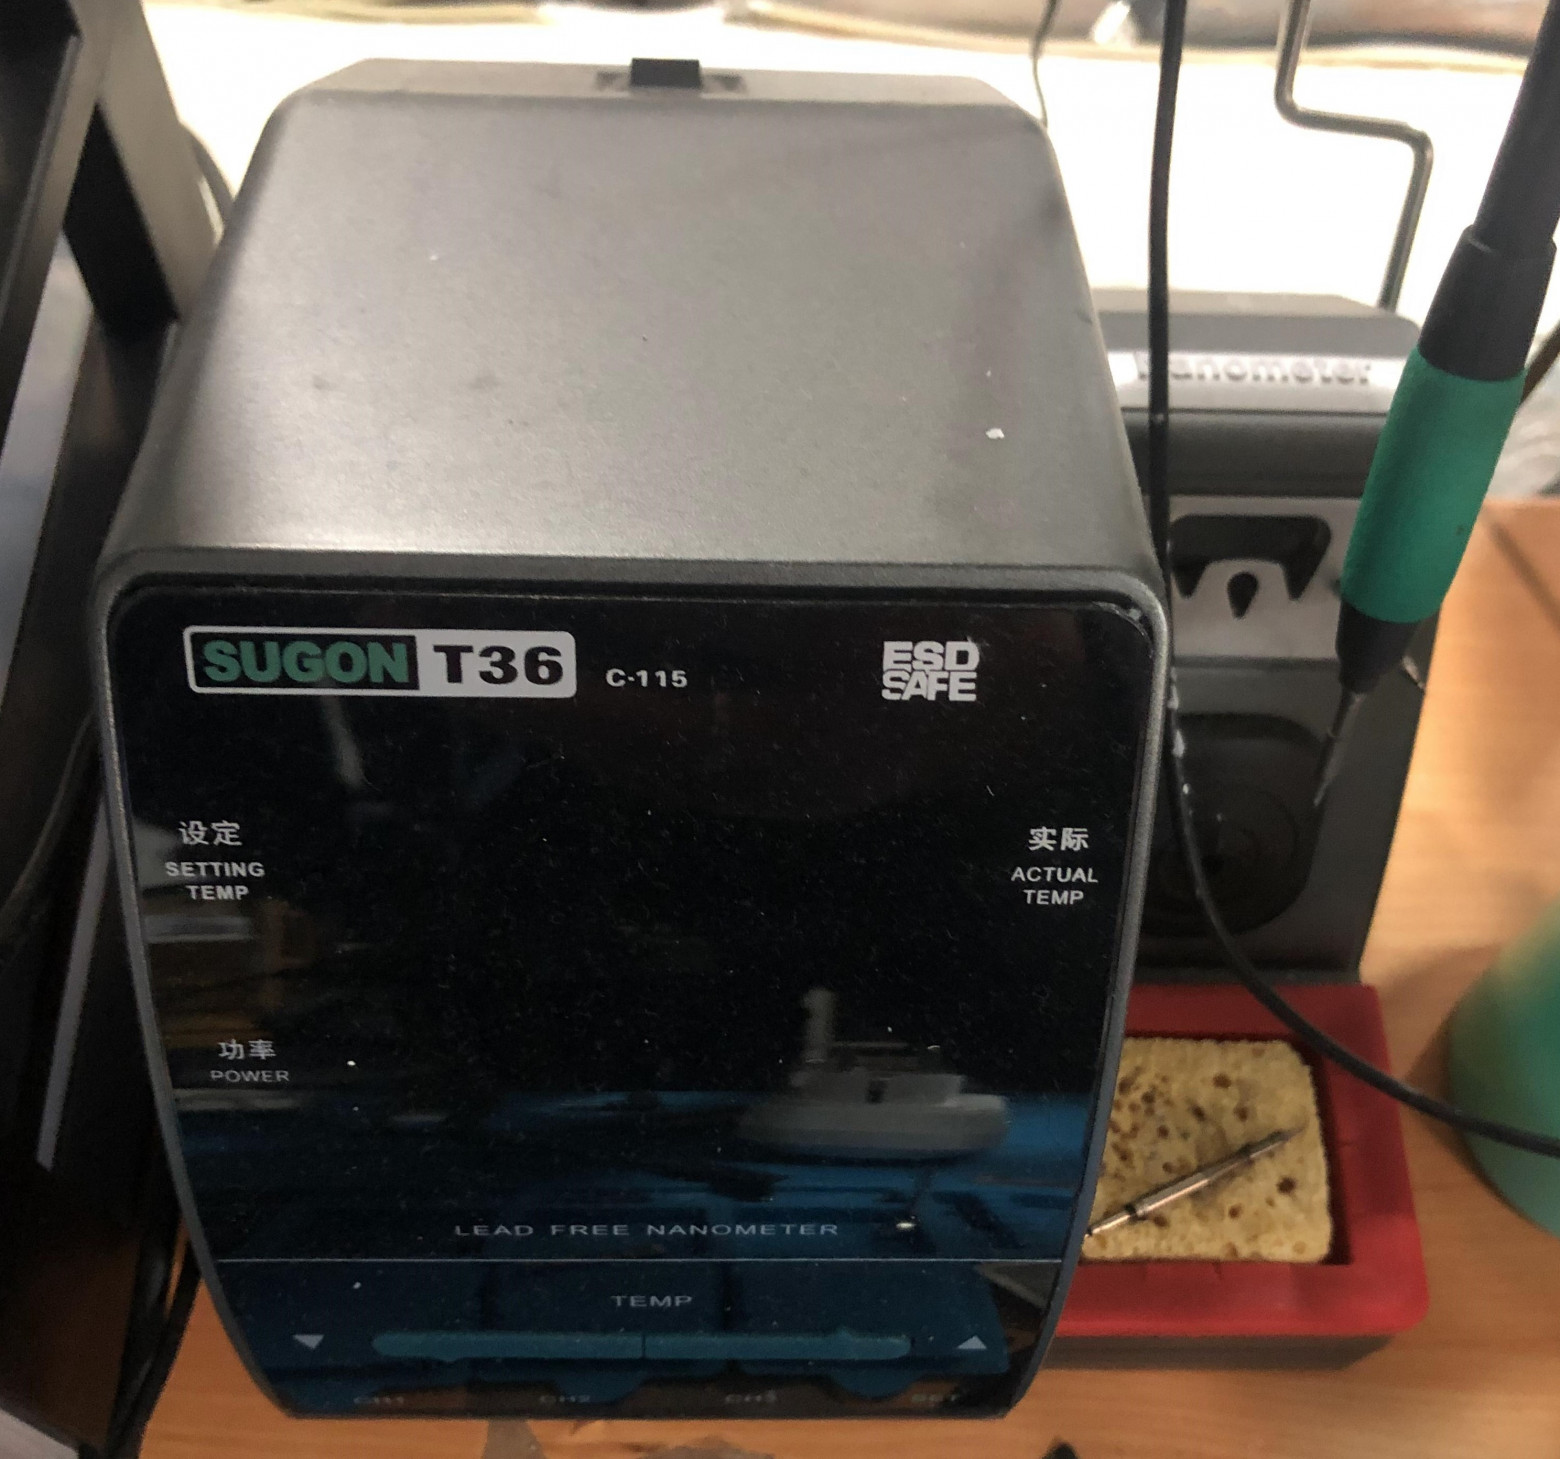
The tools I used to work on the board are a Sugon T36 soldering station, tweezers, cotton swabs, a screwdriver. And, in general, everything. In the video below, by the way, I show how soldering without flux and with flux differs. This, of course, is not rosin, but a specialized flux that comes in a syringe. Brand Amtech NC-559-ASM, if anyone is interested.
Flux helps turn oxidized, poorly soldered contacts into shiny and beautiful ones. As for the soldering station, this is Sugon T36 – I don’t feel sorry for the money that I spent on it (a little more than 100 euros, I bought it second-hand). The soldering iron heats up to the desired temperature in 3-4 seconds, the tips allow you to perform the most delicate work. At the same time, the soldering iron is quite powerful – the video clearly shows how the solder (lead-free, factory) melts in a split second.
I soldered what looked suspicious. One of the contacts of the USB port, by the way, was not soldered at all – either they forgot, or something else. The data contacts of the port do not lead anywhere, they just “hang” on the board – this is no longer a bug, but a feature, since the console was not intended to be connected anywhere.
After I cleaned and assembled it (not forgetting to wipe the D-Pad contacts with alcohol, which were clogged with dust and dirt on Sega controllers, if anyone remembers), the console turned on, but refused to charge.
The battery looked good, not swollen, nothing, so I decided to “push” it with a laboratory power supply. The fact is that when the battery is discharged below a certain level, its controller considers that everything is kaput to the battery, and does not allow it to be charged stationary. So here’s a life hack – if after a long stay in the drawer your device (PDA, smart or something else) does not turn on and does not charge, remove the battery and charge it manually. Those. set the standard parameters for voltage and current (for example, 5V and 700 mA) in my case, and connect the contacts of the power supply to the plus and minus of the battery. If it is charging, then everything is OK, wait a few minutes and you can insert it into the device.
I did so, after which the device began to charge without problems.
And what is this console?
This is a portable device that has 180 built-in games, plus a cartridge that the manufacturer added for no reason – the same games could be added to the main memory of the device.
The console was sold in 2019 by the local Game store chain. A review of it, as it turned out, is already on the network. It is one of a kind – I have not found more videos on this console.
Surprisingly, for such a simple device, they provided the ability to output sound and images to the screen, so that these wonderful games can be enjoyed on a TV screen or monitor. Actually, here is the review itself, it is in Spanish, but this does not interfere with understanding what is happening if you do not know the language.
Actually, nothing special – so, play around for a couple of days and forget. It was sold, new, for 15 euros, so having paid 5 euros for it at a flea market, I overpaid a lot, I had to offer 2 euros, no more.
But in any case, I posted the post not to introduce you to the prefix, but to show what condition the devices are in and what needs to be done in order to bring them to a working state.
If you have any questions – ask in the comments, I will definitely answer. By the way, I plan to make such posts regularly, but their “heroes” will be more interesting devices with much more complex breakdowns. Well, for example, as in the case of this gaming laptop.
You may also be interested in these texts:
→ 10 ChatGPT request templates that will give high-quality answers to help the product manager
→ OpenStack vs VMware: which is better – open source or proprietary platform
→ Shawarma as a service: how to create a bot for ordering shawarma and leave only 1.1% of colleagues hungry