Continent 4 Getting Started 2.0. VPN
We are glad to welcome you to the sixth article in the series “Continent 4 NGFW Getting Started 2.0” on the TS University educational portal!
In the previous article, we studied web filtering in detail: we configured SNI filtering, worked with Web/FTP filtering, and tested streaming antivirus.
In this material we will look in detail at organizing a VPN network (Site-to-Site, Remote Access).
Connection diagrams and virtual machines used will vary depending on the topic. For convenience, each topic will separately indicate the list of required virtual machines and provide a diagram.
You can find a video tutorial on this article here
OPERATING MODES
Before analyzing the operating modes of VPN on Continent 4 NGFW, it is worth talking about encryption protocol. It is quite non-standard and was developed by the Security Code company.
To encrypt data, the GOST R 34.12−2018 (Magma) algorithm is used in gamma mode with ciphertext feedback in accordance with GOST R 34.13−2018. Imitation data protection is carried out on the basis of GOST R 34.12−2018 (Magma) in the mode of developing an imitation insert
At the moment, the solution does not imply integration with third-party crypto networks.
Continent 4 NGFW cannot be connected via VPN to any third-party solution (including APKSH “Continent 3”). All security nodes involved in organizing a VPN connection must be subordinate to a single central control center.
A solution to this situation will be offered in version Continent 4.2, where the proprietary encryption module will be abandoned and the transition to IPsec and IPsec GOST algorithms will occur. This will allow you to establish secure connections between Continent 4 NGFW and third-party solutions (including according to GOST encryption requirements).
At the time of writing, Continent 4 NGFW supports three modes of VPN operation:
L3VPN: creation of a secure communication channel between two security nodes. When transmitting traffic from one protected network to another, the security nodes encrypt the data before it enters the tunnel and decrypt the data after it leaves the tunnel
L2VPN: is a virtual switch that combines the network interfaces of security nodes into a distributed network bridge. When you add ports of different security nodes to one virtual switch, VPN tunnels are automatically created between such security nodes, ensuring the secure transmission of Ethernet frames. This mode does not support working in a cluster!
Remote access: allows you to organize remote access to network resources from networks that are not part of the protected segments
Encrypted traffic will be sent over UDP using ports in the range 10000-10255. Local source and destination IP addresses are not displayed, and the packet size is 126 bytes. Make sure your ISP is not blocking these ports.
Let's look at each mode in detail in the following chapters.
L3VPN S2S
VPN networks in this mode can be built according to two topologies: “star” and “fully connected chain”.
In a mesh network, VPN tunnels are created between each pair of security nodes.
In a star topology, one of the security nodes is central. All other nodes can only create a tunnel with the central node.
Setting up L3VPN on Continent 4 NGFW is very simple.
To carry it out, the administrator must:
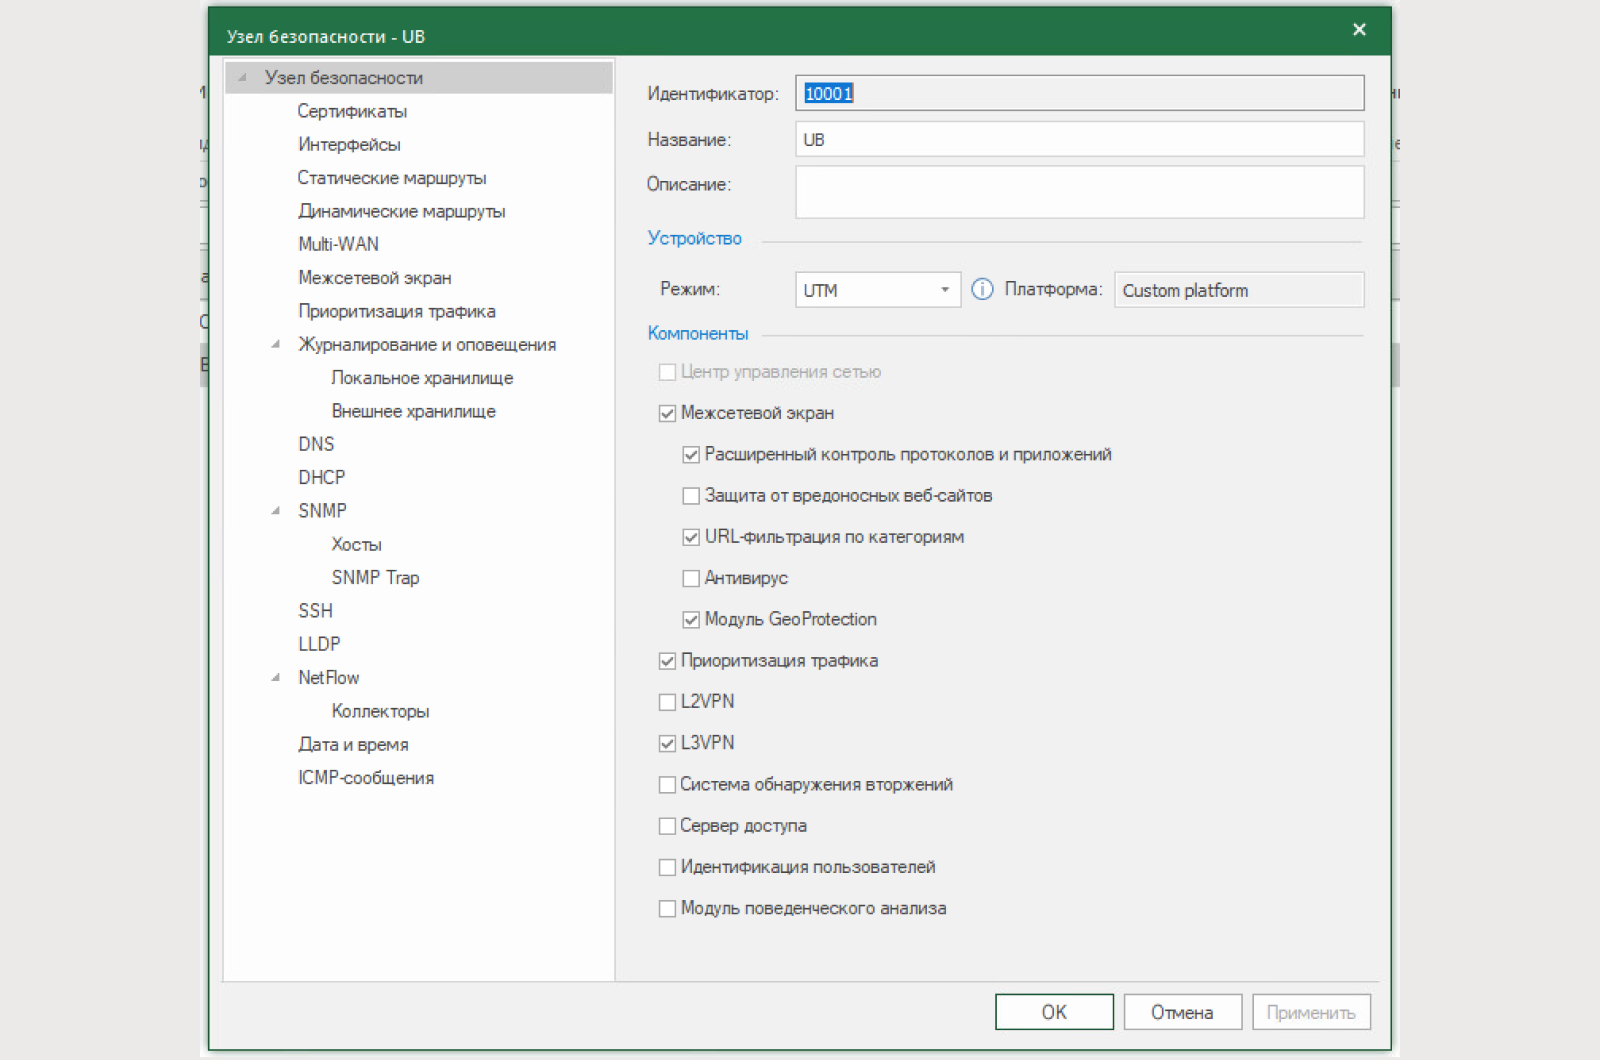
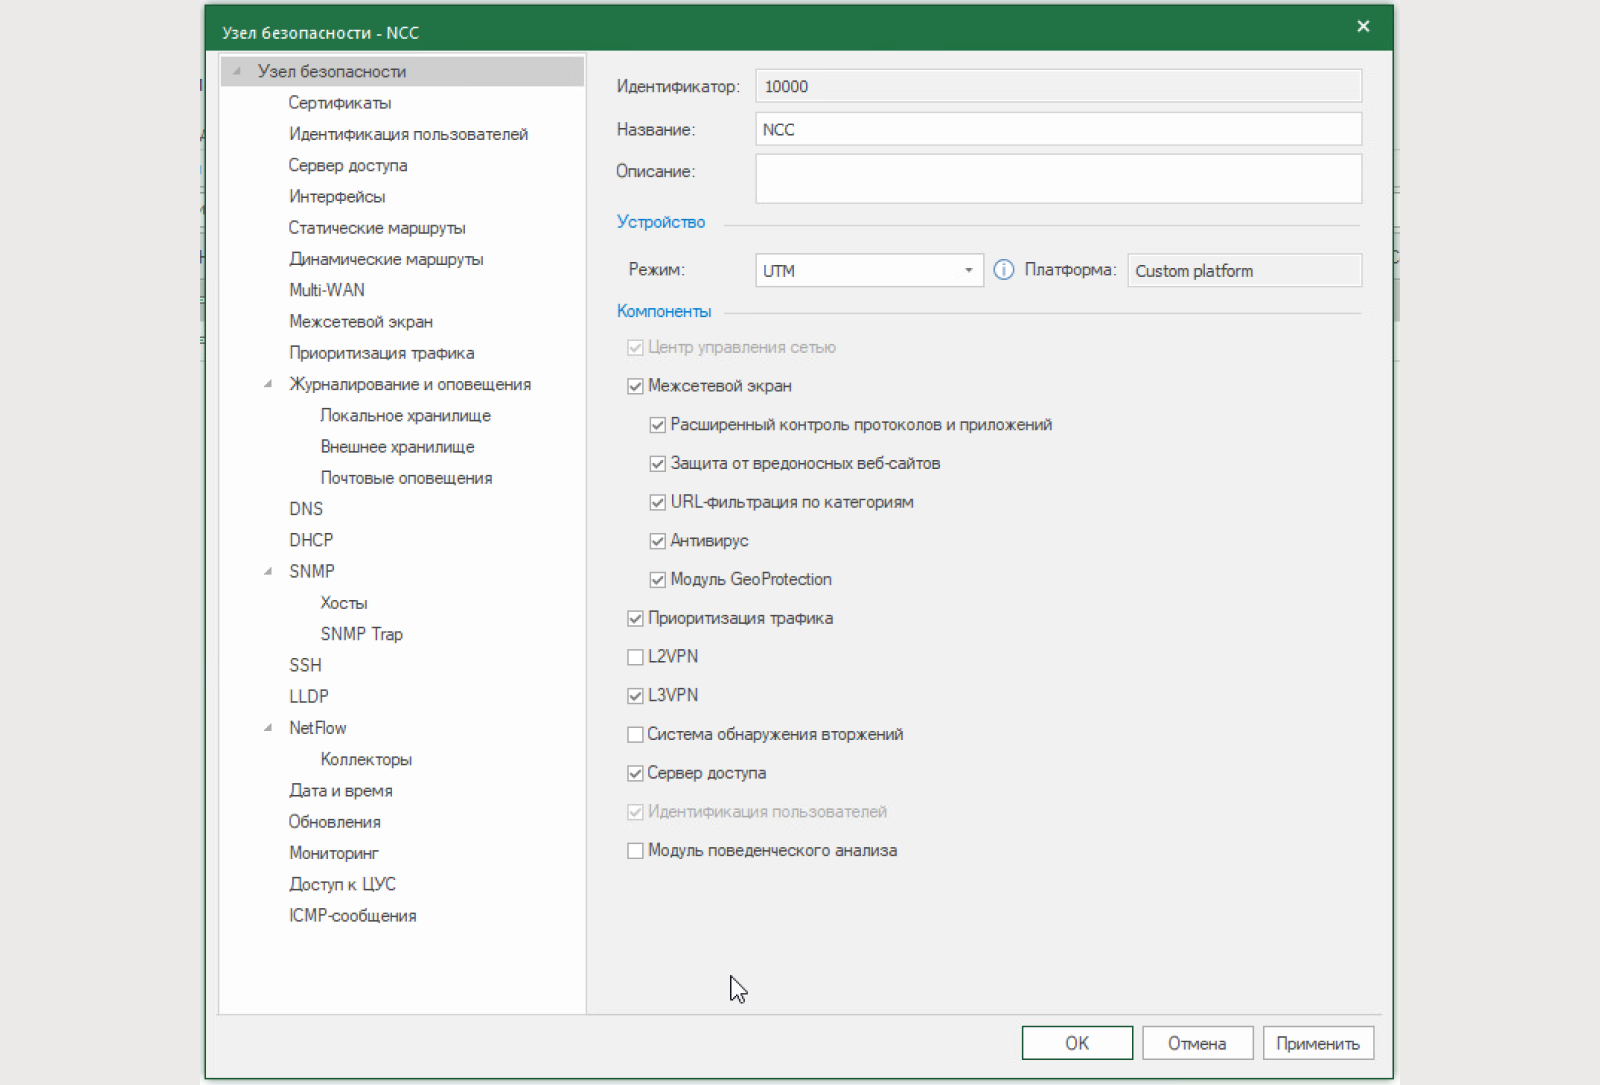
Activate the L3VPN component in the UB properties (by default “activated”);
Assign the type “External” to the interfaces (at least one interface must have this type);
Create and configure a virtual private network in the Configuration Manager;
Create filtering rules that allow traffic to pass between protected networks

Let's move on to the settings:
1) Make sure that the L3VPN component is activated on both Security Nodes

2) Previously, we have already configured the UX with the central control center and its interface types.
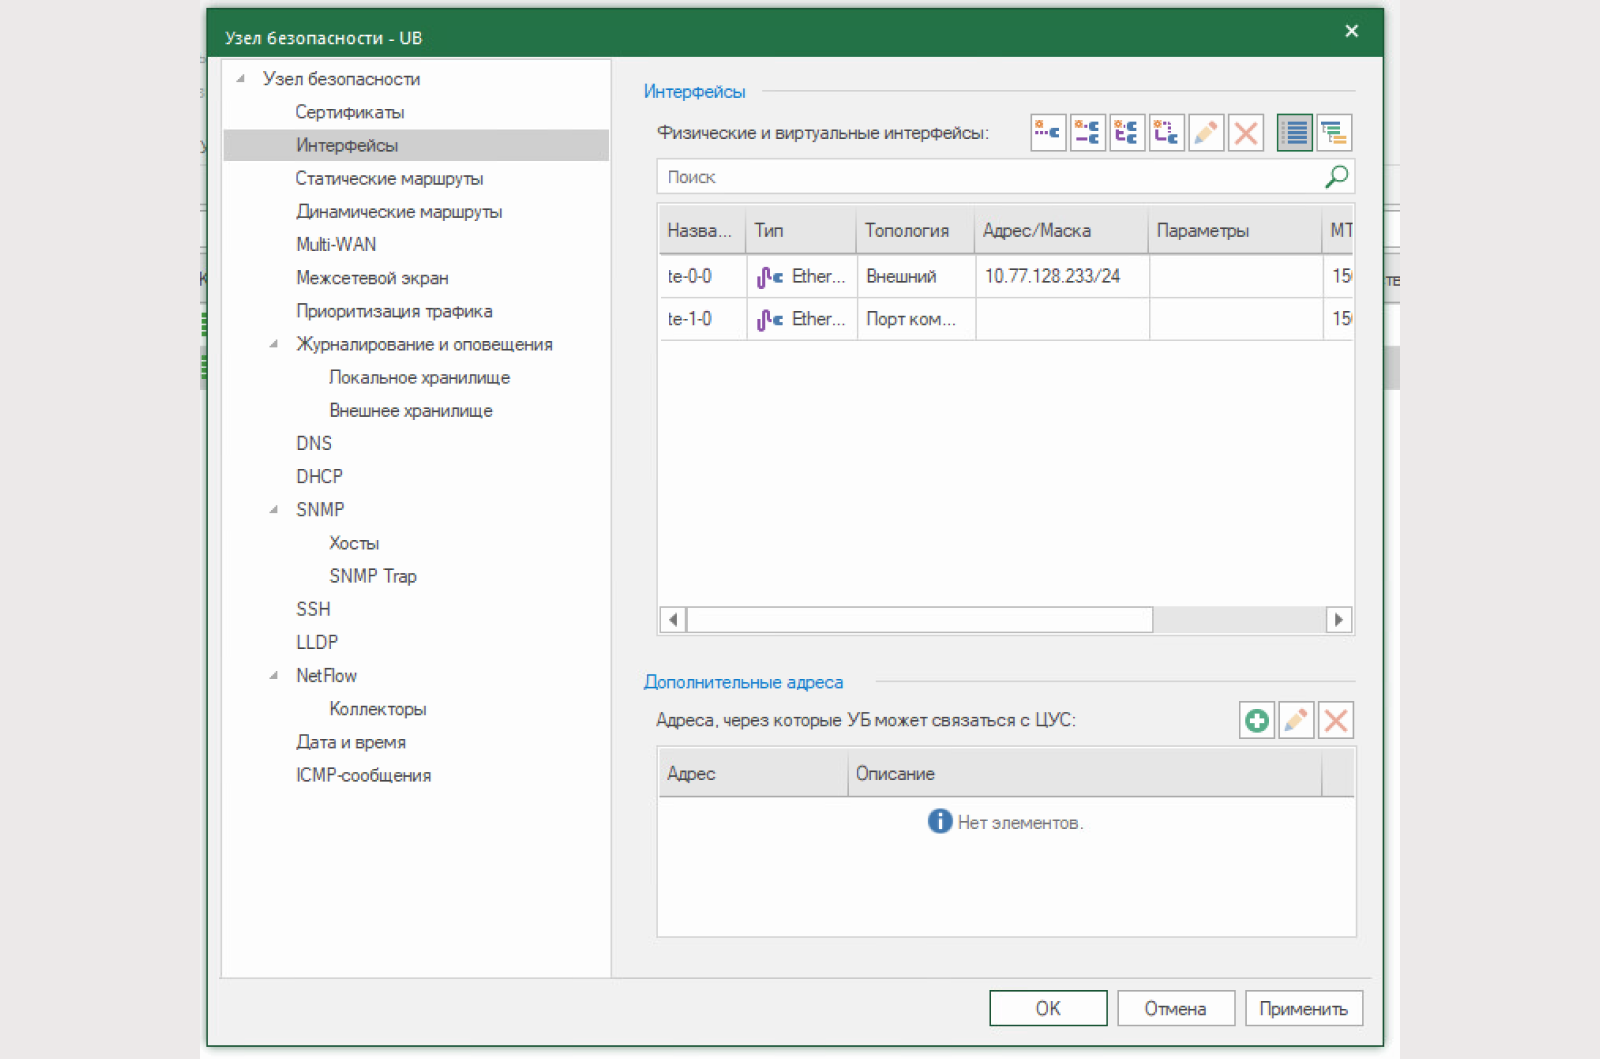
Additionally, configure the interfaces at UB. At least one interface with the “External” topology is required. This is a key condition for the operation of the encoder.

3) Go to the section “Virtual private networks – L3VPN – Virtual private network – Mesh network”.
We include two Security Nodes: a control center with a control center (NCC) and a subordinate control center (UB):

Adding protected resources.
You can add them by “dragging” from the list of NCC objects (Drag&Drop mode):

4) Previously, we had already created filtering rules for communication between the Central Office and the branch using ICMP protocols.
Let's expand it:
Data transmission via ICMP, RDP, HTTP and TLS protocols is allowed from the central office;
Data transfer from the branch is allowed via ICMP, HTTP and TLS.

Let's save and install the policy on both Security Nodes. The VPN connection between the UBs will rise literally immediately.
You can check its status in the Monitoring System: “Structure – Management System – Active VPN connections”

Let's check the channel's operation. Let's launch an RDP session to the User in the branch, as well as ping in both directions.

At the same time, let’s go to the local UB menu with the central control system and remove the traffic data. Traffic is transmitted over ports in the range 10,000−10,255 between Security Nodes. The encoder is working.

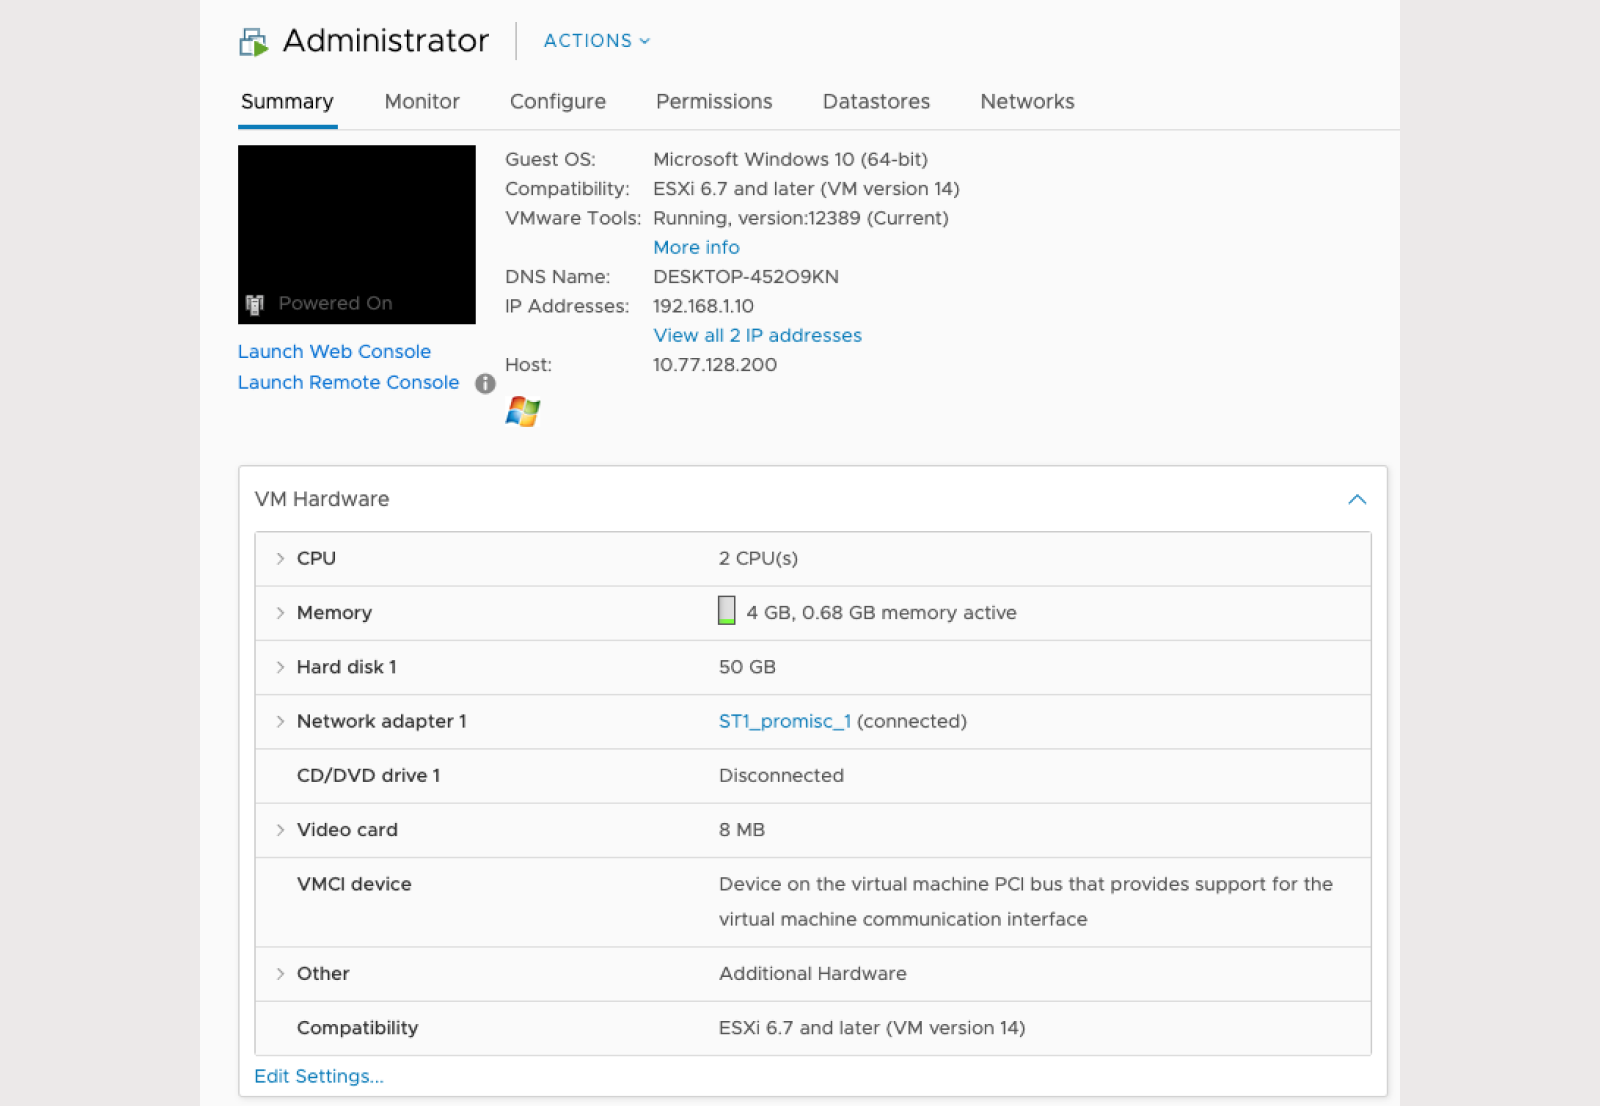
Let's check that the user can open the IIS of our Windows Server. If successful, the standard IIS web page will open.

L2VPN S2S
Let's change the diagram a little.
The configuration manager will be installed on MS AD.
The remote user's workstation will change its network address. The switch type of the VM will change.
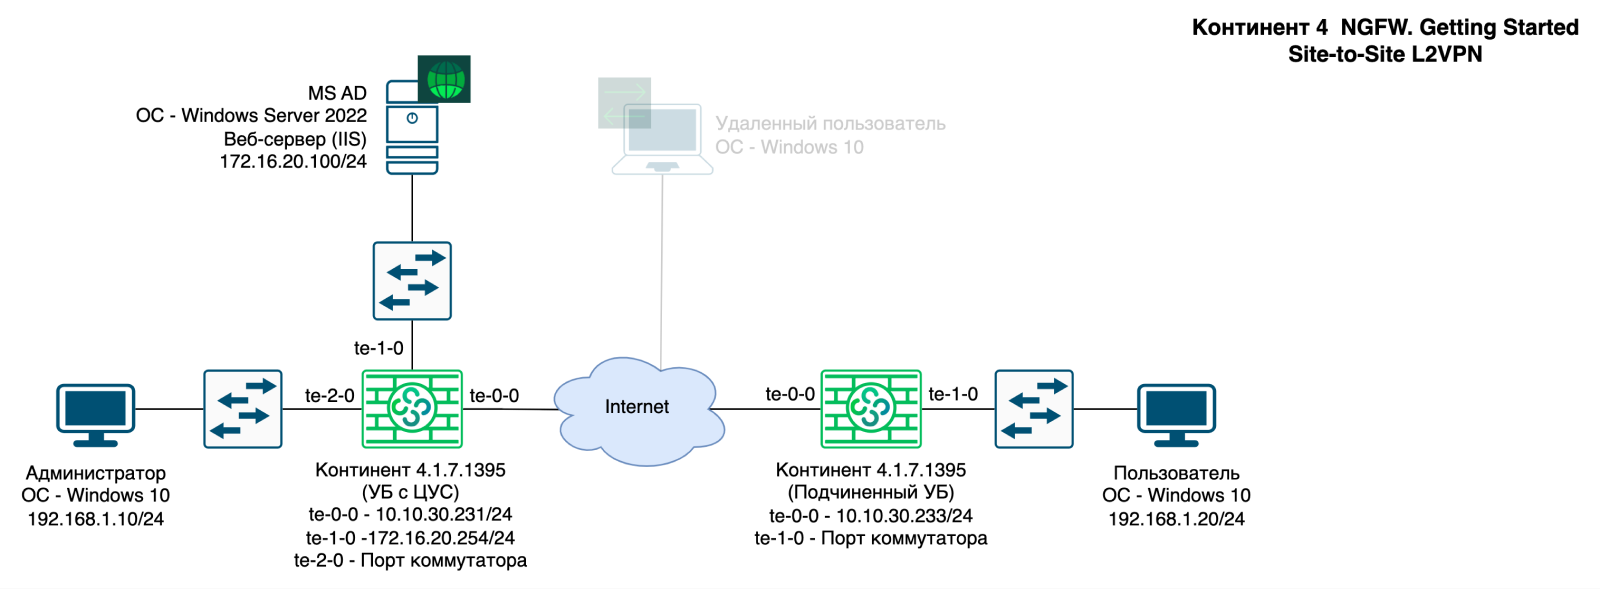
Block diagram with VM for this article
Distibuted Switches will not work.
We use Port Group on ESXi to emulate the operation of switch ports.


Setting up this component consists of the following sequence:
Activate L2VPN component
Convert the port to the “Crypto switch port” topology
Create a virtual switch
1) Activate the L2VPN component on both Security Nodes (between which the connection will be built).


2) Change the interface topology to “Switch Port” on both Security Nodes

Before creating a virtual switch, let's disable the rule for L3VPN. We don't need it now.

3) Create a virtual switch.
To do this, go to “Virtual private networks – L2VPN -Virtual switch”. Please note that there are several types of parameters.


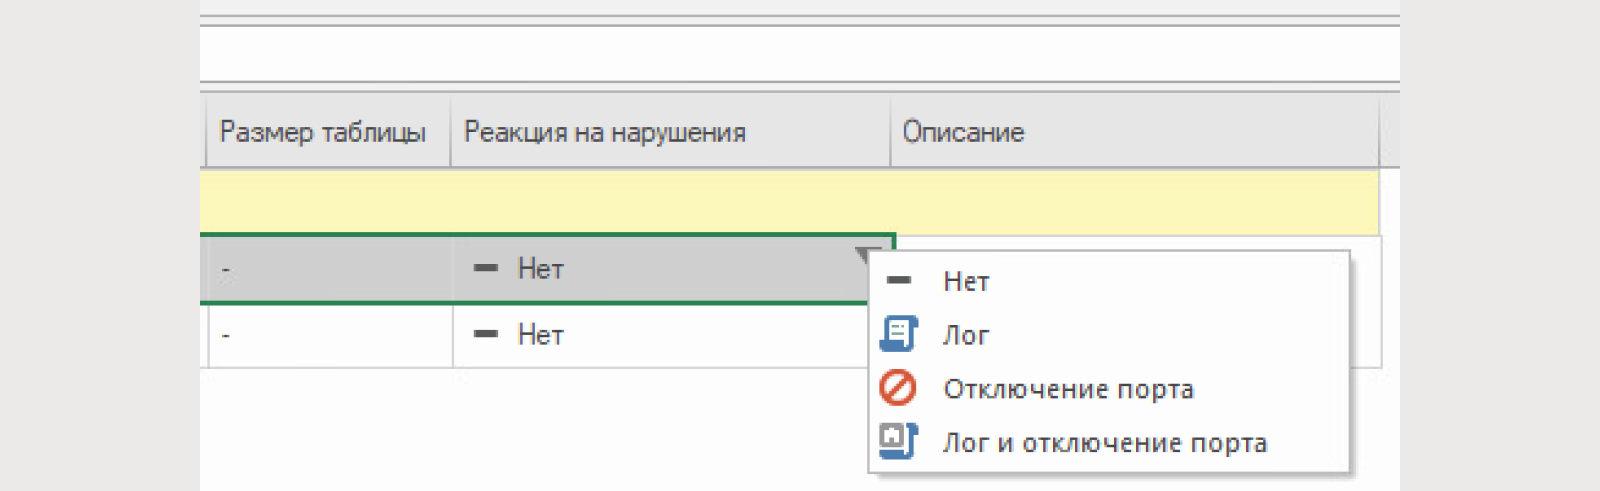
For L2VPN mode, there is a security mechanism based on a MAC address table.
If you make the MAC address table static after training, you can log, disable the port, or log and disable the port when connecting a new device.

Let's save and set the policy.
Let's check the functionality. Let's connect to the remote user's station in the branch and run ping in both directions.

Let's check from the local menu of the Security Node that the traffic is transmitted on ports 10,000−10,255. The transmission is on these ports – this is the encryptor.


As you can see, L2VPN works, users can exchange traffic. The network is “flat” for them, but in fact there can be any distance between them. Additionally, we note that Continent 4 NGFW can combine the functionality of L3VPN and L2VPN.
After checking L2VPN, we will return the stand to its original state (to the L2VPN chapter)
RA VPN
Remote Access VPN is used to connect remote users with a VPN client installed.
In Continent 4 NGFW, connection of remote users is a separately licensed component (1 concurrent connection – 1 license).
At the time of writing this article, two VPN clients are supported: CIPF “Continent-AP” and CIPF “Continent ZTN-client”.
The Continent-AP CIPF has been certified by the FSB, but the development of this product is over.
The “Continent ZTN-client”, which is undergoing FSB certification, will be further developed. Its advantage is the support of new operating systems, the combination of the Continent-AP CIPF and the Continent-TLS CIPF in one application and the development of the ZTNA concept.
Currently, CIPF “Continent-AP” and CIPF “Continent ZTN-client” are available on all major operating systems, including:
Microsoft (Windows 8, 10, 11)
Linux (including Russian distributions: Astra, ALT, REDOS, etc.)
Android (up to version 13);
iOS;
ipadOS;
MacOS (M1+M2);
Aurora
Remote users in Continent 4 NGFW can log in using two methods:
By certificates: available only for connecting local users in the NCC database. Personal GOST certificates;
By passwords: available for connecting local and domain users
Connecting using certificates is the most secure method, but is not available to users of domain groups. In the case of single connections, it is reasonable to use certificates, and when organizing mass access, passwords.
You can see all the virtual machines used in this chapter in the block diagram below:

To configure the Access Server (AS), you must perform the following steps:
Issue a CD certificate
Add SD certificate to UB
Create a user
Issue user certificate
Activate the “Access Server” component on UB
Configure the “Access Server” component
Export subscriber point (AP) user profile
Create a remote access rule
Create a rule on the firewall
1) Issue an access server certificate with the following parameters:
Certificate type: access server;
Name: IP address of the external interface or DNS record with resolution to the external address;
The rest of the data is arbitrary;
Root certificate: previously created GOST certificate

We strongly do not recommend use the GOST root certificate, which is used to manage the NCC and UX, as the root certificate for RA VPN! It is recommended to create a separate GOST root certificate for RA VPN!
2) Add the created SD certificate to the Security Node with the NCC

3) We will not create a new user. We use the previously created user ivanov.ii as the user.
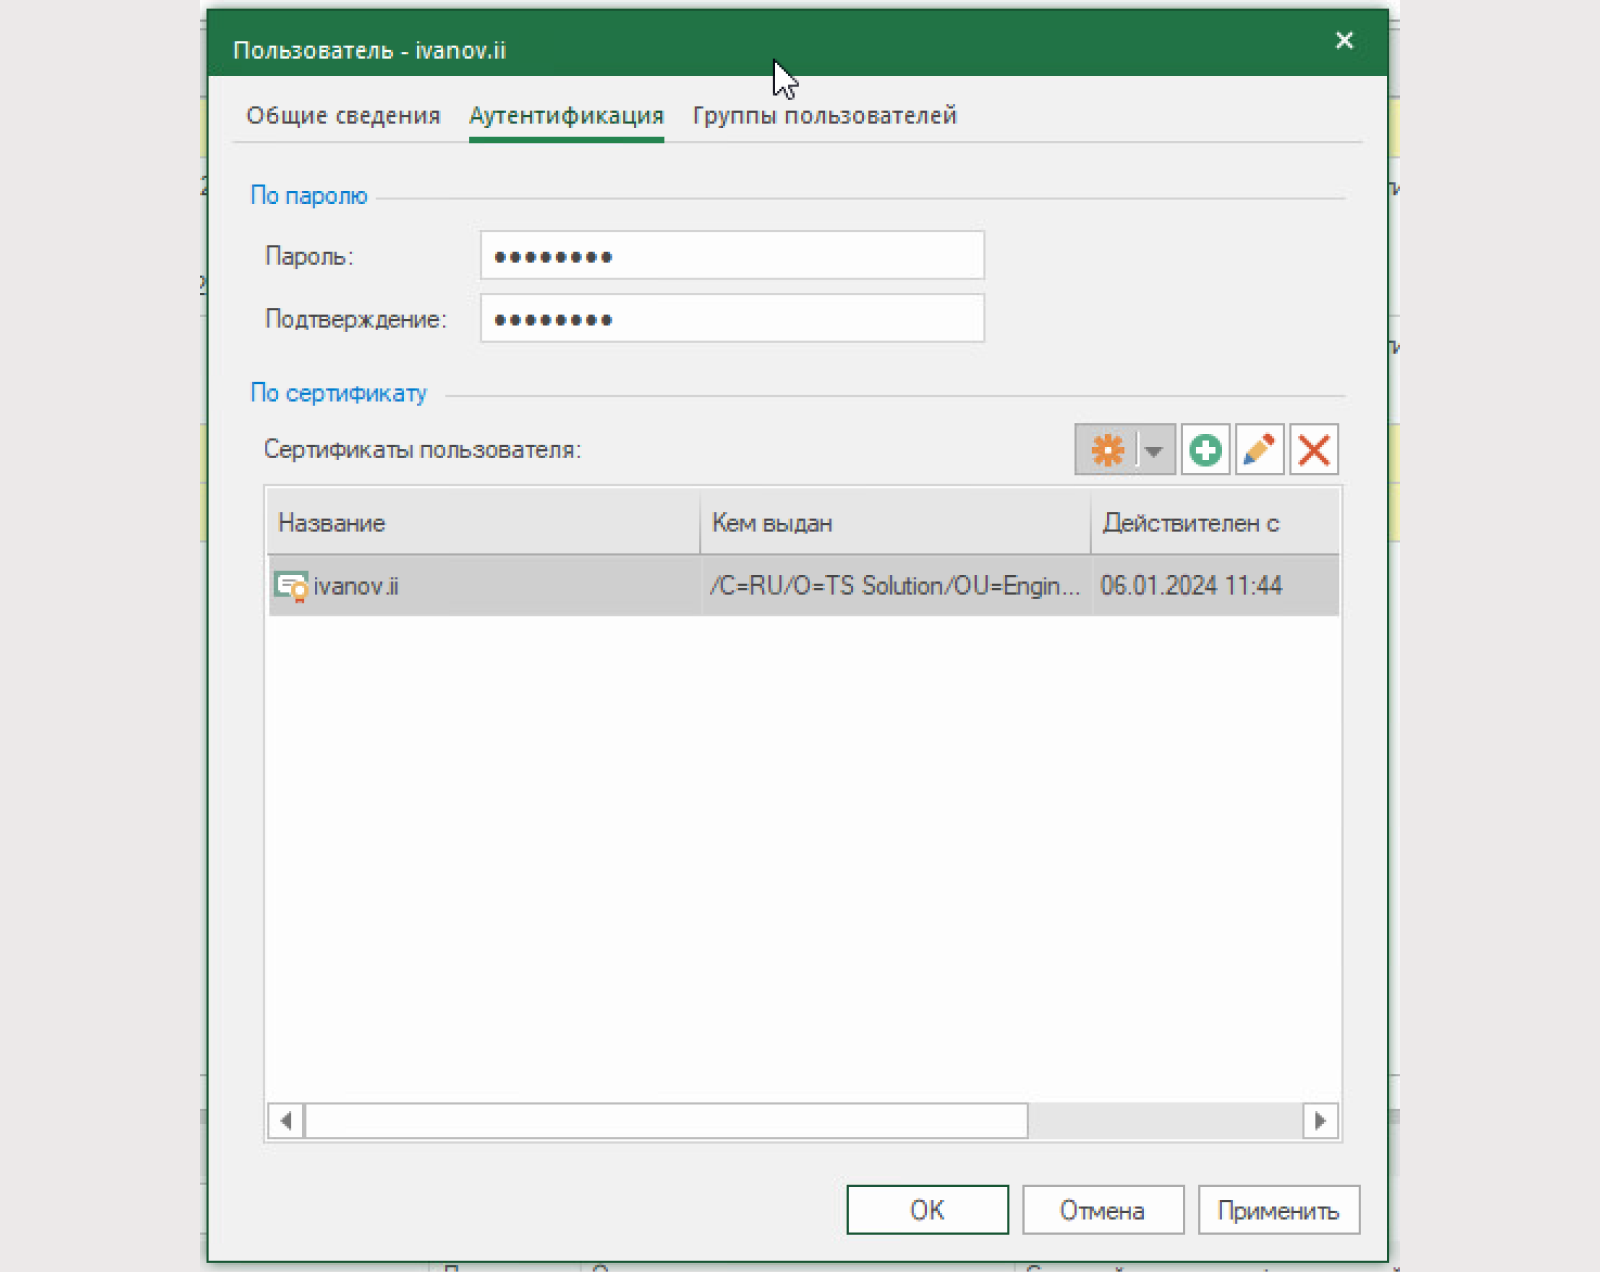
4) We will issue user certificates.
To do this, open the user properties, then go to the “Authentication” section and create a certificate.

We fill in the following information in the certificate:
Certificate type: User;
Information about the certificate owner is arbitrary;
Root certificate: GOST root certificate with which the Access Server (SD) certificate is signed;
Export to file arbitrarily
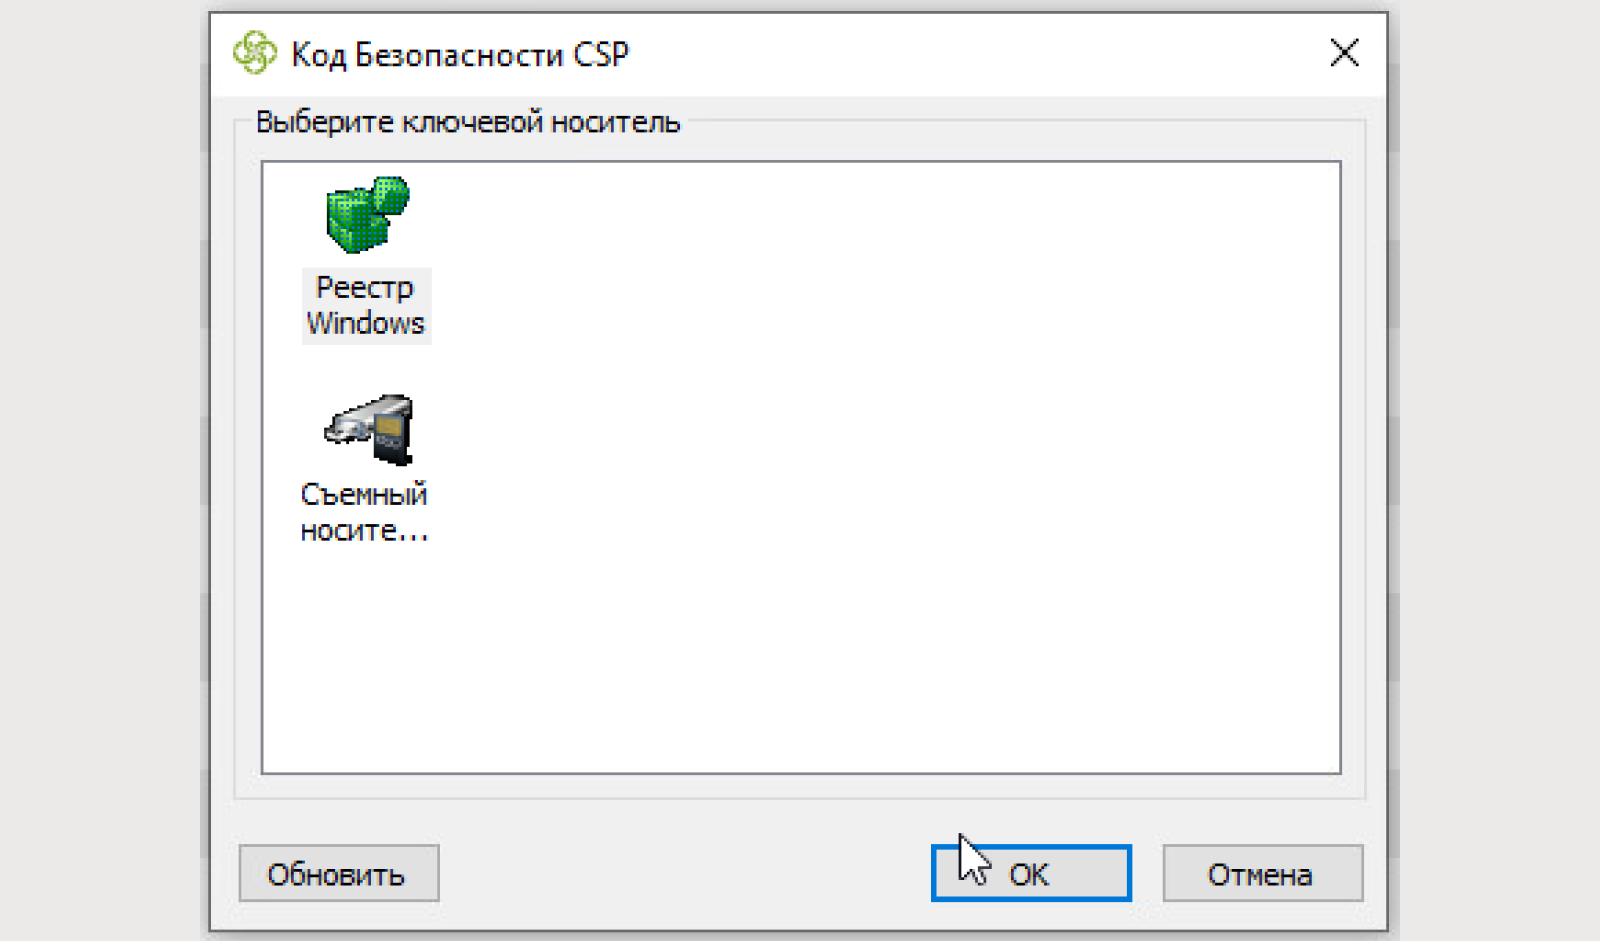
In the CSP Security Code window that opens, enter the password for the crypto container.
It will store the private part of the certificate key. This password will later be changed on the remote user's computer. You can select the Windows registry as the key media.


The certificate was successfully created. You can proceed to further steps
5) Activate the “Access Server” component on the Security Node with the NCC
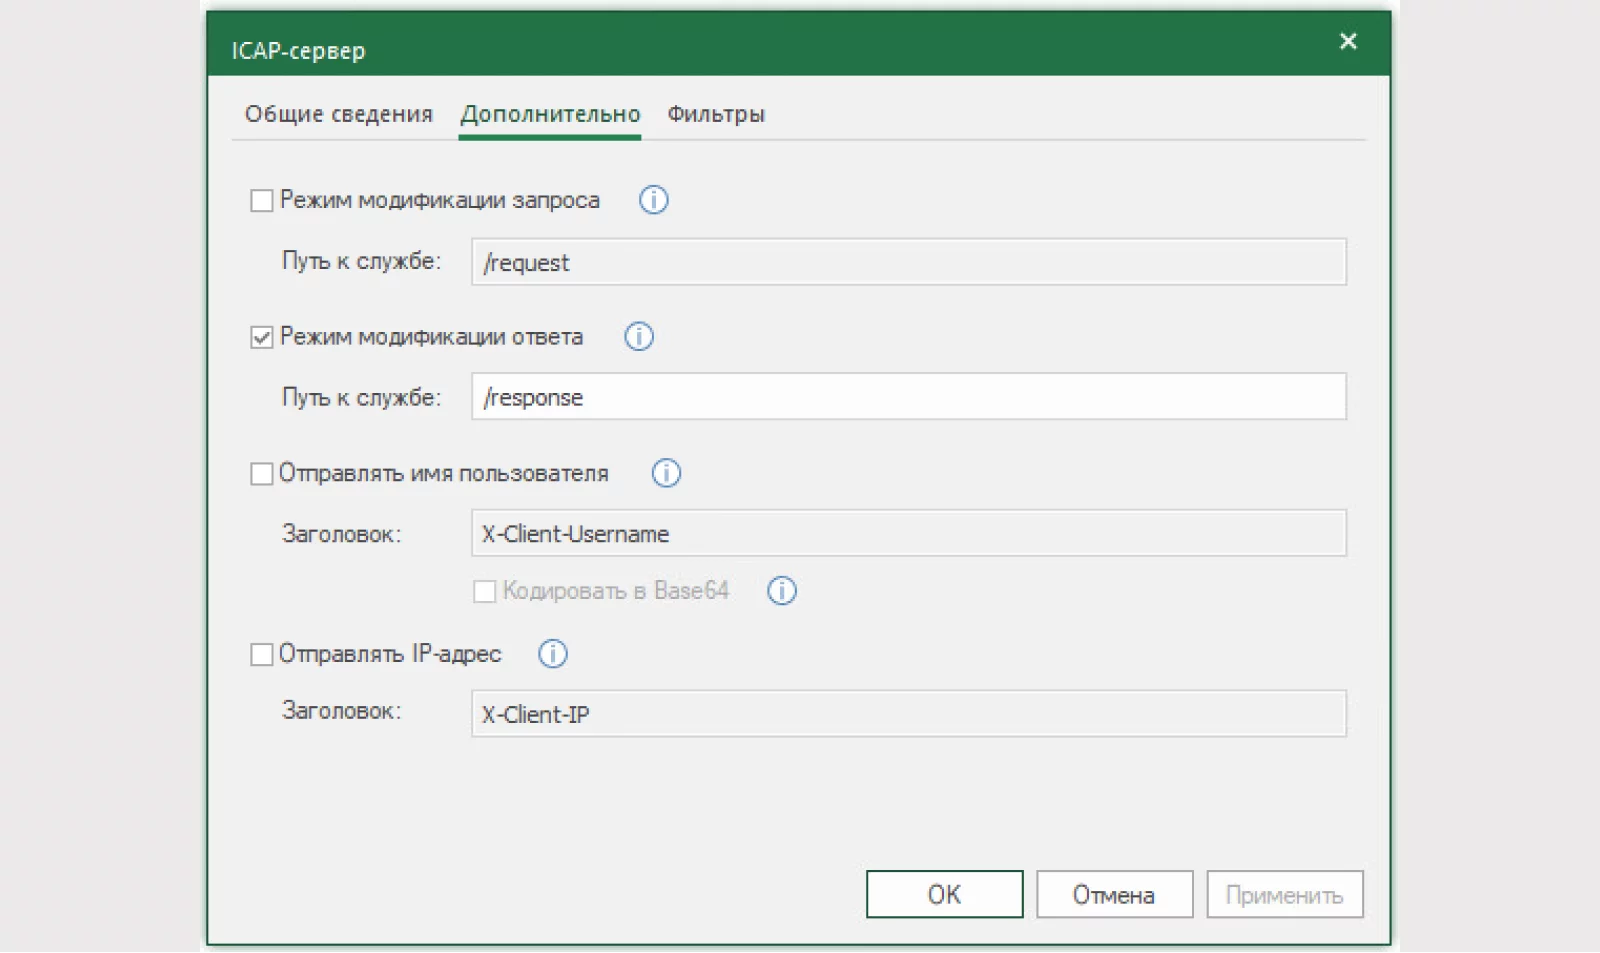
6) Let’s configure the SD:
Connection port, maximum wait for an inactive session and other parameters are by default.
DNS Servers:
Preferred – 172.16.20.100;
Alternative – 77.88.8.8
Address pools – 192.168.2.0/24
Add the user ivanov.ii to the address pool 192.168.2.0/24.
Issuing an address: “Automatically”.

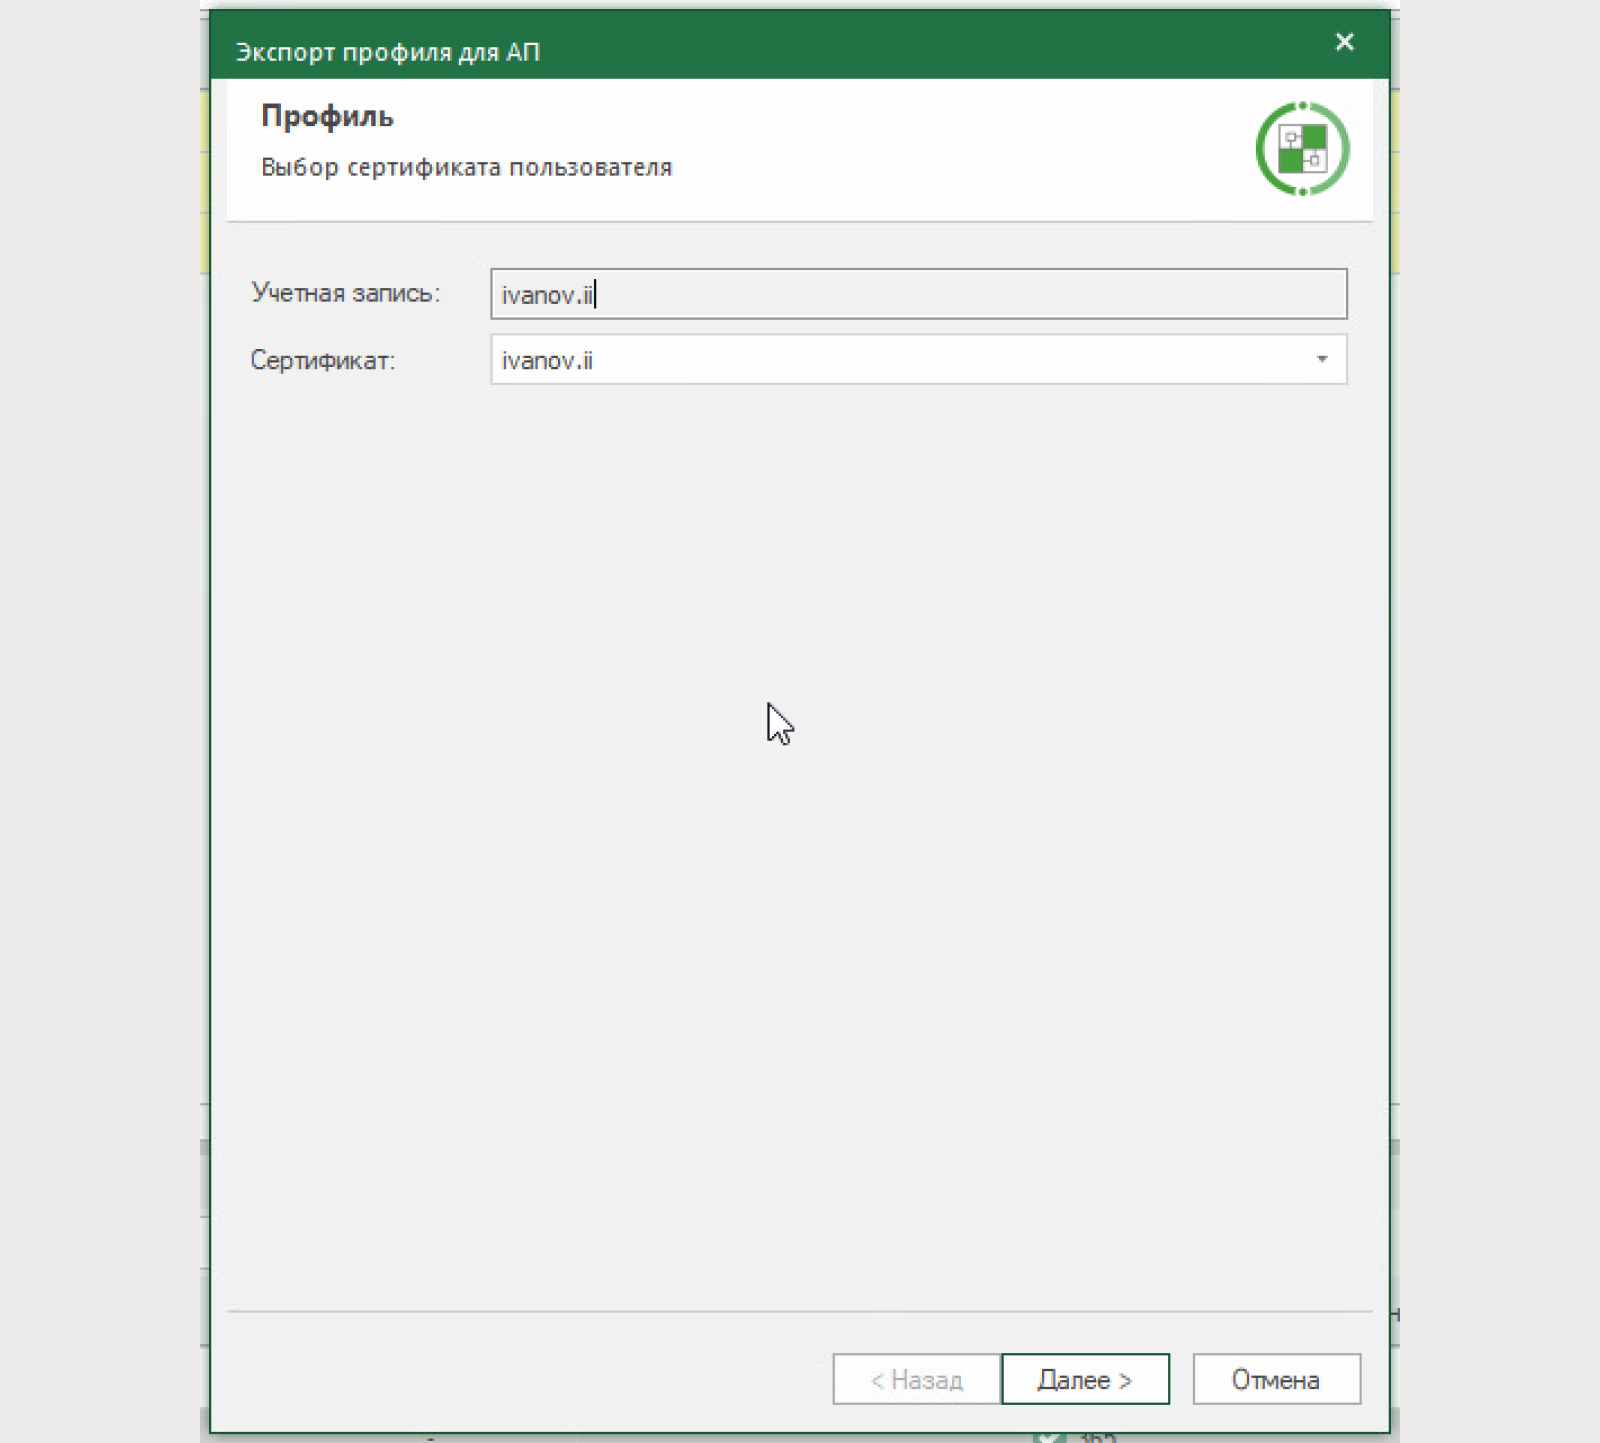
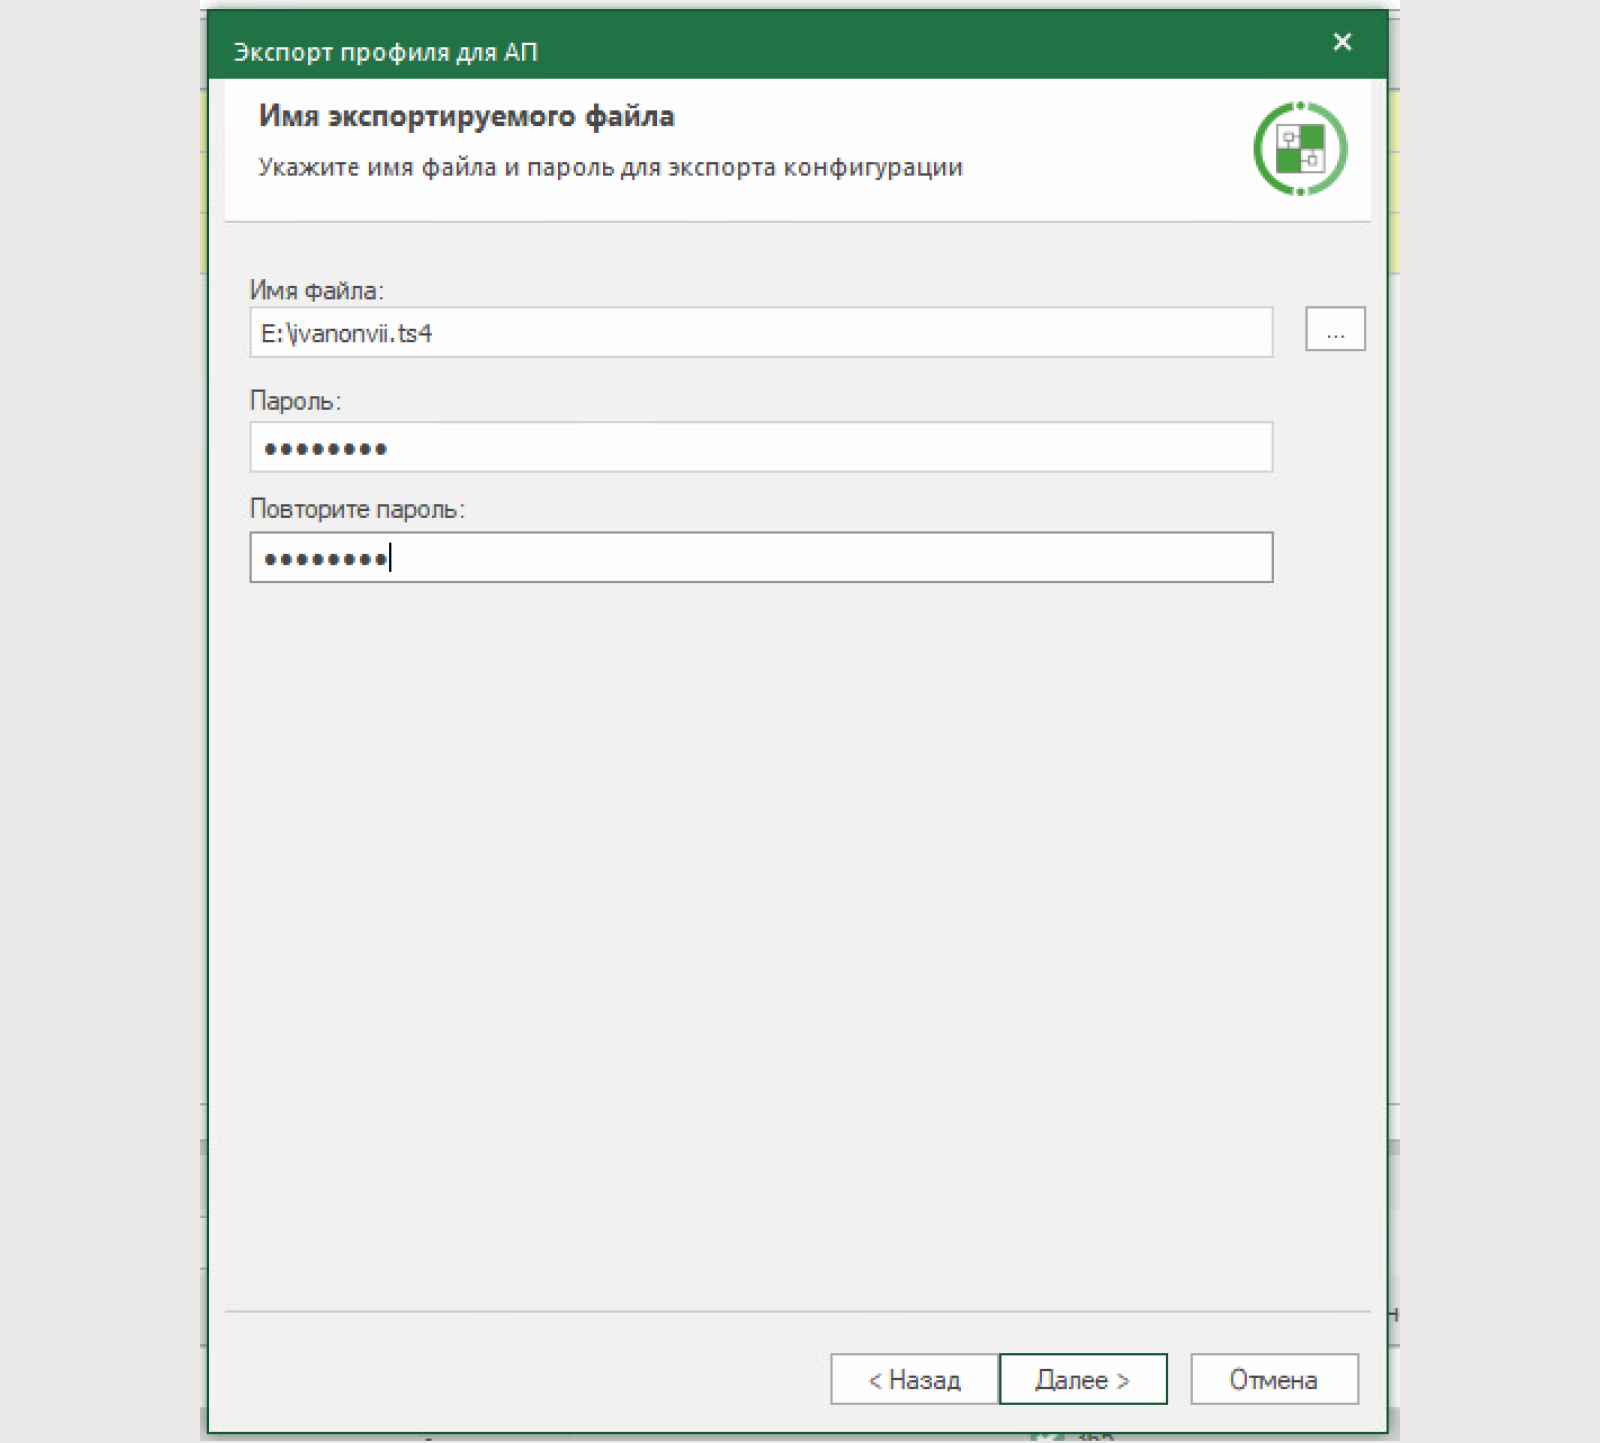
7) Export the AP user profile:
Certificate: previously created personal certificate;
Export private key: yes, export private key;
User access server: default;
The file name is arbitrary;
The password is arbitrary.


At the end, be sure to make sure that the correct parameters were specified.

8) Let's create a remote access rule. Let's go to the section “Virtual private networks – Remote access”.
Parameters for the rule:
Name: arbitrary;
Users: ivanov. ii;
Authentication method: by certificate;
Access: DMZ subnet (172.16.20.0/24);
Connection management: No restrictions;
Multiple connection: Deny;
Time interval: Always;
Install: NCC (UX with NCC)

Let's look at the rule parameters further.
Authentication method:
According to the certificate. The user will be able to log in only with a certificate. Suitable for local users only;
By password. The user will be able to log in only with a password. Suitable for local and domain users;
By certificate or password. The user can log in in any convenient way

Access — subnets or hosts that will be announced to remote users.

Connection management:
No limits. The remote user can use the Internet without restrictions, and will have access to protected resources. The priority of the provider's gateway is higher than the UB gateway.
Ban the unprotected. During a VPN connection, a remote user will only have access to the advertised addresses in the remote access rule. Any other resources will not be available.
Redirecting everyone through the tunnel. All user traffic will be redirected through UB. The priority of the provider gateway is lower than the UB gateway

Multiple connections Allows or denies users to connect from multiple devices at the same time.
9) Add a rule on the firewall that allows the user Ivanov. ii access to the DMZ segment (172.16.20.0/24) via DNS, HTTP/TLS and RDP protocols.

On the Continent 4 NGFW side, the settings have been successfully completed. Let's move on to the settings on the user side.
You will need to do the following:
Install CIPF “Continent ZTN Client”;
Configure the CIPF “Continent ZTN Client”;
Import AP user profile;
Connect to the SD.
Let's perform the entire sequence of actions:
1) Installing the CIPF “Continent ZTN Client” will not cause any difficulties.
By default, installation takes place in KS1 mode and does not require additional modules. If other modes and support for third-party crypto providers are required, you can specify the required level during installation.


After installing the CIPF “Continent ZTN Client” you will be prompted to restart the computer.
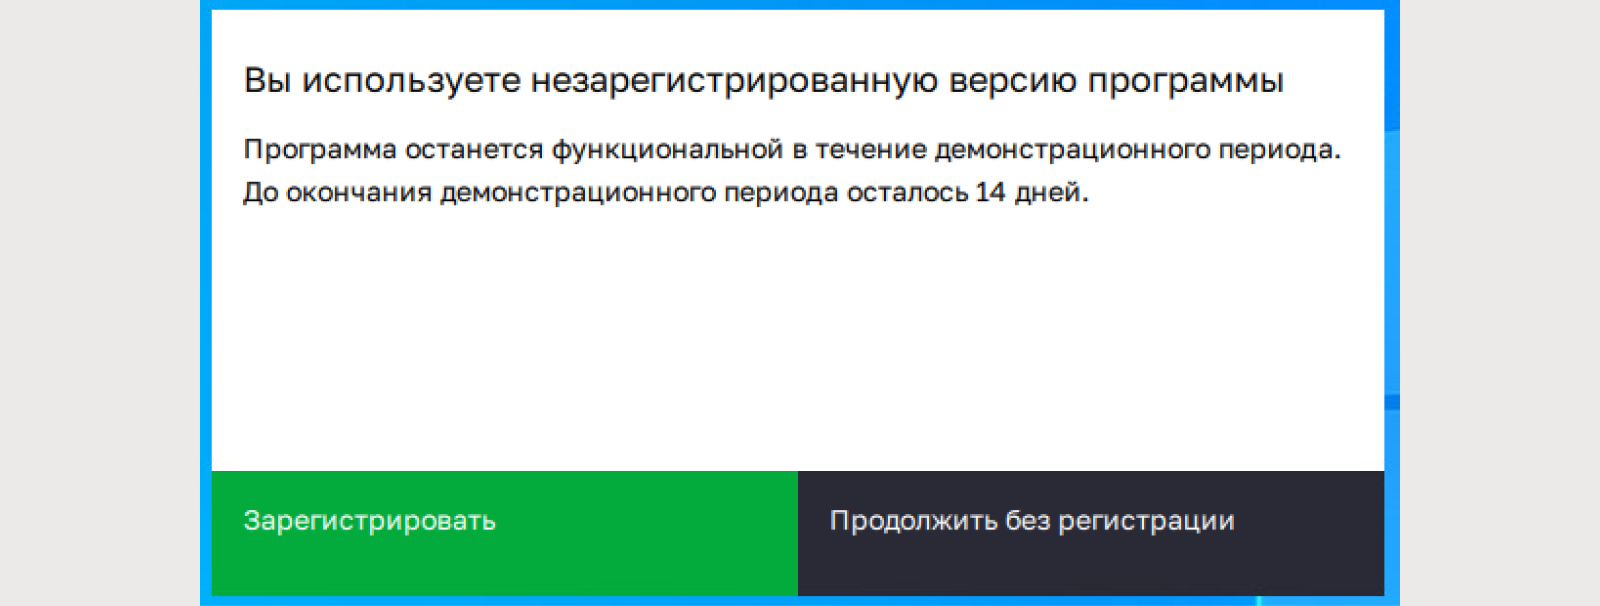
2) Setting up the CIPF “Continent ZTN Client” begins with registering the program version. Registration is free and required to account for CIPF. The program is available in trial mode for 14 days.
To change the settings, restart the CIPF “Continent ZTN Client” with Administrator rights. When running in normal mode, most settings will be unavailable. We need to disable all CRL verification options for the test connection.

3) Import the previously created AP user profile in the Configuration Manager. You can transfer it in any convenient way.
However, the official way to handle media with a profile and keys: see the form for the CIPF.

Enter the password for the configuration (the last one entered when creating the AP user profile)

Enter the password for the private key container of the personal certificate for the user Ivanov. ii

The private part of the key has been transported. Set a new password and confirm it to save the private part of the key on the user's computer.

Specify the key media. We use the Windows registry.
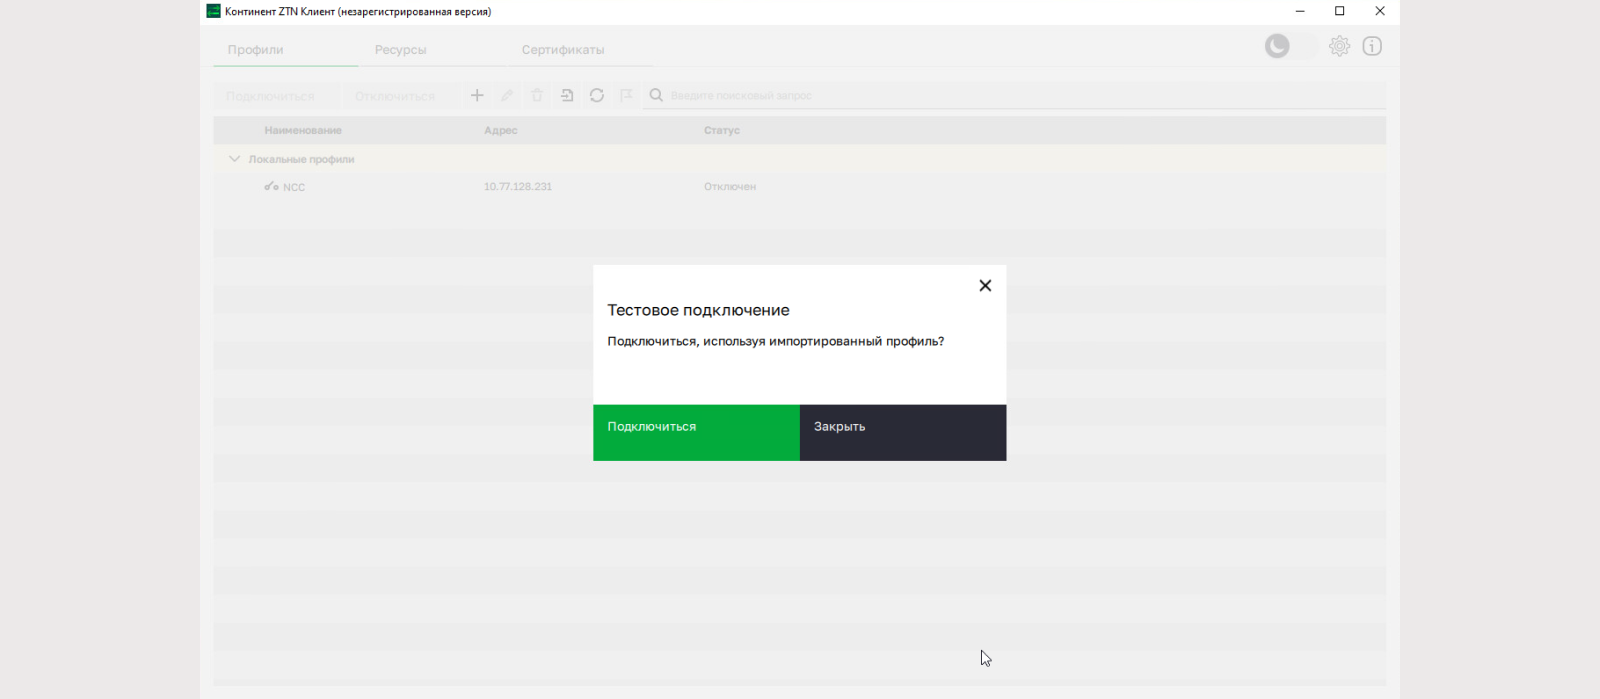
After successful import of the profile, a corresponding notification will be displayed and you will be prompted to make a test connection. We agree.

If successful, a corresponding notification will be displayed in the system tray. The icon for the local user will also change to the “Connected” status.


Let's test the connection.
Let's go to the IP address of AD DS with IIS in a web browser. The web page opened successfully. When I try to execute the ping command, the packets do not arrive. There is no allowing rule for ICMP to AD DC.

In the Monitoring System you can find out which user is connected, what his real address is, the type of connection and how long he has been connected. If necessary, it can be disabled.
You can get acquainted with these parameters along the path: “Structure – Management System – Domain – User Sessions”

CONCLUSION
This concludes the sixth article in the series. In the materials written above, we examined: VPN operating modes, built a Site-to-Site VPN, and organized a remote user connection to the protected resources.
As always, we remind you of the most important points and share useful data:
Continent 4 NGFW uses “fresh” GOST encryption algorithms, while current versions do not have the ability to communicate with third-party crypto networks. In version 4.2, IPsec and IPsec GOST should appear, which will correct this problem;
L3VPN and L2VPN can work together. However, L2VPN cannot work in a cluster;
A remote user can be either a local user from the NCC database or a domain user, but certificate authentication for VPN is available only to local users.