Cheapest factory smart home control panel that works great
Home Assistant and ESPHome
For my smart home I use Home Assistant and this means that I needed firmware that would easily integrate into Home Assistant. I also did NOT want to develop the screen design for Nextion myself – I would like to use a ready-made solution. Fortunately, there are already a couple of alternative firmwares:
NSPanel Lovelace UI: Tasmota based firmware that allows you to customize the user interface using a configuration file.
NSPanel_HA_Blueprint: Firmware based on ESPHome with easy setup using Home Assistant Blueprint.
Flashing ESP32
If you have already flashed esp devices before, then the NSPanel firmware will be exactly the same. It is not necessary to remove the display, but you will have to disassemble the panel.
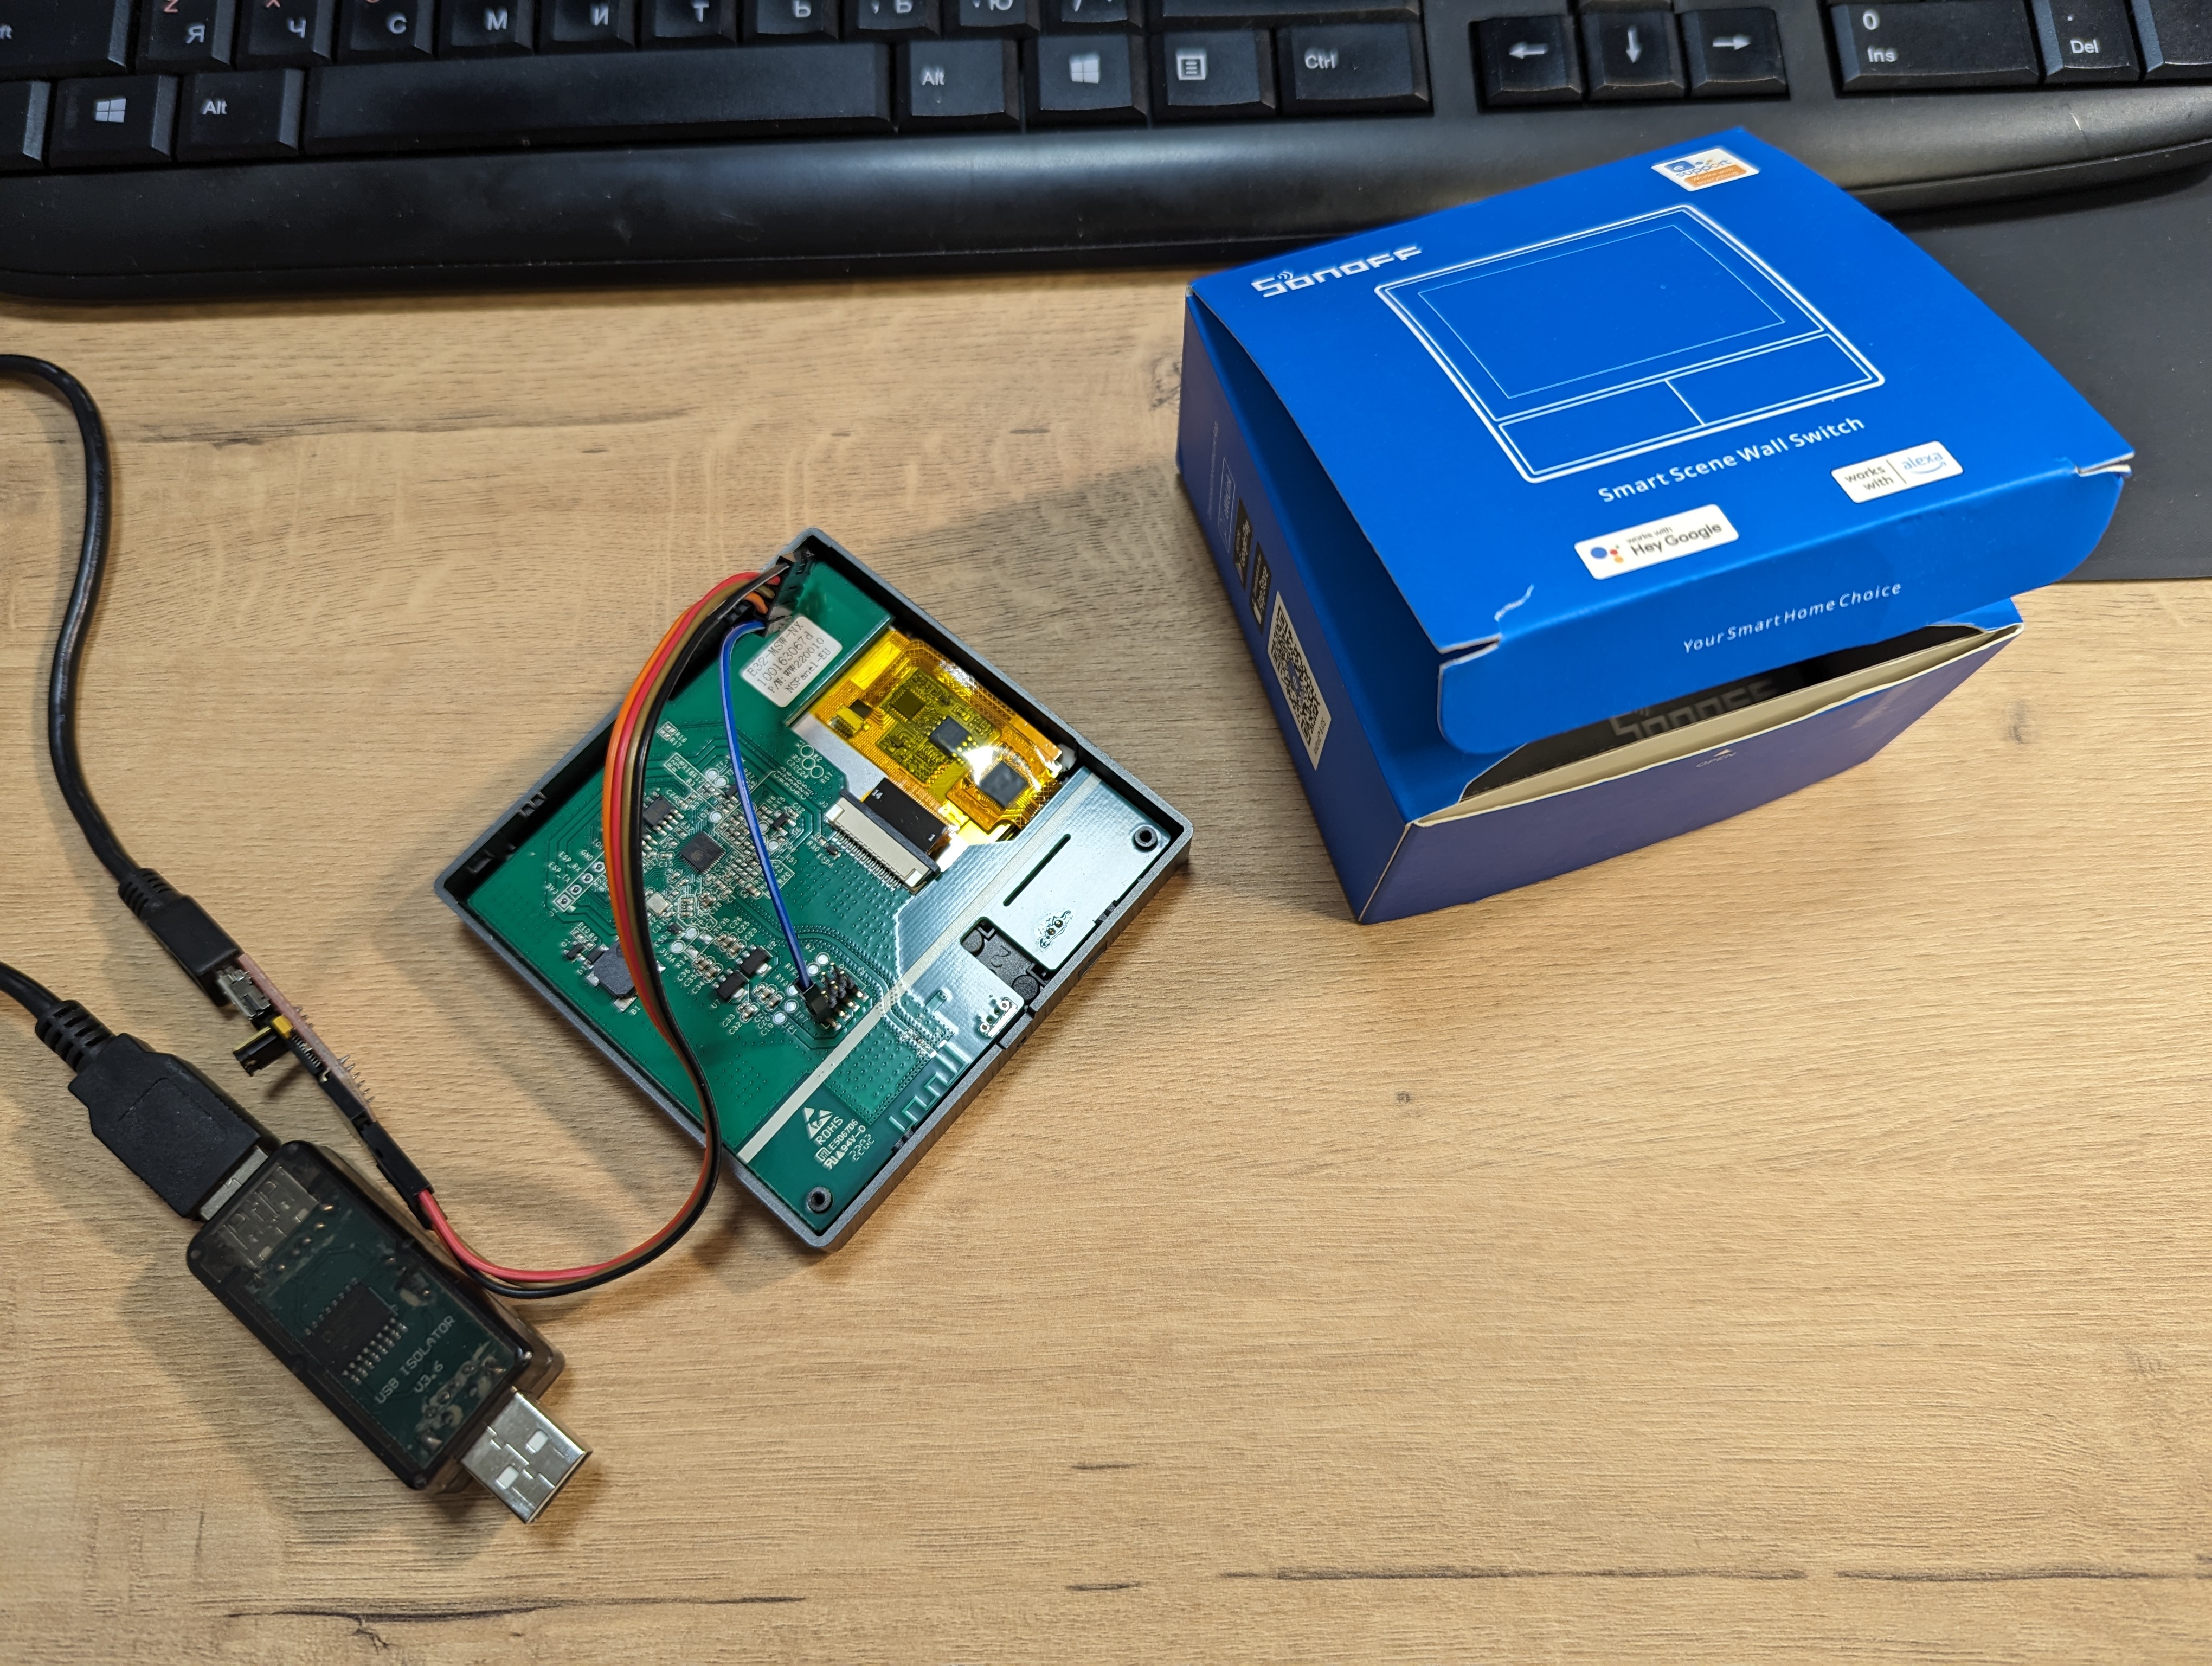
The only additional equipment you will need is a USB-TTL/Serial adapter to connect Sonoff NSPanel to a computer and cables.
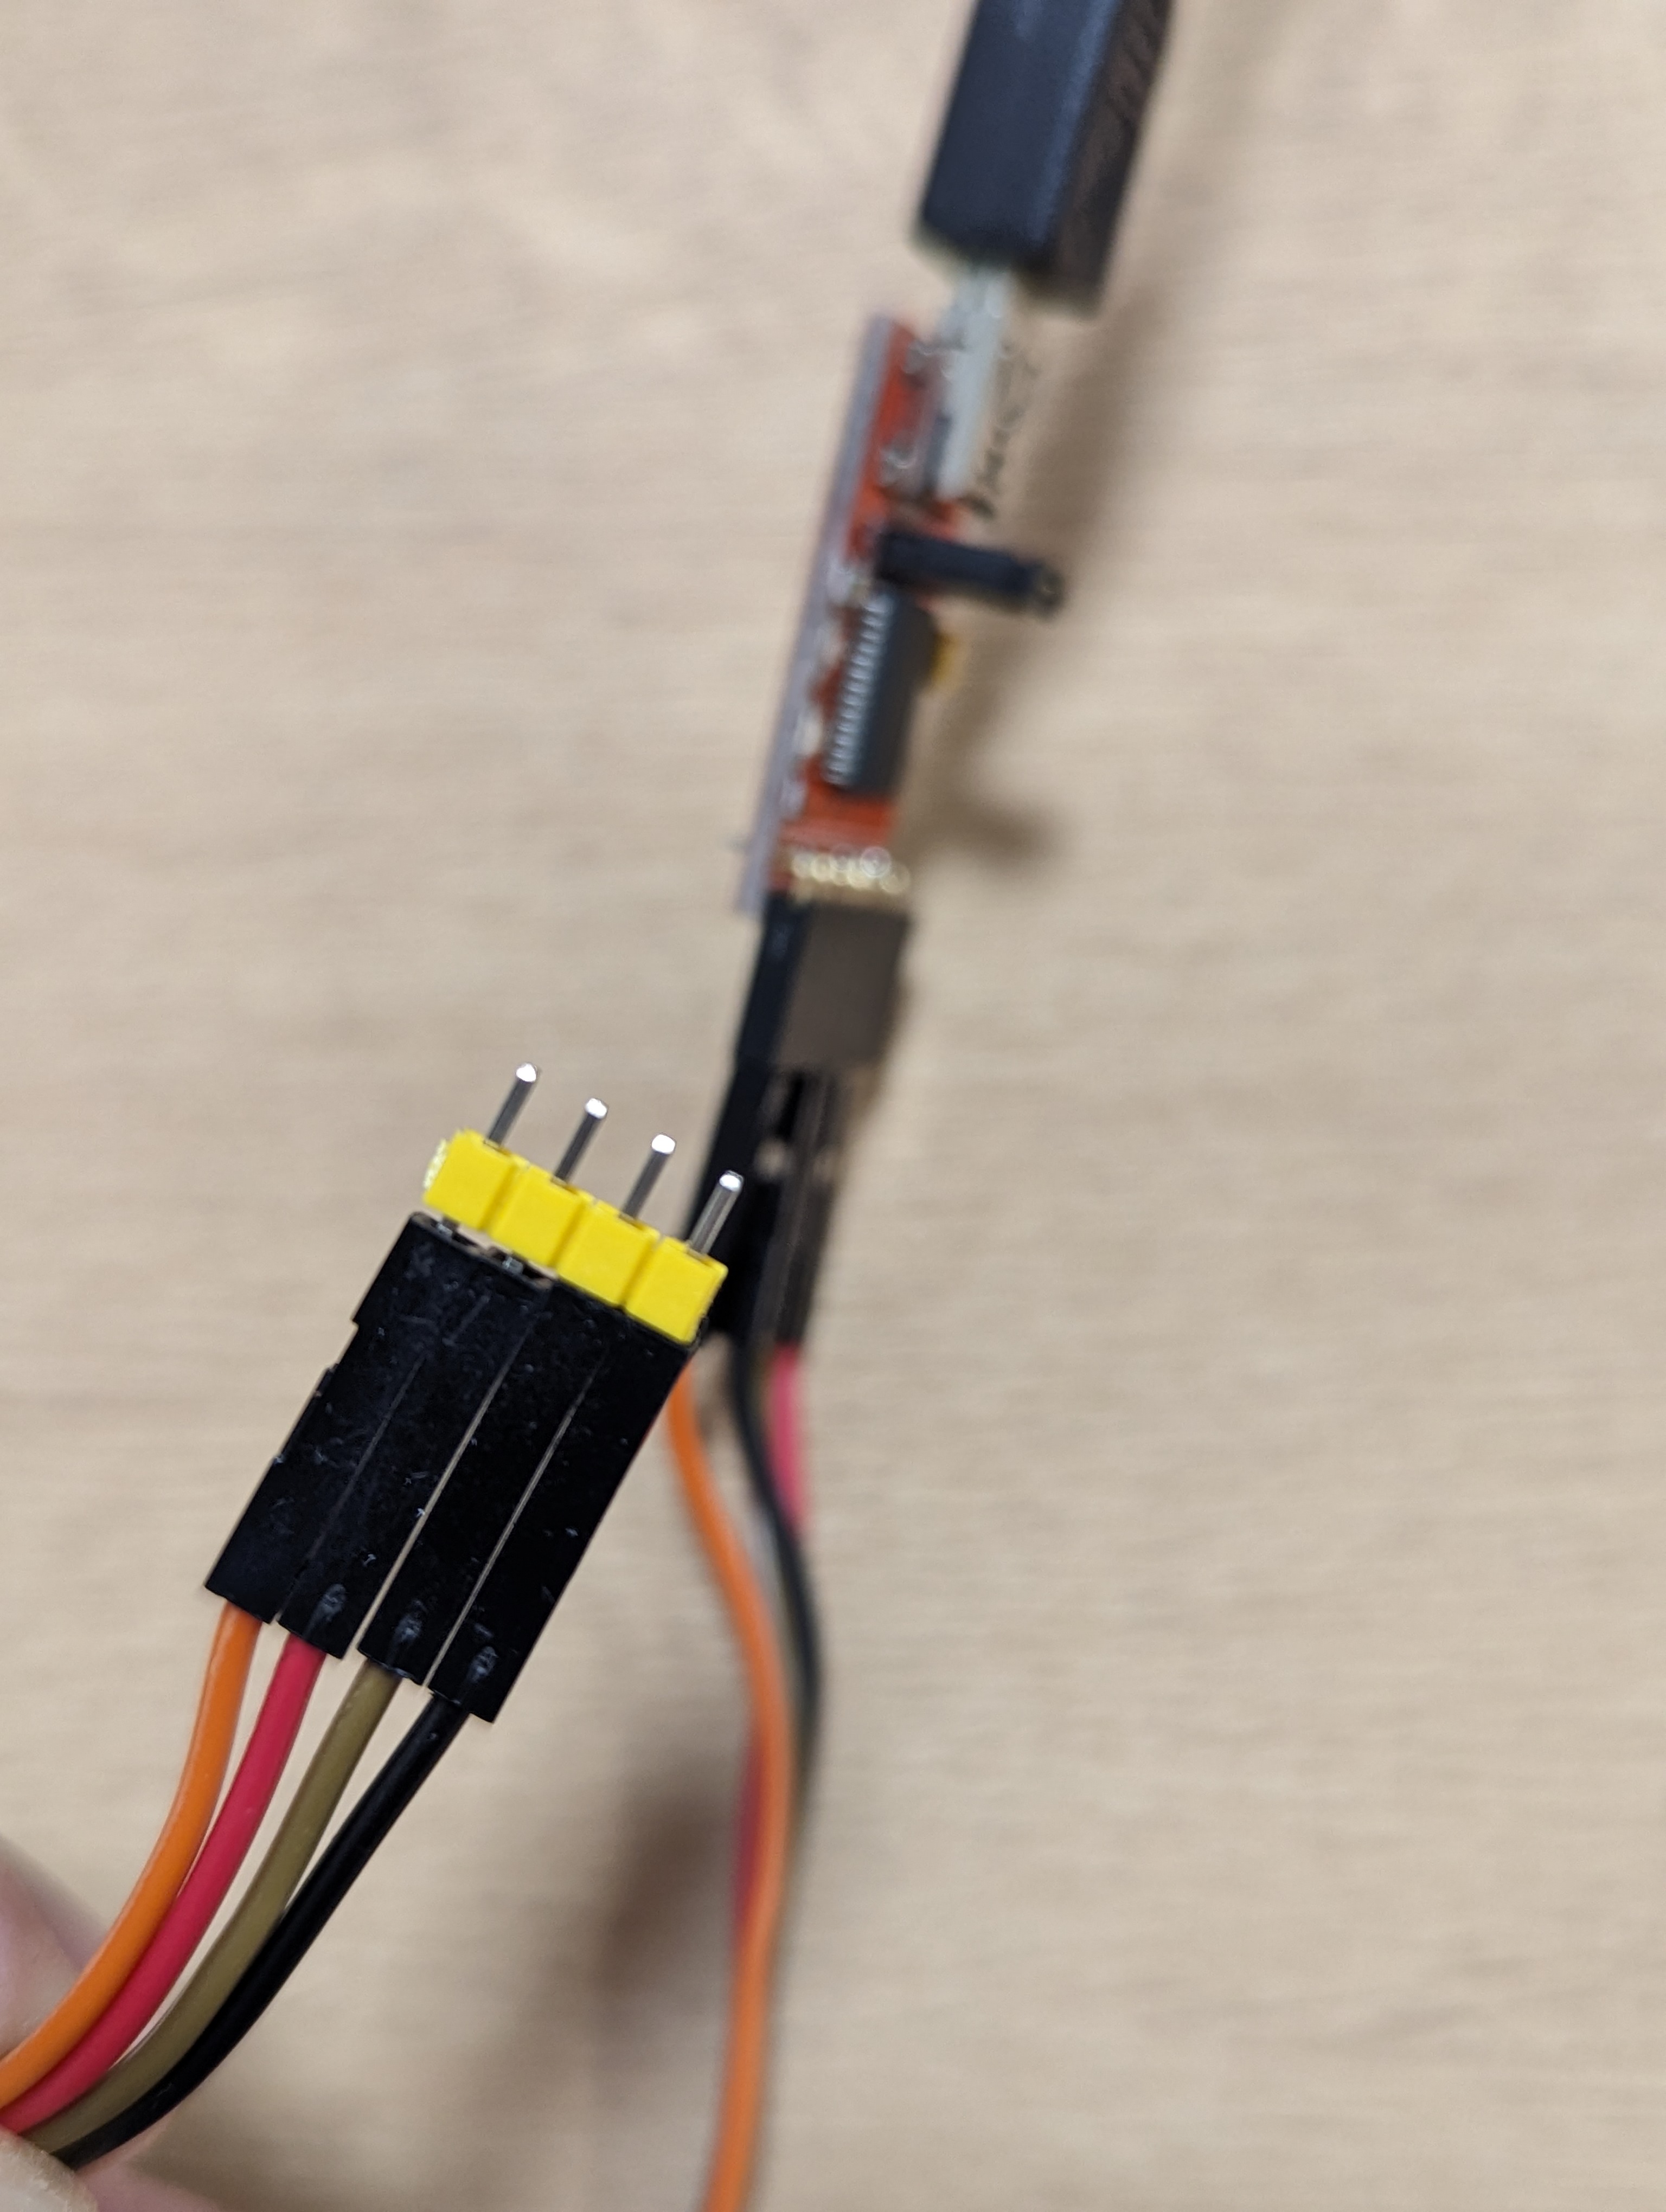
There are a lot of firmware options, and since ESPHome is used, the easiest way is to use the web interface. Important note – never connect 220 volts when flashing – all power comes through the 5 volt USB port.
The smartest thing to do is to take all the steps step by step. instructions from the developer NSPanel_HA_Blueprint.
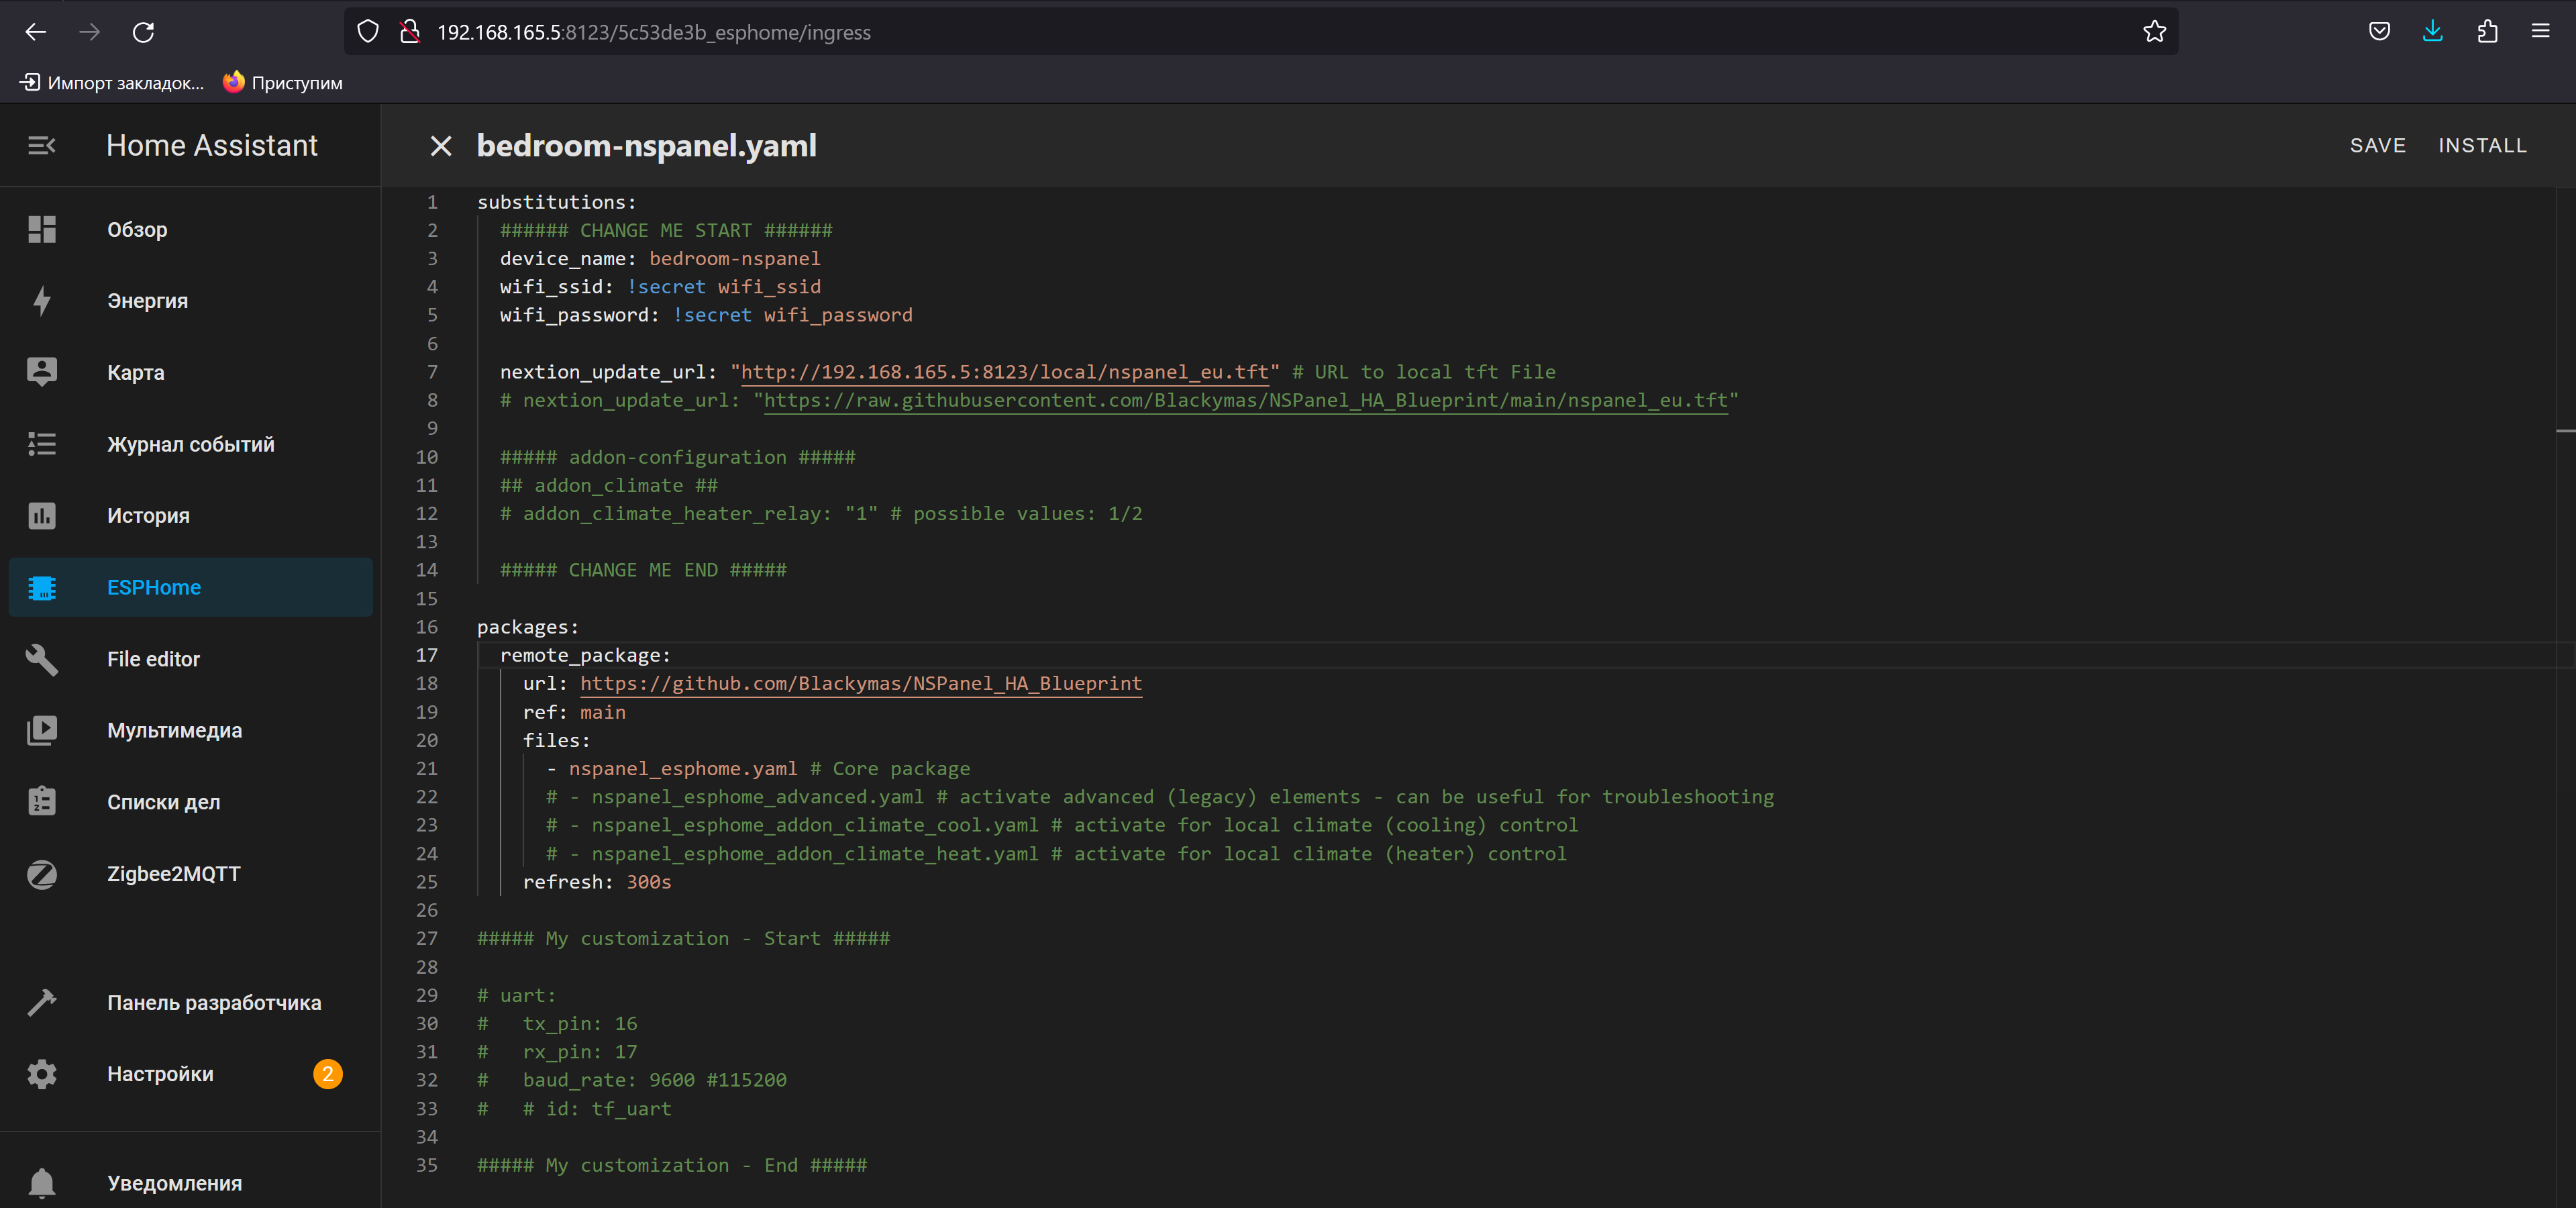
After flashing the firmware, disconnecting the adapter, assembling the panel and connecting it to a power outlet, you will be able to see the logs.
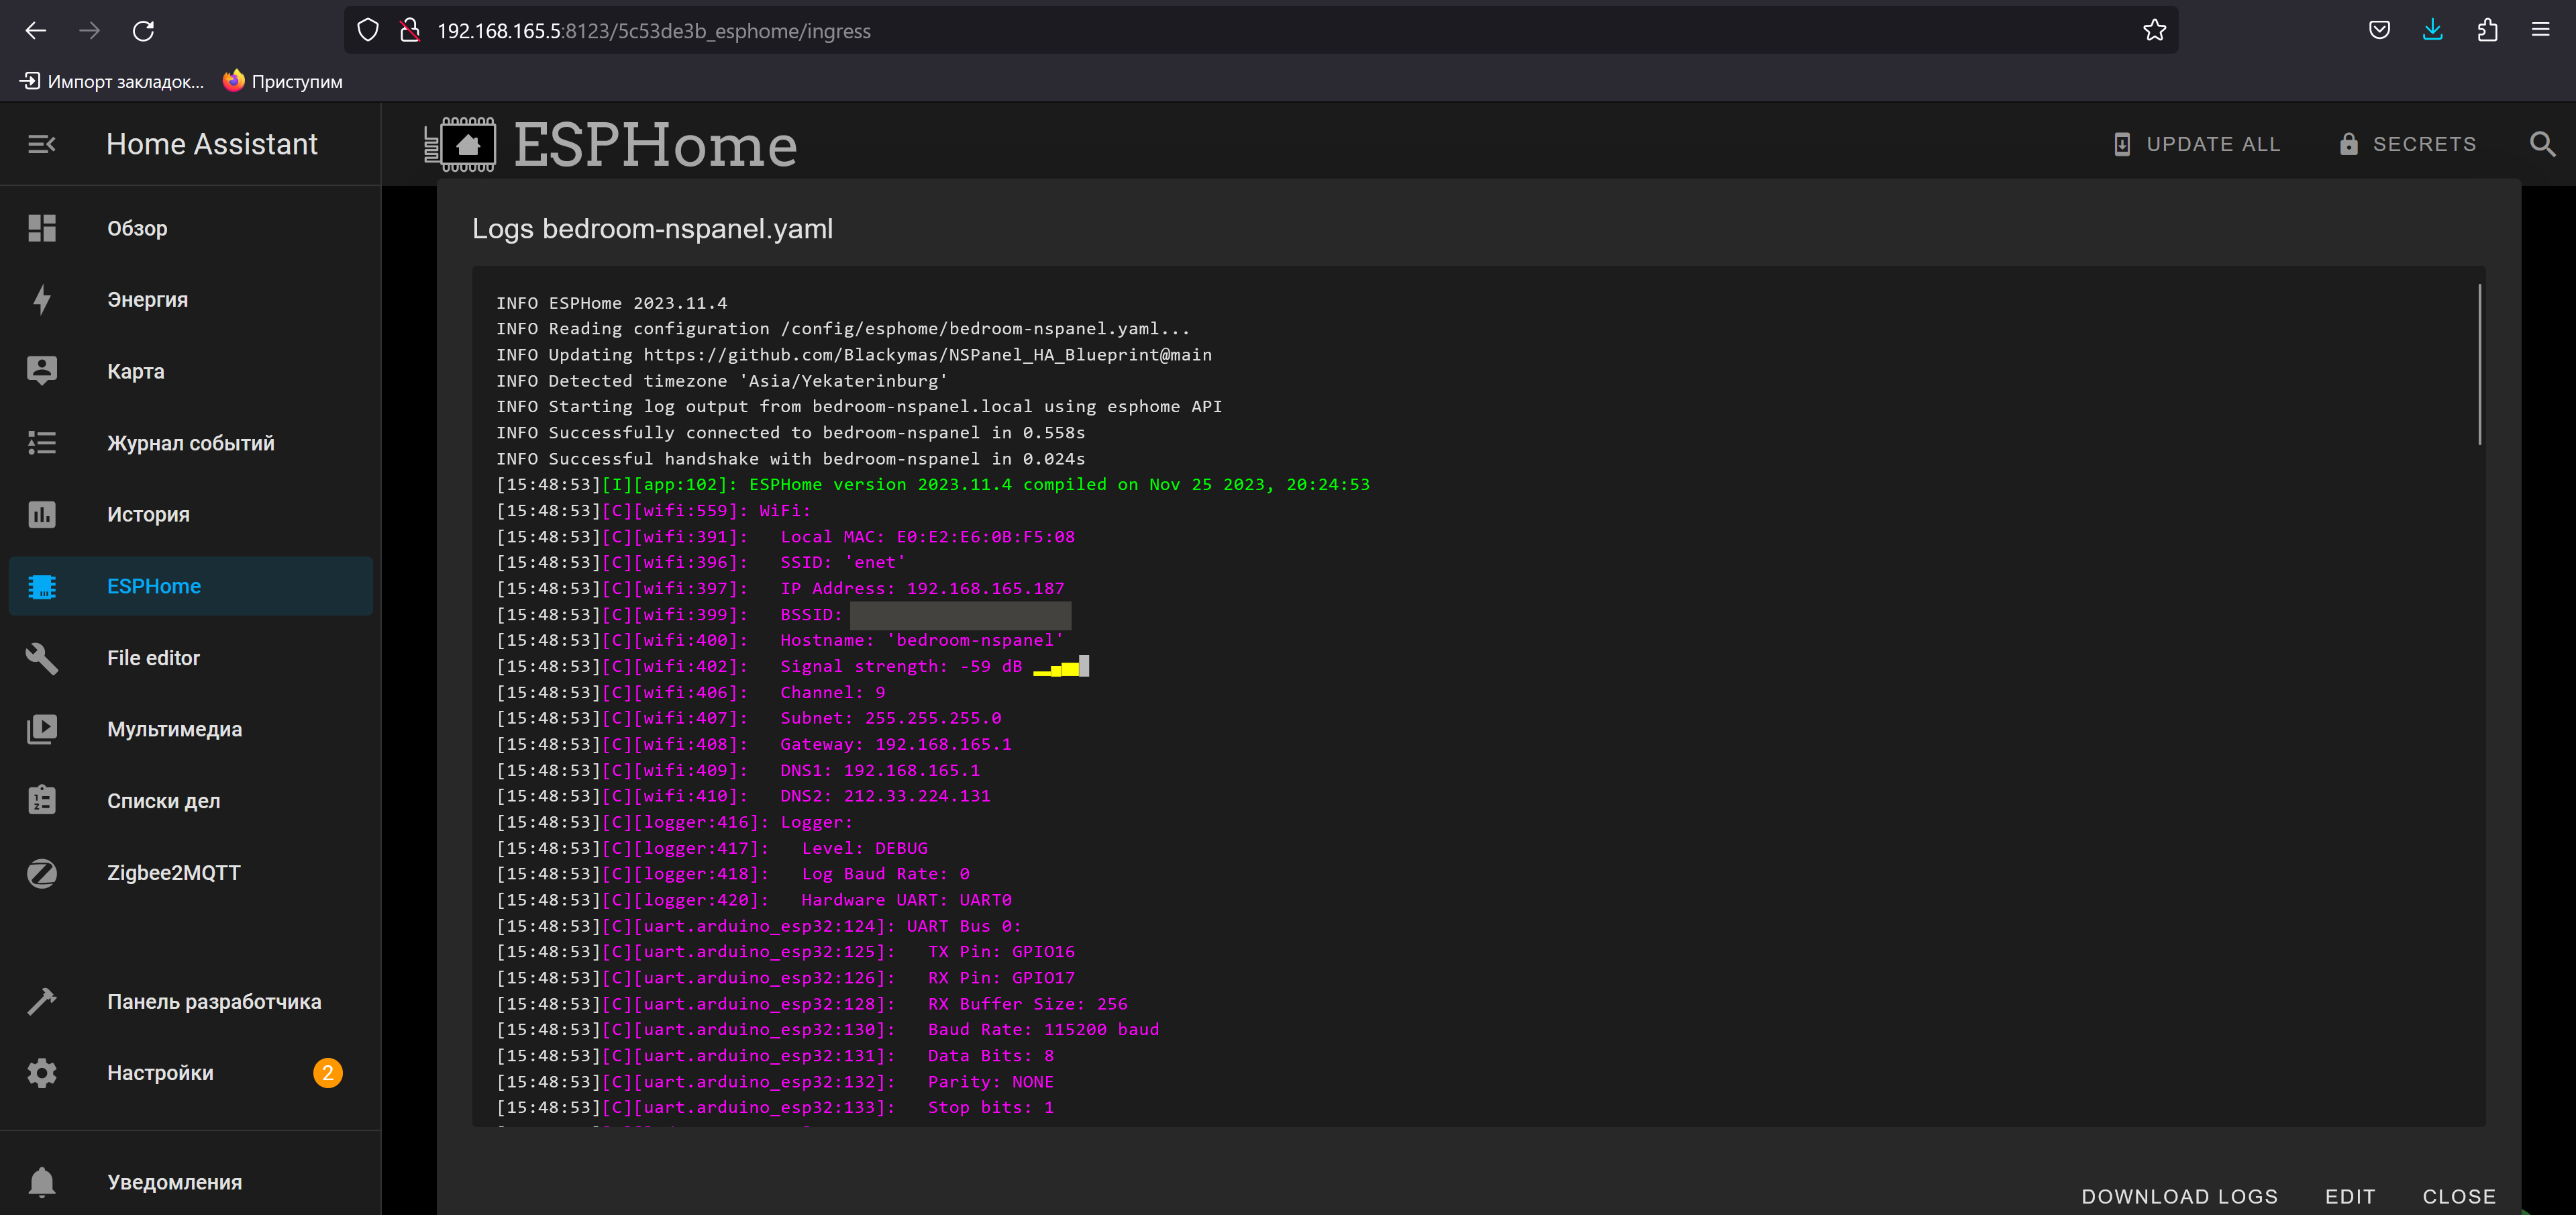
Uploading a template to Nextion
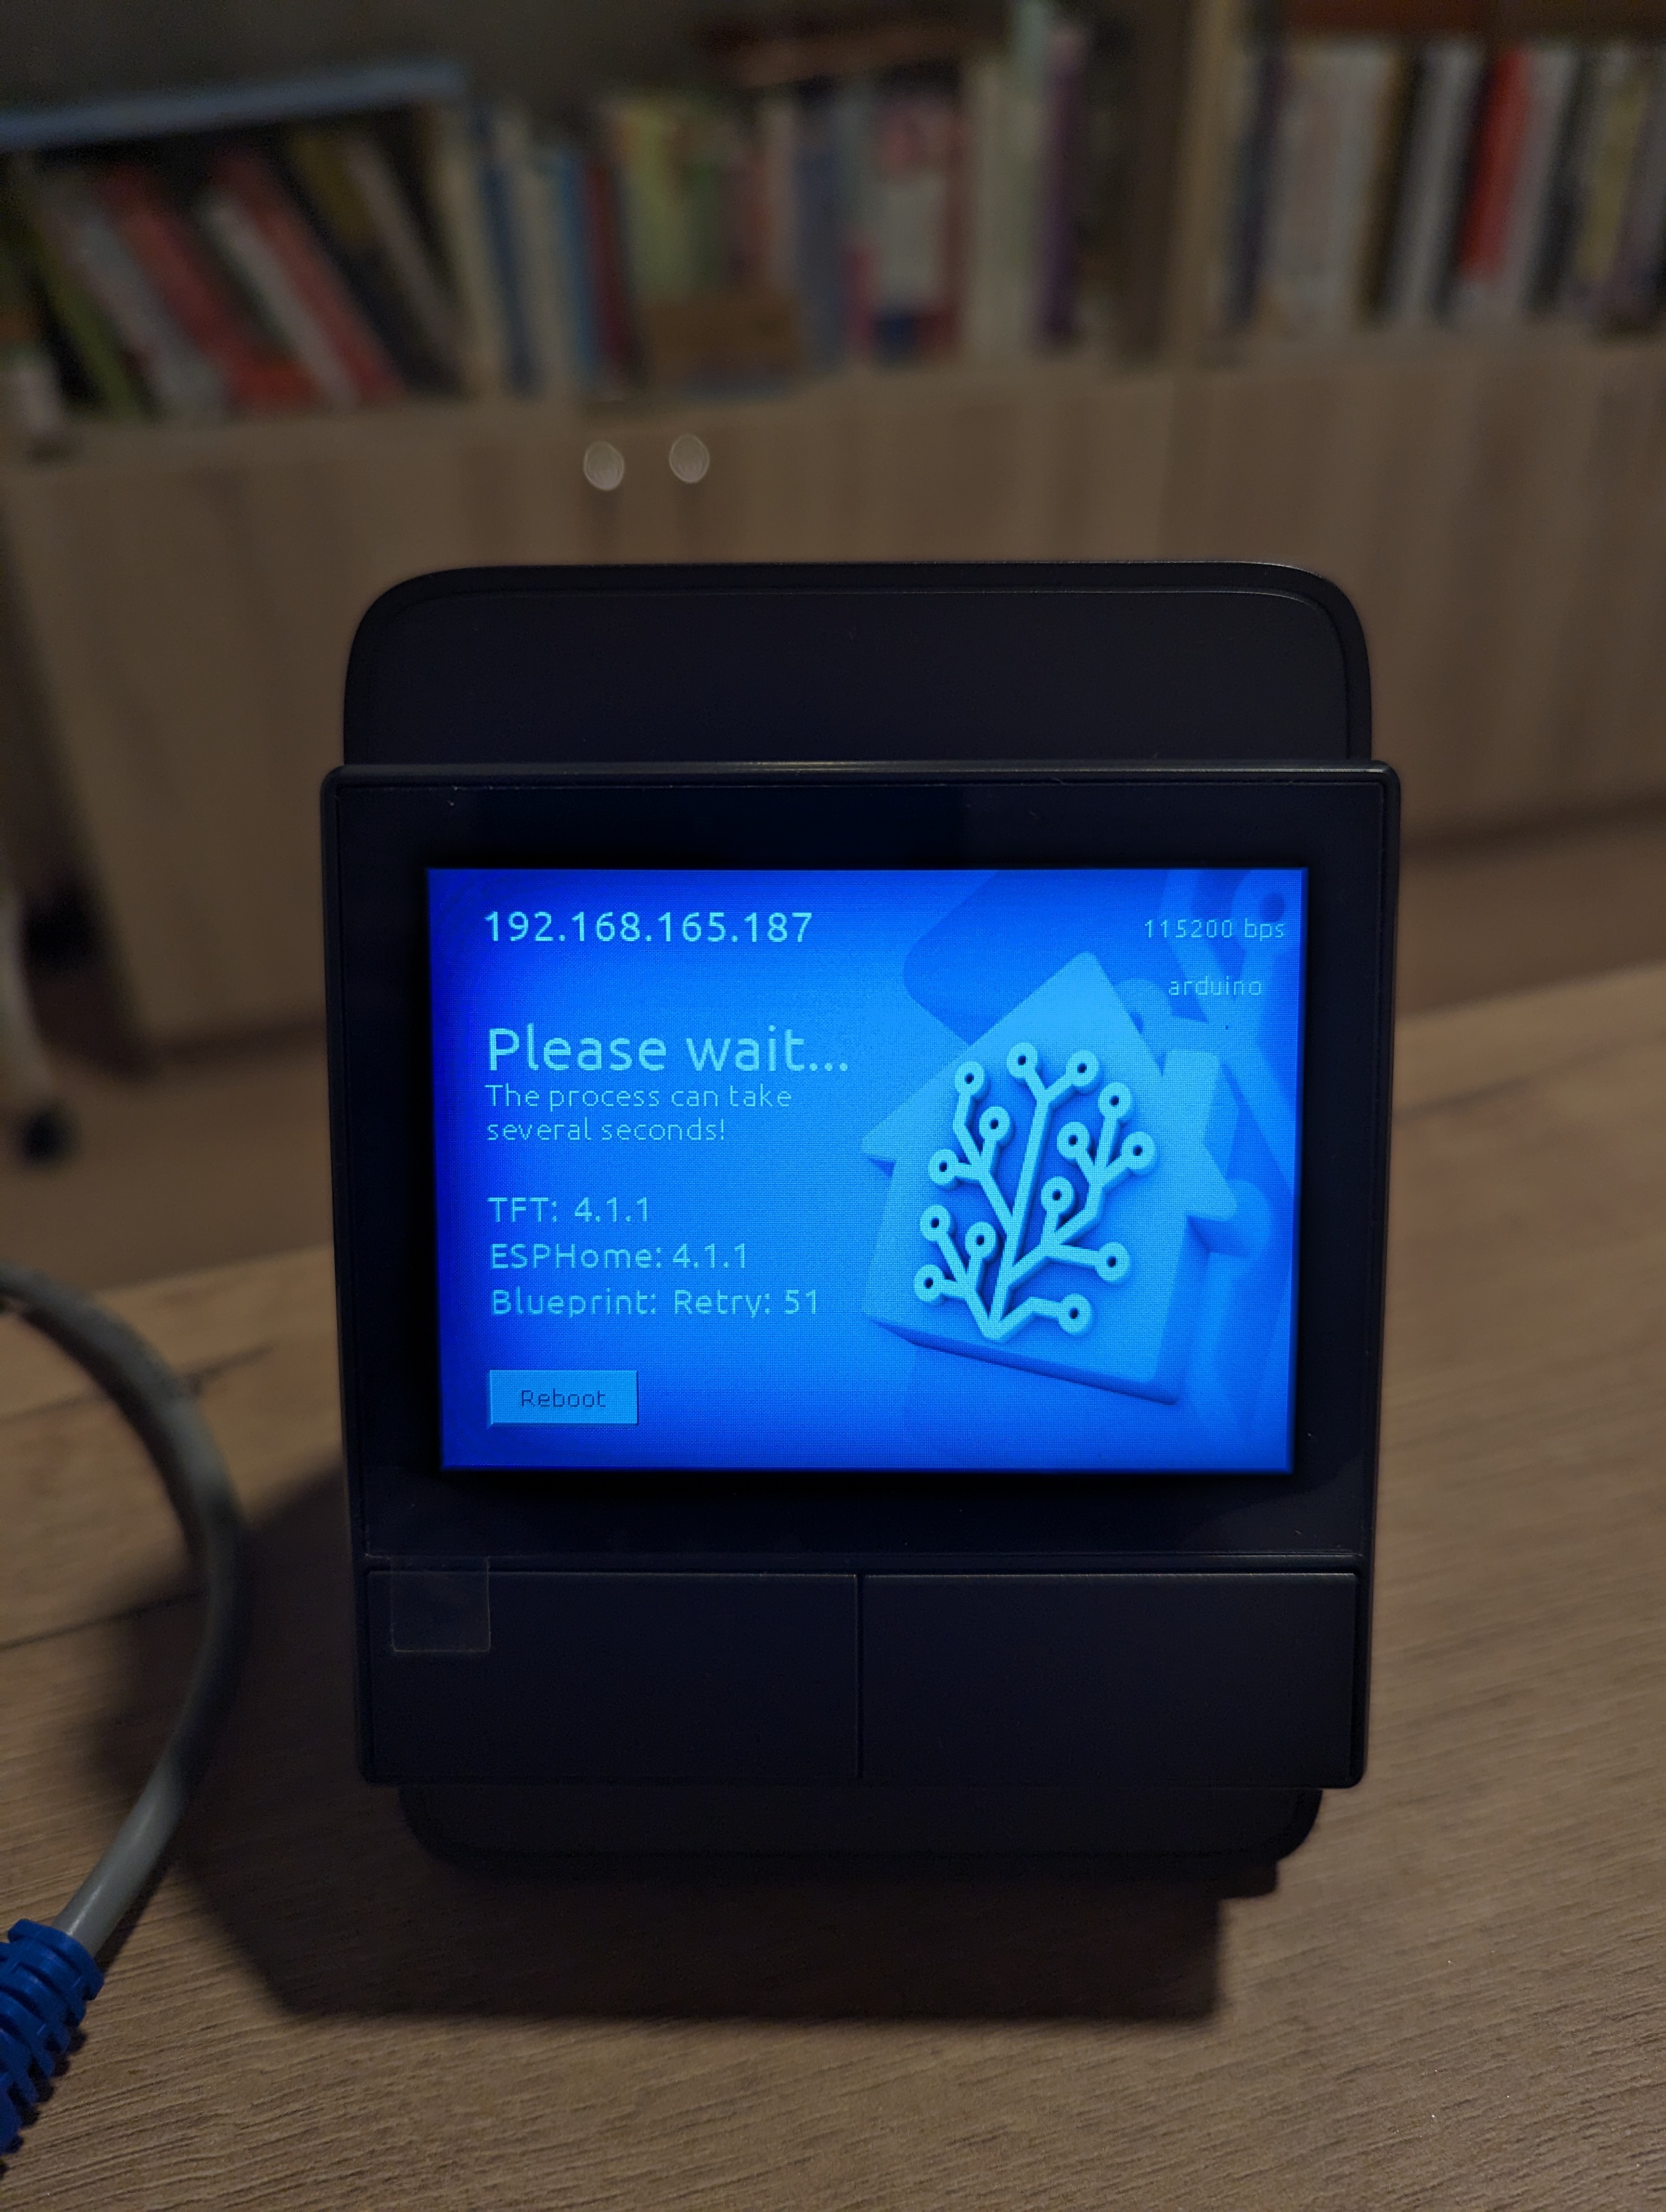
This is the most problematic part, which I did not succeed the first time. After flashing the ESP32, I constantly saw in the logs that Nextion was not connected, and downloading the update for the TFT screen failed.
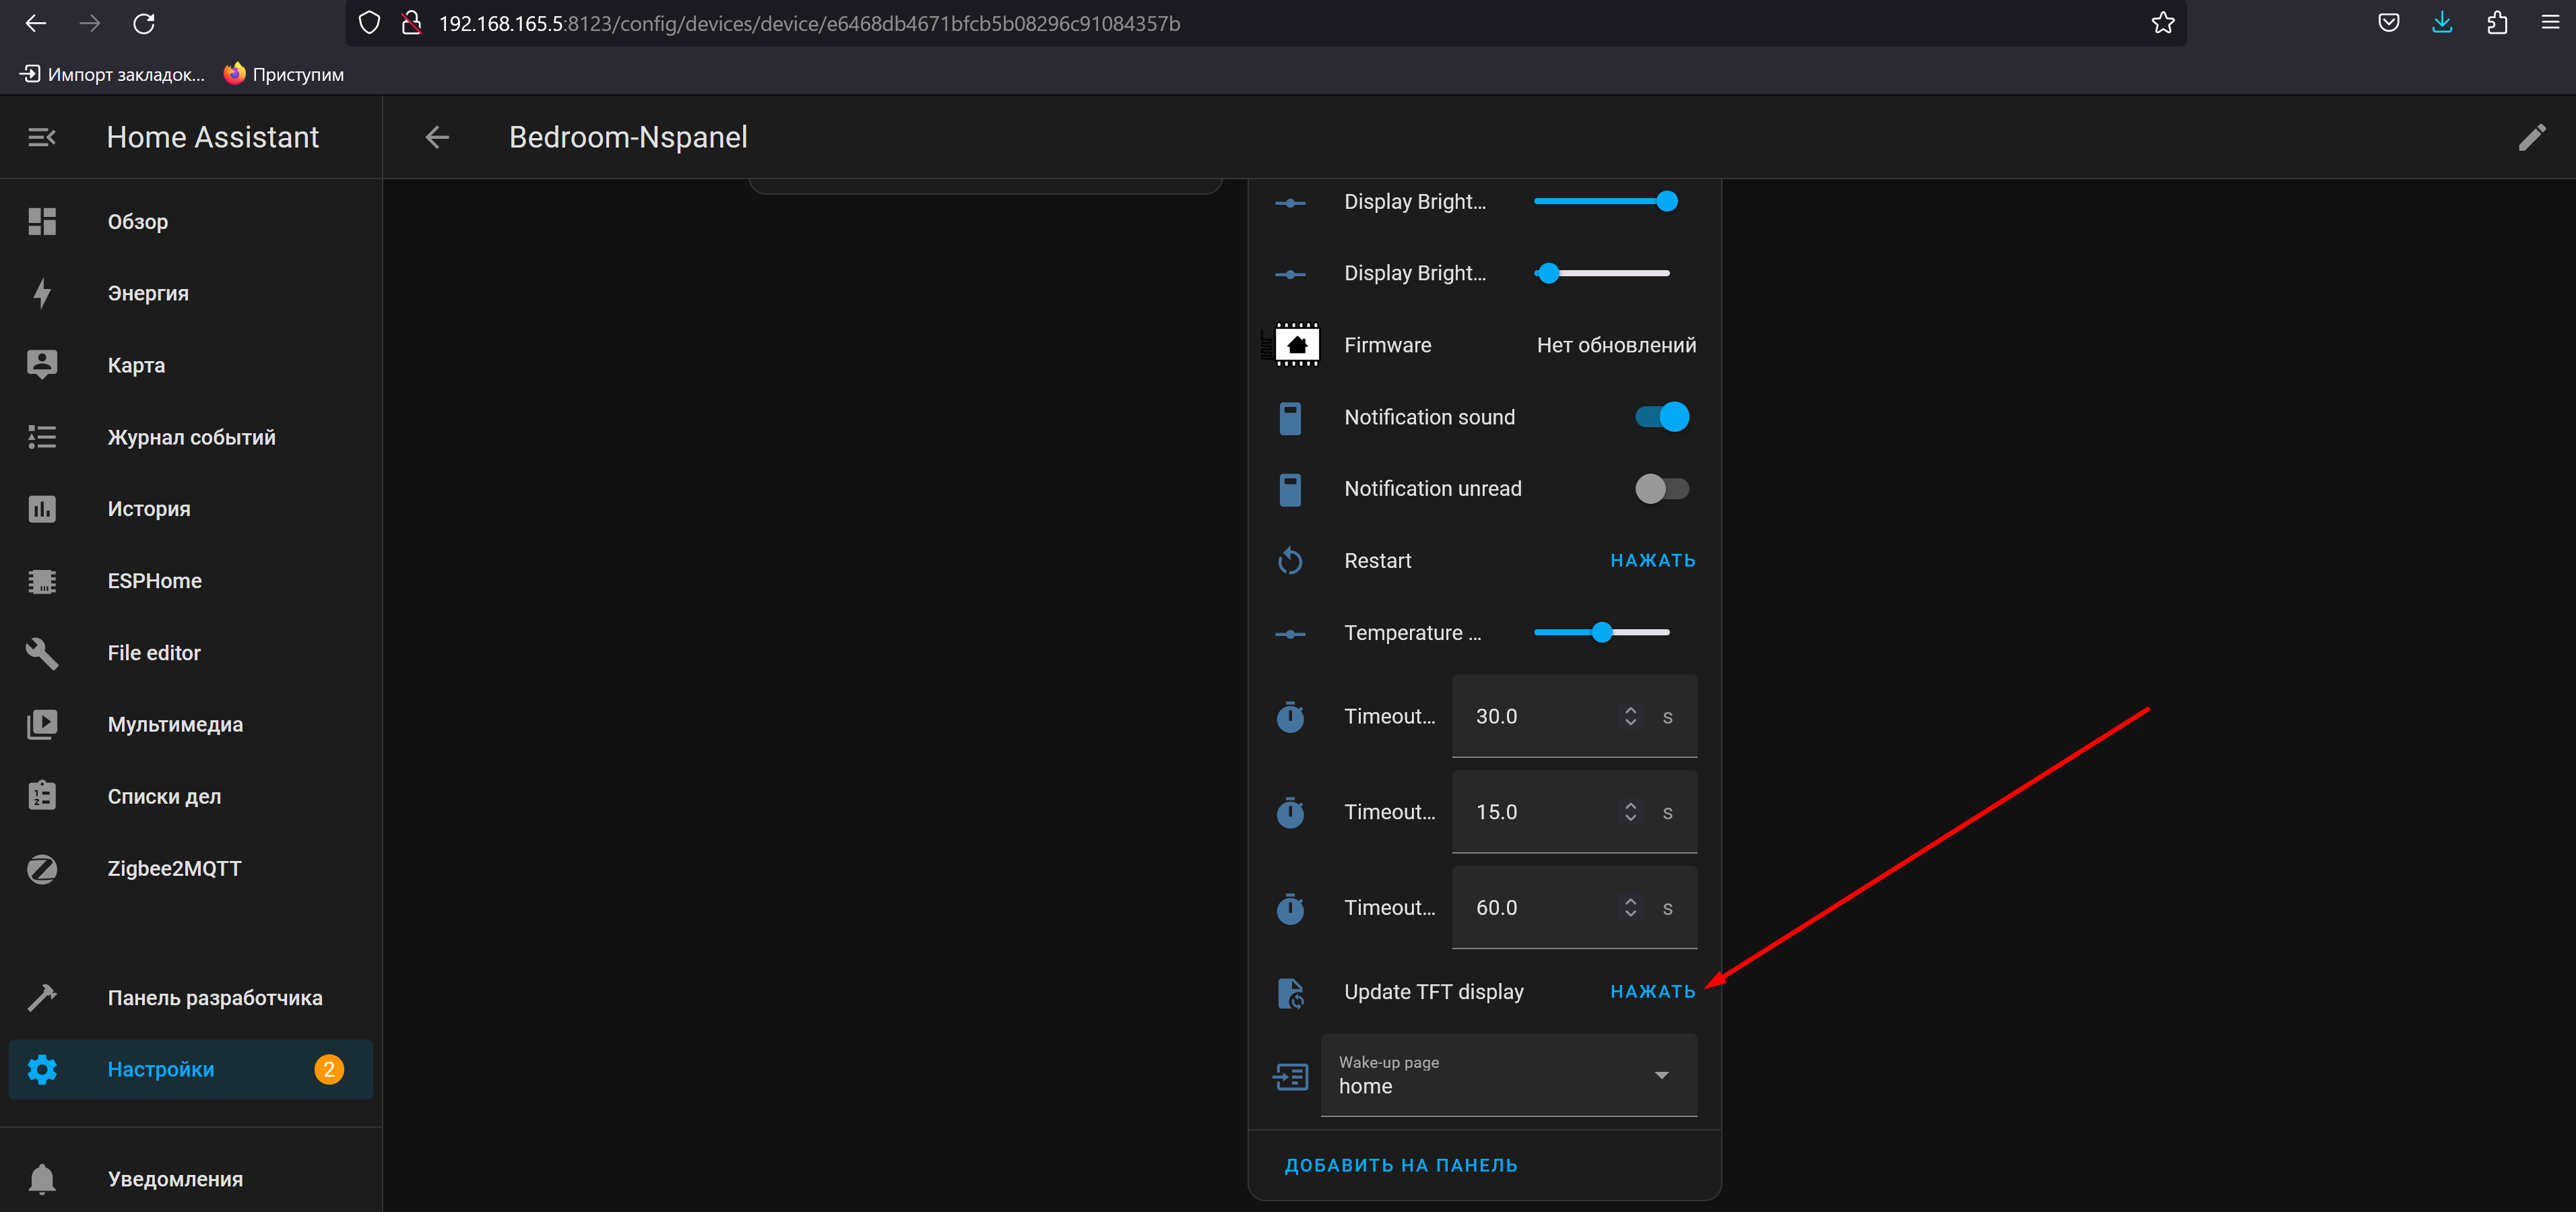
Developer devotes a separate page to this. The main problem is that the correct template address for updating must be local, for example this:
http://192.168.165.5:8123/local/nspanel_eu.tftA physical reboot also helped me: turning off the power from the panel, and then reapplying the power (since the panel was not installed in the cup holder, I simply unplugged the panel from the socket). After several attempts, the update process began and a progress bar was displayed on the display:
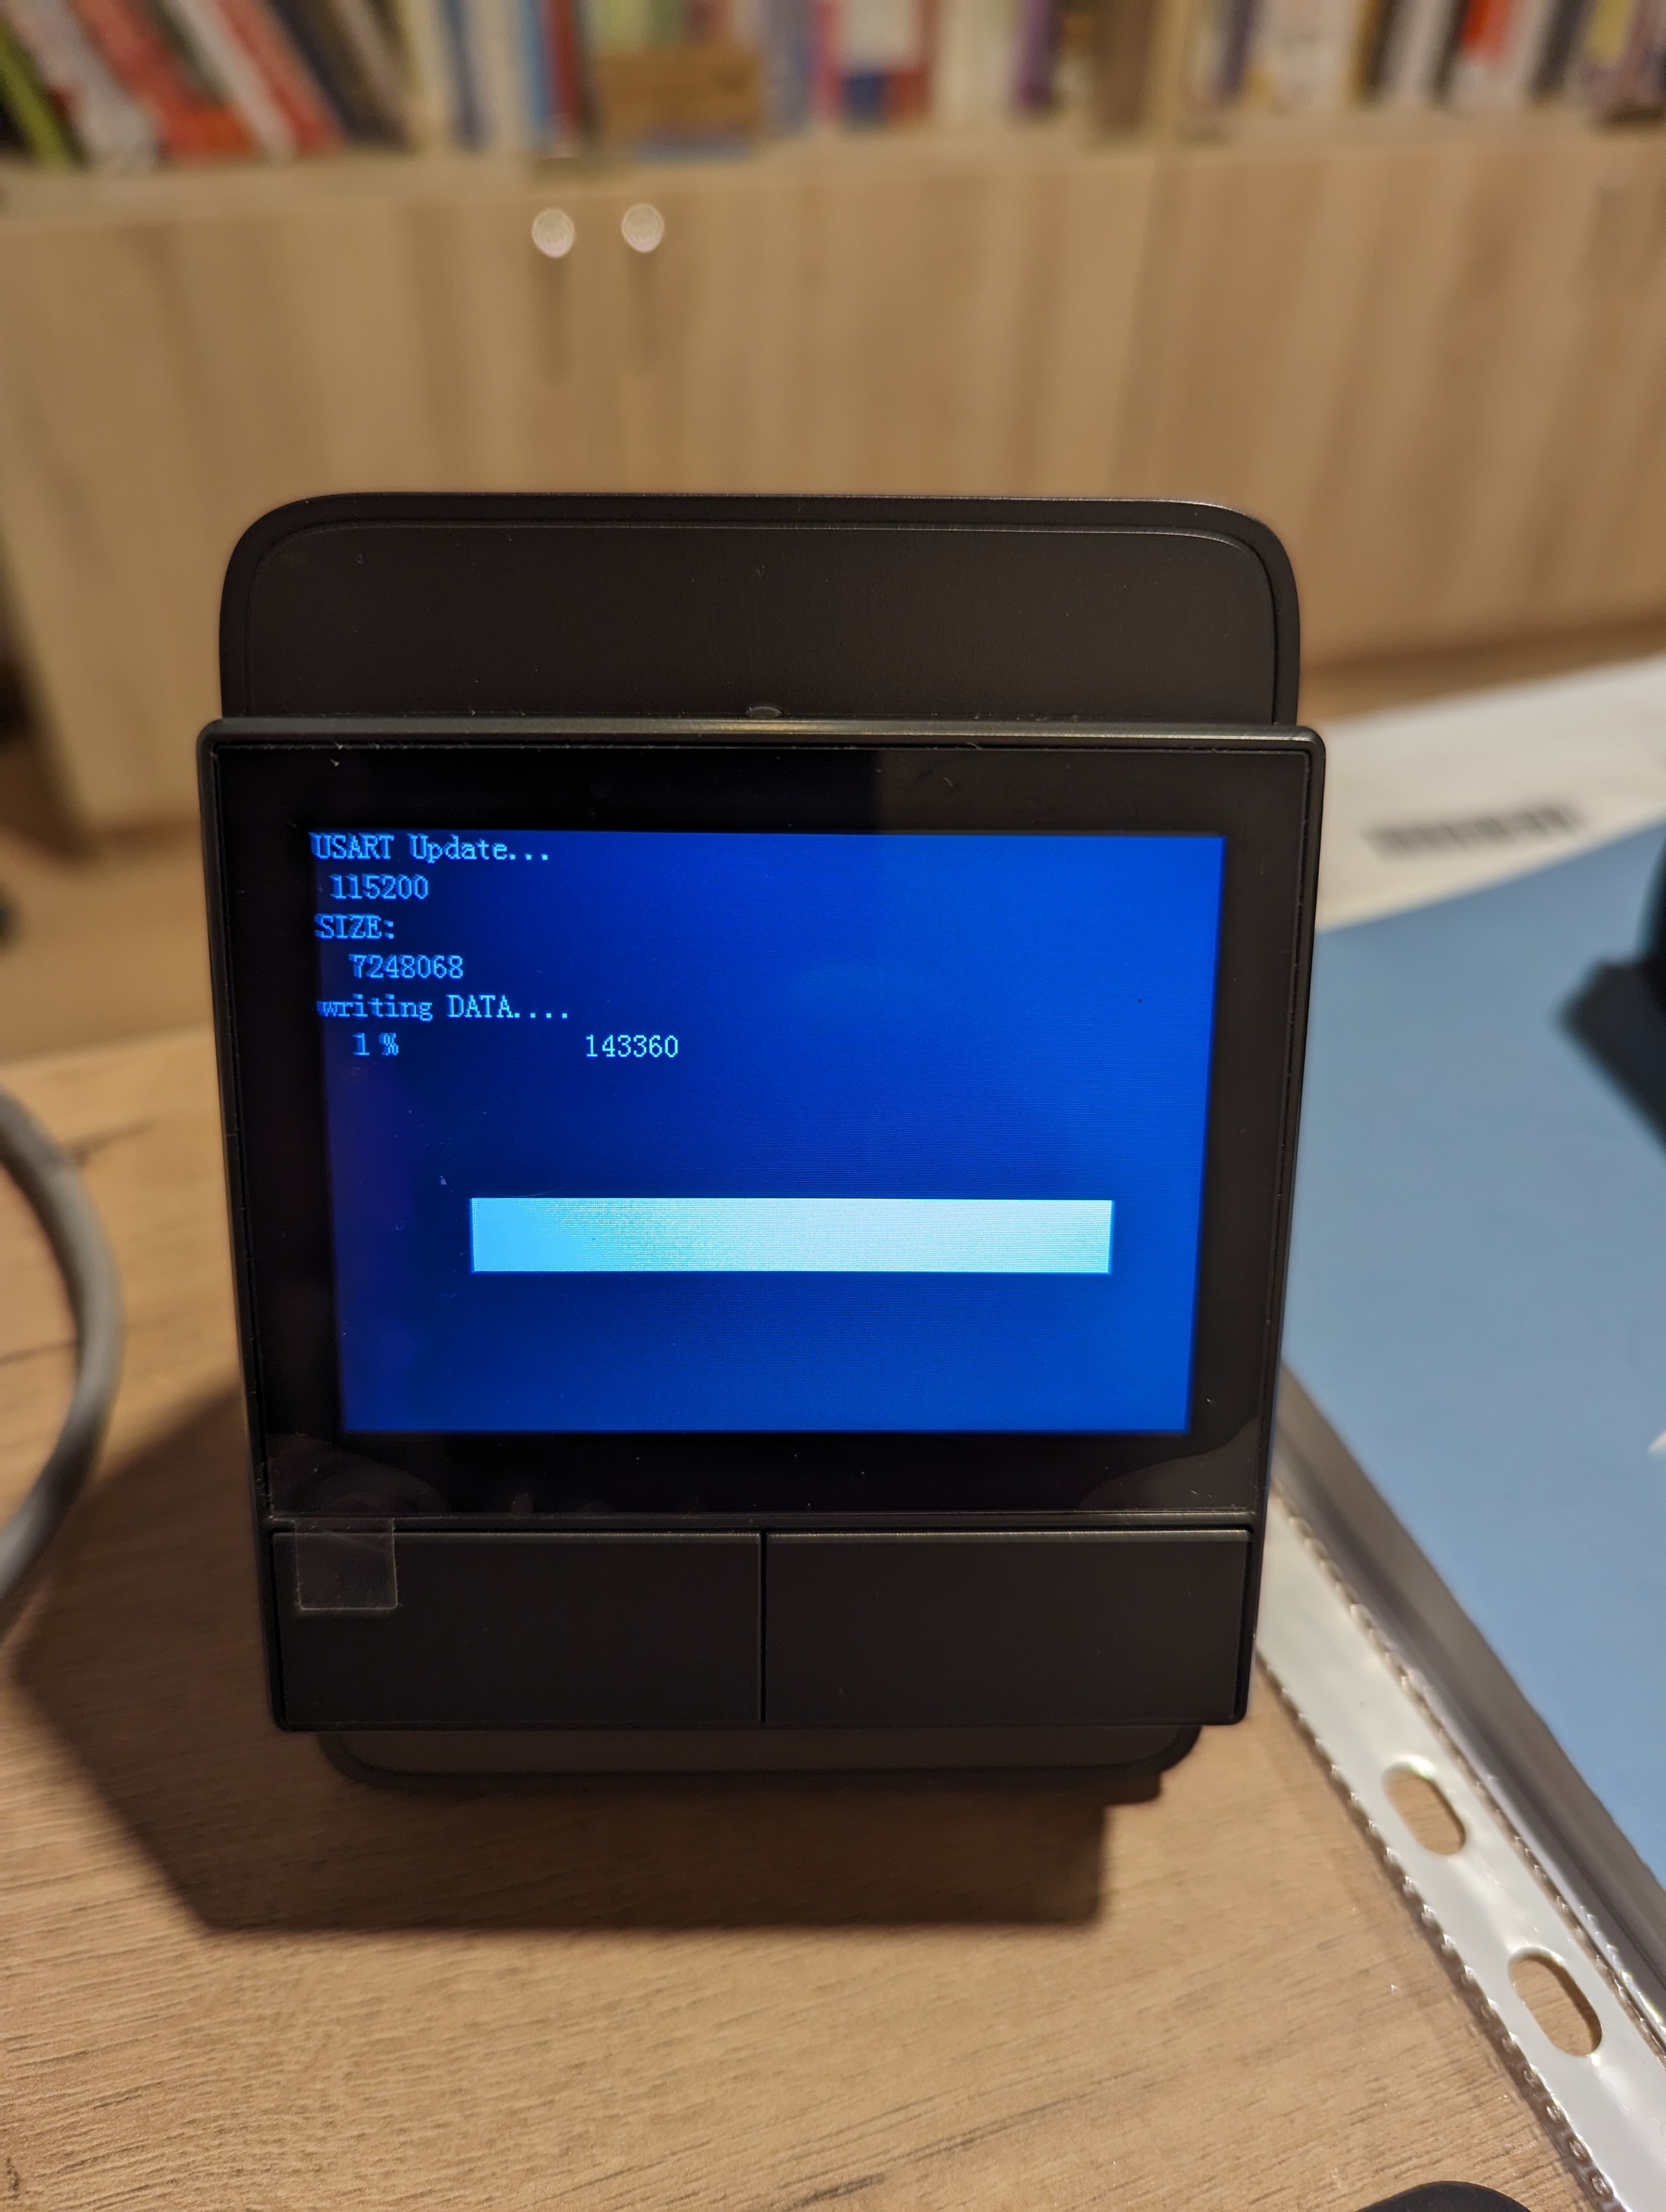
After updating the template for quite a long time, the flashing process was finally completed successfully and the Home Assistant logo was displayed on the display:
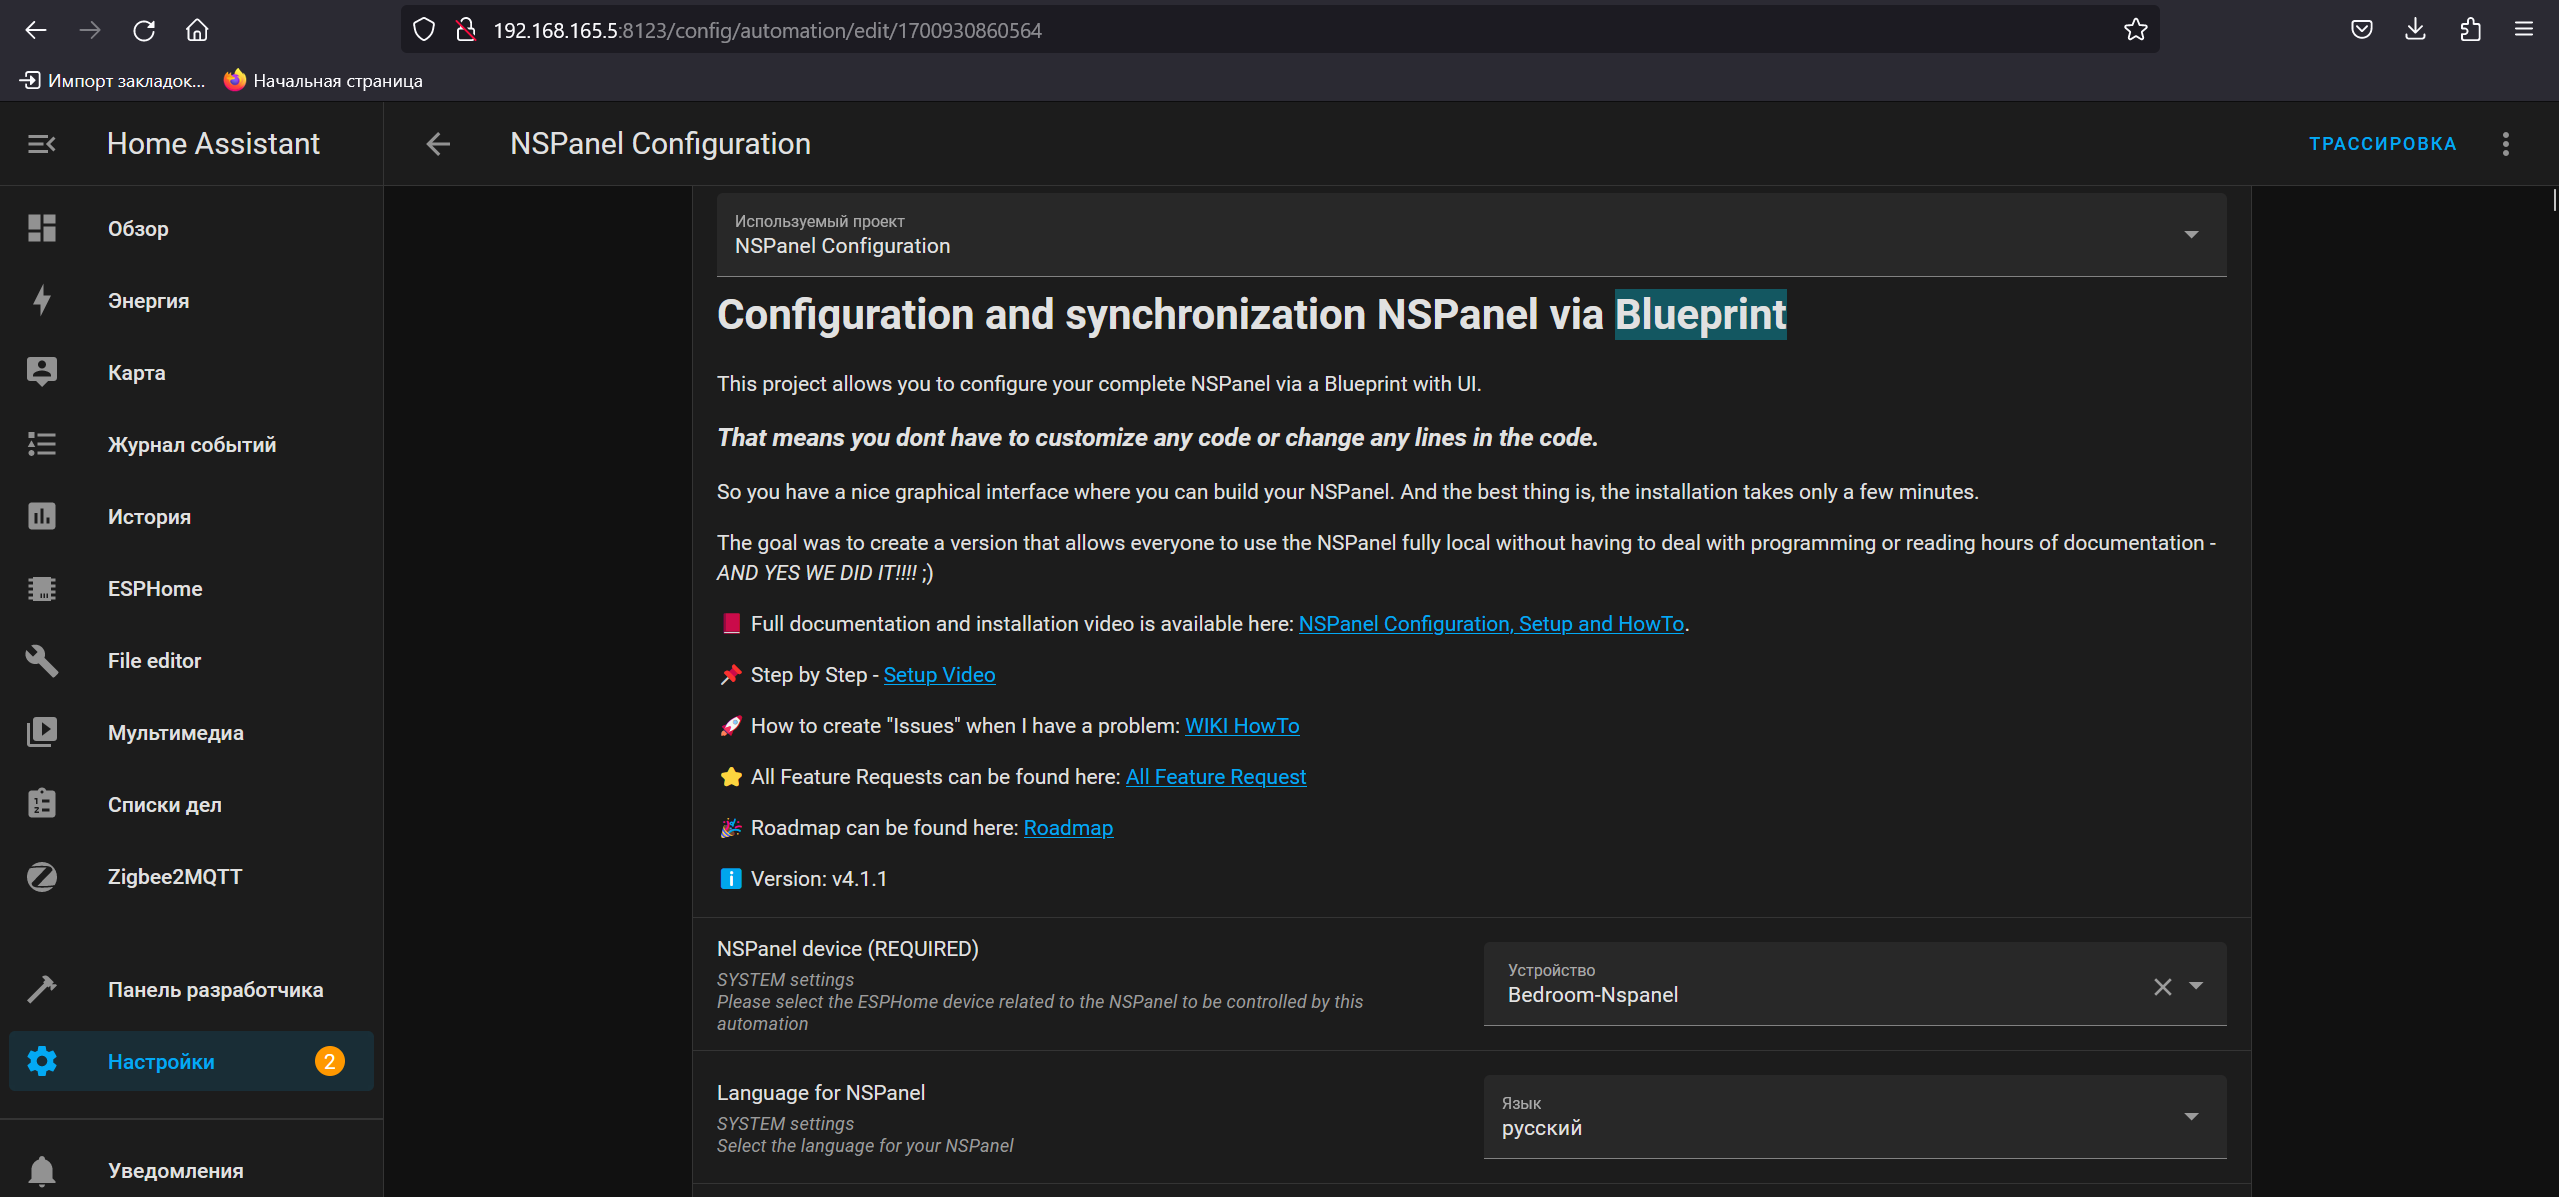
After this, the ready-made Blueprint template worked:
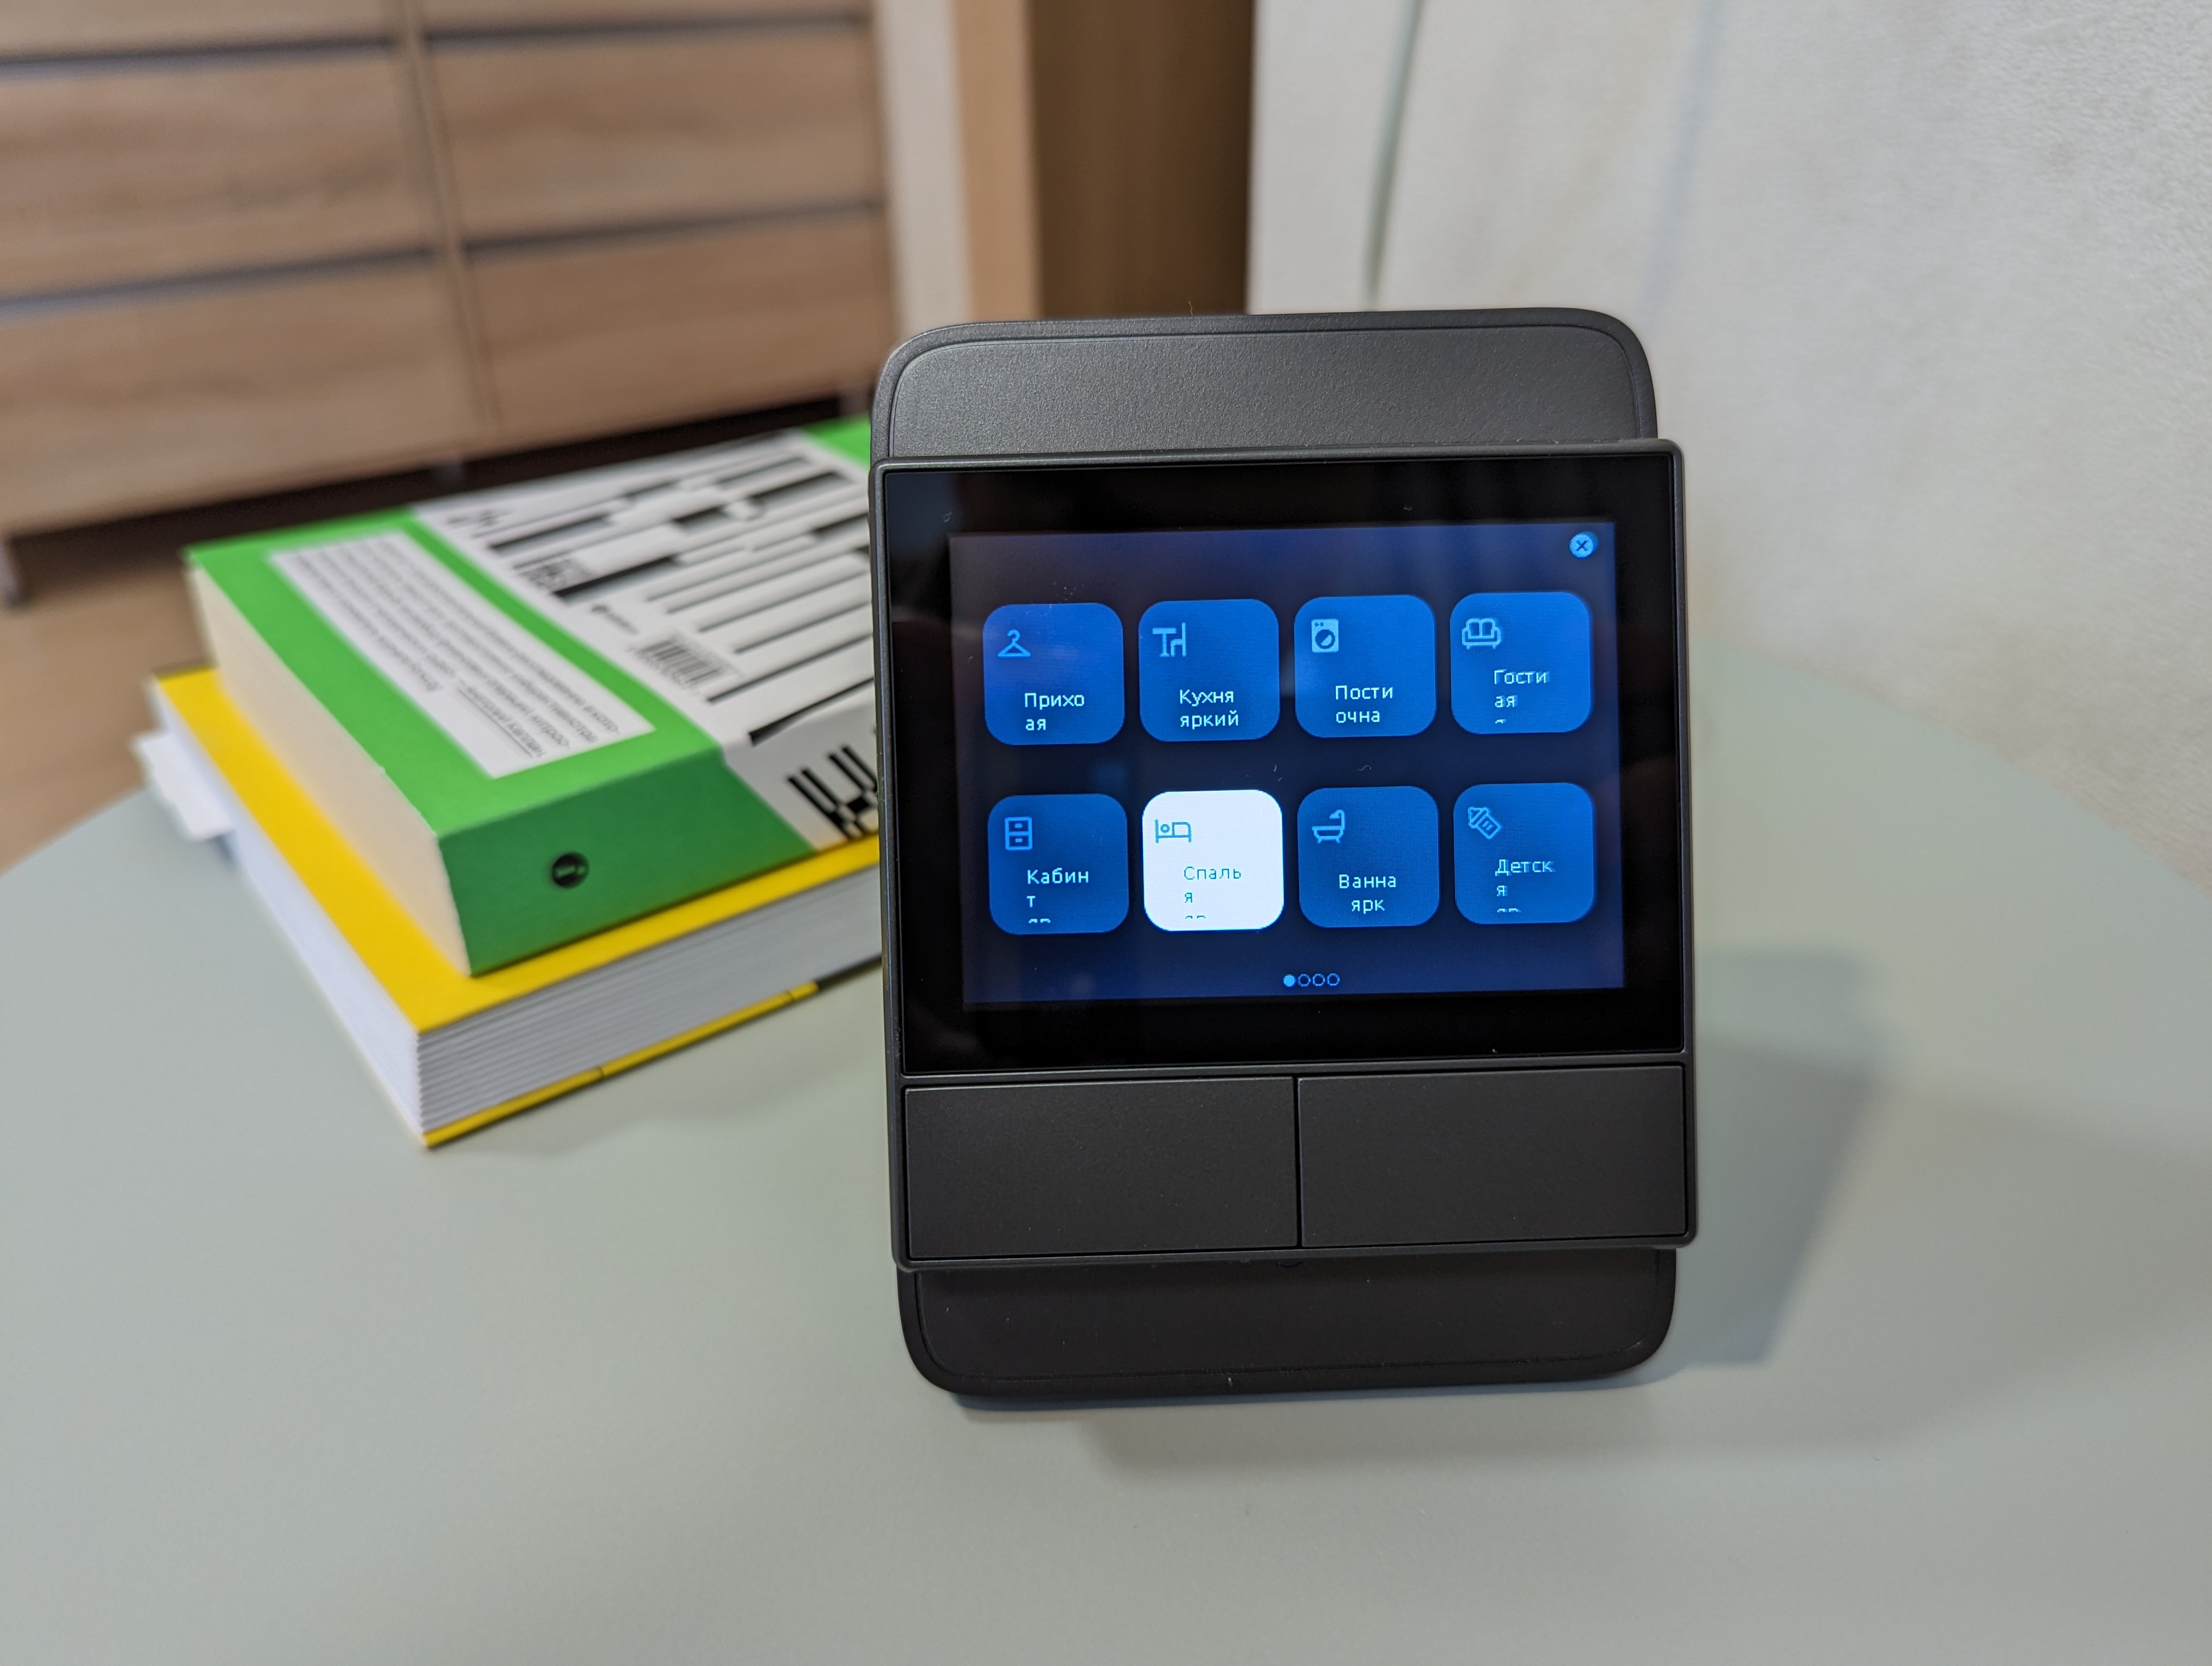
And the panel itself began to display customizable information about the lamps:
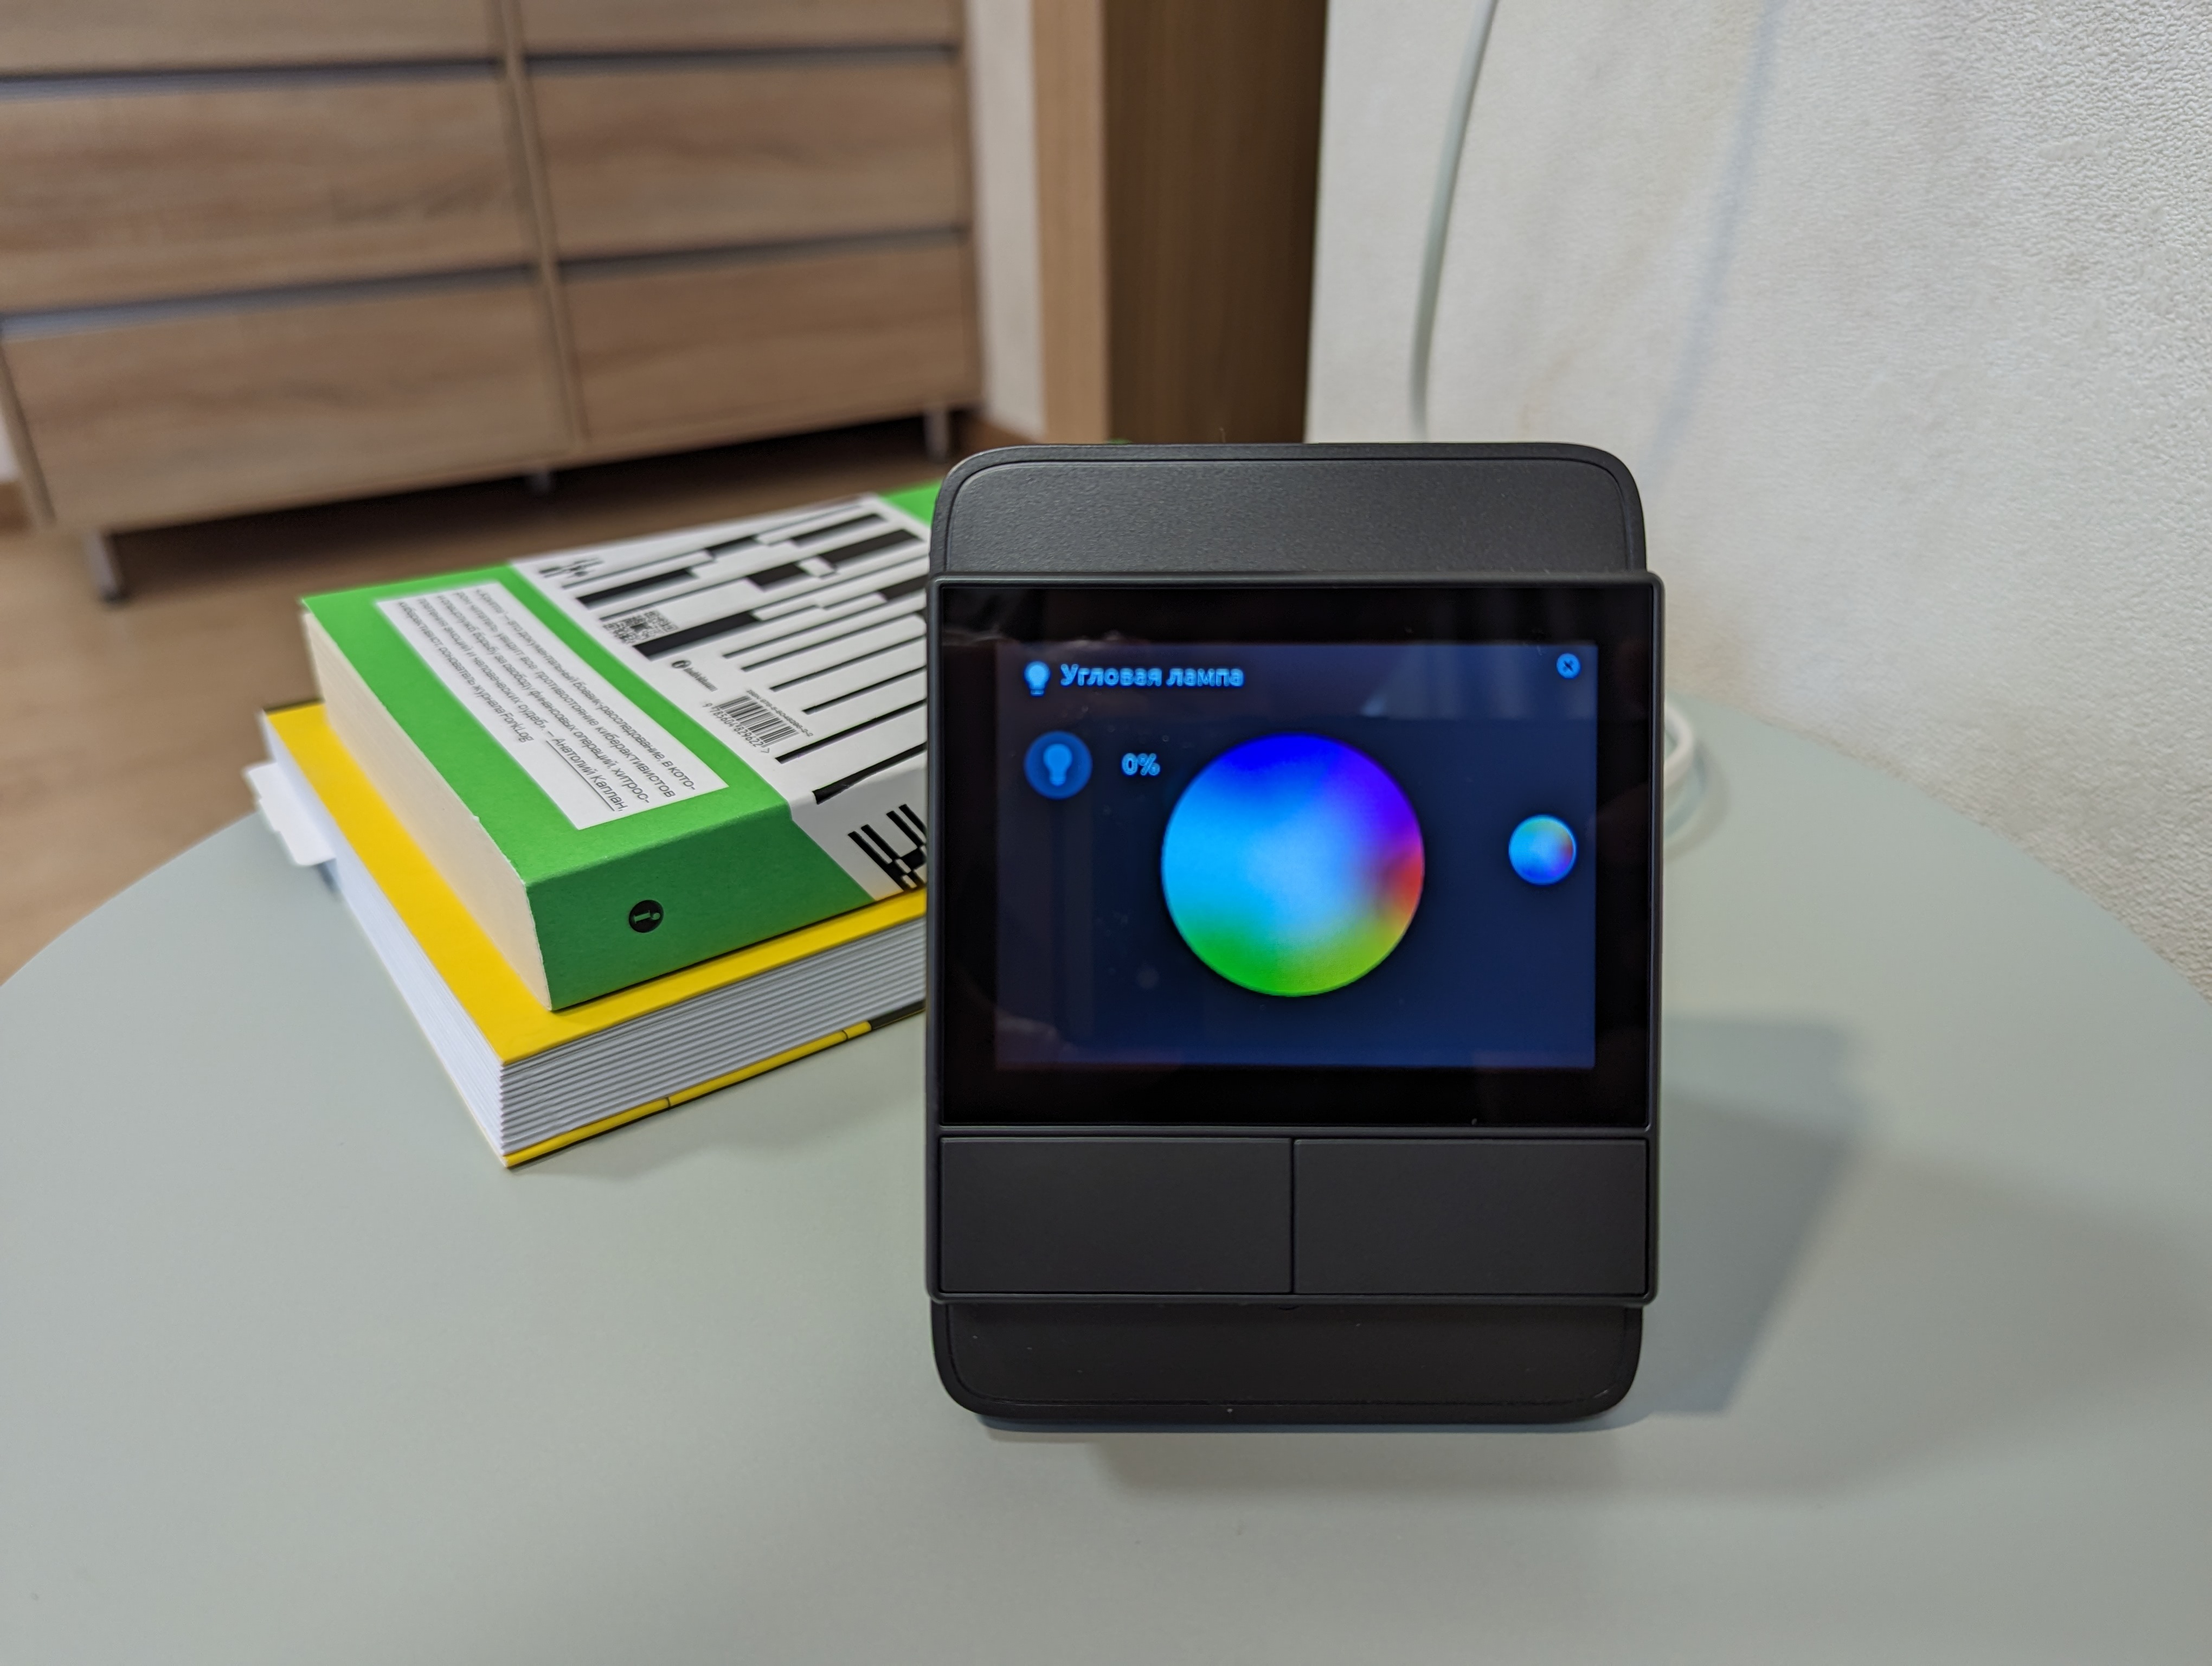
The panel has plenty of room to place lights and I was able to fit all my lights.
It is very convenient that physical buttons can be set to start automation.
Results
I really liked the Sonoff NSPanel device – with its help you can make an inexpensive smart home control panel that looks good and displays all the information that you yourself want to see on it.
Author: Mikhail Shardin,
December 1, 2023

