We develop a website for a microcontroller
With the advent of various kinds of smart sockets, light bulbs and other similar devices into our lives, the need for websites on microcontrollers has become undeniable. And thanks to the lwIP project (and its younger brother uIP), you won’t surprise anyone with such functionality. But since lwIP is aimed at minimizing resources, in terms of design, functionality, as well as usability and development, such sites lag far behind those to which we are used. Even for embedded systems, compare, for example, with an administration site on the cheapest routers. In this article we will try to develop a site on Linux for some smart device and run it on a microcontroller.
To run on a microcontroller, we will use Embox… This RTOS includes a CGI-enabled HTTP server. We will use the HTTP server built into python as an HTTP server on Linux.
python3 -m http.server -d <site folder>Static site
Let’s start with a simple static site consisting of one or more pages.
Everything is simple here, let’s create a folder and index.html in it. This file will be downloaded by default if only the site address is specified in the browser.
$ ls website/
em_big.png  index.html
The site will also contain the Embox logo, the “em_big.png” file, which we will embed in the html.
Let’s start the http server
python3 -m http.server -d website/Let’s go in the browser to localhost: 8000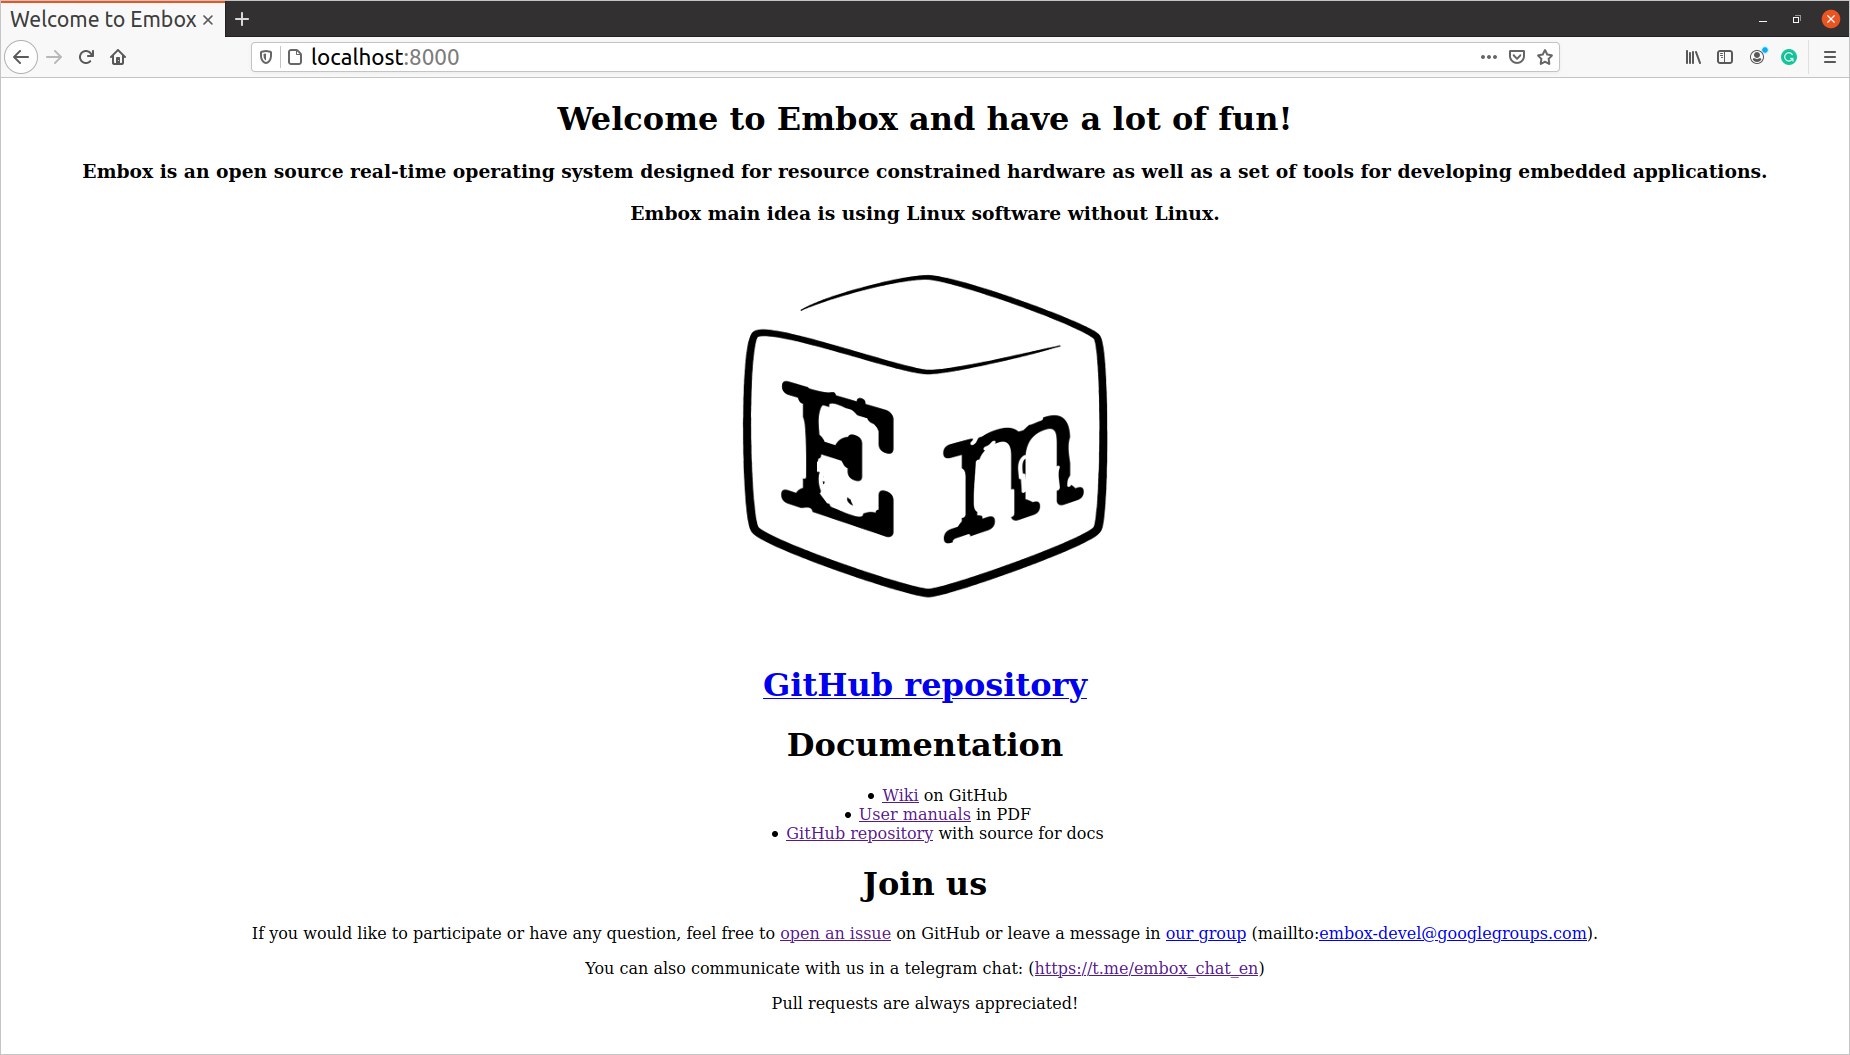
Now let’s add our static site to the Embox file system. This can be done by copying our folder to the rootfs / template folder (the current template is in the conf / rootfs folder). Or create a module specifying files for rootfs in it.
$ ls website/
em_big.png  index.html  Mybuild
Content of Mybuild.
package embox.demo

module website {
    @InitFS
    source "index.html",
        "em_big.png",
}
For the sake of simplicity, we’ll put our site directly in the root folder (@InitFs annotation with no parameters).
We also need to include our site in the mods.conf configuration file and add the httd server itself there.
    include embox.cmd.net.httpd
    include embox.demo.website
Also, let’s start the server with our website during system startup. To do this, add a line to the conf / system_start.inc file
"service httpd /",Naturally, all these manipulations need to be done with the config for the board. After that, we collect and run. We go in the browser to the address of your board. In my case it is 192.168.2.128
And we have the same picture as for the local site
We are not web development specialists, but we have heard that various frameworks are used to create beautiful websites. For example, it is often used AngularJS… Therefore, we will give further examples using it. But at the same time, we will not go into details and apologize in advance if somewhere we have strongly adjusted with web design.
Whatever static content we put in the folder with the site, for example, js or css files, we can use it without any additional effort.
Let’s add app.js (an angular site) to our site and in it a couple of tabs. We will put the pages for these tabs in the partials folder, images in the images / folder, and css files in css /.
$ ls website/
app.js  css  images  index.html  Mybuild  partials
Let’s launch our website.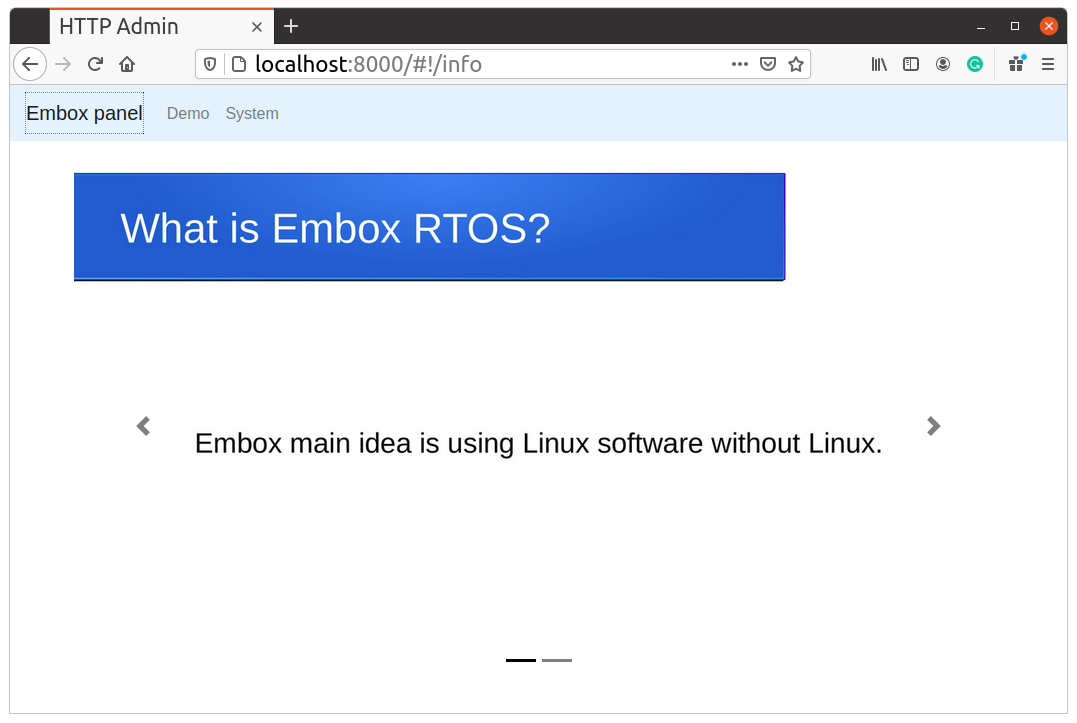
Agree, the site looks much more familiar and pleasant. And all this is done on the browser side. As we said, the entire context is still static. And we can develop it on the host like a regular website.
Naturally, you can use all the development tools of common web developers. So, opening the console in a browser, we found an error message that the favicon.ico was missing: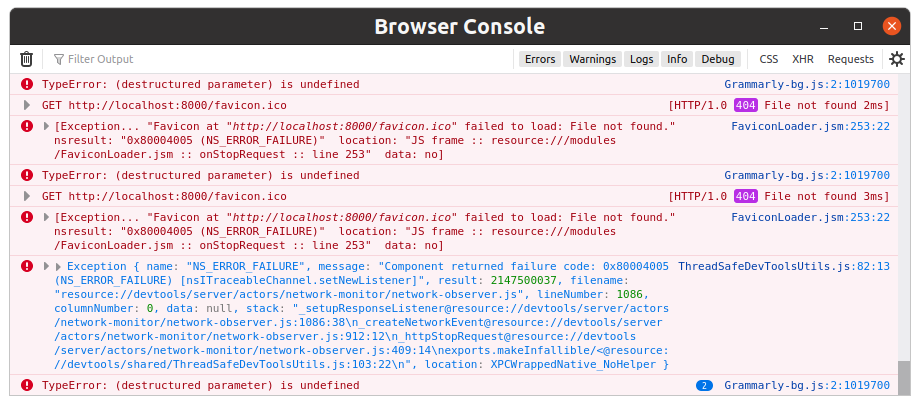
We found out that this is the icon that is displayed in the browser tab. You can, of course, put a file with this name, but sometimes you don’t want to spend on this place. Let me remind you that we want to run also on microcontrollers where there is little memory.
A search on the Internet immediately showed that you can do without a file, you just need to add a line to the head html section. Although the error did not interfere, it is always pleasant to make the site a little better. And most importantly, we made sure that the usual developer tools are quite applicable with the proposed approach.
Dynamic content
CGI
Let’s move on to dynamic content. Common Gateway Interface (CGI) an interface for interaction of a web server with command line utilities, which allows creating dynamic content. In other words, CGI allows you to use the output of utilities to generate dynamic content.
Let’s take a look at some CGI script
#!/bin/bash

echo -ne "HTTP/1.1 200 OKrn"
echo -ne "Content-Type: application/jsonrn"
echo -ne "Connection: Connection: closern"
echo -ne "rn"

tm=`LC_ALL=C date +%c`
echo -ne ""$tm"nn"
First, the http header is printed to standard output, and then the data of the page itself is printed. output can be redirected anywhere. You can simply run this script from the console. We will see the following:
./cgi-bin/gettime
HTTP/1.1 200 OK
Content-Type: application/json
Connection: Connection: close

"Fri Feb  5 20:58:19 2021"
And if instead of the standard output it is socket, then the browser will receive this data.
CGI is often implemented with scripts, even cgi scripts are said. But this is not necessary, it is just that in scripting languages such things are faster and more convenient. A utility providing CGI can be implemented in any language. And since we focus on microcontrollers, therefore, we try to take care of saving resources. Let’s do the same in C.
#include <stdio.h>
#include <unistd.h>
#include <string.h>

int main(int argc, char *argv[]) {
    char buf[128];
    char *pbuf;
    struct timeval tv;
    time_t time;

    printf(
        "HTTP/1.1 200 OKrn"
        "Content-Type: application/jsonrn"
        "Connection: Connection: closern"
        "rn"
    );


    pbuf = buf;

    pbuf += sprintf(pbuf, """);

    gettimeofday(&tv, NULL);
    time = tv.tv_sec;
    ctime_r(&time, pbuf);

    strcat(pbuf, ""nn");

    printf("%s", buf);

    return 0;
}
If we compile this code and run, we will see exactly the same output as in the case of the script.
In our app.js, add a handler to call a CGI script for one of our tabs
app.controller("SystemCtrl", ['$scope', '$http', function($scope, $http) {
    $scope.time = null;

    $scope.update = function() {
        $http.get('cgi-bin/gettime').then(function (r) {
            $scope.time = r.data;
        });
    };

    $scope.update();
}]);
A small nuance for running on Linux using the built-in python server. We need to add the –cgi argument to our launch line to support CGI:
python3 -m http.server --cgi -d .
Automatic updating of dynamic content
Now let’s take a look at another very important property of a dynamic site – automatic content updates. There are several mechanisms for its implementation:
- Server Side Includes (SSI)
- Server-sent Events (SSE)
- WebSockets
- Etc
Server Side Includes (SSI).
Server Side Includes (SSI)… It is an uncomplicated language for dynamically creating web pages. Usually files using SSI are in .shtml format.
SSI itself even has control directives, if else, and so on. But in most of the microcontroller examples we found, it is used as follows. A directive is inserted into the .shtml page that periodically reloads the entire page. This could be for example
<meta http-equiv="refresh" content="1">Or
<BODY onLoad="window.setTimeout("location.href="https://habr.com/ru/company/embox/blog/541662/runtime.shtml"",2000)">And in one way or another, content is generated, for example, by setting a special handler.
The advantage of this method is its simplicity and minimal resource requirements. But on the other hand, here’s an example of how it looks.

The page refresh (see tab) is very noticeable. And reloading the entire page looks like an overly redundant action.
The standard example from FreeRTOS is given – https://www.freertos.org/FreeRTOS-For-STM32-Connectivity-Line-With-WEB-Server-Example.html
Server-sent Events
Server-sent Events (SSE) it is a mechanism that allows a half-duplex (one-way) connection between a client and a server to be established. The client in this case opens a connection and the server uses it to transfer data to the client. At the same time, unlike classic CGI scripts, the purpose of which is to form and send a response to the client, and then complete, SSE offers a “continuous” mode. That is, the server can send as much data as necessary until it either completes itself or the client closes the connection.
There are some minor differences from regular CGI scripts. First, the http header will be slightly different:
        "Content-Type: text/event-streamrn"
        "Cache-Control: no-cachern"
        "Connection: keep-alivern"
Connection, as you can see, is not close, but keep-alive, that is, an ongoing connection. To prevent the browser from caching data, you need to specify Cache-Control no-cache. Finally, you need to specify that the special data type Content-Type text / event-stream is used.
This data type is special format for SSE:
: this is a test stream

data: some text

data: another message
data: with two lines
In our case, the data needs to be packed into the following line
data: { “time”: “<real date>”}Our CGI script will look like
#!/bin/bash

echo -ne "HTTP/1.1 200 OKrn"
echo -ne "Content-Type: text/event-streamrn"
echo -ne "Cache-Control: no-cachern"
echo -ne "Connection: keep-alivern"
echo -ne "rn"

while true; do
    tm=`LC_ALL=C date +%c`
    echo -ne "data: {"time" : "$tm"}nn" 2>/dev/null || exit 0
    sleep 1
done
Output if you run the script
$ ./cgi-bin/gettime
HTTP/1.1 200 OK
Content-Type: text/event-stream
Cache-Control: no-cache
Connection: keep-alive

data: {"time" : "Fri Feb  5 21:48:11 2021"}

data: {"time" : "Fri Feb  5 21:48:12 2021"}

data: {"time" : "Fri Feb  5 21:48:13 2021"}
And so on once a second
The same in C
#include <stdio.h>
#include <unistd.h>
#include <string.h>

int main(int argc, char *argv[]) {
    char buf[128];
    char *pbuf;
    struct timeval tv;
    time_t time;

    printf(
        "HTTP/1.1 200 OKrn"
        "Content-Type: text/event-streamrn"
        "Cache-Control: no-cachern"
        "Connection: keep-alivern"
        "rn"
    );

    while (1) {
        pbuf = buf;

        pbuf += sprintf(pbuf, "data: {"time" : "");

        gettimeofday(&tv, NULL);
        time = tv.tv_sec;
        ctime_r(&time, pbuf);

        strcat(pbuf, ""}nn");

        if (0 > printf("%s", buf)) {
            break;
        }

        sleep(1);
    }

    return 0;
}
And finally, we also need to tell angular that we have SSE, that is, modify the code for our controller
app.controller("SystemCtrl", ['$scope', '$http', function($scope, $http) {
    $scope.time = null;

    var eventCallbackTime = function (msg) {
        $scope.$apply(function () {
            $scope.time = JSON.parse(msg.data).time
        });
    }

    var source_time = new EventSource('/cgi-bin/gettime');
    source_time.addEventListener('message', eventCallbackTime);

    $scope.$on('$destroy', function () {
        source_time.close();
    });

    $scope.update = function() {
    };

    $scope.update();
}]);
We launch the site, we see the following:
It is noticeable that, unlike using SSI, the page is not overloaded, and the data is refreshed smoothly and pleasing to the eye.
Demo
Of course, the examples given are not real because they are very simple. Their goal is to show the difference between the approaches used on microcontrollers and in other systems.
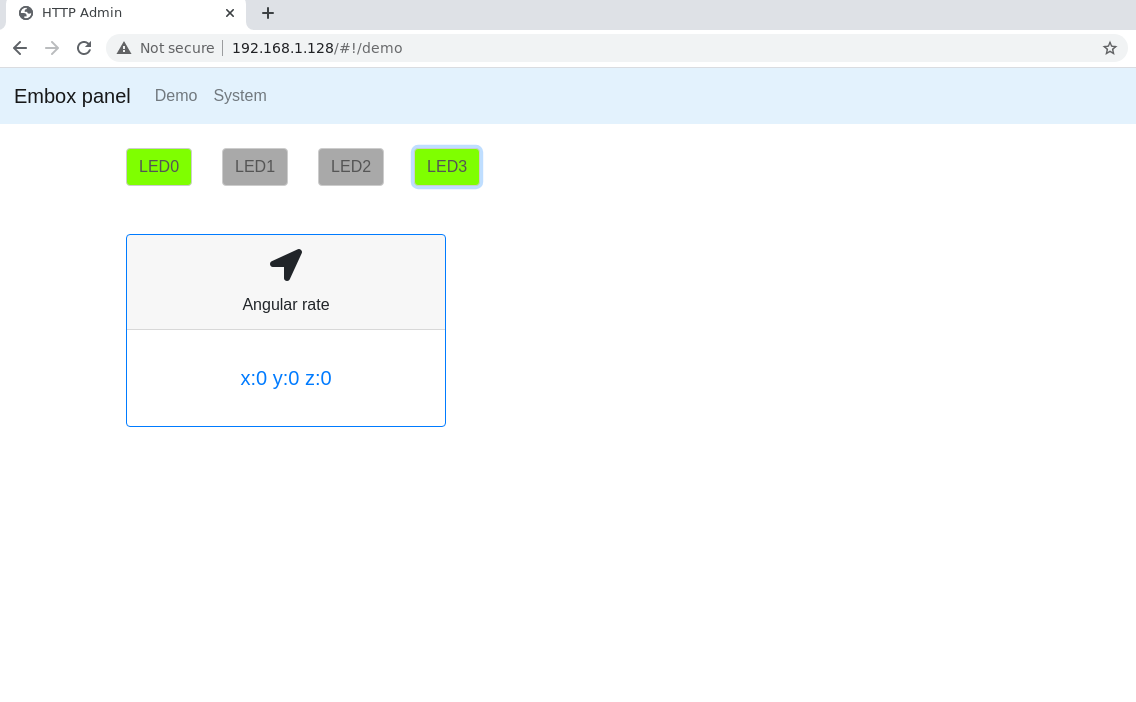
We made a small demo with real tasks. Controlling LEDs, receiving real-time data from an angular velocity sensor (gyroscope) and a tab with system information.
The site was developed on the host. It was only necessary to make small plugs to emulate the LEDs and data from the sensor. Sensor data are just random values received through the standard RANDOM
#!/bin/bash

echo -ne "HTTP/1.1 200 OKrn"
echo -ne "Content-Type: text/event-streamrn"
echo -ne "Cache-Control: no-cachern"
echo -ne "Connection: keep-alivern"
echo -ne "rn"

while true; do
    x=$((1 + $RANDOM % 15000))
    y=$((1 + $RANDOM % 15000))
    z=$((1 + $RANDOM % 15000))
    echo -ne "data: {"rate" : "x:$x y:$y z:$z"}nn" 2>/dev/null || exit 0
    sleep 1
done
We simply store the state of the LEDs in a file.
#!/bin/python3

import cgi
import sys

print("HTTP/1.1 200 OK")
print("Content-Type: text/plain")
print("Connection: close")
print()

form = cgi.FieldStorage()
cmd = form['cmd'].value

if cmd == 'serialize_states':
    with open('cgi-bin/leds.txt', 'r') as f:
        print('[' + f.read() + ']')

elif cmd == 'clr' or cmd == 'set':
    led_nr = int(form['led'].value)

    with open('cgi-bin/leds.txt', 'r+') as f:
        leds = f.read().split(',')
        leds[led_nr] = str(1 if cmd == 'set' else 0)
        f.seek(0)
        f.write(','.join(leds))
The same is trivially implemented in the C variant. If you wish, you can see the code in repositories folder (project / website).
On the microcontroller, of course, implementations are used that interact with real peripherals. But since these are just commands and drivers, they were debugged separately. Therefore, the very transfer of the site to the microcontroller did not take time.
The screenshot running on the host looks like this
In a short video, you can see the work on a real microcontroller. Note that there is not only communication via http, but also, for example, setting the date using ntp from the command line in Embox, and of course handling peripherals.


![[Личный опыт] Montenegro is a country like a dream. The easiest moving story](https://prog.world/wp-content/uploads/2021/03/w3oeznc3rtoodu0d5rkrsuwih3y-768x403.jpeg)