We create a blog on Django with polls and tests. Brief instruction. Part 2
In the previous part, we partially parsed the template for our blog, selected a virtual machine and launched a native Django web server on it. However, it is only intended for testing and running applications during development. To process requests in production, you need to configure Nginx and WSGI Gunicorn. This article shows how to do it.
Adding new features
Before launching a blog in production, it is better to make sure that the necessary functionality is implemented. In the first part, we collected only basic Django applications – users And blog. But we have not added the rest of the features yet – it’s time to fix it.
Below we analyze templates for creating polls and tests in a Django blog. Do fork of source codemodify and offer your improvements!
poll application
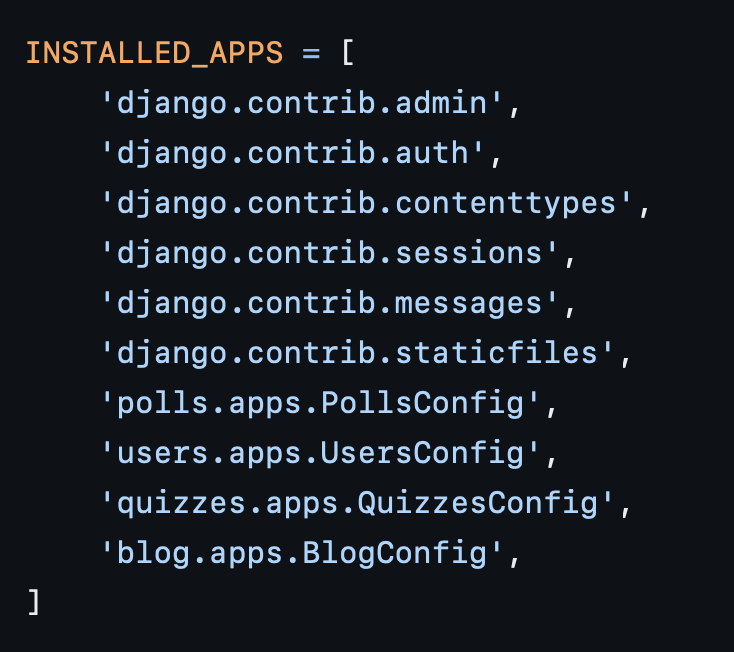
In the application polls all the functionality related to conducting surveys is concentrated. To create it, you need to run the manage.py control script and register a new application.
manage.py startapp pollsIt is also important to register the new application in the project’s root directory, in the settings.py configuration file.
In order for the user to connect to the application, you need to configure routing – go to the root directory of the project and register the paths in the urls.py configuration file.
path('', include('polls.urls')) The polls application’s own routes will be stored in the users/urls.py file – they can be found and modified by link.
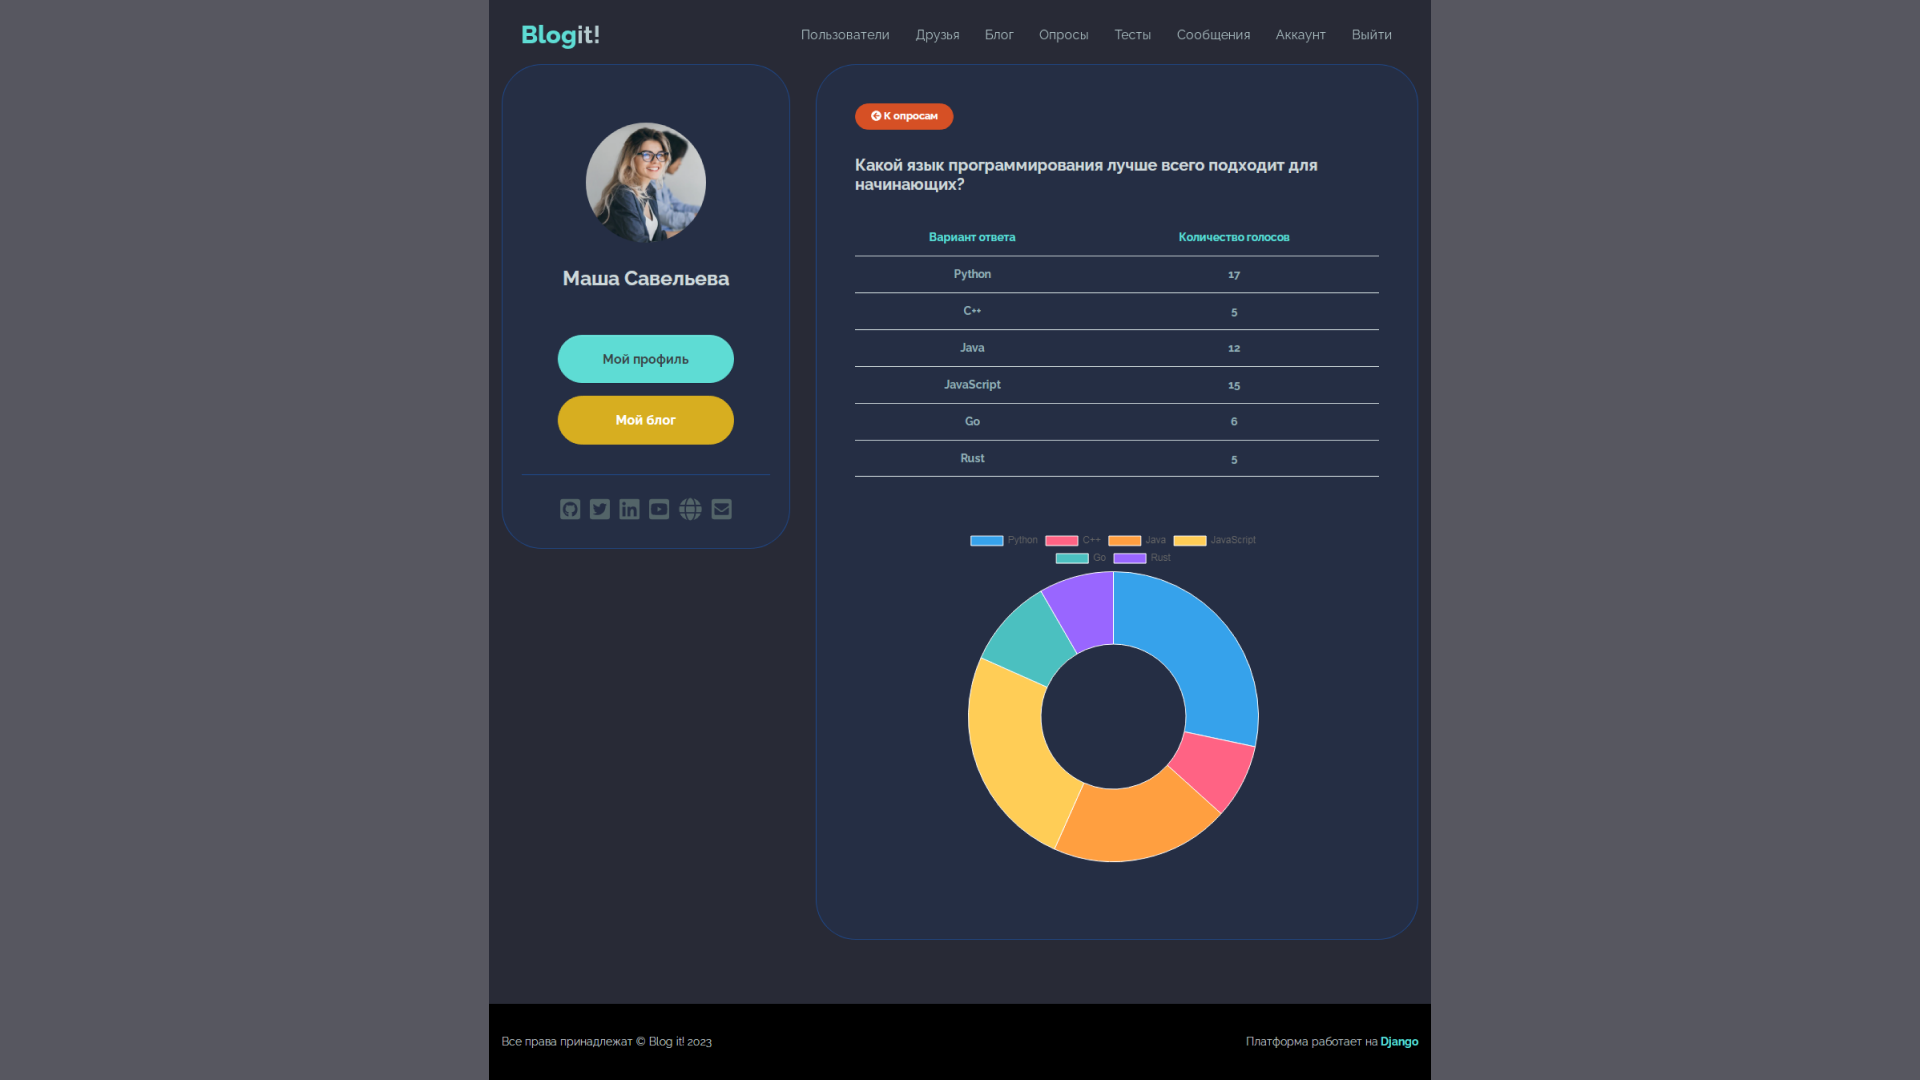
The polls application visualizes poll results using the Chart.j library: the charting logic is described in the function results.
def results(request, question_id):
    profile = request.user.profile
    question = get_object_or_404(Question, pk=question_id)
    labels = []
    data = []
    votes = question.choice_set.select_related('question').all()

    for item in votes:
        labels.append(item.name)
        data.append(item.votes)

    context = {	'question': question,
    			'profile': profile,
    			'labels': labels,
    			'data': data}
    return render(request, 'polls/results.html', context)
If possible, move the logic of validators from views into separate modules.
All the necessary templates are in the directory polls/emplates/polls:
- question.html – displays a question with answer options,
- questions.html — provides pagination of all created surveys,
- results.html – Shows the voting results.
user_voted method class Question checks if the user has taken part in the poll (you can only vote once). The polling logic is described in polls/views.py. The vote function provides for cases where the user did not select any answer option, and when he has already taken part in the poll.
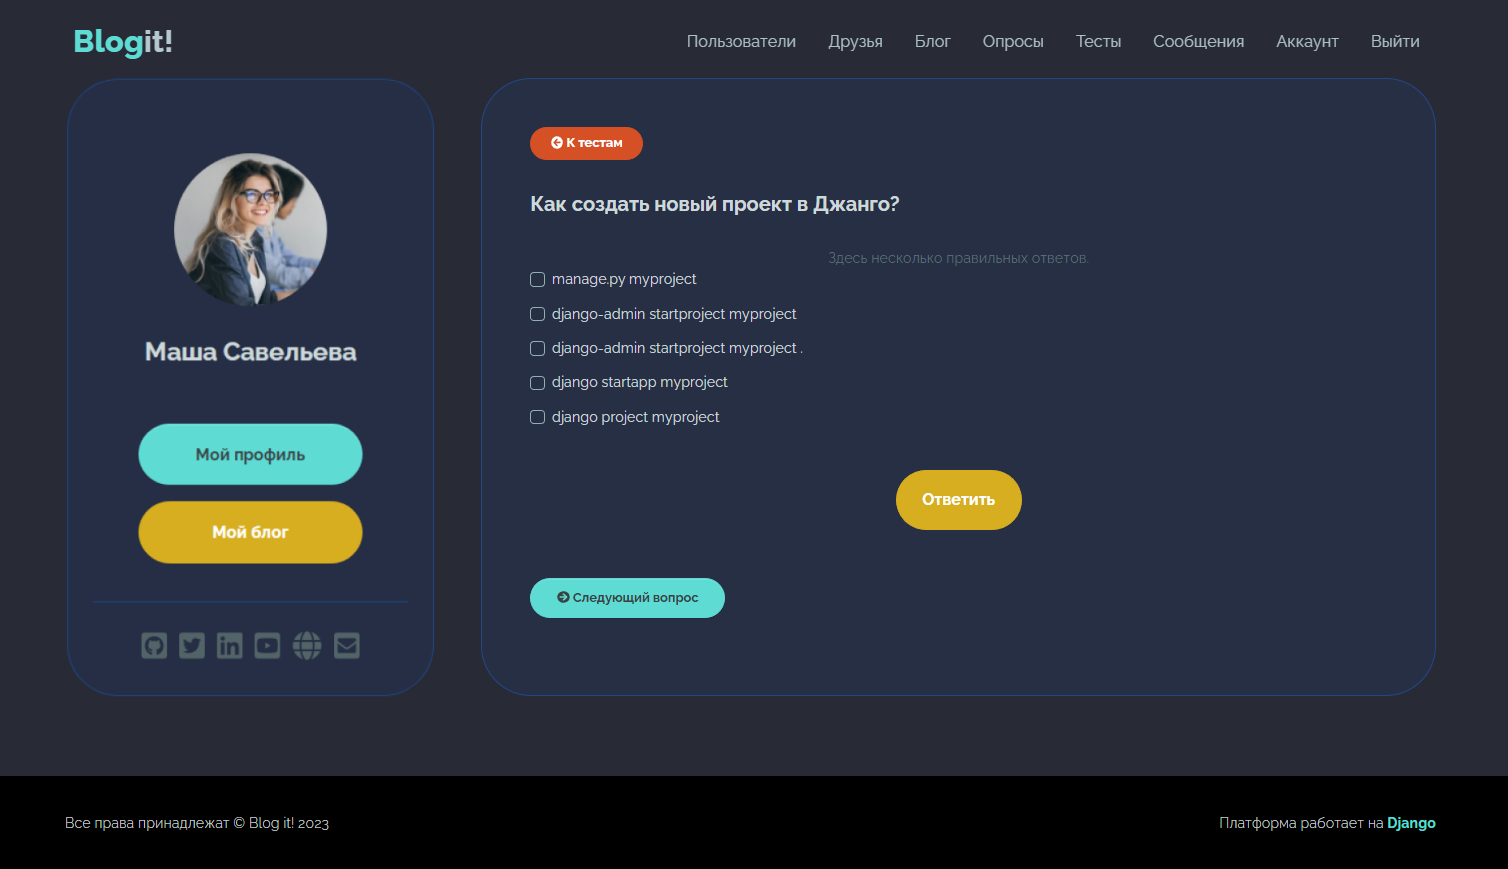
app quizzes
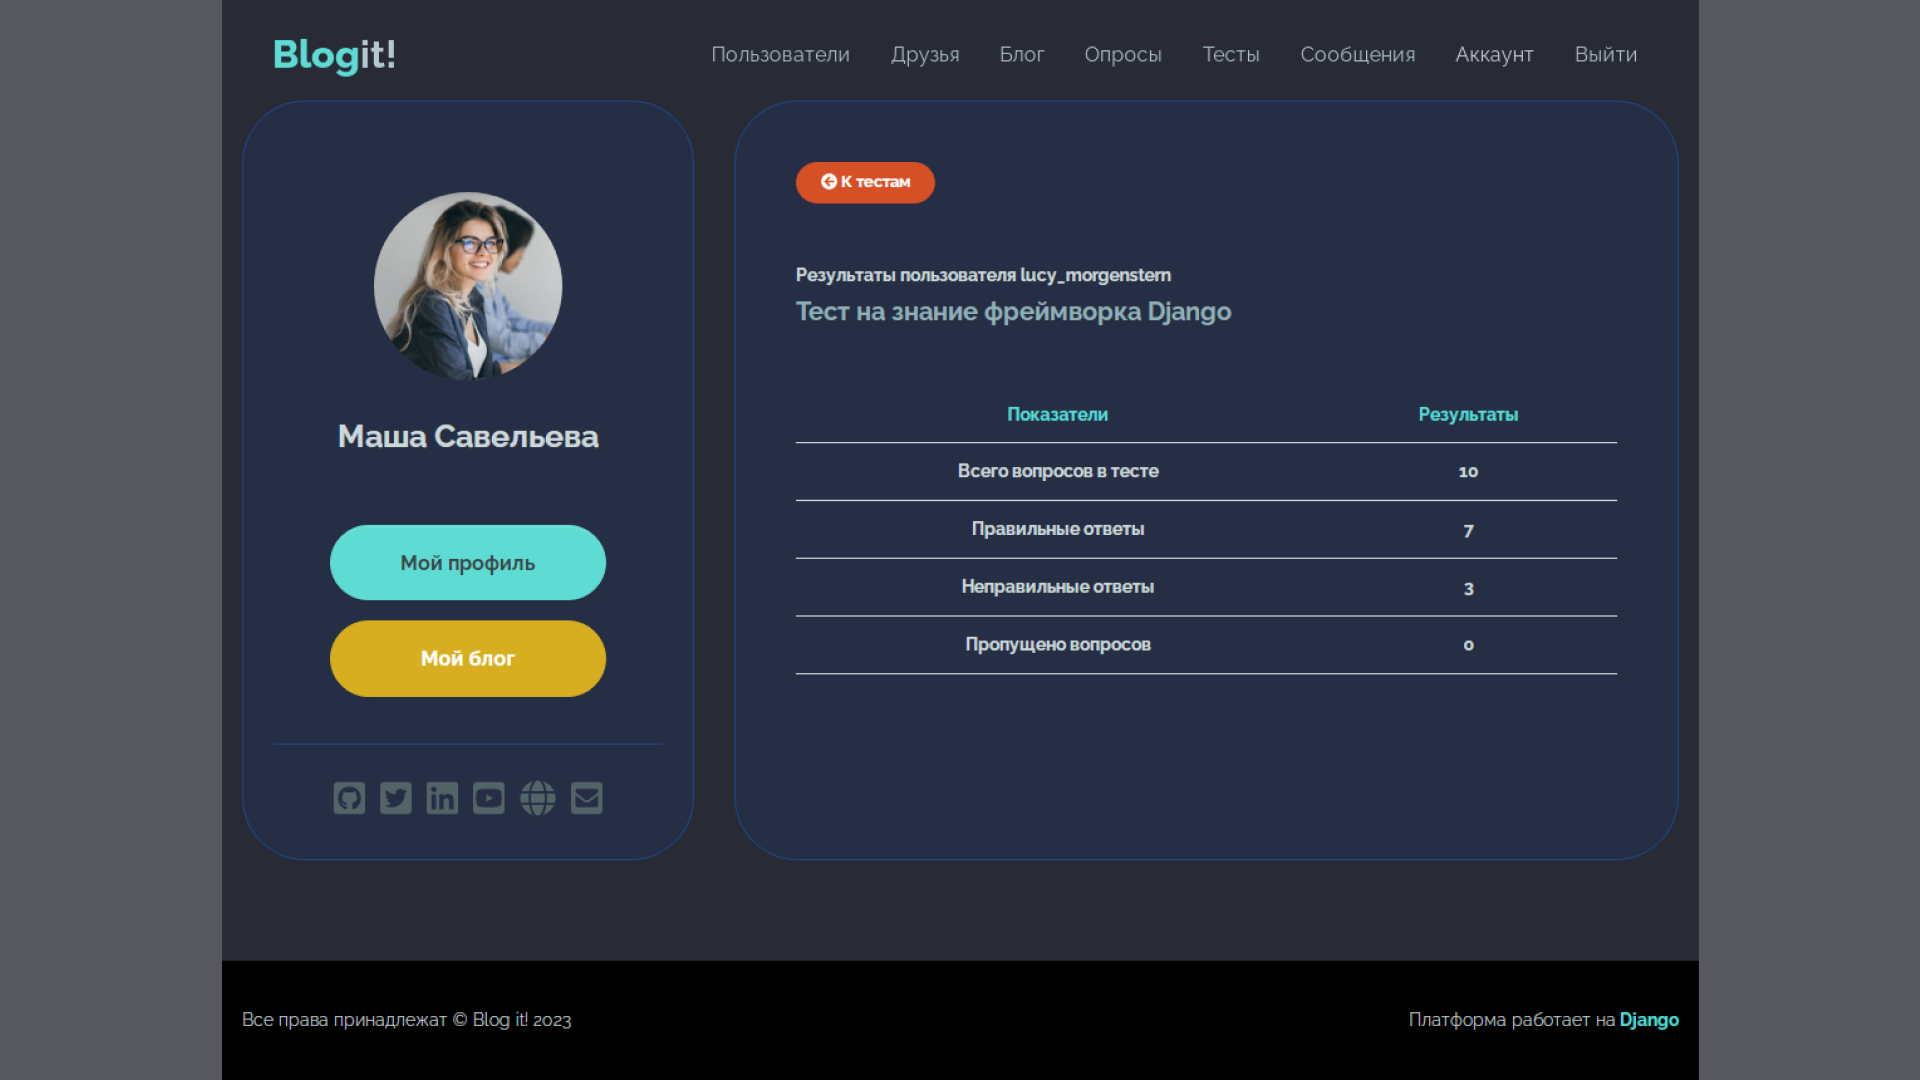
Application quizzes provides the creation and processing of two types of surveys – with one and with several correct answers. Similarly, we create it, register it in settings.py and initialize it in urls.py of the root directory. The routes of the blog itself are in quizzes/urls.pyand the templates are in quizzes/templates/quizzes.
The poll module uses four templates:
- display.html – shows the question and answer options,
- quizzes.html – is responsible for the pagination of the created tests,
- results.html – Displays test results.
- partial.html – provides – together with the JS script in the display.html file – the output of feedback without reloading the page,
The Question class in quizzes/models.py contains two helper methods:
get_answers– returns the correct answers, depending on the type of question,user_can_answerDetermines if the user has answered this question before.
Presentation functions in quizzes/views.py are responsible for the sequential output of test questions and the evaluation of user responses. Saving statistics on correct and incorrect answers is implemented using the class Result. In this case, updating the values in the database is carried out using the object F.
result, created = Result.objects.get_or_create(user=request.user,
    quiz=quiz)
if is_correct is True:
    result.correct = F('correct') + 1
else:
    result.wrong = F('wrong') + 1
Done – now you can send the blog to production!
Updating files on the server
In the previous part, we have already rented a virtual server with flexible core performance and uploaded the project code. Now it needs to be updated to deploy the new polls and quizzes applications. To do this, you need to push them to the repository on GitHub, and then do git pull on the server side.

Configuring Nginx and Gunicorn
When serving a Django application, Nginx acts as a reverse proxy server: it is responsible for processing incoming requests on port 80 and forwarding them to Gunicorn.
Gunicorn, on the other hand, plays the role of an application server: it is responsible for starting Django, processing requests and generating responses. As a result, the system works like this:
- The client sends a request to the Nginx server,
- Does Nginx forward (proxy) the request to Gunicorn using the proxy pass directive?
- Gunicorn passes user request to Django,
- Django processes the request, generates a response, and sends it to Gunicorn,
- Gunicorn sends the result to Nginx, which forwards it to the client.
With this configuration, Nginx provides fast and efficient request processing, and Gunicorn allows you to run multiple processes to process requests in parallel and is responsible for automatic restart and smooth shutdown of worker processes.
Installing and testing Gunicorn
There is nothing complicated in the installation: just activate the virtual environment and install the necessary dependencies.
source blogitenv/bin/activate
pip install gunicorn
Check and change settings if necessary config/settings.py, as shown in the previous section. And then create a superuser and a database and collect the static files.
python3 manage.py migrate
python3 manage.py createsuperuser
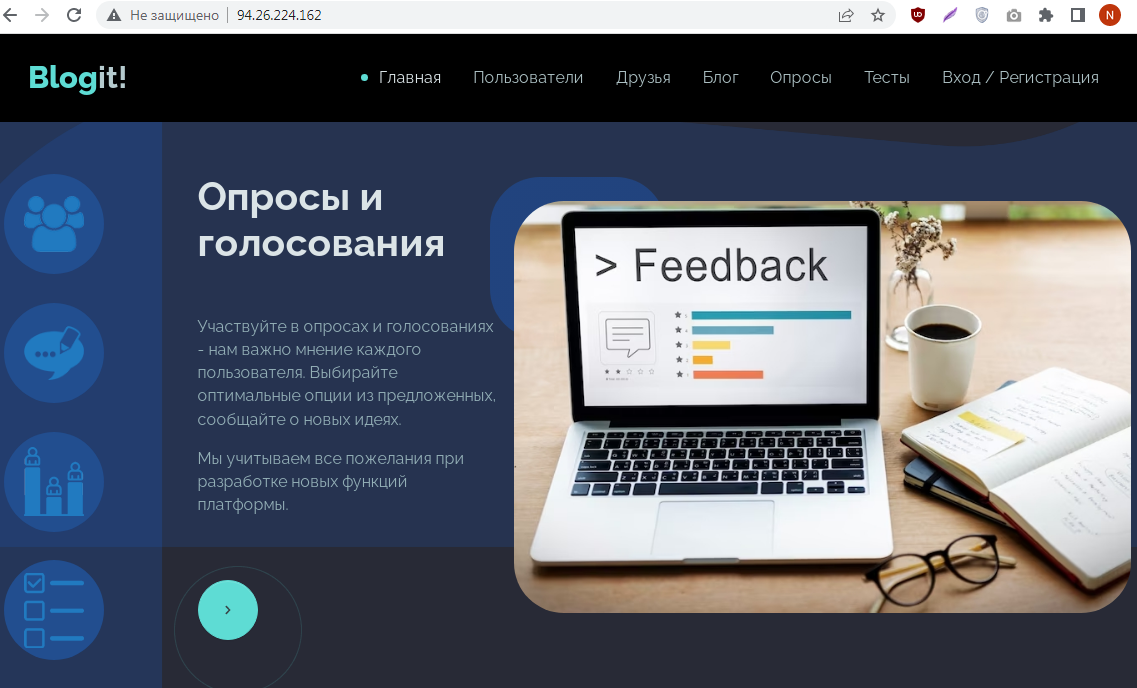
python3 manage.py collectstaticNow you can test how Gunicorn works by running it in conjunction with a Django application.
gunicorn --bind 0.0.0.0:8000 config.wsgiEverything works: you can connect to the blog by IP address through port 8000. But now the web server is started manually. In production, this should happen automatically – you need to configure Gunicorn and Nginx to serve the Django application together.
You may also be interested in these texts:
→ Simple procedural world generation, or Perlin Noises in Python
→ “Pocket weather forecaster for an hour.” We write a Telegram bot for weather monitoring in Python
→ We check the Old Testament history of the origin of mankind from Adam and Eve using a population model
Gunicorn setup
To automate the launch of a Django application, we first need to create the gunicorn.socket and gunicorn.service configuration files. Let’s start with the first one:
sudo nano /etc/systemd/system/gunicorn.socket[Unit]
Description=Gunicorn socket
[Socket]
ListenStream=/run/gunicorn.sock
[Install]
WantedBy=sockets.targetContents of the gunicorn.socket file
Now let’s create gunicorn.service and point to the virtual environment that the web server should run.
sudo nano /etc/systemd/system/gunicorn.service[Unit]
Description=Gunicorn daemon
Requires=gunicorn.socket
After=network.target
[Service]
User=root
Group=www-data
WorkingDirectory=/root/blogit
ExecStart=/root/blogitenv/bin/gunicorn \
--access-log file - \
--workers 5 \
--bind unix:/run/gunicorn.sock \
config.wsgi:application
[Install]
WantedBy=multi-user.targetContents of the gunicorn.service file
Now you can start Gunicorn and check its status.
sudo systemctl start gunicorn.socket
sudo systemctl enable gunicorn.socket
sudo systemctl start gunicorn.service
sudo systemctl enable gunicorn.service
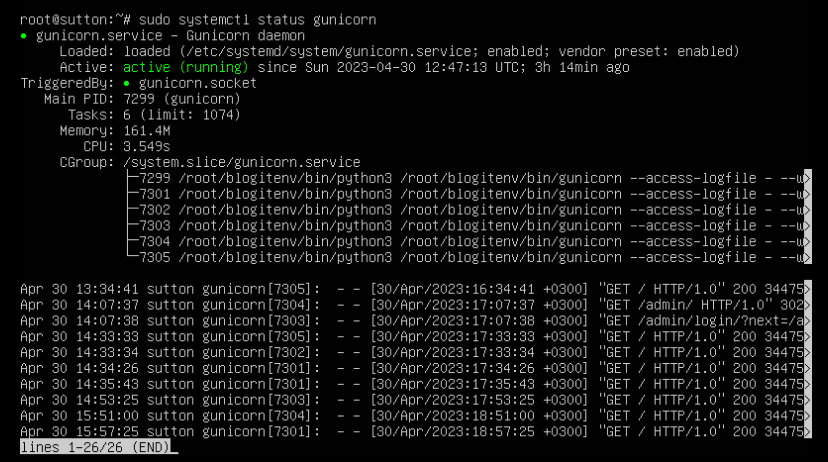
sudo systemctl status gunicornA properly configured server will return a status of running and display information about workers – instances of a Django application running in parallel. In the gunicorn.service configuration file, we have registered five “workers” – Gunicorn should start them.
Request proxying
The last step is to go to the Nginx server settings and configure request proxying from port 80 to Gunicorn.
sudo nano /etc/nginx/sites-available/blogitserver {
listen 80;
server_name 94.26.224.162;
access_log /var/log/nginx/access.log;
error_log /var/log/nginx/error.log;
location = /favicon.ico {
alias /root/blogit/static/favicon.ico;
}
location /static/ {
alias /root/blogit/static/;
}
location /media/ {
alias /root/blogit/media/;
}
location / {
include proxy_params;
proxy_pass http://unix:/run/gunicorn.sock;
}
}The contents of the /etc/nginx/sites-available/blogit. For server_name, enter the public IP address of your virtual machine.
To apply the configurations, link the Nginx directives – sites-available and sites-enabled – using a symbolic link:
sudo ln -s /etc/nginx/sites-available/blogit /etc/nginx/sites-enabled/Note: if an error is found in the configuration files later, the link must be recreated, but with the -sf flag.
sudo ln -sf /etc/nginx/sites-available/blogit /etc/nginx/sites-enabled/
sudo systemctl reload nginx
Also, if you are deploying a project as non-root, you need to assign permissions to the static and media directories.
chown -R django_user:www-data /var/www/blogit/static/
chown -R django_user:www-data /var/www/blogit/media
This completes the setup of Nginx and Gunicorn. Now you can open the site through a browser. If you wish, you can rent a domain name and generate an SSL certificate.
We still have developed only a small part of the blog functionality. For example, you can set up password recovery using email messages using the Selectel mail service (free during beta).
What features would you add? Share your ideas in the comments!