Unity UI Toolkit: MVVM nada?
It’s no secret that Unity is currently actively working on a new user interface system. UI Toolkit. It is a front-end development tool inspired by standard web development approaches.
The user interface consists of two main parts:
A UXML document is a markup language based on HTML and XML that defines the structure of a user interface.
Unity Style Sheets (USS) – Style sheets, similar to CSS Cascading Style Sheets, apply visual styles and behavior to the user interface.
And everything would be fine, but what was my surprise that, having done such a job, they did not provide a data binding mechanism that works at runtime. Formally, there is a binding mechanism, but it only works when creating interfaces for the editor.
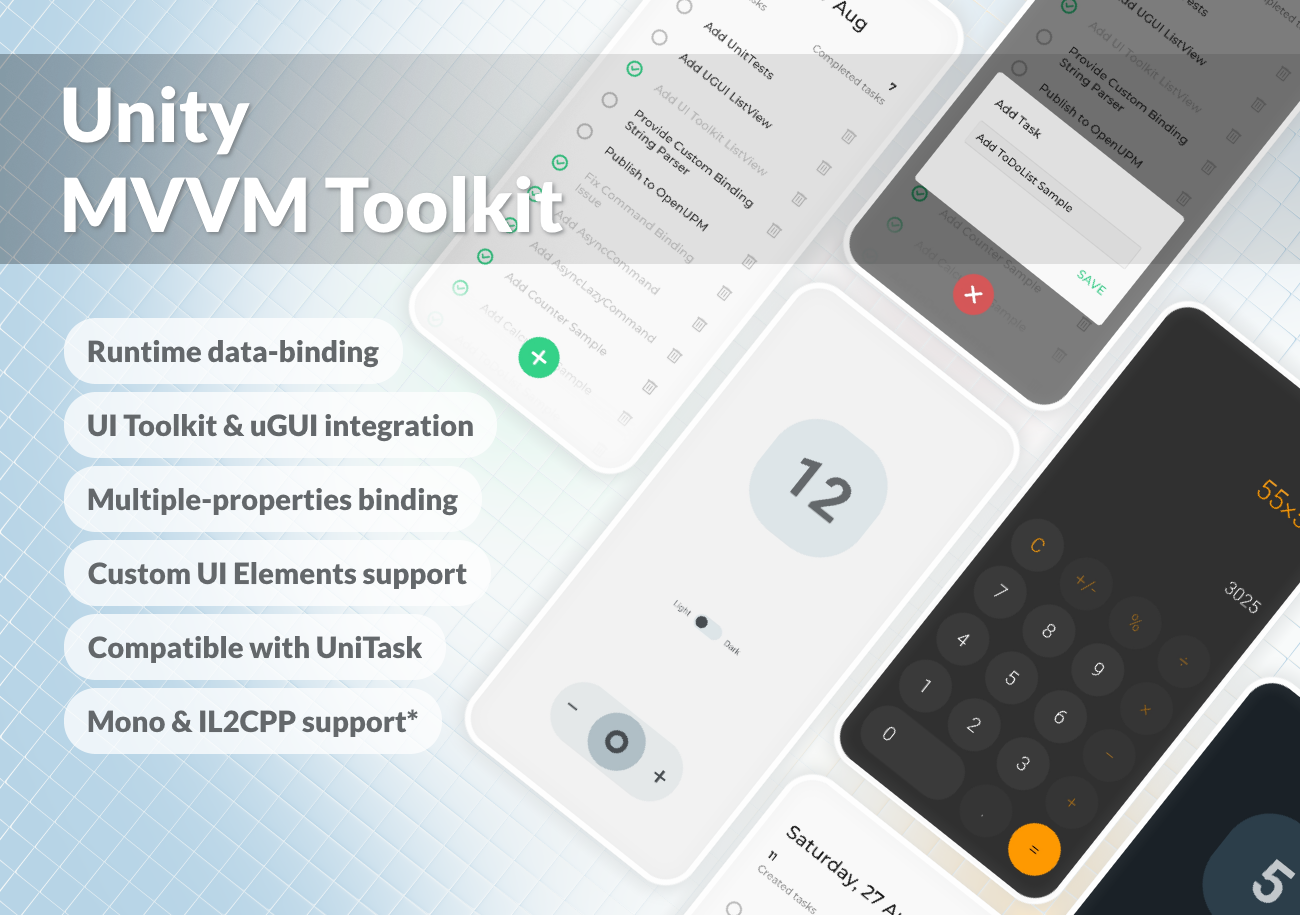
And I so wanted to touch WPF and MVVM again, but in the context of Unity, that it was decided to develop my own data-binding mechanism. I was inspired .NET Community Toolkitso if you have worked with this set of tools before, everything will be as familiar as possible to you.
The result is a library that allows you to implement:
Data binding running at runtime
Binding multiple properties on a single UI element
Support for custom UI elements
Compatible with UniTask to implement asynchronous commands
The library contains a set of standard classes that make it easy to create applications using the MVVM pattern.
This set includes:
A basic set of UI elements has also been implemented:
Let’s look at how the library works using a simple example HelloWorld‘a.
For this we add UnityMvvmToolkit to the project:
open
Edit/Project Settings/Package ManagerAdd new
Scoped Registry
Name      package.openupm.com
URL       https://package.openupm.com
Scope(s)  com.chebanovdd.unitymvvmtoolkit
open
Window/Package ManagerSelect
My RegistriesInstall the package
UnityMvvmToolkit
First of all, let’s create our ViewModel:
using UnityMvvmToolkit.Core;

public class MyFirstViewModel : ViewModel
{
    public string Text { get; } = "Hello World";
}
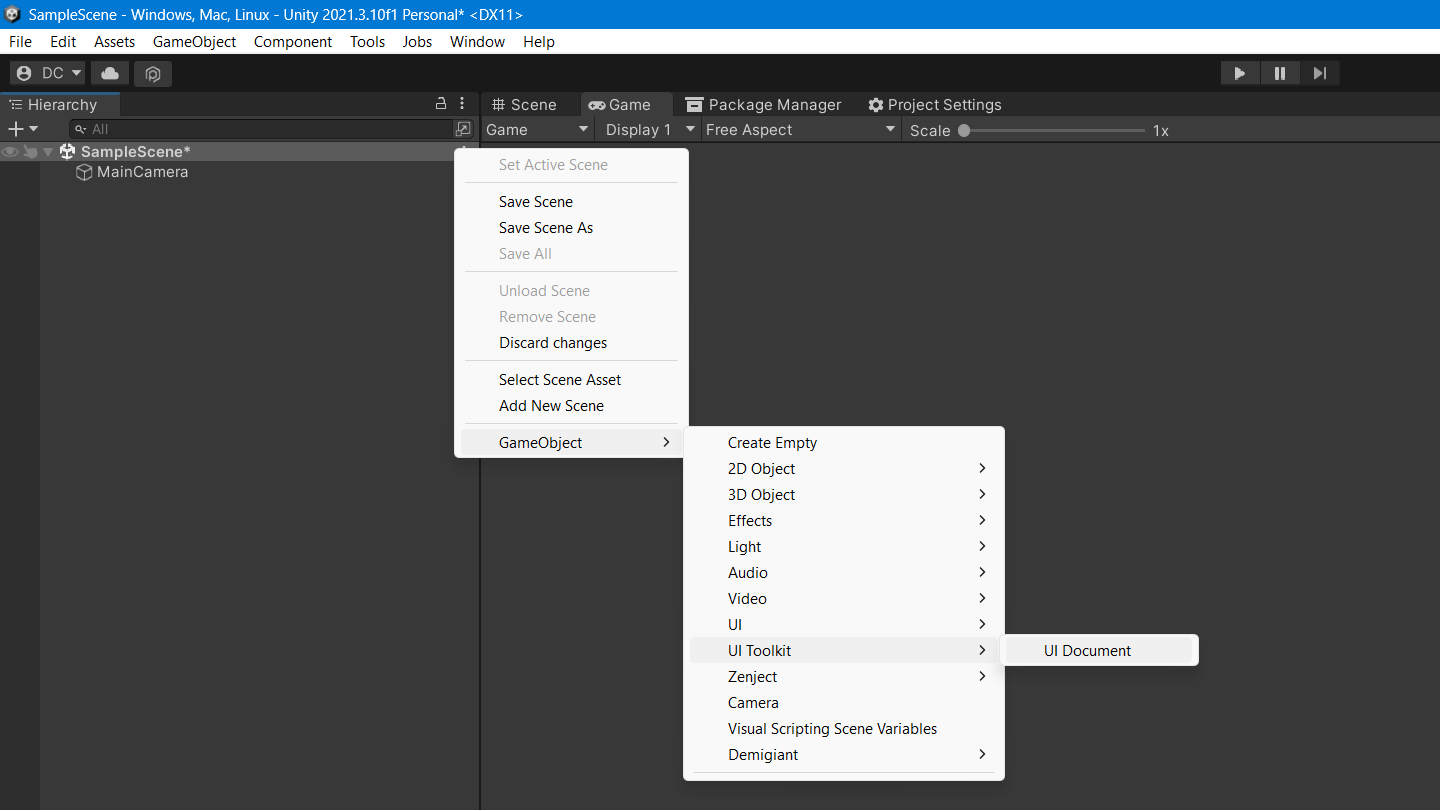
Next add to the stage UI Document choosing GameObject/UI Toolkit/UI Document.
Then let’s create a file MyFirstView.uxml. This will be our View.
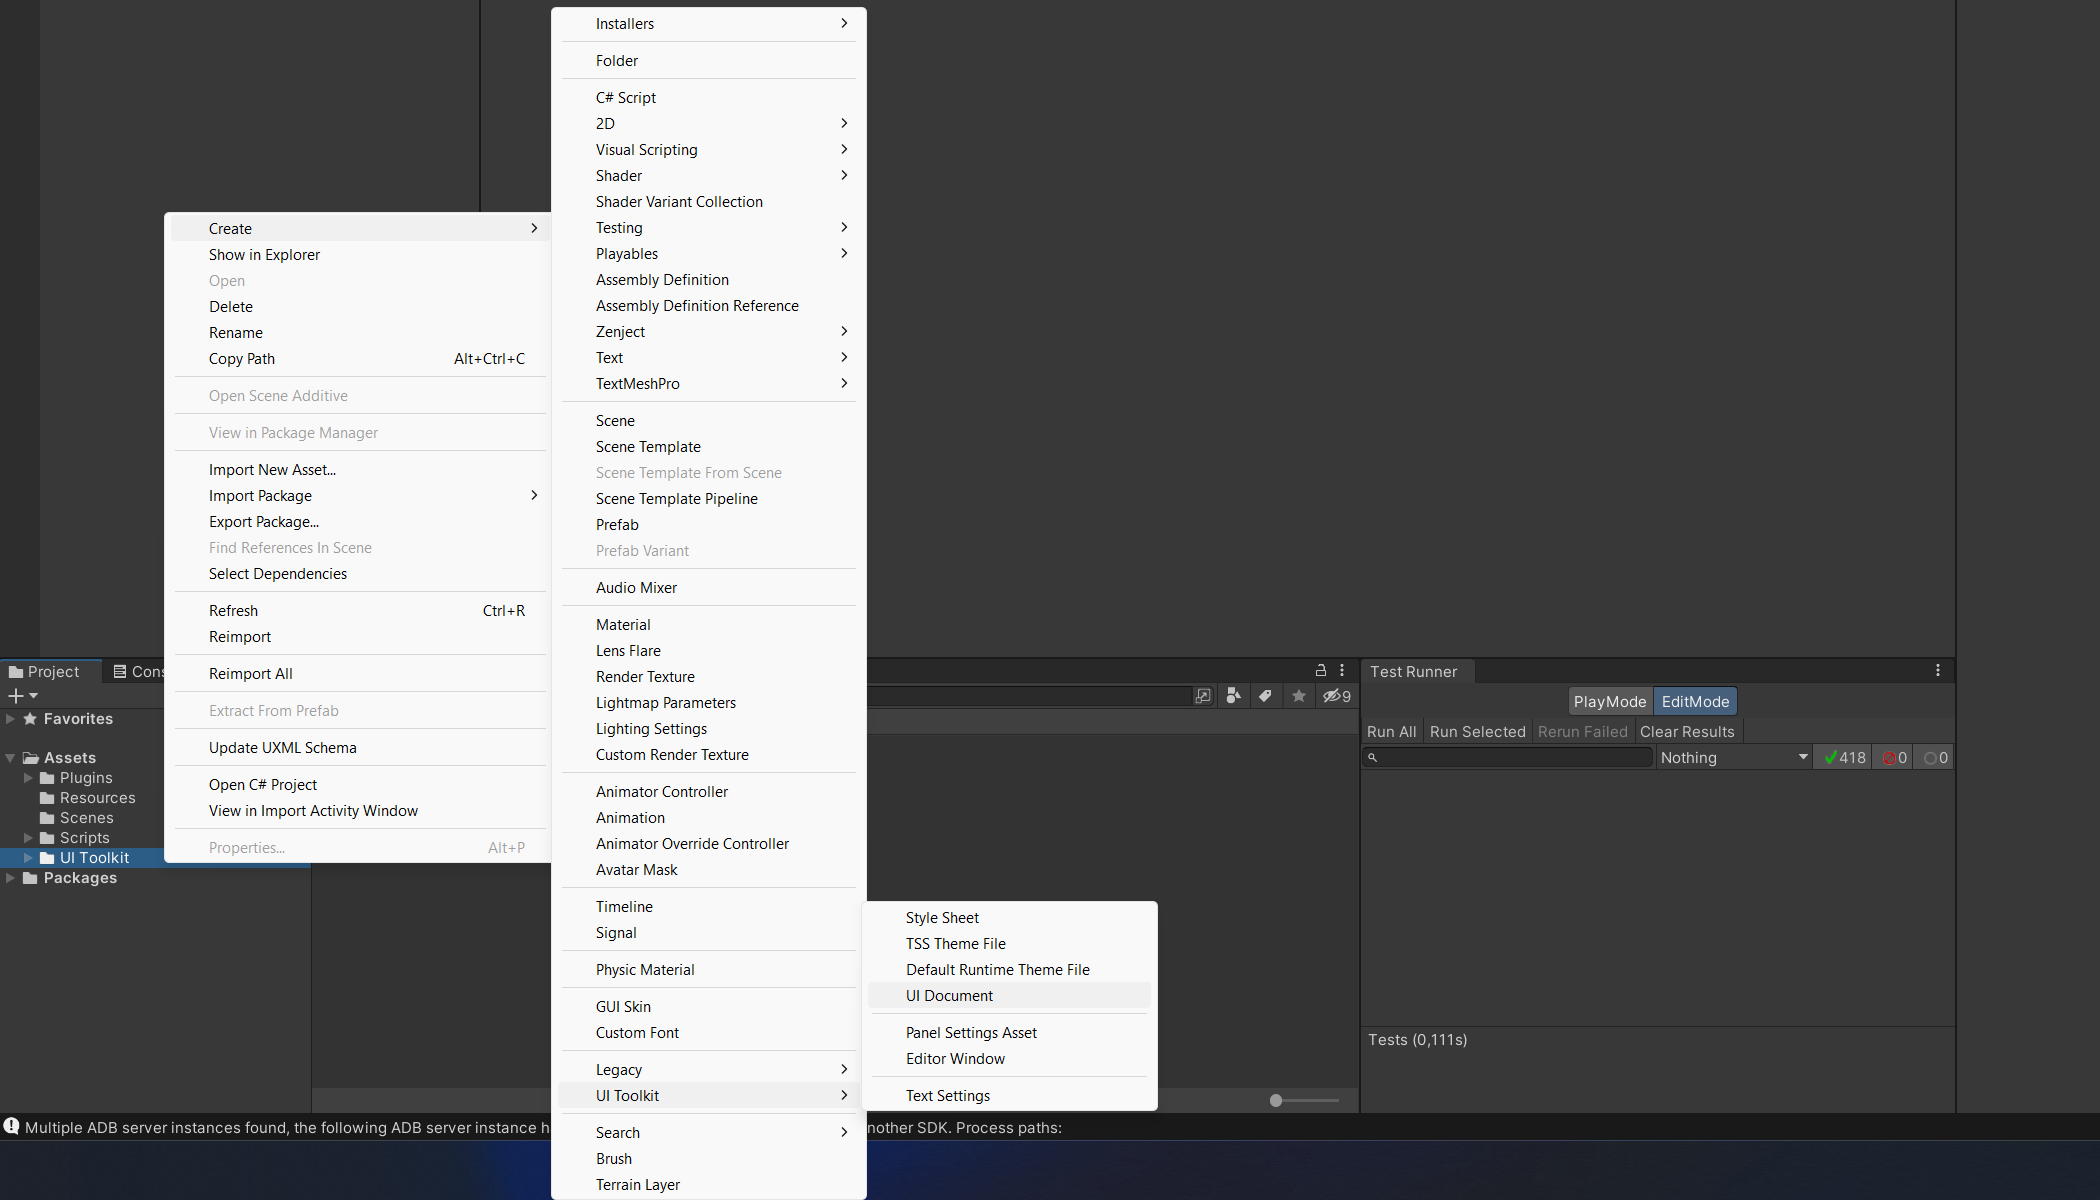
After the file MyFirstView.uxml will be created. Open it in UI Builder and add UI element BindableLabelby setting in the field Binding Text Path meaning Text (the name of our property from the ViewModel).

Everything, our View is ready. If you open it in the code editor, then there will be something like this:
<ui:UXML xmlns:uitk="UnityMvvmToolkit.UITK.BindableUIElements" xmlns:ui="UnityEngine.UIElements">
    <uitk:BindableLabel binding-text-path="Text" />
</ui:UXML>
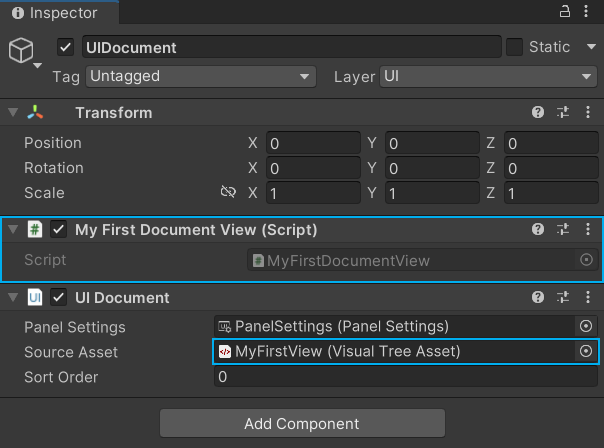
The final step is to create a class MyFirstDocumentViewwhich will set our ViewModel as BindingContext‘and for the created View.
using UnityMvvmToolkit.UITK;

public class MyFirstDocumentView : DocumentView<MyFirstViewModel>
{
}
This class will need to be added to the UI Document on the stage and set our View there.
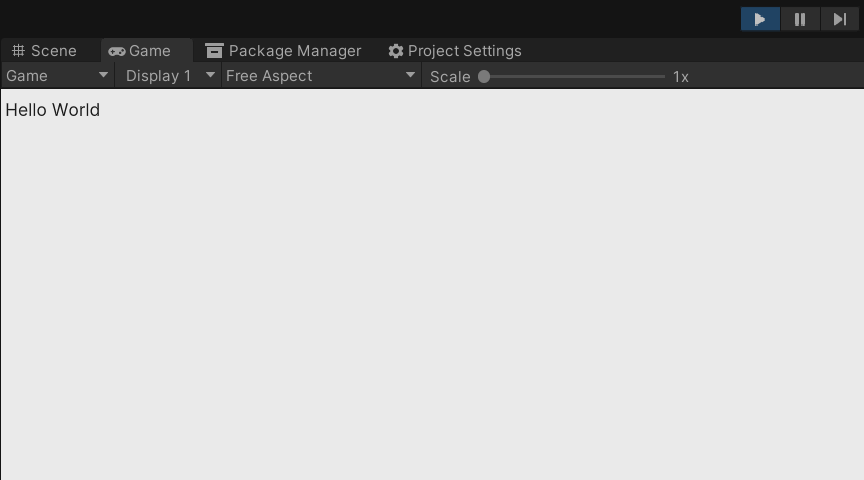
After running the project, we will see our Hello World.
The library turned out to be quite flexible and extensible. What can be seen by examining the application Counter from a folder exampleswhere only custom UI elements are used in the UI.
This is what the CounterView looks like:
<UXML>
    <BindableContentPage binding-theme-mode-path="ThemeMode" class="counter-screen">
        <VisualElement class="number-container">
            <BindableCountLabel binding-text-path="Count" class="count-label count-label--animation" />
        </VisualElement>
        <BindableThemeSwitcher binding-value-path="ThemeMode, Converter={ThemeModeToBoolConverter}" />
        <BindableCounterSlider increment-command="IncrementCommand" decrement-command="DecrementCommand" />
    </BindableContentPage>
</UXML>
And so the CounterViewModel:
public class CounterViewModel : ViewModel
{
    private int _count;
    private ThemeMode _themeMode;

    public CounterViewModel()
    {
        IncrementCommand = new Command(IncrementCount);
        DecrementCommand = new Command(DecrementCount);
    }

    public int Count
    {
        get => _count;
        set => Set(ref _count, value);
    }

    public ThemeMode ThemeMode
    {
        get => _themeMode;
        set => Set(ref _themeMode, value);
    }

    public ICommand IncrementCommand { get; }
    public ICommand DecrementCommand { get; }

    private void IncrementCount() => Count++;
    private void DecrementCount() => Count--;
}
Finally, some technical information. under the hood UnityMvvmToolkit uses reflection, but getting and setting property values is implemented through delegates.
public static class PropertyInfoExtensions
{
    public static Func<TObjectType, TValueType> CreateGetValueDelegate<TObjectType, TValueType>(
        this PropertyInfo propertyInfo)
    {
        return (Func<TObjectType, TValueType>) Delegate.CreateDelegate(typeof(Func<TObjectType, TValueType>),
            propertyInfo.GetMethod);
    }

    public static Action<TObjectType, TValueType> CreateSetValueDelegate<TObjectType, TValueType>(
        this PropertyInfo propertyInfo)
    {
        return (Action<TObjectType, TValueType>) Delegate.CreateDelegate(typeof(Action<TObjectType, TValueType>),
            propertyInfo.SetMethod);
    }
}
This approach avoids boxing and unboxing for value types, which greatly improves performance. In particular, it is about 65 times faster than the one using the standard methods. GetValue and SetValueand does not result in memory allocation at all.
All sources, examples and documentation can be found at GitHubthe package is also published on the site OpenUPM. If you have ideas, suggestions, or would like to contribute to the development, welcome to discussions.
What do you think of this approach to creating user interfaces in Unity?


