Test run of Synology video surveillance system for 8 cameras
We are talking about the recording system from IP cameras Surveillance Station from Synology. I myself have been using Synology for many years, and I first met it even before buying the original iron server, installing a proprietary operating system through Xpenology on a regular computer.
Xpenology is Synology’s operating system bootloader called DSM (DiskStation Manager) and is used on Synology branded NAS. DSM runs on a custom version of Linux developed by Synology.

Surveillance Station Web Application is an NVR (Network Video Recording) system for security by monitoring IP cameras. This app seems to be quite handy, albeit a proprietary video surveillance system that works right out of the box. By default, only two cameras can be connected for free.
However, in July 2022, the Brazilian Fabio Belavenuto posted a bootloader project on github Automated RedPill Loader (ARPL)which allows you to create a bootable USB flash drive almost without using the command line and test the launch of Synology DSM 7.1 and Surveillance Station 9.0.1-7673 on 8 cameras at no additional charge on a regular computer when emulating a DVA1622 NAS.
How to test running Surveillance Station 9 on a regular computer
1. Copy the address of the bootloader image
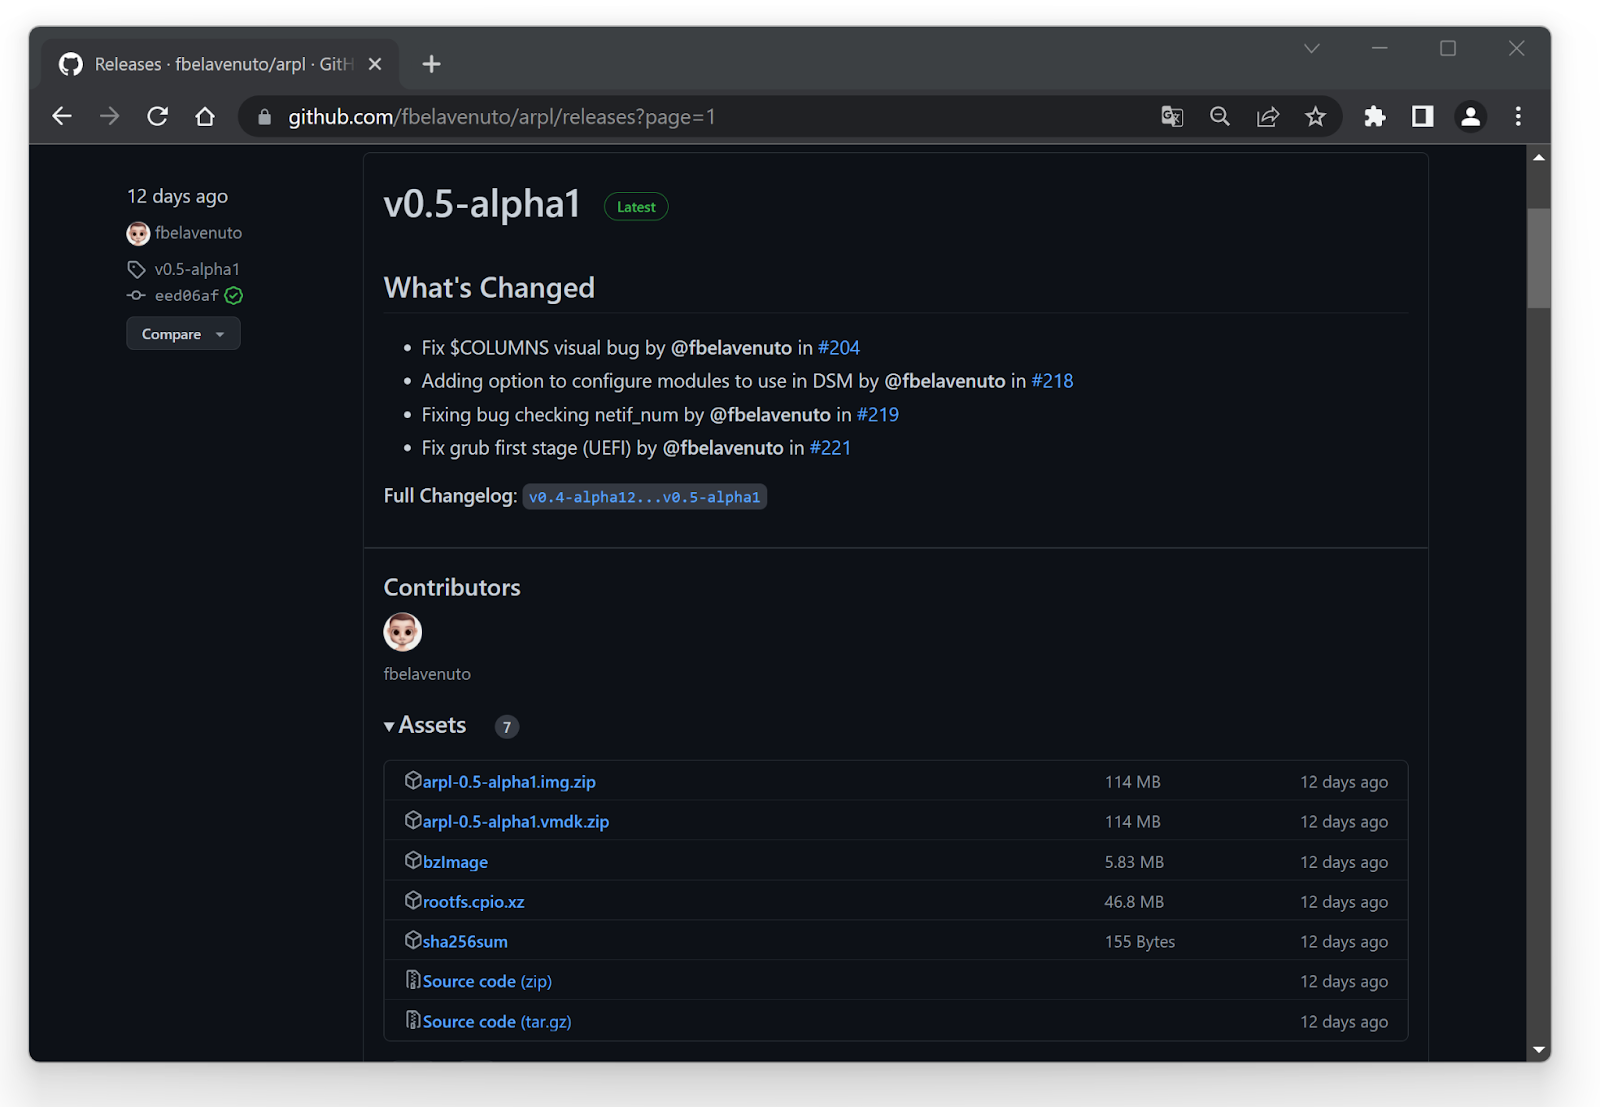
To create a bootable flash drive with an alternative Synology DSM 7.1 bootloader called Automated RedPill Loader (ARPL) from Brazilian Fabio Belavenuto, copy the url of the latest release *.img.zip from page github:
https://github.com/fbelavenuto/arpl/releases/download/v0.5-alpha1/arpl-0.5-alpha1.img.zip
(version dated October 5, 2022)
2. Write the image to a USB flash drive
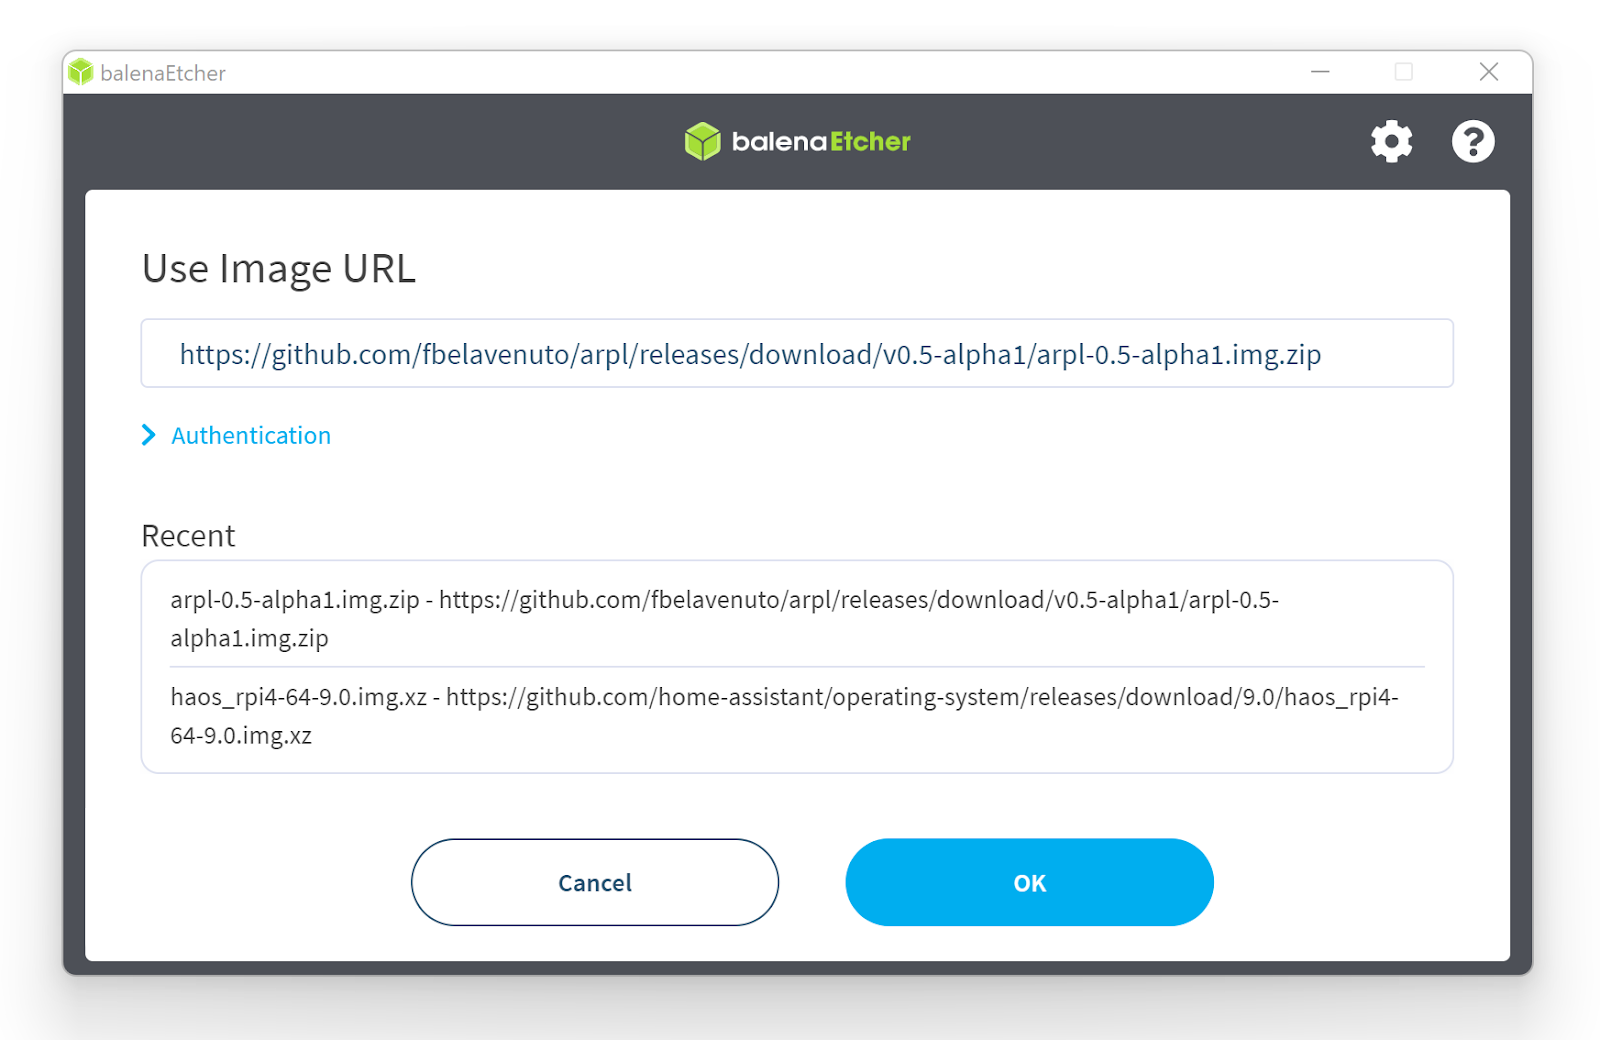
With help balenaEtcherusing Flash from URL, paste the address, specify the flash drive and click on start:

3. Boot from this flash drive in BIOS (Legacy) mode with a monitor, keyboard and mouse physically connected to the computer to create a bootloader
At the very first boot, the configurator will start loading:

After fully loading the Automated RedPill Loader (ARPL) will show something like this window:
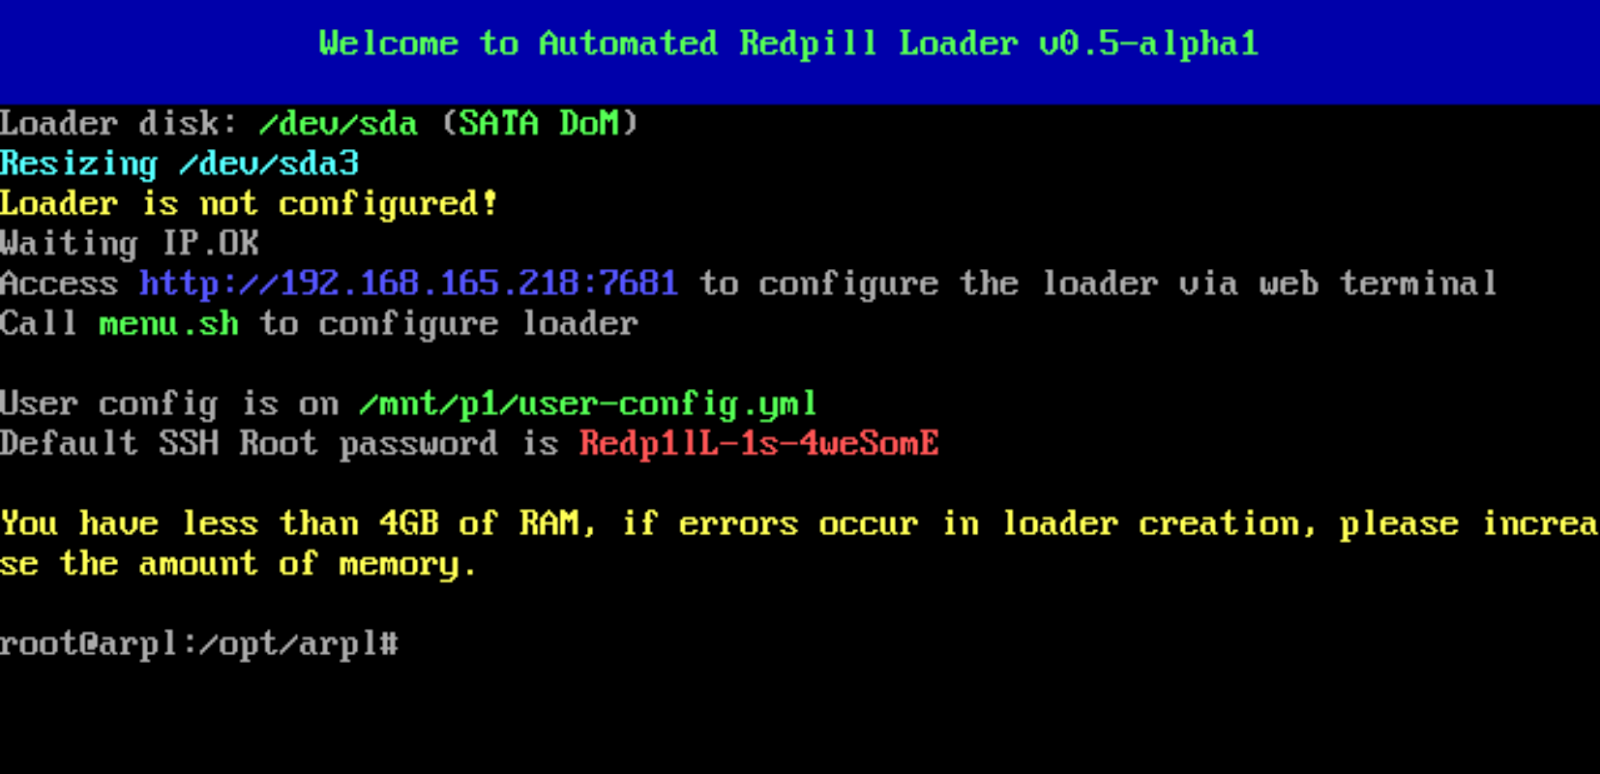
After that, you will only need to use the command line once, typing menu.sh and only after that the bootloader configurator will start working:

We select the model – depending on the type of equipment, the loader will offer different options. If we are talking about the choice for testing a video surveillance system for 8 cameras, then this is DVA1622:
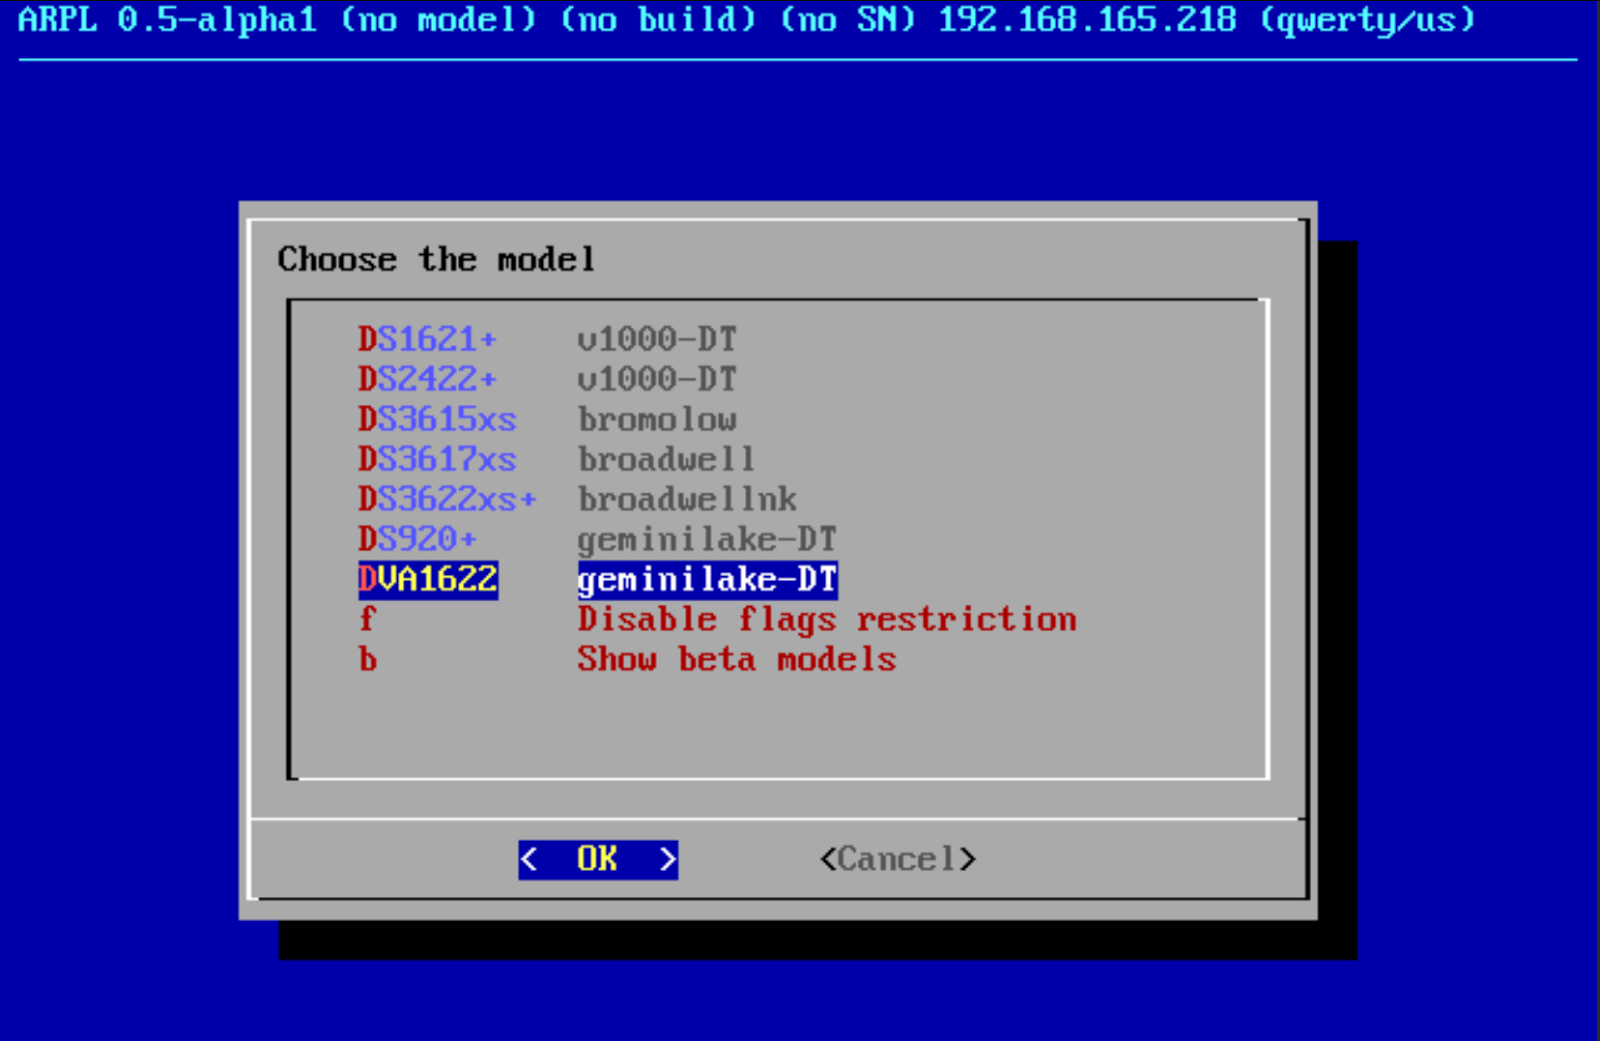
After that, you need to select the build number:
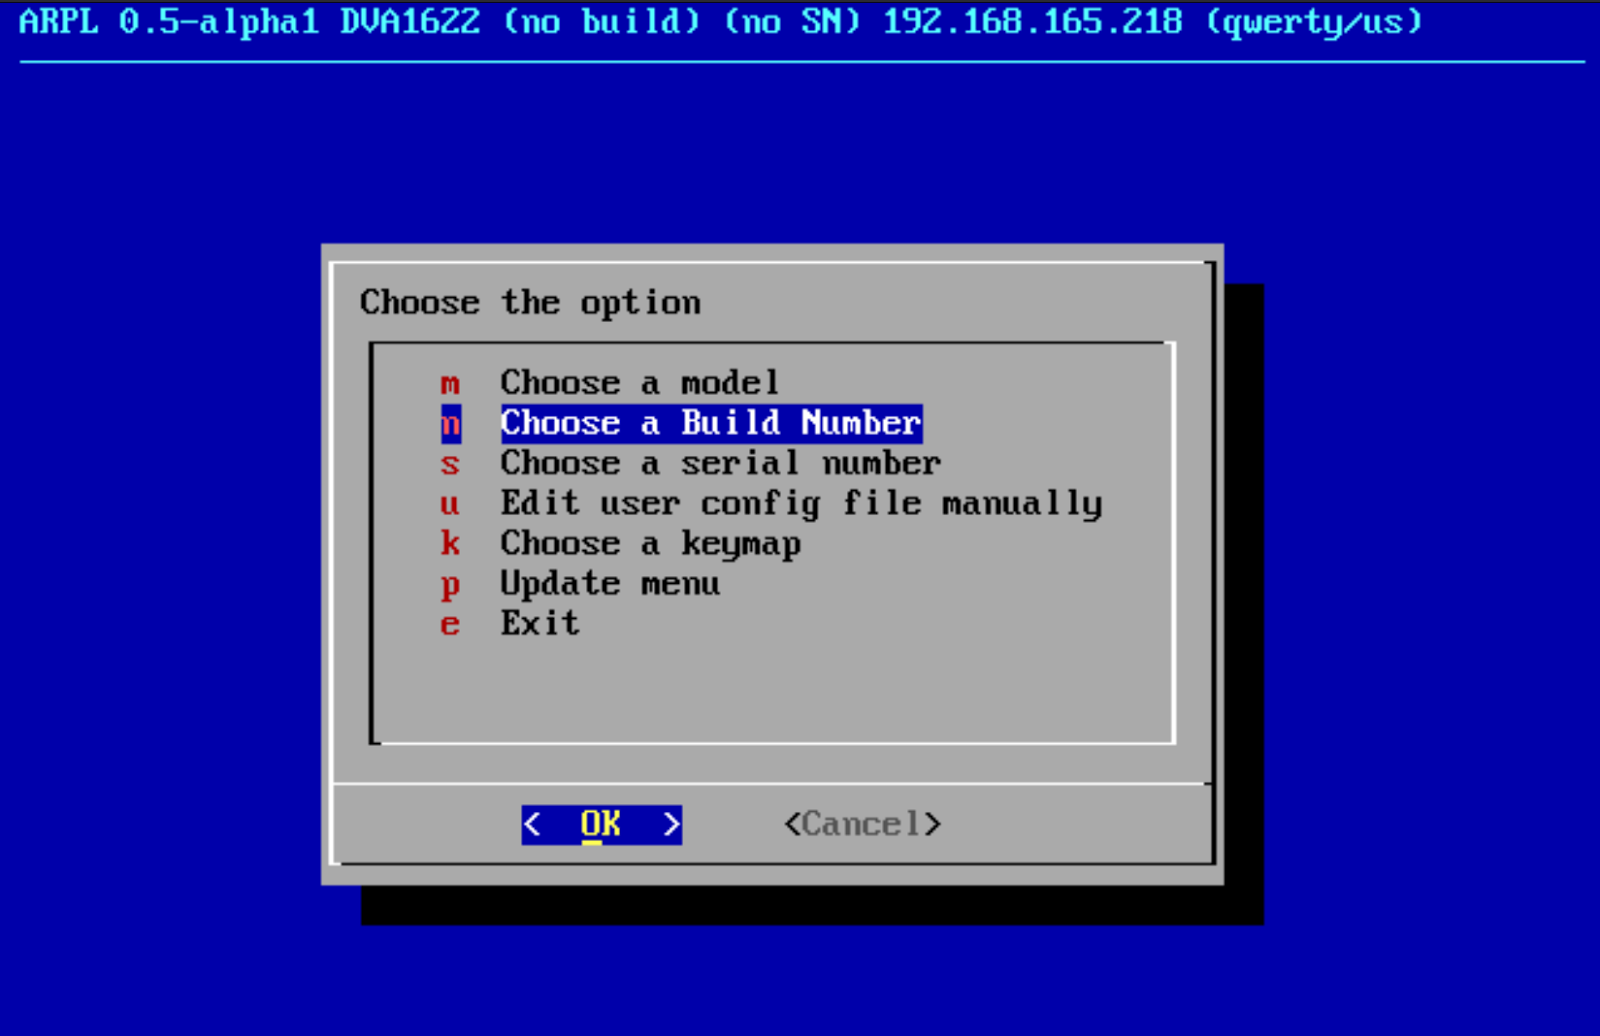
You can simply select the first item in the build number:

After that, the serial and MAC addresses of Synology:
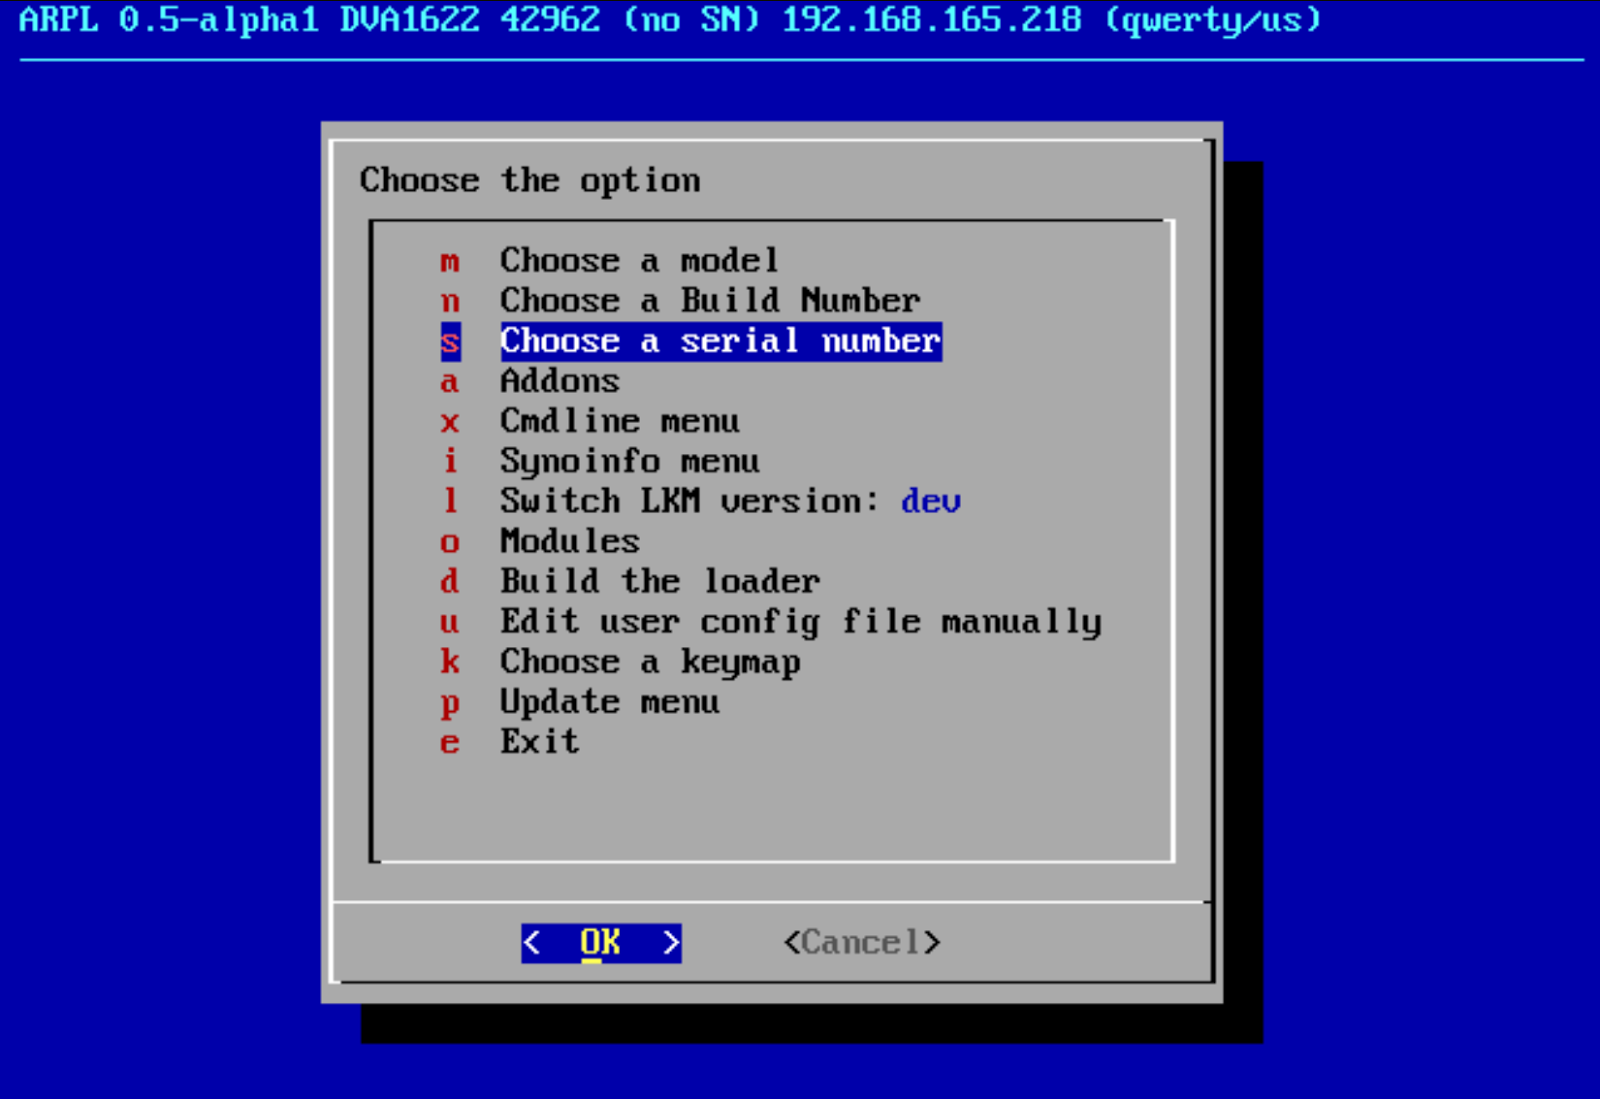
You can choose a random combination of serial number and MAC address, which will be automatically generated by the bootloader:
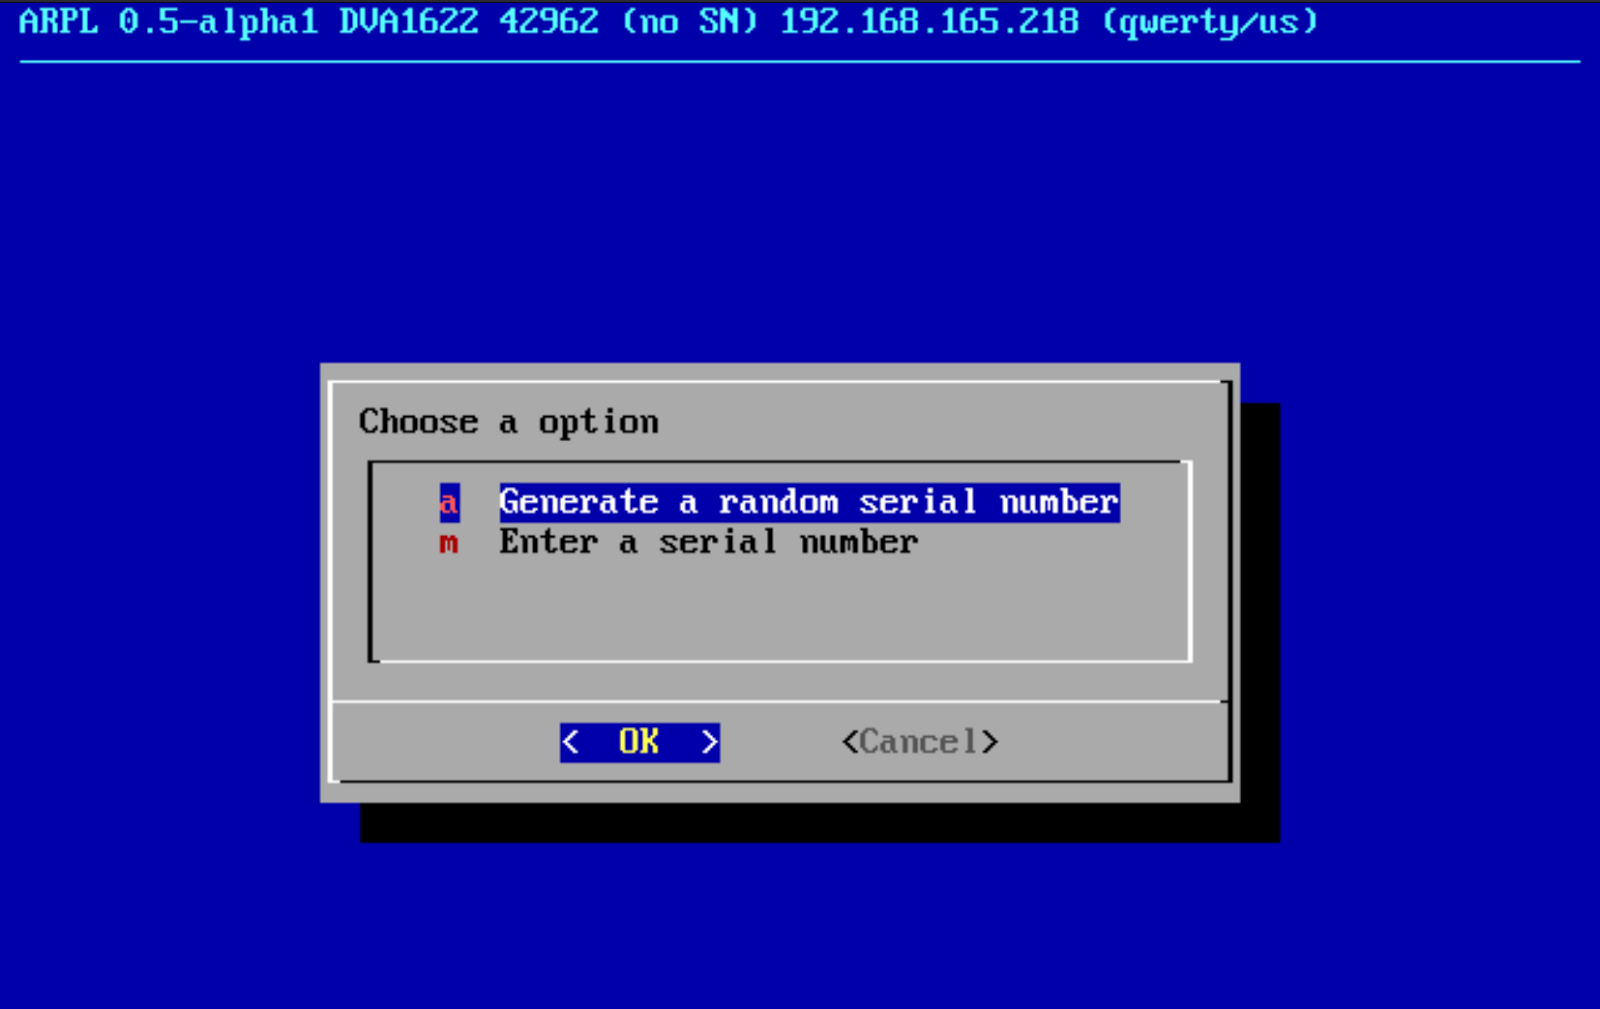
After all the items in the top line are filled, I select the very last item – creating a bootloader:
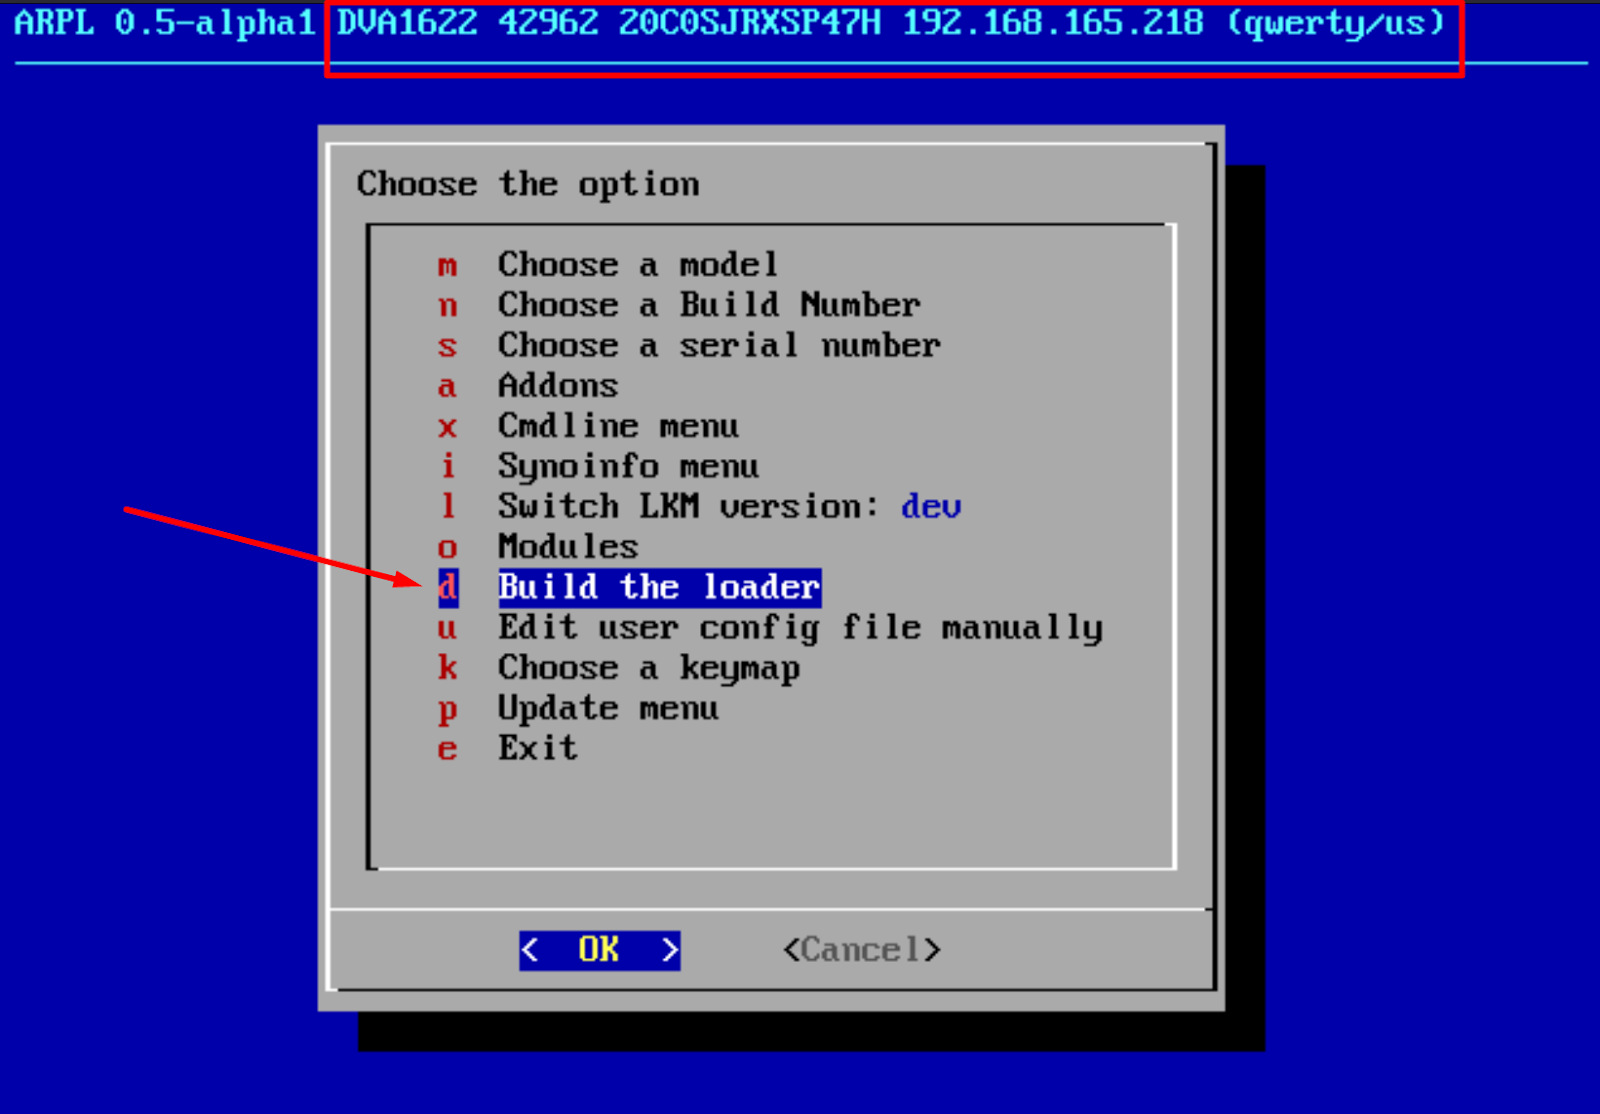
We expect:
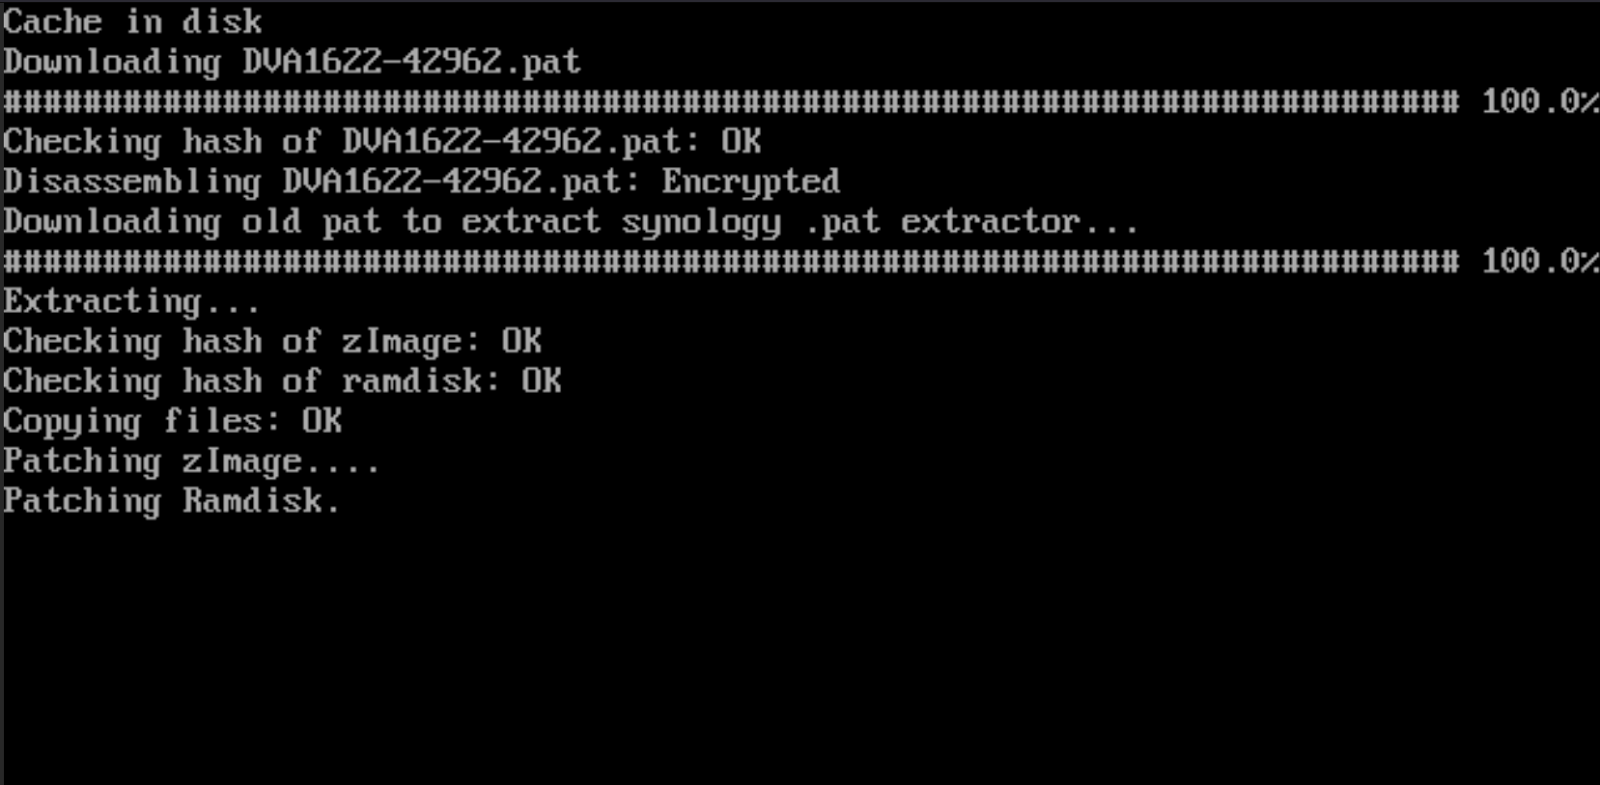
After the reboot, new items will appear in the GRUB bootloader:

After the reboot, the DSM bootloader will start working:
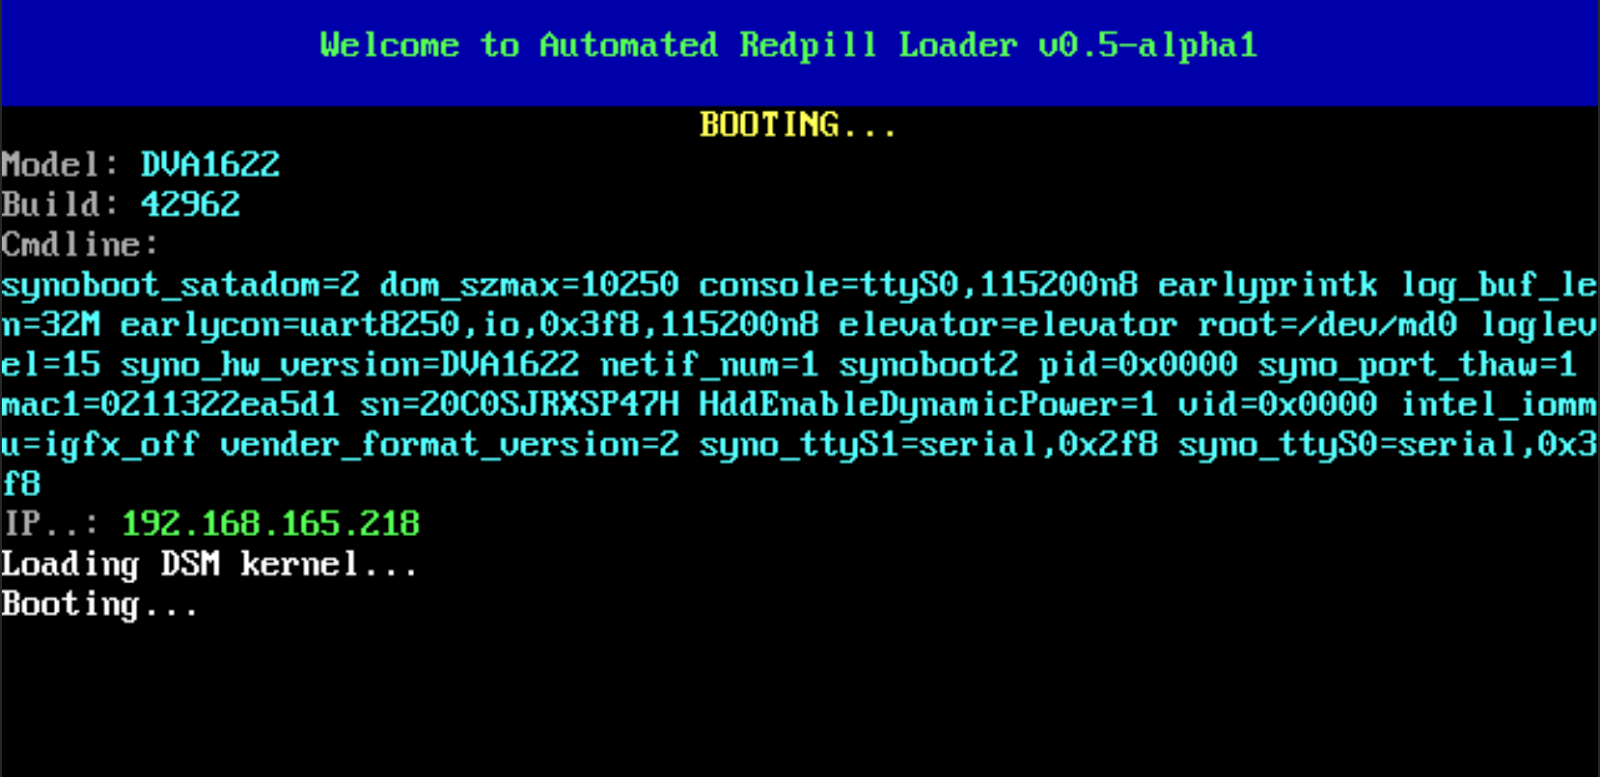
After that, you can proceed to the standard Synology utilities. Using Synology Assistant, you can find your newly created NAS on your local network and follow the normal steps for initial setup. And after that, by standard means, install the latest version of Surveillance Station from the application store and make sure that 8 cameras are embedded. It was unusual for me to see this, because usually Synology Camera License Packs (Device License Pack), which allows you to install additional cameras in Synology Surveillance Station, are sold. And when using this bootloader, they are displayed by default. This is strange.
Alternative launch option
Synology has its own Virtual Machine Manager (VMM) hypervisor, and an alternative Automated RedPill Loader (ARPL) from Brazilian Fabio Belavenuto provides an image in VMDK (Virtual Machine Disk) format.
This image can be imported when creating a new machine as SATA with 2*CPU, 2Gb RAM, e1000 network adapter and booting in BIOS (Legacy) mode.
And then go through the same points that are yours.
And if you need it for some reason, then you can have a virtual DSM with Surveillance Station for 8 licenses.
Results
The licensing of this method remains a big question.
It was interesting for me to tinker with setting up the bootloader, and what to do next – everyone decides for himself.
In addition, a successful and simple launch does not guarantee stable operation – who knows how the system and application will behave in everyday work.
Author: Mikhail Shardin,
October 18, 2022


