SSL Unpinning for Android Applications
Good afternoon, my name is Konstantin Degtyarev, I am a senior security engineer at Huawei RRI. In this article, I would like to share methods for embedding Android mobile applications in traffic.
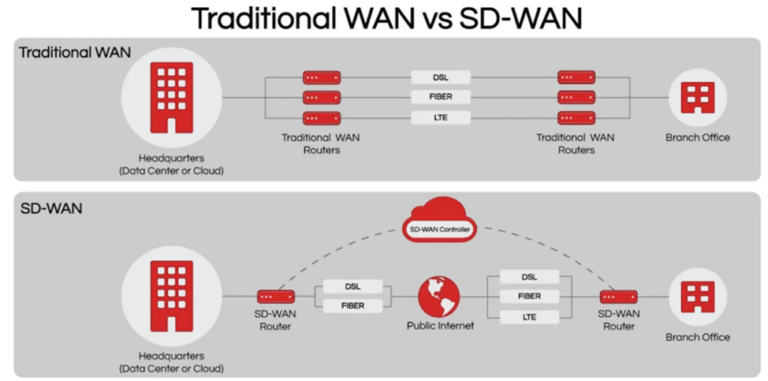
During a mobile application security assessment, it is quite common to intercept web requests. Most modern mobile applications use components such as WebView (webkit), HttpURLConnection, OkHttp, Cronet and others to communicate with the backend server. For example, WebView is useful when you need advanced control over the user interface and advanced customization options that will allow you to embed web pages in a custom designed environment for your application. These components use the HTTP or HTTPS protocols. If everything is clear with HTTP, HTTPS is encrypted, so a MITM attack is needed to decrypt HTTPS traffic. For a MITM attack to succeed, an application must trust the MITM proxy’s certificate. Compared to a website security audit where the proxy MITM certificate is installed in the web browser and everything works smoothly, the situation can be completely different with a mobile application, because most modern mobile applications do not trust user certificates and even system level certificates Android or IOS.
Stand installation
There are two main approaches when auditing or developing mobile applications. First, use a real device, second, use an emulator. In this case, the Android emulator from Android Studio will be used.
1) Install Android Studio. The distribution kit can be downloaded from the official site here.
2) In Android Studio, create an empty project.
3) Click Tools → Device Manager and create a new Android virtual device.
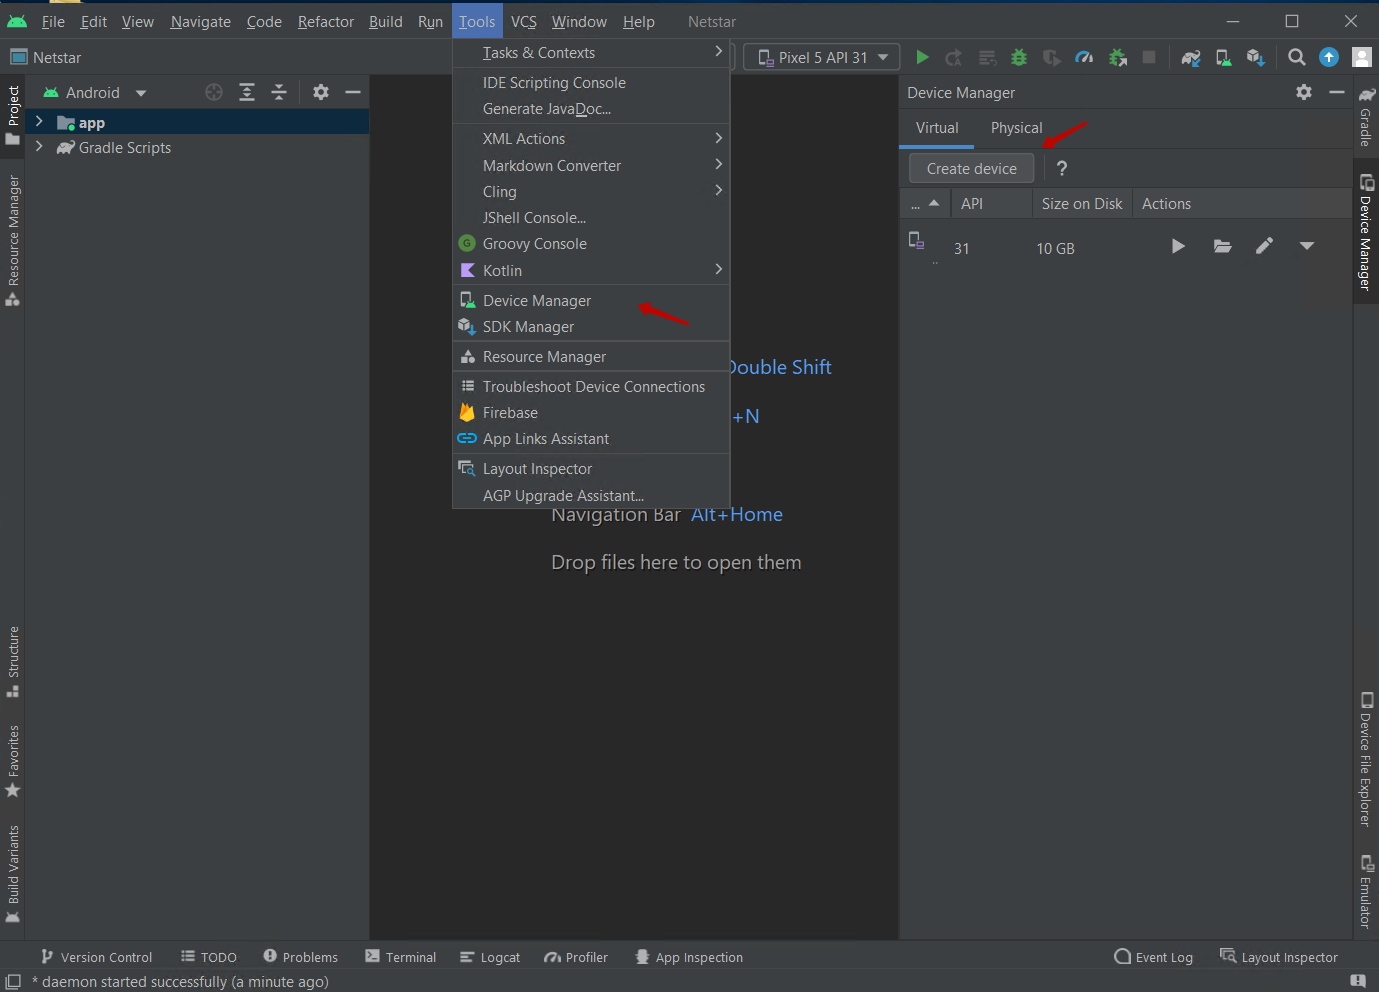
The following configuration is suggested. Phone → Pixel 3a → Release name – Q, API level 29, x86 ABI. Important note. This configuration comes with the Play Store, which means that the Android virtual device will not be rooted by default, but it has the advantage of a full version of Android with the Play Store. Alternatively, you can choose a device model such as Pixel 3a XL, it will not come with Play Sore, but will be rooted out of the box.
5) Launch the created virtual Android device.
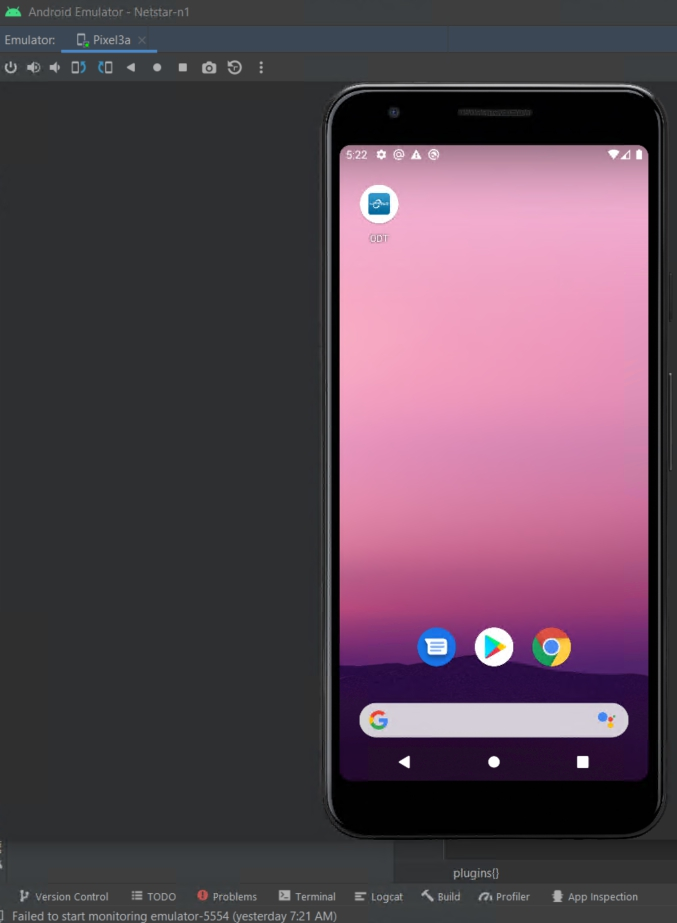
At this point, the AVD (Android virtual device) is ready and the application under test can be installed. There are two main methods for intercepting the HTTPS traffic of an application:
-
Install a custom CA certificate (MITM server) on the AVD. If the application under investigation trusts user certificates or system level certificates, this will work.
-
Patch a running application directly in memory – perform SSL Unpinning.
Experience has shown that repackaging the application under investigation, changing the trust definitions of the application’s certificates and installing the MITM server’s root certificate (method 1), does not guarantee successful interception of MITM traffic by the server. On the other hand, SSL Unpinning (method 2) has shown to be highly reliable and efficient.
Sections 6-9 then describe how to implement modifications to the application certificate trust definitions and how to install the MITM server root certificate (method 1).
SSL Unpinning (method 2) is described in section 11 below.
6) Repacking Android APK.
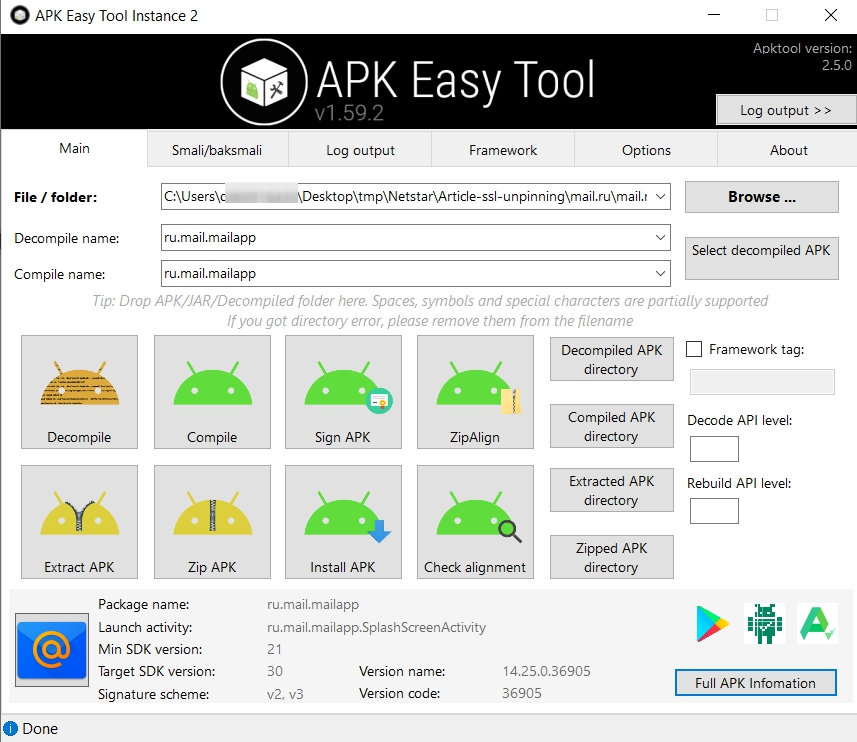
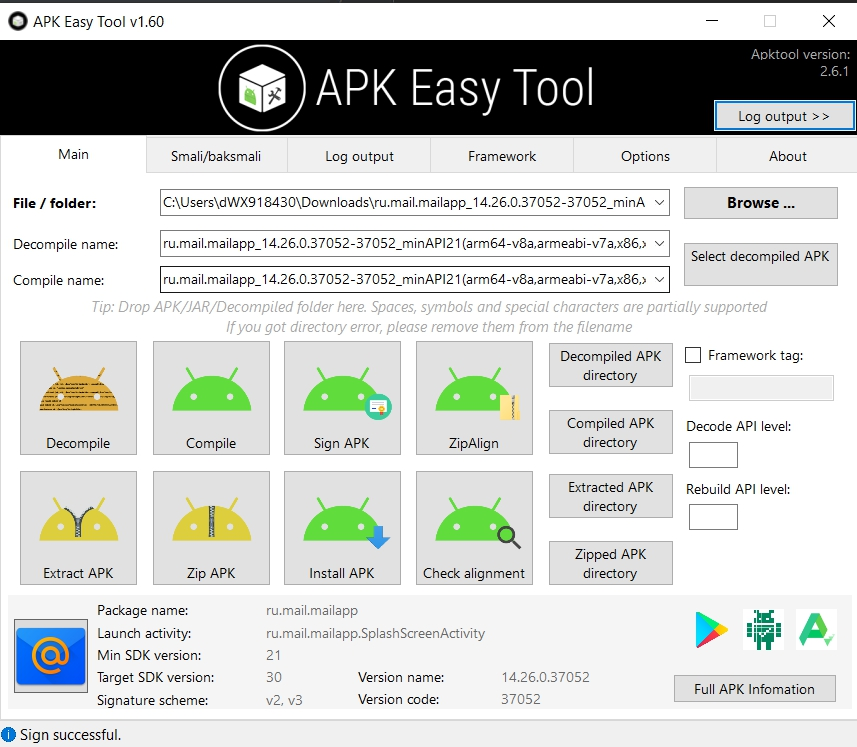
6.1 Download and install Portable APK Easy Tool
6.2 In this example, the mail client application Mail.ru (Mail.ru is the largest Russian mail provider) will be used. Android application, APK file, can be downloaded from apkmirror.com.
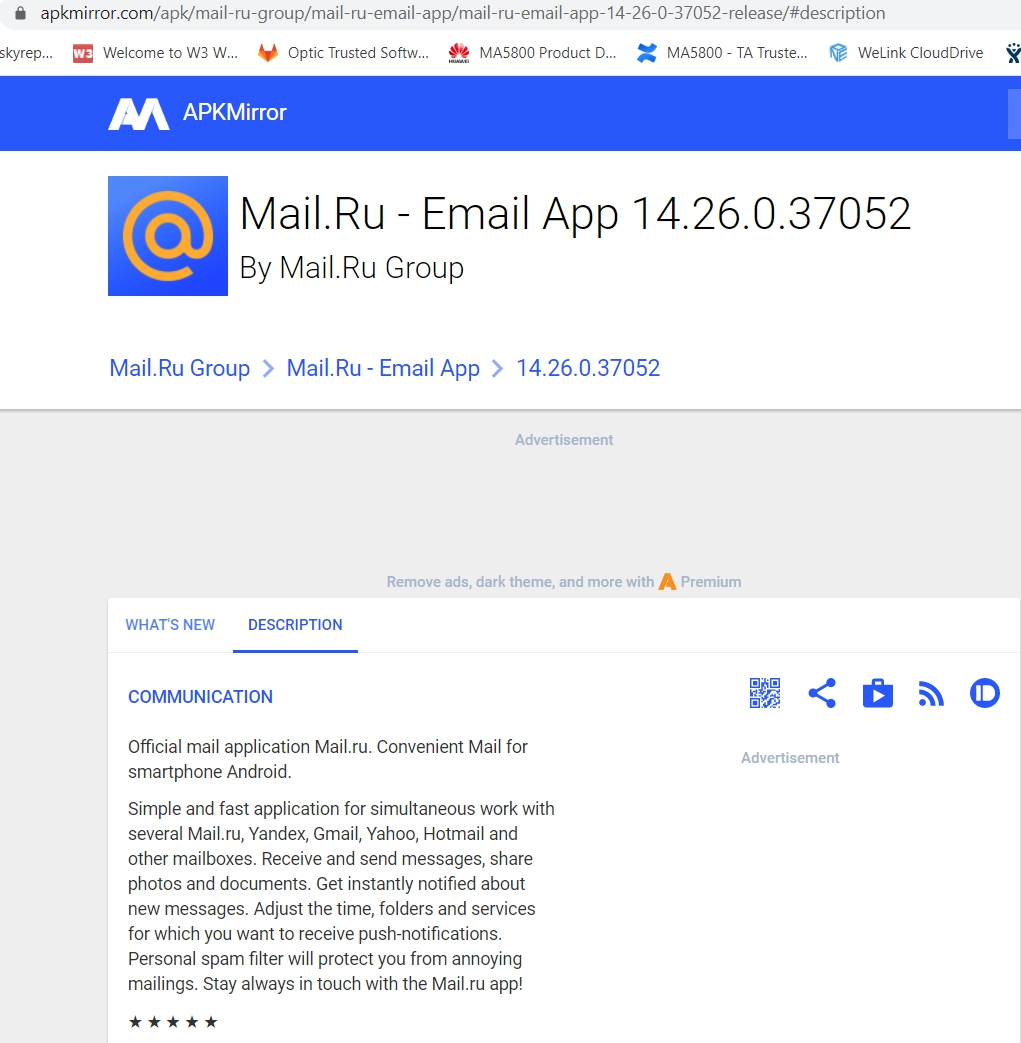
Run the APK Easy Tool, select the APK file of the application ru.mail.mailapp.apk and click the Decomplete button.
6.3 Open the folder with the decompiled APK, inside it go to the “res” → “xml” folders.
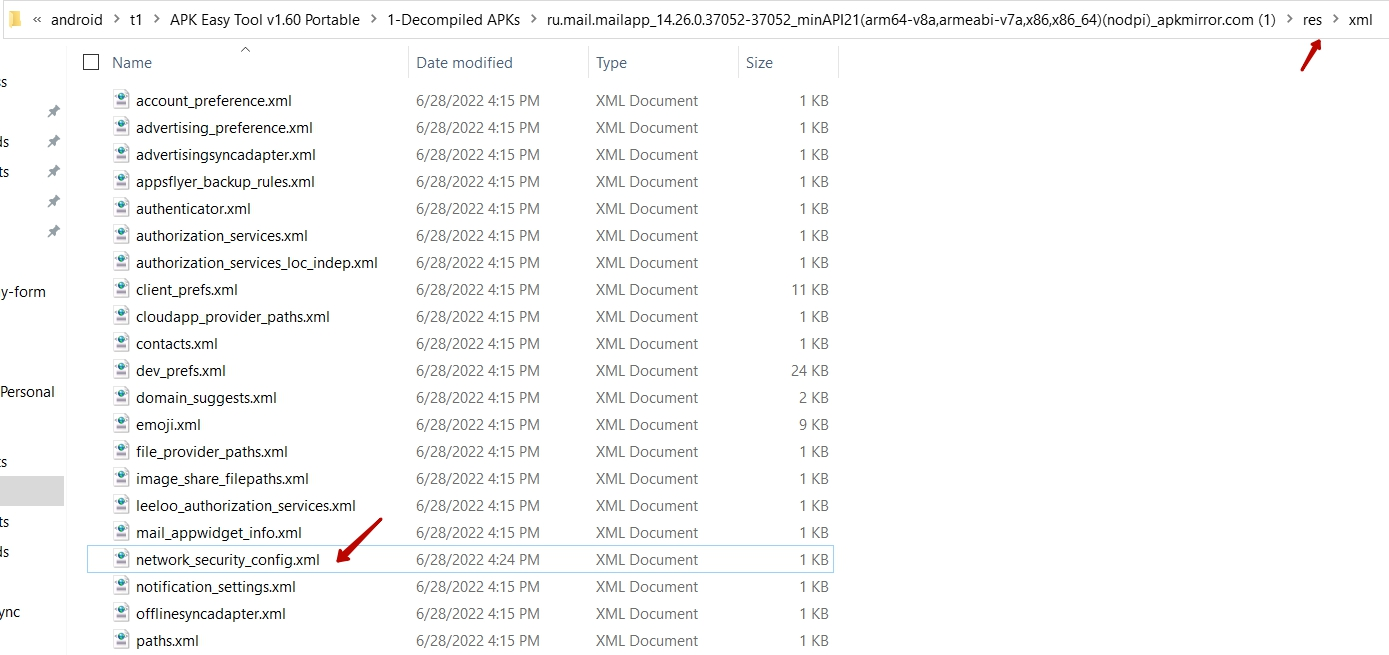
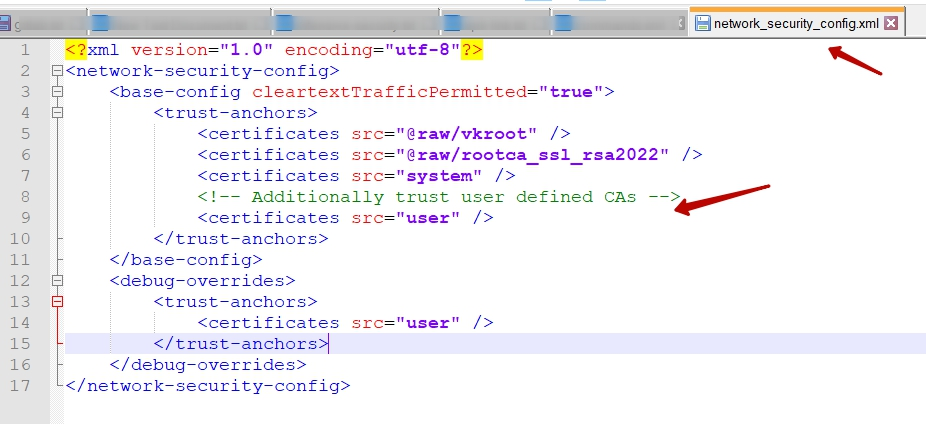
6.4 Inside the xml folder, edit or create the network_security_config.xml file
You must explicitly specify in the configuration that user trust certificates are allowed. The complete content of the file should be as follows:
Define the network security configuration in the AndroidManifest.xml file in the base folder of the decompiled app. In the
AndroidManifest.xml file
<application android:allowBackup="true" android:networkSecurityConfig="@xml/network_security_config" ...etc...>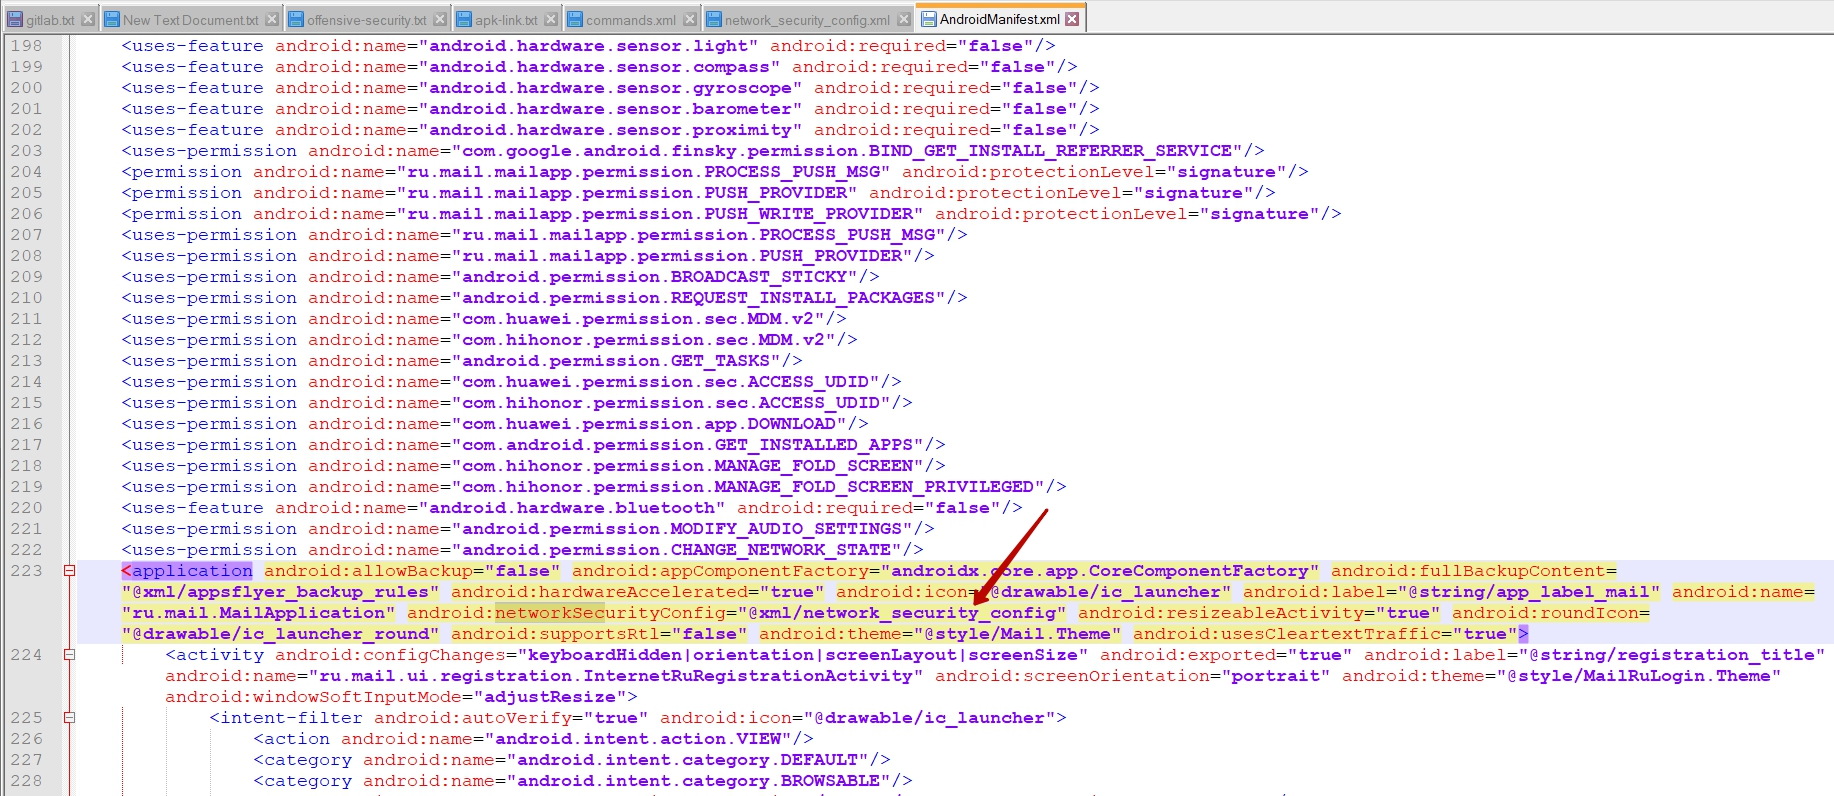
6.5 In the APK Easy Tool, click the Compile button to repair and sign the patched application and create a new ru.mail.mailapp.apk APK file.
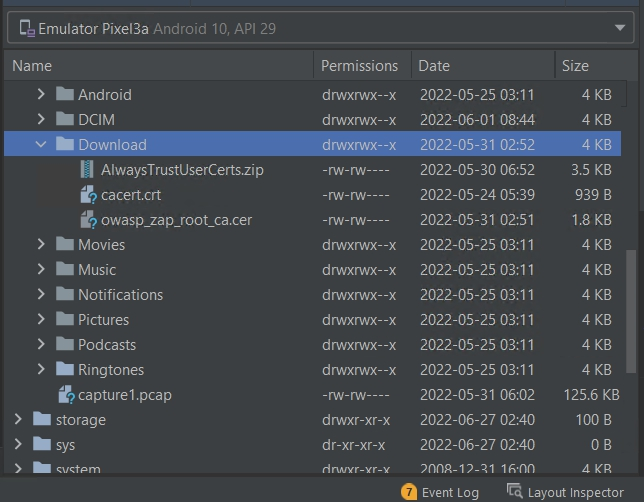
7) Open the top menu View → Tool Windows → Device File Explorer (View → Tool Windows → Device File Explorer). Select a suitable folder on the virtual device, such as Downloads, and upload the converted APK file ru.mail.mailapp.apk to it.

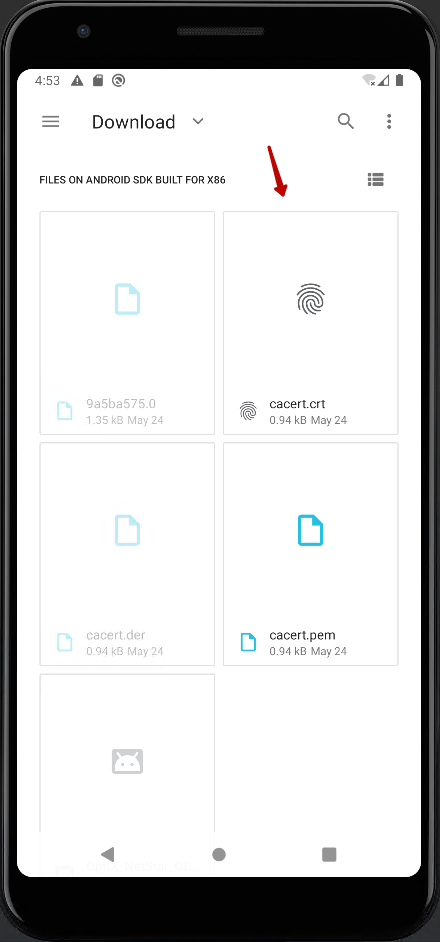
8) On the virtual Android device, open the file explorer, find the downloaded APK file ru.mail.mailapp.apk and click on it to install the app. Also confirm installation from an untrusted source.
Please note that a specially repackaged version of the package must be used to intercept requests.
Next, the custom CA clone certificate from the MITM proxy must be installed on the AVD.
9) Install the user certificate on the Android device to be able to view and intercept the HTTP/HTTPS traffic of the application under investigation.
9.1 Exporting the RootCA certificate from an intercepting proxy application such as Burp.

9.2 Rename the certificate file to cacert.crt
9.3 Download the certificate to the SDCARD of the emulated device.
9.4 On the emulated device, go to: Settings → Security Encryption & Credentials → Install from SD card (Settings → Security → Encryption & Credentials → Install from SD Card). Select and install the downloaded casert.crt certificate file
9.5 It is also recommended to install the MITM Proxy root CA certificate at the SYSTEM level. To do this, use the module Magisk Trust User Certs. This module copies all USER level certificates to the SYSTEM level.
This module requires root access to the AVD with the Magisk app installed. Exists rootAVD applicationwhich makes it easy to root the AVD.
10) To modify and intercept HTTP/HTTPS requests, set the proxy settings for the emulated Android device.
Run adb.exe and enter the following command:
Настройки оболочки adb ставят глобальный http_proxy <адрес>:<порт>//– install a system-wide proxy server
adb shell settings put global http_proxy 10.0.2.2:8080
//– remove the system-wide proxy server
adb shell settings put global http_proxy :0
где <address>:<port> - ip и порт прокси сервера, например Burp.Each instance of the emulator runs behind a virtual router/firewall that isolates it from your host’s network interfaces as well as the Internet. The emulated device cannot see your host or other emulator instances on the network. Instead, it only sees that it is connected via Ethernet to the router/firewall.
The virtual router for each instance manages the 10.0.2/24 network address space – all addresses managed by the router are of the form 10.0.2.xx, where xx is a number. Addresses within this space are pre-allocated by the emulator/router as follows:
|
Network address |
Description |
|
10.0.2.1 |
Router/gateway address |
|
10.0.2.2 |
Special alias for host loopback interface (i.e. 127.0.0.1 on your development machine) |
|
10.0.2.3 |
First DNS Server |
|
10.0.2.4 / 10.0.2.5 / 10.0.2.6 |
Optional second, third and fourth DNS server (if any) |
|
10.0.2.15 |
Emulation of the network / ethernet interface of the device |
|
127.0.0.1 |
Emulated device loopback interface |
11) Frida server installation
11.1 Download the Frida server for Android from GitHub.
The Frida version should look like frida-server-$VERSION-android-$ARCH.xz, for the last $VERSION where $ARCH is your device architecture. For emulators it’s x86 or x86_64, for physical devices it’s probably arm64 (or possibly arm for older devices). Extract the binary file from the *.xz archive. This is not a common compression format, so you may need 7-Zip (Windows) or The Unarchiver (Mac) if you don’t already have them. Then copy the binary to the device, make it executable, and start the server as root.
If your AVD installation is without a production version of Android (does not have the Goole Play Store app), install Frida with the following commands:

In case of using AVD with production version of Android (Goole Play Store app is available) you need to run the script first RootAVD. Then start the Frida server using the following commands:
Running the Frida Server on Production Versions of Android
adb shell # Run a shell on the AVD
su # get root permissions
setenforce 0 # Disable selinux
/data/local/tmp/frida-server & # Start the Frida server on the AVD device
11.2 Install Frida on your computer
Install the Frida CLI Tools on your computer. Requires Python to be installed.
Pip install frida-toolsVerify the installation by running frida-ps -U.
11.3 Disabling SSL Pinning with Frida
Get the package name of the desired application. In this case, the package name is ru.mail.mailapp
Download unpinning script frida-ssl-unpinning-script.js
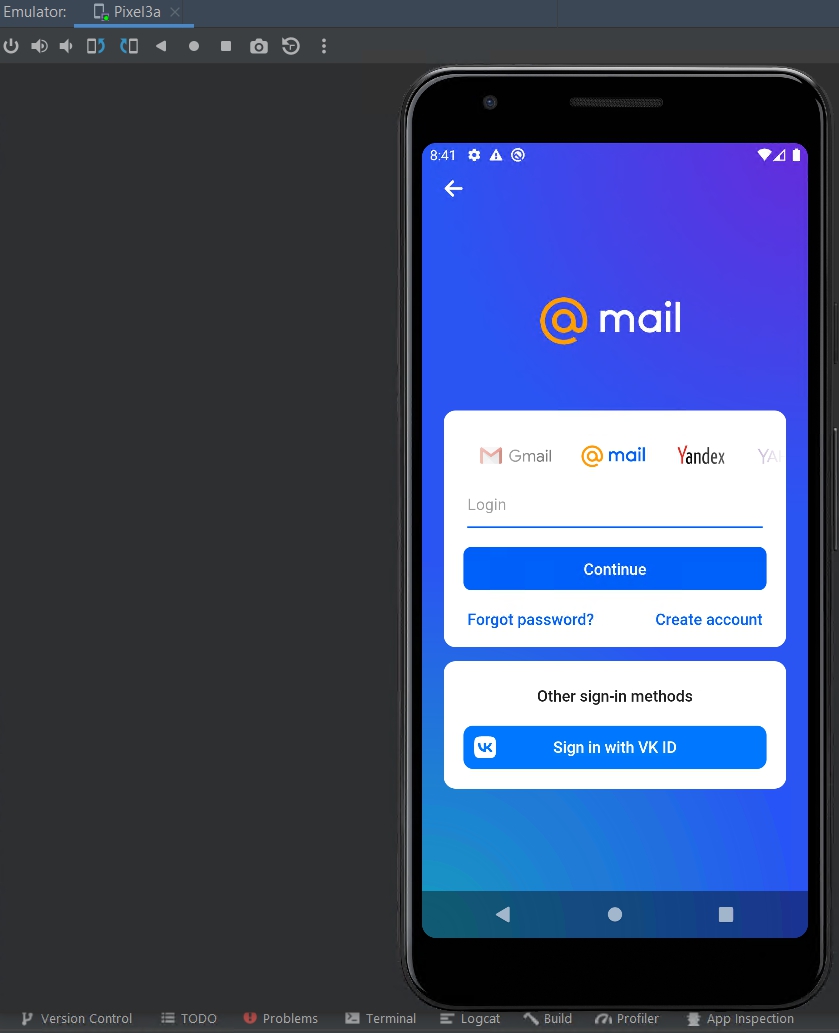
Run the required application, in this case Mail.RU – Email APP.
Run frida-script
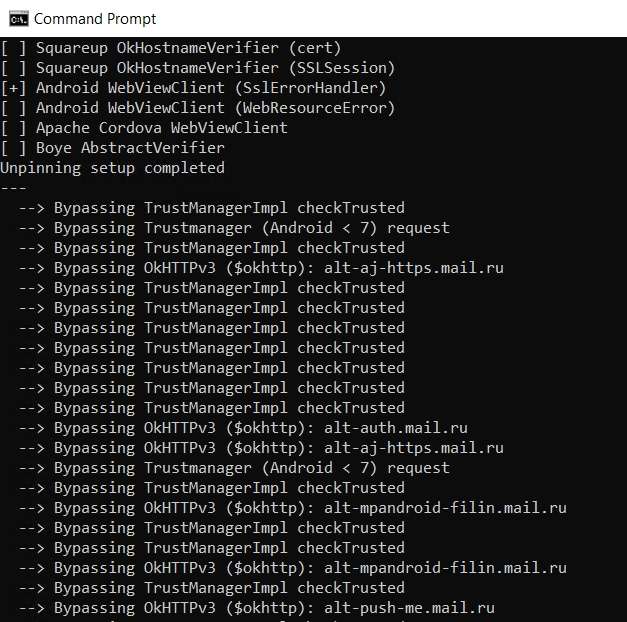
frida --no-break -U -l./frida-script.js -f ru.mail.mailappThis will restart the application on your AVD and print a number of libraries where an SSL Unpinning was attempted, with the symbol [+] for libraries that have been successfully patched (patched), and [ ] for libraries that weren’t (usually because the application doesn’t use those libraries).
When calling the patched methods later, you will also see the message –> Bypassing [pinning method]to see which APIs this app is using.

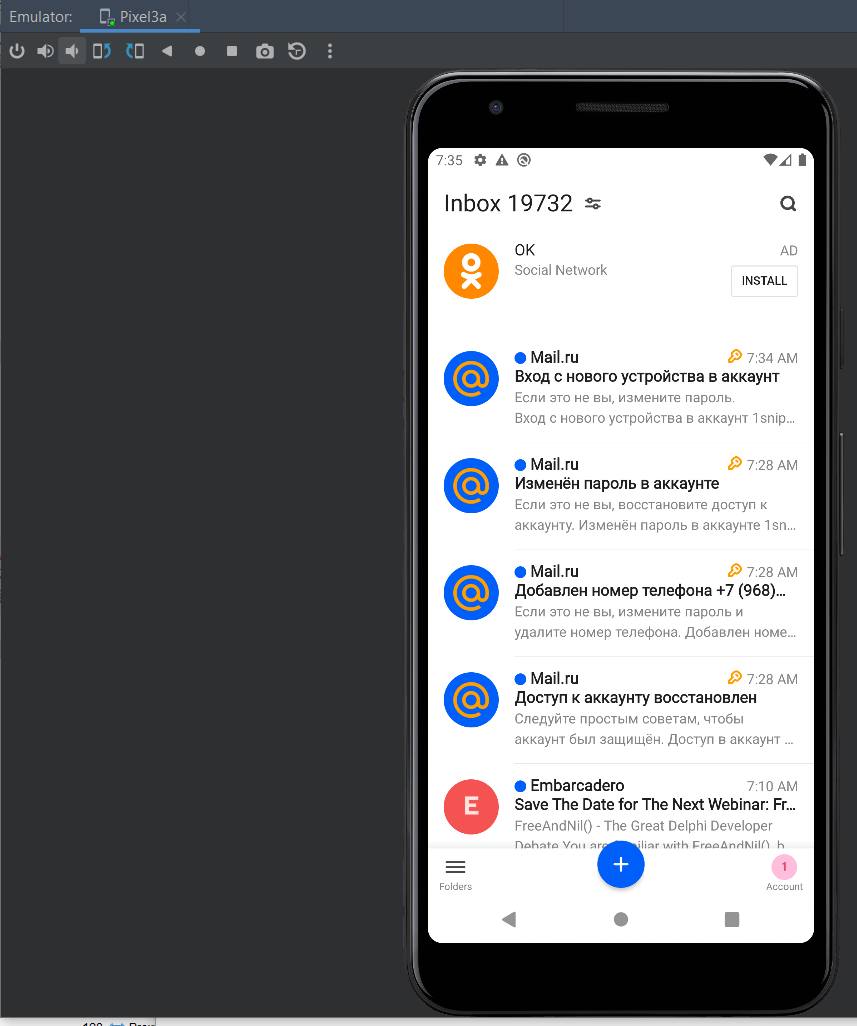
12) Launching the mail.ru mail client application and logging into the user account.
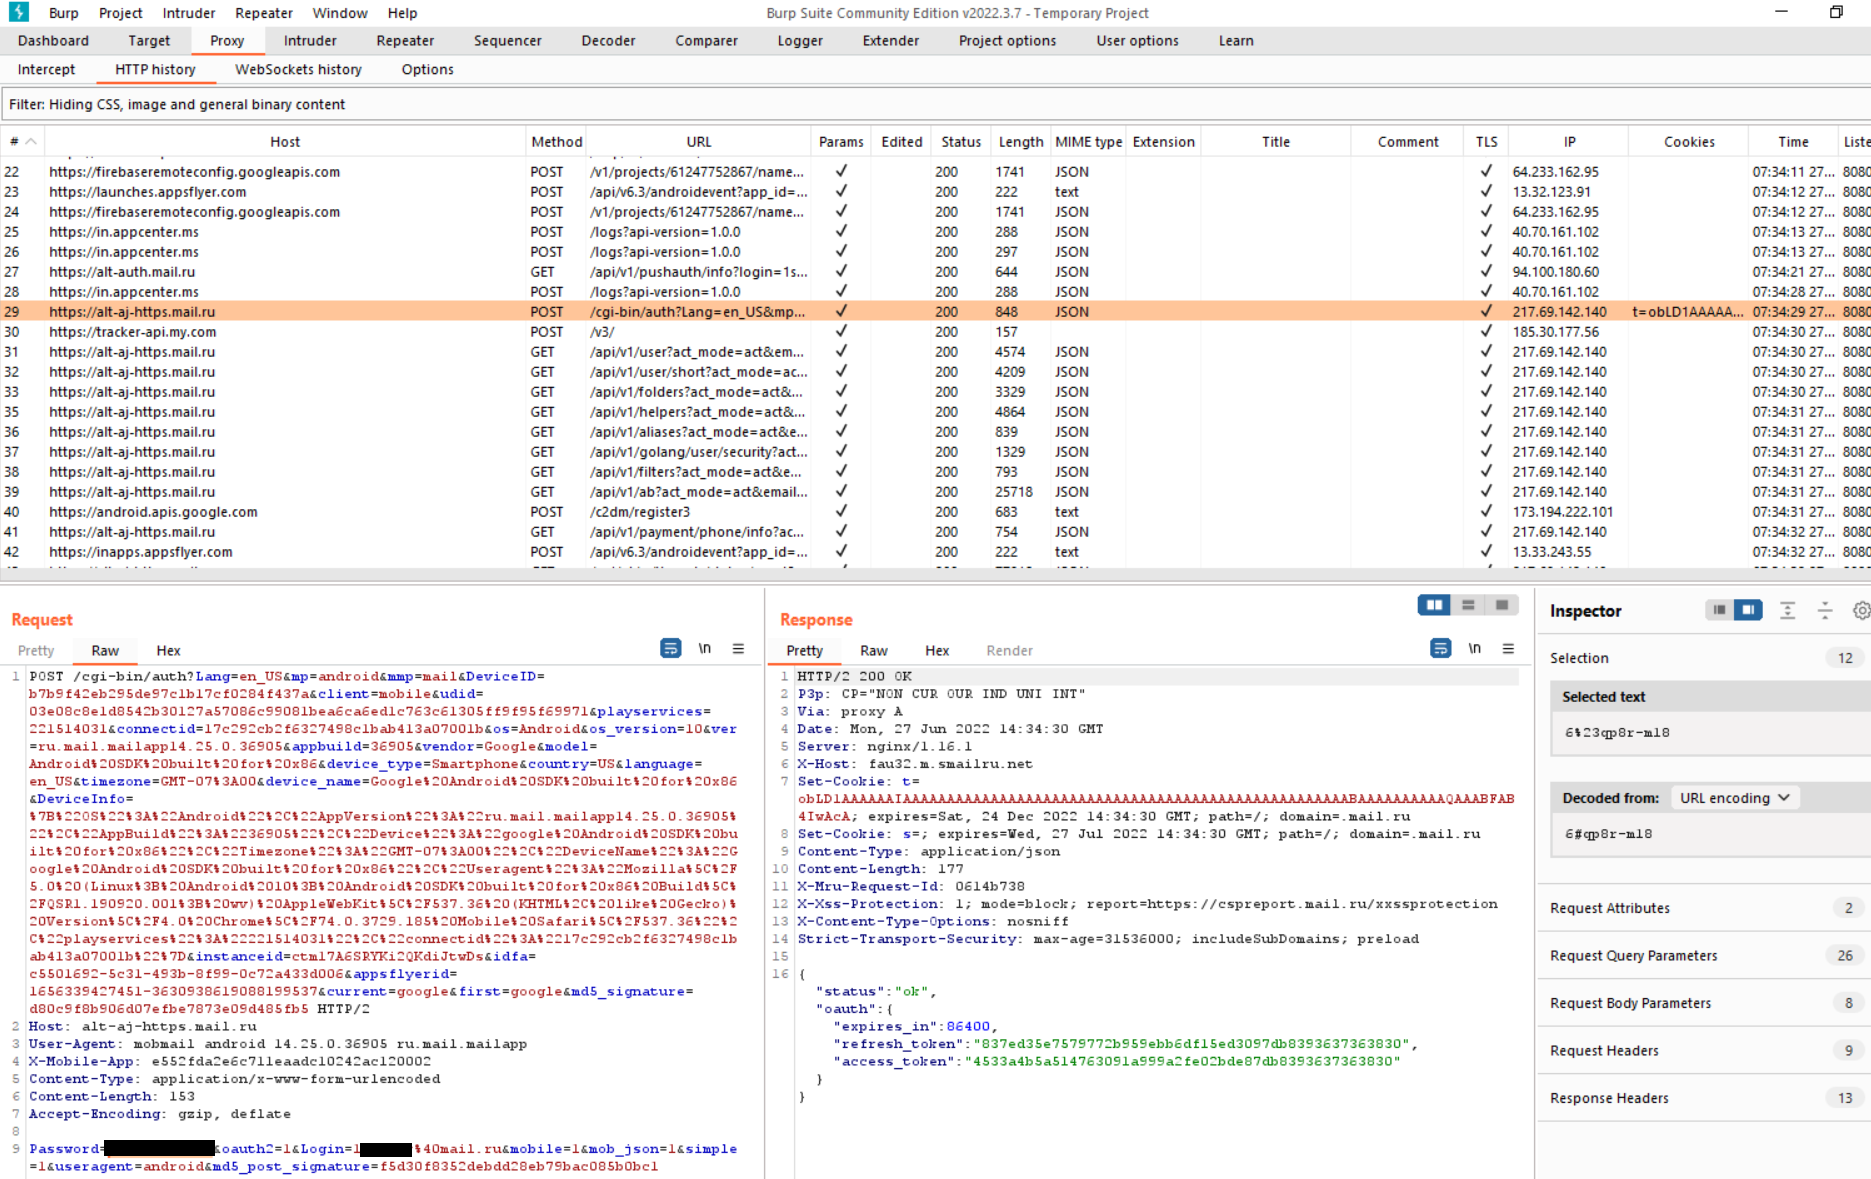
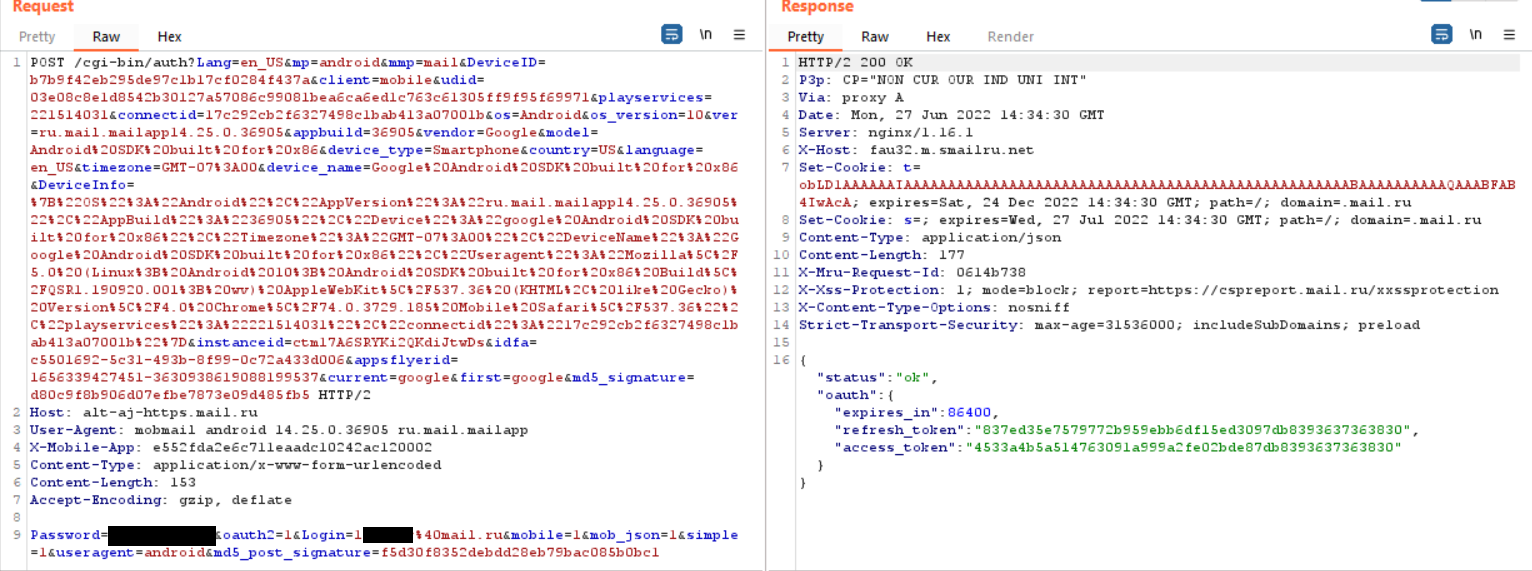
13) Make sure the intercepting proxy (in this case Burp) is receiving HTTP/HTTPS traffic from the application under investigation.
Another example from ZAP proxy.
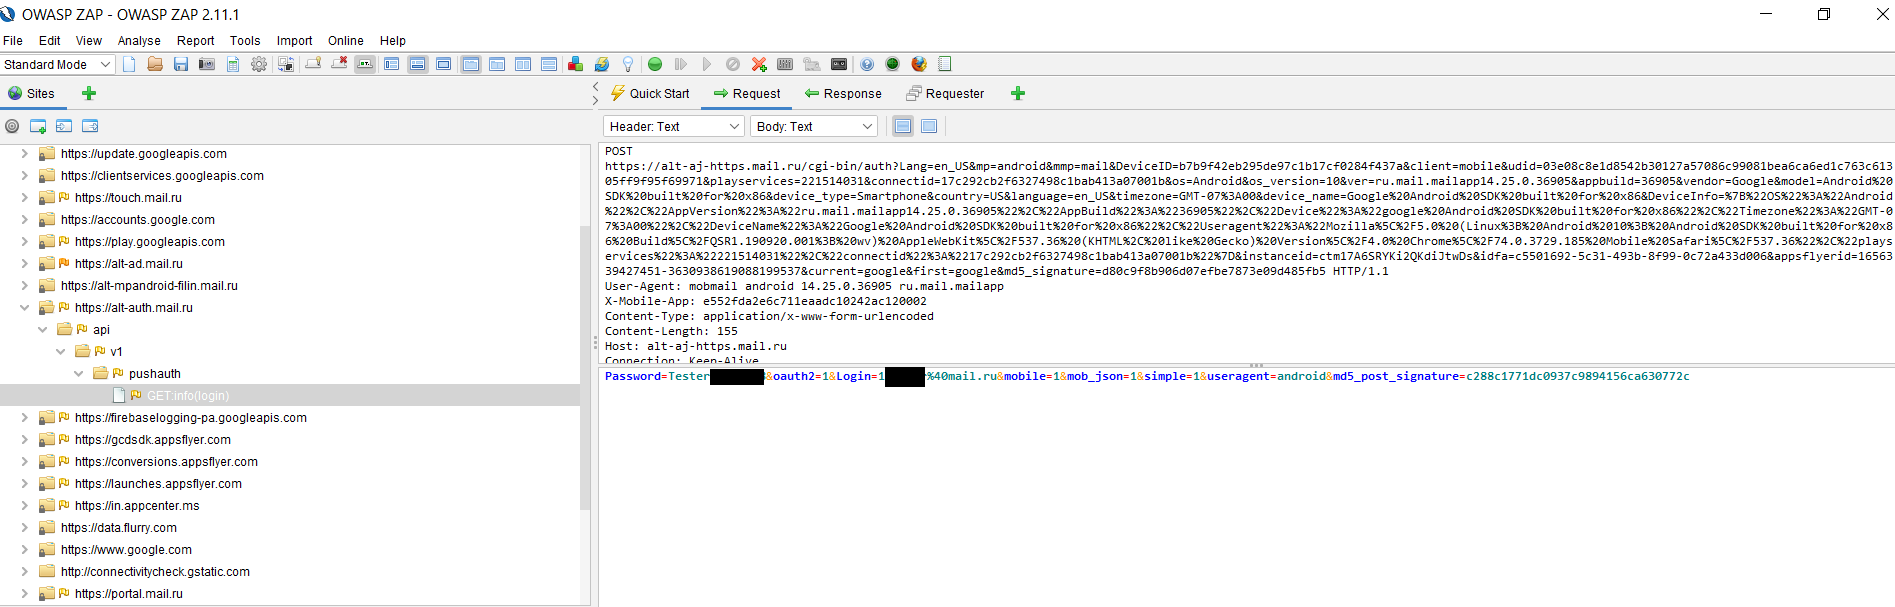
At this point, the application’s HTTPS traffic can be intercepted and modified.
Conclusion
We looked at methods for embedding Android applications in HTTPS traffic. The SSL Unpinning method is the most secure, though more difficult to implement. Using SSL Unpinning, you can integrate into the traffic of any mobile applications, whether Sber Bank, HSBC or Facebook.
For contacts and feedback: konstantin.degtiarev5@gmail.com or https://konstantinsecurity.com/