Rapid Covid-19 Detection on X-rays with Raspberry Pi
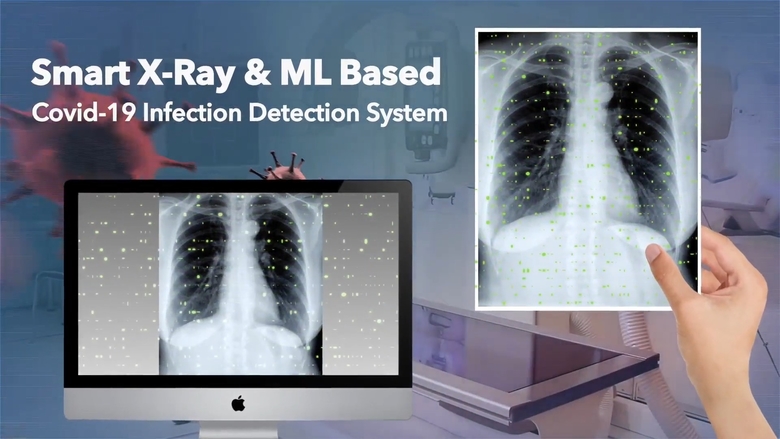
Covid-19 X-ray detection systems provide quick results, in particular information about how seriously the lungs are affected by the Covid-19 virus. Traditional Covid-19 detection systems have the disadvantage that they take quite a long time to generate reports, while an infected person needs immediate assistance. In addition, after each use of all such virus detection systems, some of the parts have to be disposed of, which in some cases can lead to their shortage. To the start of the course machine and deep learning we have translated an article on how this problem is solved with the Raspberry Pi, in addition, the material introduces readers to the EDGE Impulse online platform.
Our Covid-19 X-ray detection system requires only a one-time installation and connection to the X-ray machine, after which it can work as long as you like. It is able to determine the state of infection of the lungs much faster than traditional systems. This result can be achieved in two ways: using the Python library or by creating and training an ML model. In this article, we’ll show you how to create and train a model. We will soon publish articles on other methods that use a pretrained model.
What is needed for this
Let’s start solving the problem with the selection of components.

Instead of an HDMI display, you can work with a laptop display, any monitor or TV. An x-ray of the lungs will also be required.
Prerequisites
The Raspberry Pi must have the latest Raspbian OS installed. It is also necessary to prepare datasets for X-ray images of the lungs, infected and not infected with Covid-19. Such pictures can be obtained on the website kaggle – an online resource that hosts X-rays of infected patients provided by a community of experts and doctors. Similar data is provided on the GitHub portal. Let’s download X-ray datasets of healthy lungs and lungs infected with Covid-19.
Now we will choose a platform for creating an ML-model and train it to detect virus-infected lungs on X-rays. Here we have different options like TensorFlow, PyTorch or online platforms: SensiML, Apache Spark, EDGE Impulse and so on. I chose EDGE Impulse.
In the Edge Impulse interface, go to the New Project menu. The system will ask how we intend to use the project. Since we will be working with the project to create an ML model for image processing, we will choose the option related to working with images.
The system will then ask how the image should be classified (classification of one or many objects). Any option can be selected here. I have chosen to classify one object (Fig. 2). Select the newly created project with a mouse click. Here the system will ask you to indicate how it should be used. Select the Connect a development board item. The data will be loaded into the project through this board (Fig. 3).


Installing on a Raspberry Pi
Open a terminal window and use the commands below to install the EDGE_Impulse dependency on the Raspberry Pi:
curl -sL https://deb.nodesource.com/setup_12.x | sudo bash -
sudo apt install -y gcc g++ make build-essential nodejs sox gstreamer1.0-tools gstreamer1.0-plugins-good gstreamer1.0-plugins-base gstreamer1.0-plugins-base-apps
npm config set user root && sudo npm install edge-impulse-linux -g --unsafe-perm
After installation, run Edge_Impulse with the edge-impulse-linux command. We will be prompted for an email address and password for the EDGE Impulse. Enter the required data and enter the system (Fig. 4).

The system will ask you to select the project to which the device should be connected. We indicate the name of the project (in my case it is COVID-19 Detector) (Fig. 5).

Preparing a dataset
The system will give you the URL to download the dataset. There are two options for uploading X-ray datasets: either through a Raspberry Pi camera (by placing X-rays in the camera frame), or uploading photo files using a PC / Raspberry Pi (Figure 6). I recommend the second option.
To manually download datasets from a PC, i.e. X-ray images, we will select these sets as test and training images. After selecting the sets, load them for training and set labels [в оригинале level, крайне вероятна сложная опечатка — label, о пороге принятия решений речь идёт далее] for image classification. Here I check the box for Covid-19 infected and Normal Lungs (Figure 8). Next, we upload X-rays of healthy lungs and lungs infected with Covid-19.


If you haven’t loaded the images into the appropriate categories in time, you can later add and / or designate them as “Infected Lung” or “Healthy Lung” using the Edit function. Please be careful when marking up a dataset. If you mark X-rays of healthy lungs as Covid-infected, the model will not be trained correctly and its accuracy will be reduced. Before you download the datasets for the first time (from the website), you need to create two separate folders, one for the training datasets and the other for the test datasets. In both folders, create two more folders named Infected lung X-ray and Normal lung X-ray, respectively. Let’s download the images from both folders separately and after loading we will distribute them into the appropriate categories (Fig. 9).

Let’s repeat the same steps, loading X-ray images of infected and healthy lungs for test datasets. The option to download images for test datasets is next to the training option (Figure 10).

Train the model
After loading X-ray images of infected and uninfected datasets, the model is ready for training. Go to the Impulse design tab, select the Create Impulse item and click the Create Impulse button (see Fig. 11). Then we add a processing block and a learning block (Fig. 12, 13).


After adding processing and training blocks, you need to define the parameters [в оригинале the parameter в единственном числе — опечатка]… To do this, you need to obtain the characteristics of the X-ray image and save them (Fig. 14, 15). Then we move on to the new training option for the ML model. To do this, in the expert or regular Keras mode, select the training of the created ML-model. In our case, we select the normal mode. In this mode, you can set the number of training cycles. With an increase in the number of training cycles, the accuracy of the model will increase, since it will go through different training cycles, but at the same time, the time required for training the ML-model will also increase. Here you can set parameters such as decision threshold and learning rate, the values of which affect the accuracy and runtime of the model.


In the original, the inscription to Figure 15 – Feathers graph for ML model., most likely Features graph for ML model, that is, visualization of the model’s feature space in three-dimensional space.
Testing
The trained model is now ready for testing. We can test the model with an X-ray image already loaded, in which the model will try to detect a Covid-19 infection in the lungs.


Expanding the model
Our ML model is now ready to be deployed. It is possible to deploy the created ML model for detecting infection of the Covid-19 virus on an X-ray of the lung in many ways and on different equipment. Since we are using Linux, choose Linux. Then we open a terminal window and run the program.
edge-impulse-runner-linuxThe Raspberry Pi will then start loading the ML model and launch it. We get the URL where you can watch the video from the Raspberry Pi camera in real time. We place an X-ray image of the lung in front of the camera (the image must be well lit). The model identifies the infected lung and, after a few seconds, produces the results of the Covid test.
The deployment of the ML model for Covid detection can be done in other ways. Using the SDK, it is possible to detect Covid by deploying ML models in Python. Alternatively, you can load an X-ray image directly into the test dataset and then run the ML model in live classification mode – it runs in seconds.


In the original, among other things, Figure 21 is duplicated, so you see a mismatch in the numbering in the translation and in the images, but here it does not affect the article.
This combination of the Raspberry Pi in solving the coronavirus problem may seem obvious to some people, but unexpected to others. The ML area is rapidly developing today, expanding the sphere of influence, so there are still many large and small paradoxes and surprises of all sorts ahead of us. If you do not want to stay away from ML progress, then you can take a closer look at our course on machine and deep learning, which can become a source of new ideas and solutions for you.

find outhow to level up in other specialties or master them from scratch:
Other professions and courses
PROFESSION
COURSES