Raising a Vapor Server on an ARM Synology NAS Using Docker

Having become the happy owner of a NAS from Synology, it turned out that Docker out of the box is supported only in expensive versions on Intel, and I have a cheap version on ARM. But since it has a Linux-based DSM, everything can be done manually. We figure out how to install Docker and raise a server on it, in my case on Swift and Vapor.
introductory
Initially, I purchased Mikrotik hAP ac3 so that I could connect an external HDD to it and raise Time Machine. The SMB protocol is supported in RouterOS, but there is no time machine on top of it. After smoking the forums, one of the options was to reflash the router to OpenWRT or buy a NAS. The choice fell on the second option with the expectation that it will also be possible to raise a server on it at home for pet projects. Since it is always connected to the Internet and plugged in anyway, why else pay for a separate hosting?
Installing Docker on Synology
As a result, I bought a Synology DS220j based on an ARM processor. It would be possible to immediately take it to Intel, where there is already a ready-made package for docker, but they cost 2 times more. And since the same linux is installed on cheap NAS, you can install docker manually, albeit with a few restrictions (more on that later).

For manual installation, first open SSH access to the NAS in the DSM settings. We connect via SSH, log in as root with sudo -i, and run the script:
curl https://gist.githubusercontent.com/ta264/2b7fb6e6466b109b9bf9b0a1d91ebedc/raw/b76a28d25d0abd0d27a0c9afaefa0d499eb87d3d/get-docker.sh | sh
The script installs docker, prescribes configs, changes the working directory to the connected HDD instead of system memory, creates a user group and adds docker to autorun. Full instructions can be found on this wiki.
Of the disadvantages of docker on arma – all containers must be with the network_mode: host parameter instead of the normal port mapping. But it looks like it can be solved. script on the NAS itself. thread with a discussion of the problem.
Running docker
Vapor already creates a ready-made template for docker and docker-compose with raising the database. Accordingly, you just need to transfer the project to the NAS and build it. To copy a project, you can:
Install git server from ready-made packages on NAS. And download directly from a remote repository (for example, on github).
Use classic console utilities like scp and rsync
For Time Machine, an SMB server has already been set up on the NAS, so you can connect to it directly via finder on mac and copy the project.
I recommend copying the project to the HDD connected to the NAS, and not to the internal memory, since there is very little of it. And even after installing Docker, DSM now swears that there is not enough space to update the system.

The project is copied, you can collect through docker-compose build or docker build . The process is underway, but an hour has already passed, and even the first swift package from the dependencies has not been assembled.
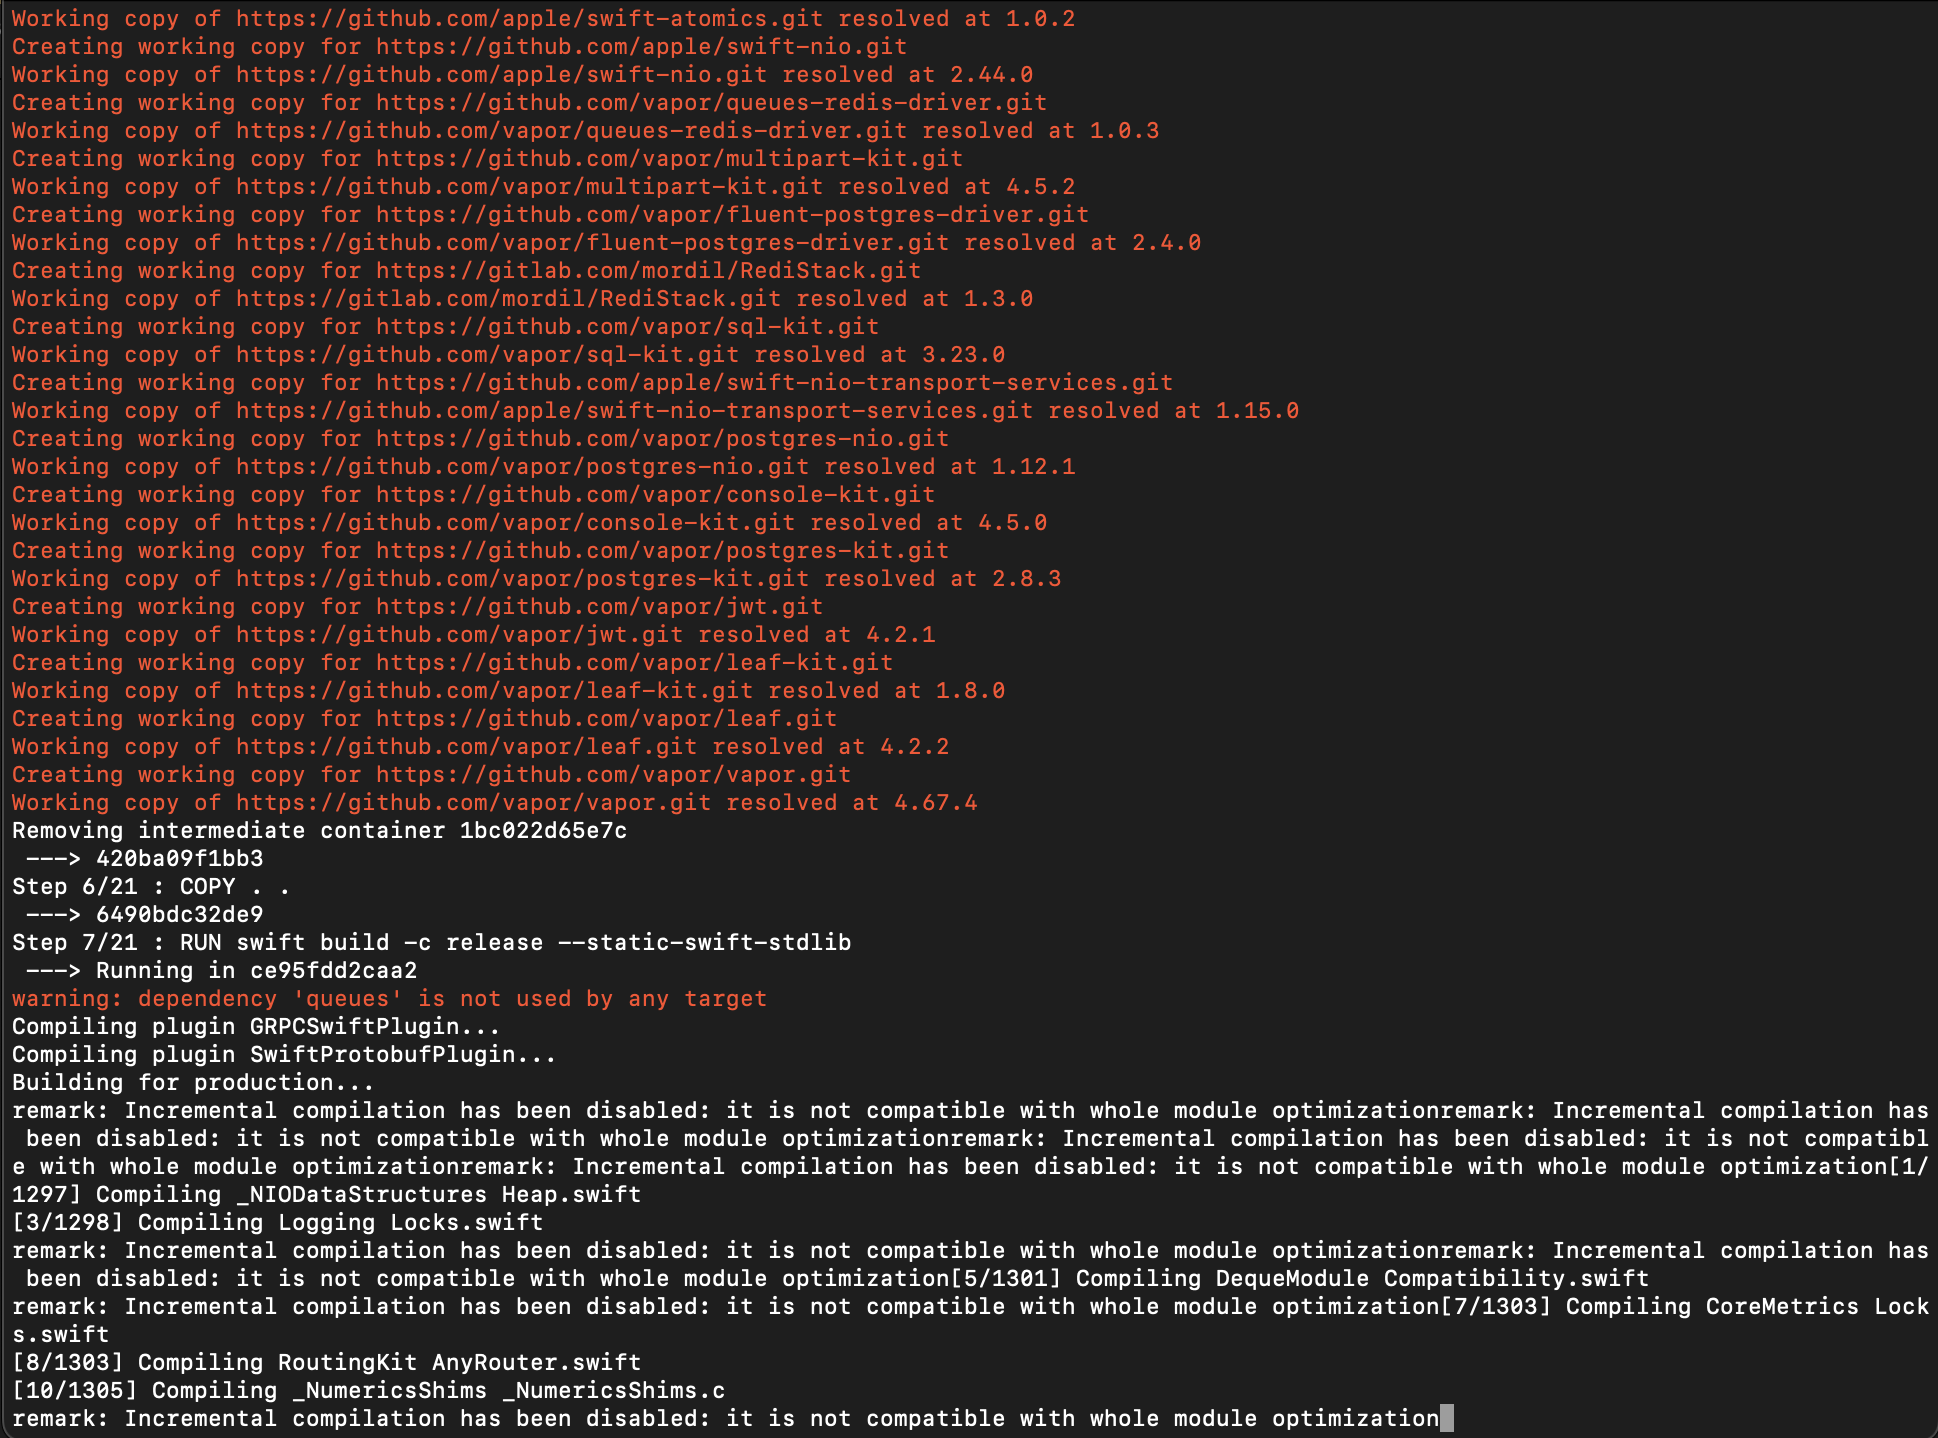
Although both the RAM and the processor are not fully loaded, judging by the monitoring in DSM, the assembly is going sooo slowly. Restart didn’t help either. And 1 time it hung so much that I had to pull it out of the outlet. Perhaps it’s still a matter of weak hardware, and Synology recommend don’t use their NAS as a development platform. In general, it is not necessary to assemble it directly on the device, you can only run the finished image, but you can also compile it on a Mac.

Collecting docker-compose build and save on mac via:
docker save -o <path for generated tar file> <image name>We copy by already known methods on the NAS. And upload it to docker:
docker load -i <path to image tar file>We launch docker-compose up and voila!
Opening ports on the router
The server on the LAN has risen, and now you need to open access to it from the outside. Mikrotik seems to know how to do its own ddns, since before that I raised vpn-server through quick config in mikrotik and it already created a domain for me. Accordingly, now you only need to forward the ports.
Now I live in Serbia, and I have a local Internet provider using DOCSIS, so I have a complex system of 2 routers: a coaxial cable is plugged into the provider’s router, and the microtic is connected to it via a patch cord, so the ports had to be forwarded 2 times (on each router).

Checking in Postman:


![Using RTK Query with Redux Toolkit [На примере Next.js + TypeScript]](https://prog.world/wp-content/uploads/2022/06/c98fd3eeee1978c66b8116666907a64f.png)