junk print server

In this article, I will show you how to create a print server from an old nettop. Why do you need a print server? Suppose you have a printer located in an office or apartment, and you need to provide access to it to all users in this room (office, apartment). If the printer has Ethernet or Wi-Fi capabilities, you can connect it to the network in the standard way. However, if the printer only supports USB or even LPT port, then you need to use a print server.
What does it take to turn a printer into a network device?
Nettop or single board computer (In my case Foxconn N-270).
Storage drive (can be an SSD, HDD or even a flash drive).
Power supply for nettop.
A printer.
LPT adapter (if the printer has only an LPT port).
LAN (Ethernet or Wi-Fi)
System installation
In my case, I chose Debian 11 as it meets the technical requirements of my nettop. When choosing an operating system, you should also choose the right one for your device. After choosing a system, you can easily find the installation guide for it.
I have a Foxconn N-270 nettop whose fan has failed. I bought this nettop on Avito for 450 rubles. It is equipped with an Intel Atom N-270 processor that runs at 1.6 GHz and has a single core. In addition, this nettop has a 1-gigabyte stick of RAM and a 60-gigabyte hard drive. I recommend using an SSD drive or even a flash drive if the nettop can boot normally from a USB drive.
It is important to note that the system must be installed without a graphical interface, that is, only using the command line. Also, when installing the system, you will need to enable SSH.
Login
You will need a monitor and a keyboard to log in. The login procedure is performed under the user root.
Installing the CUPS Print Server:
Update Debian and all additional packages to the latest version using the command:
(if you get a bash error: sudo – command found. Just remove sudo from each command).
sudo apt-get updatesudo apt-get upgradeInstall the required packages for the CUPS print server and related components by typing the following command:
sudo apt-get install cups avahi-daemon avahi-discoverAdditionally, install Foomatic, which will make it easier to set up printers on Debian and other operating systems:
sudo apt-get install foomatic-db foomatic-db-engineCustomizing the CUPS configuration file.
To allow access to the CUPS web management interface from any device on the local network, follow these steps:
Open the CUPS configuration file in the nano text editor:
sudo nano /etc/cups/cupsd.confFind the line “Listen localhost:631” and delete it or comment it out with a “#” character at the beginning of the line.
# Only listen for connections from local machine.
#Listen localhost:631
Port 631
To open access to the CUPS admin panel through the local network, make the following changes in the configuration file:
# Restrict access to the server...

<Location />

    Order allow,deny

    Allow @Local /// add

</Location>

# Restrict access to the admin pages...

<Location /admin>

    Order allow,deny

    Allow @Local /// add

</Location>

# Restrict access to configuration files...

<Location /admin/conf>

    AuthType Default

    Require user @SYSTEM

    Order allow,deny

    Allow @Local /// add

</Location>
Save changes and close the file.
To save in the nano editor, press Ctrl + x.
Restart the CUPS service to apply the settings:
sudo service cups restartIf this command doesn’t work try:
reboot –fThe CUPS web interface has been made available from a browser at http://ip-address:631.
(you can see the nettop address in the router admin panel, with the command ifconfig
or ip addr show)

Adding and configuring a printer in CUPS
In the CUPS web interface, under Administration, complete the following steps:
Click on the “Add Printer” button to add a printer.
In the server settings, check the box next to “Allow sharing of printers connected to this system”.
This will add a printer and enable sharing of printers connected to the system in the CUPS web interface.

In the CUPS web interface, after clicking on the “Add Printer” button, a list of connected printers in the system will be displayed. Select the desired printer from this list.
After clicking the “Add Printer” button in the CUPS web interface, you might get a warning that the site is not using a secure HTTPS connection. In this case, follow the instructions below:
Click the “Go Anyway” or “Continue” (browser dependent) option to continue accessing the CUPS web interface.
The page that opens will ask you to enter your password. In the “User” field, enter “root”, and in the “Password” field, enter the password that you specified when installing the system for the root user.
Click on the “Login” or “OK” button to confirm the entered data.
After successful authentication, you will be able to continue the process of adding the printer to the system through the CUPS web interface.
Select your printer.
Then, you can change the Name and Description of the printer, remembering to check the box for Allow this printer to be shared.
The most exciting part is specifying the driver for the printer. If our model is not found, we choose the one with the same parameters. If there are problems or errors when printing, we repeat all the steps to add a printer.
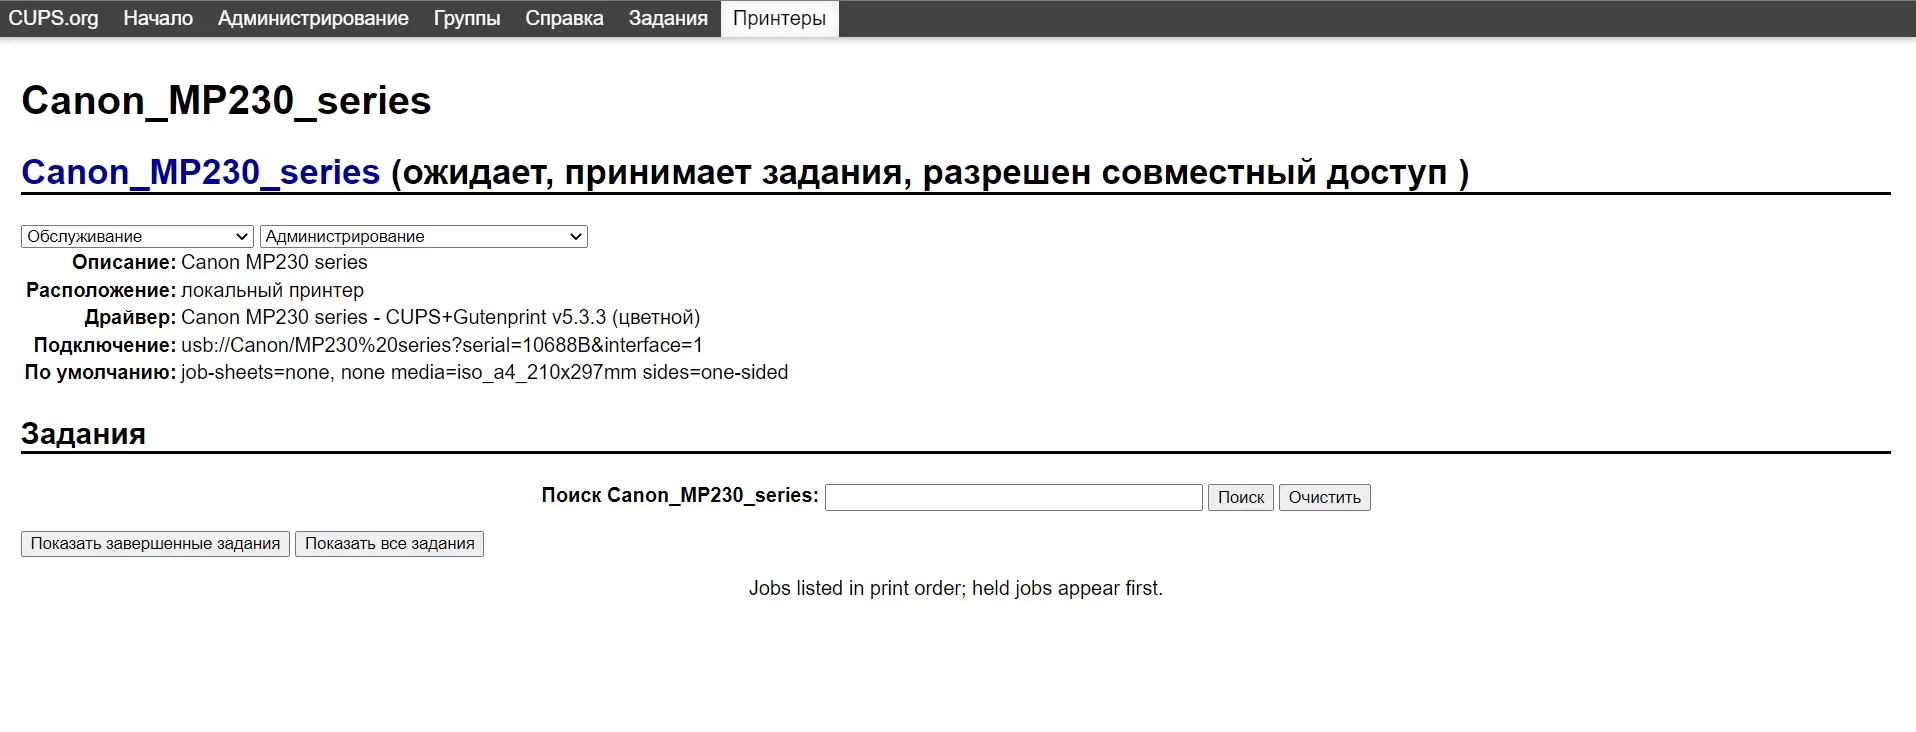
After setting the paper type and print resolution, we see the successful addition of the printer to the system.
To install a network printer in Windows 10, follow these steps:
Click on the “Start” button in the lower left corner of the Windows screen.
From the menu that appears, select “Settings” (gear icon) or click the “Settings” icon in the taskbar.
In the “Settings” window, select the “Devices” section.
Select “Printers and Scanners” from the menu on the left.
Click on the “Add Printer or Scanner” button.
Windows will start searching for available printers on the network. Wait for the process to complete.
When a network printer is found, it will appear in the list of available devices. Select the desired printer from the list.
Click on the “Next” button and follow the instructions on the screen to complete the printer installation.
After completing these steps, the network printer will be added to the Windows 10 system and will be available for printing.

If you need to use the printer on earlier versions of Windows, for example win7, then you will need the address of the printer; you can find it in the address bar in the printers section.

In my case, Canon_MP230_series is the name of the printer.
Thank you for reading this article and I hope you found it helpful. It is important to keep improving your Linux and Windows administration skills.
Please do not judge this article too harshly, as this is my first experience in writing such materials. I tried to convey useful information and help you understand the settings of the print server and the installation of network printers. If you have any questions or comments, I will be happy to help you.