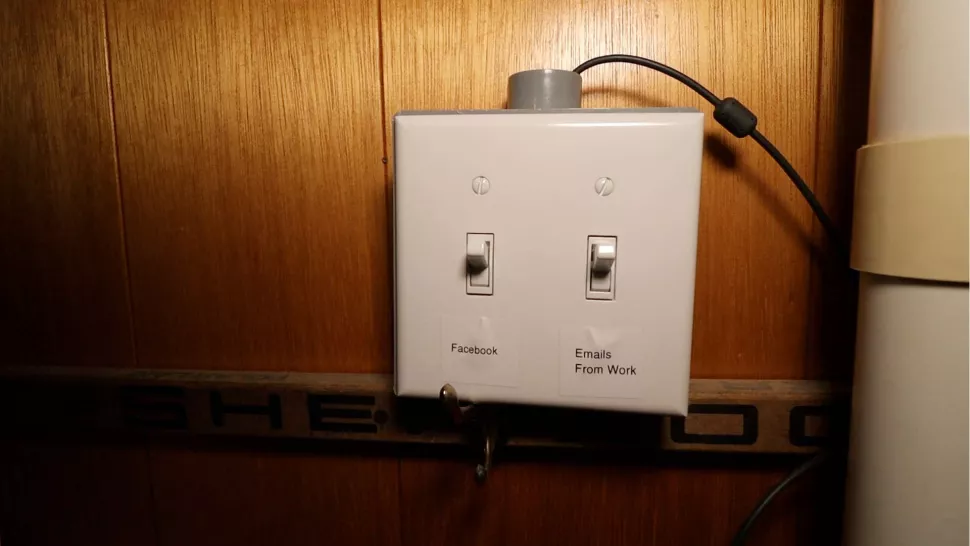
Is Facebook a distraction from work? We block it with … a wall switch
Procrastination is familiar to all of us. Someone shirks more from work, someone less, but at least once in their life everyone procrastinated. One way to kill time is to surf the net, flipping through your favorite site or chatting on a social network.
To find out the amount of time wasted, you can install a specialized application that will show where, how much and how the user spent time on the Internet. Horrified, an ordinary person often either pulls himself together or blocks the site using a configuration file or special software. But we are on Habré, which means that you can choose an unusual way. Today we will do trolley from a loaf of bread a site blocker using Raspberry Pi.
The project uses a conventional wall switch and a local DNS server running on the Malinka. This system allows you to reliably block the time eaters. One click of the switch – and the site does not work, you can devote your time to useful work. Second click – favorite resource is online again.
What we need for the project
- Raspberry Pi Zero W, SD Card, power supply.
- Two single-pole switches.
- Junction box.
- Plate with switch levers.
- Wires.
- Screwdrivers.
Getting Started with the Raspberry Pi
1. Configure Raspberry Pi Zero W and connect remotely.
2. Update / install git, if it has not been done before:
sudo apt-get update && sudo apt-get install -y git
3. Copy the code from the repository below. It will manage the dnsmasq tool, our local DNS:
git clone github.com/rydercalmdown/internet_kill_switch
4. Run the installation command from the cloned directory. This step will install all dependencies, dnsmasq tool and make sure everything works:
cd internet_kill_switch
make install
5. It is easy to make sure that the code works. If all is well, the “Running” status will appear in green:
sudo systemctl status dnsmasq
# Use Ctrl + C to exit
6. Run the software in order to finally make sure that the installed software is working correctly:
make run
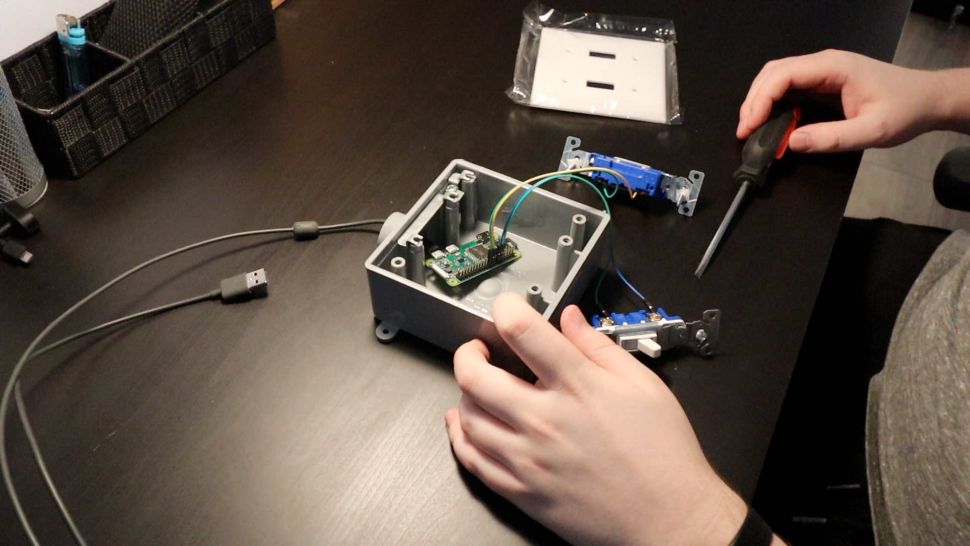
# Use Ctrl + C to exit7. We connect the wires to the switches. It is clear that the switch may not be like that. If desired, you can adapt a button or something else:

8. Solder the free ends of the wires to the “raspberry”. The order of the pins does not matter. The main thing is that one end is soldered to the GPIO pin, the other to ground. Pins 18 and 24 are required by default, but this is configurable.

9. We put the “raspberry” in the switch. It must be large enough to fit the board. You can attach the board with heated silicone.

10. We pass the power cable through the hole in the switch and fix both switches in the junction box.

11. After that, close the finished structure and glue the names of the sites that we will block under the toggle switches.
12. Open the src / toggle_switches.py file for editing and add the required site addresses. You can add or remove switches by modifying the SWITCHES list and adding new objects of the SwitchConfig class. Valid parameters are the BCM pin number followed by a list of sites to block:
# Example: The switch connected to BCM pin 18 blocks social media, and the switch connected to BCM pin 24 blocks video websites
SWITCHES = [
   SwitchConfig(18, ['facebook.com', 'instagram.com']),
   SwitchConfig(24, ['netflix.com', 'youtube.com', 'vimeo.com']),
]
13. Checking how everything works. At startup, the service shows the IP of the “raspberry”:
cd ~/internet_kill_switch
make run
# IP Address is 10.0.0.25
14. Configure DNS using the obtained IP. This can be done at the router level or in the operating system configuration.
15. We check the operation of our switch. If everything is ok, then you can block or activate the site with the toggle switch.

16. Now we confirm everything by entering the following code. Here, instead of google.com, we insert the resource that we want to block:
# When the switch is off
dig +short google.com
172.217.164.238
# When the switch is on
dig +short google.com
127.0.0.1
17. Edit the file /etc/rc.local file. It determines the behavior of the system after rebooting the “raspberry”:
sudo nano /etc/rc.local
# Add this line before the very last line
cd /home/pi/internet_kill_switch/src && sudo ../env/bin/python app.py &
18. We install the switch in any convenient place and enjoy its work.

The project is very simple but fun. Any geek will love something like this. The system can be changed / complicated to your liking. If you have any ideas on how to do this, share them in the comments, it will be interesting!


![[Паттерны API] Asynchrony and time management](https://prog.world/wp-content/uploads/2023/05/ffda31052ac72f457031cc6fbadb3c40-768x403.png)