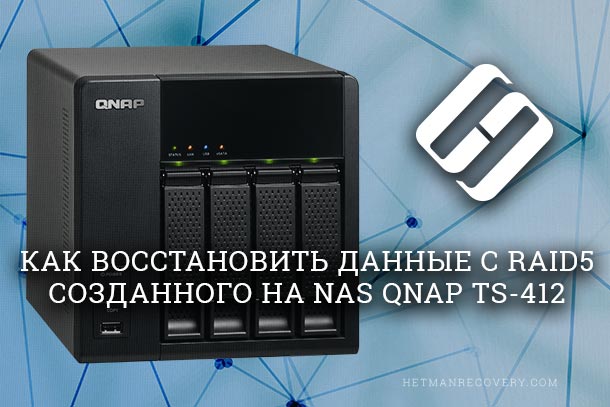
How to recover data from RAID5 created on NAS QNAP TS-412
QNAP NAS storage is a system consisting of multiple hard drives. To increase the reliability of information storage, such devices provide the ability to create RAID arrays of various levels. But even with the most reliable storage systems, unforeseen situations can occur, such as accidental deletion of data, formatting of a drive, its damage, system failure, failure of a controller or other device hardware, etc. As a result, important information may be lost.
Recovering deleted files from the network recycle bin
If the NAS works fine, and you accidentally deleted some of your important files, you can try to restore them from the network recycle bin.
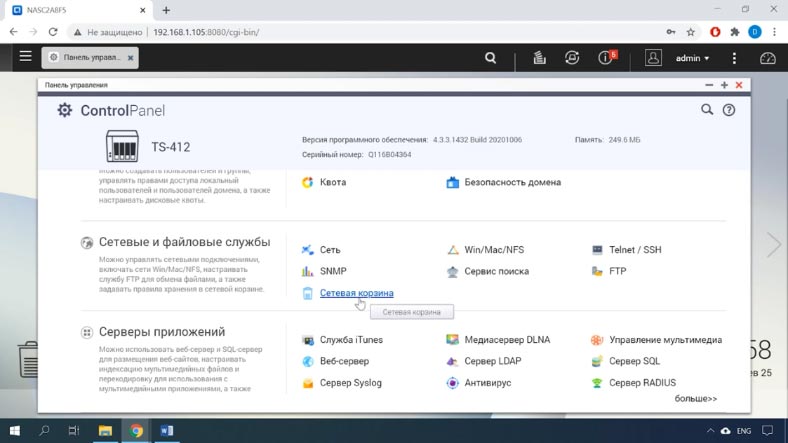
You can configure or check if the network recycle bin is enabled by opening the “Control Panel” – “Network Recycle Bin”.
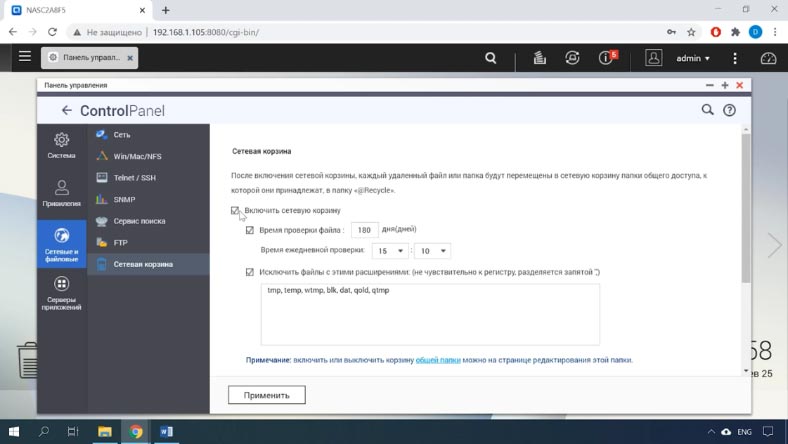
Check here if this option is enabled.
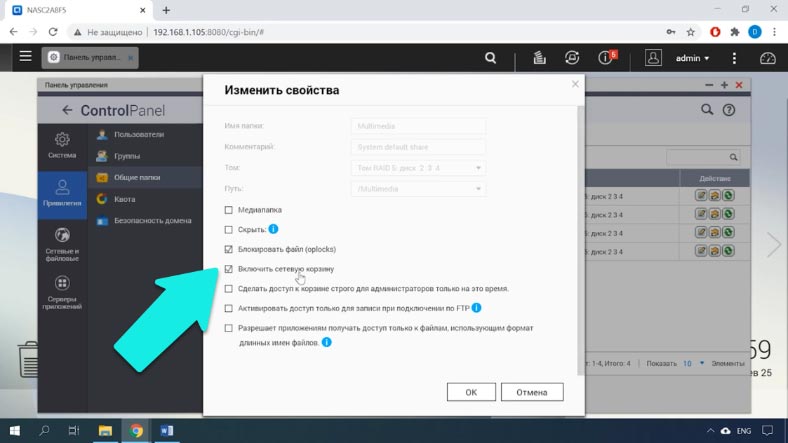
Then check if it is activated for a specific folder from which the data was deleted. Click on this “Shared Folders” link, then find the required directory in the list and click the “Change Properties” button. There should be a box marked “Enable Network Recycle Bin”.
So, we have activated the network recycle bin option, which means that the deleted data is in this folder and can be returned.
Open “File Station” and navigate to the directory where the deleted files were located, here you will see a folder with the following name “@Recycle” containing all the deleted files from this directory.

You just need to mark them and click “Restore”, after which they will appear in this folder again.

Replacing QNAP
If your QNAP stops turning on, the device may be out of order. But what to do with the information that remains on the disk. You won’t be able to get files just by connecting drives to a PC. You can try to replace the device itself, but this does not guarantee that after setting up a new server, the information will remain on the disks.
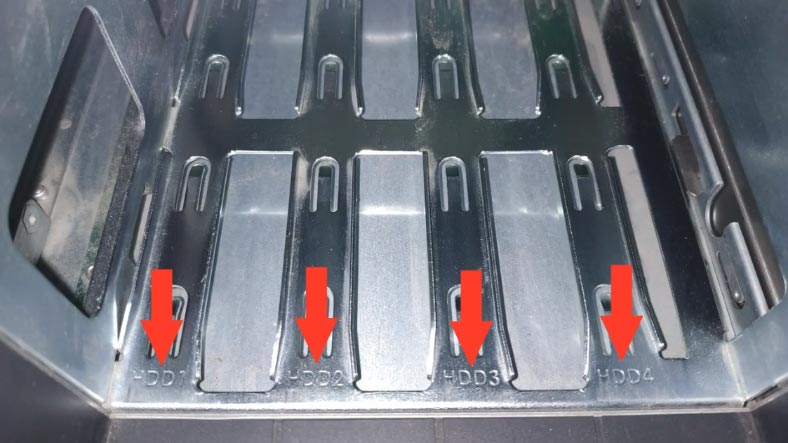
Remove the disks from the device, be sure to remember their order as you will need it during the recovery process.

Disc trays are usually factory-marked.
Then you need to place the drives in the new QNAP, keeping them in the correct order. If the damage did not affect the storage devices or their contents, chances are your new system will function as it did before the damage.
You should take into account that the new device may overwrite the data that is left on these media.
Therefore, it is better to immediately use specialized software for information recovery. Use the Hetman RAID Recovery program, with its help you can recover lost files both from separate media and from working RAID arrays. Even if several media are damaged and the stored data is not recognized, the utility will “read” the saved information from the rest of the “live” media.
How to work with Hetman RAID Recovery
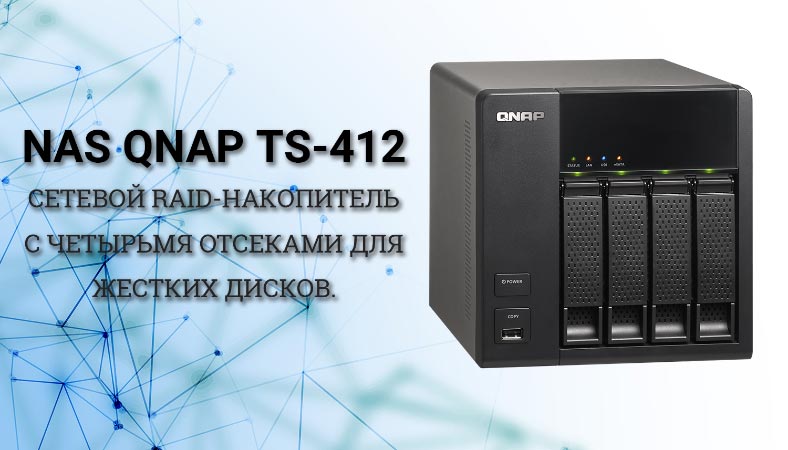
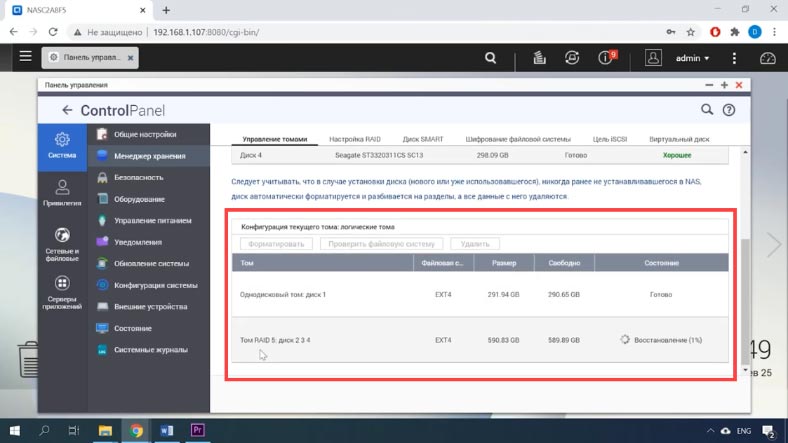
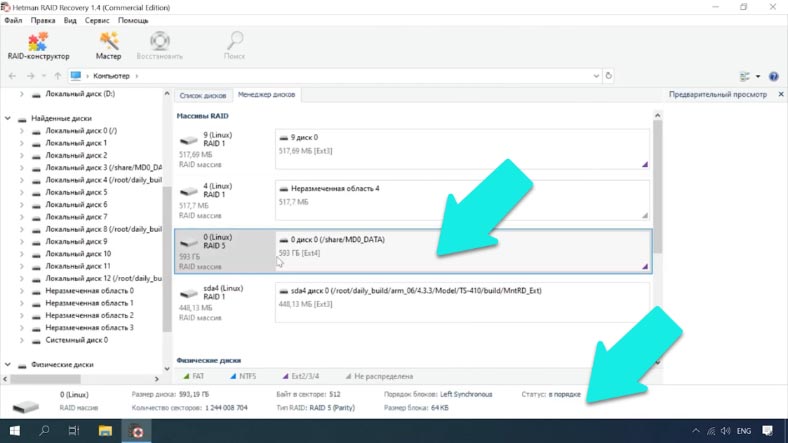
Consider an example, we have a NAS device with four disks, three of which make up a RAID 5 array.
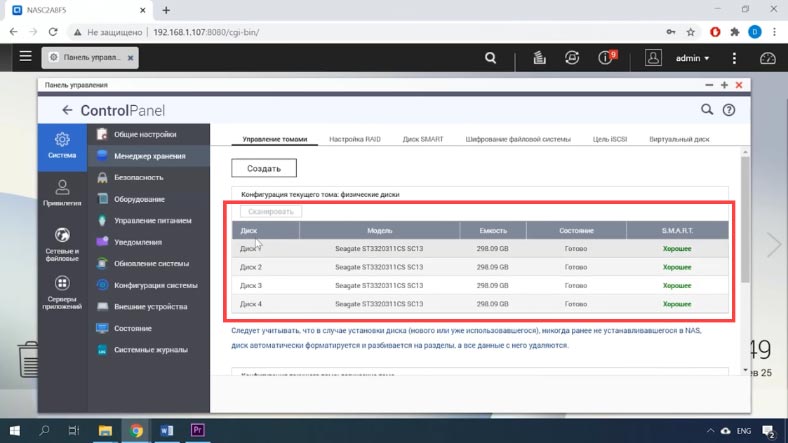
As far as the file system is concerned, all media in QNAP devices have been formatted in EXT FS for many years. Let’s simulate a situation when a controller or any other hardware part of the device has broken.
Before starting the recovery process, you must take care of the availability of a drive with a volume greater than or equal to all the information that is on the RAID array.
Next, connect the drives to your Windows computer.

Usually, when connecting media, there may be a problem with an insufficient number of SATA ports or power connectors. There are various splitters and port expanders, see our video for more details.
Make sure the connection is correct and boot your PC. Download Hetman RAID Recovery from the official site, then install, and then run the program.
When launched, the utility will automatically scan the media, and also try to assemble the RAID, then display all the available information. Click on the RMB array icon, select “Open” from the list.
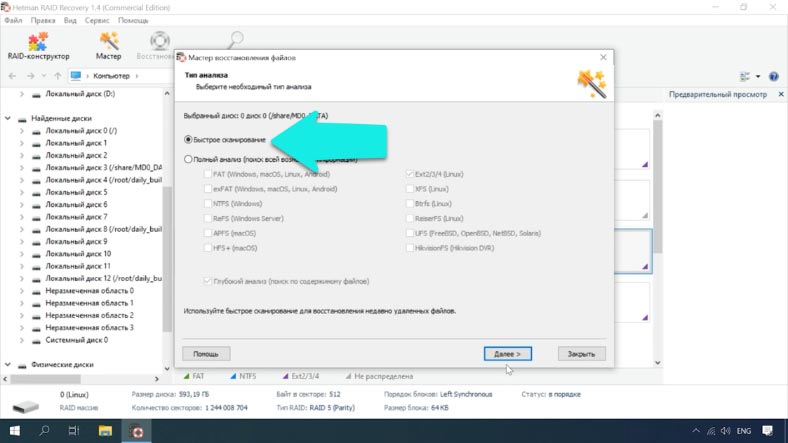
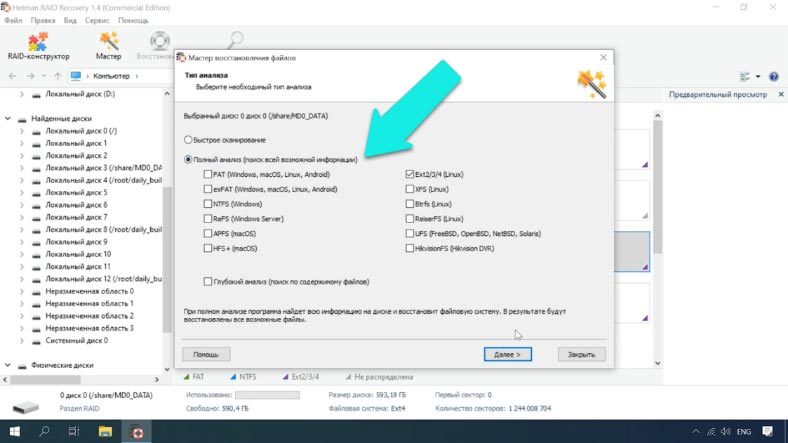
First, let’s do a quick analysis of the disks. If the media itself and the information on them are not damaged, then this will be enough to return information from the RAID. If, after completing the quick analysis, the utility could not find the files you need, then perform a full analysis.
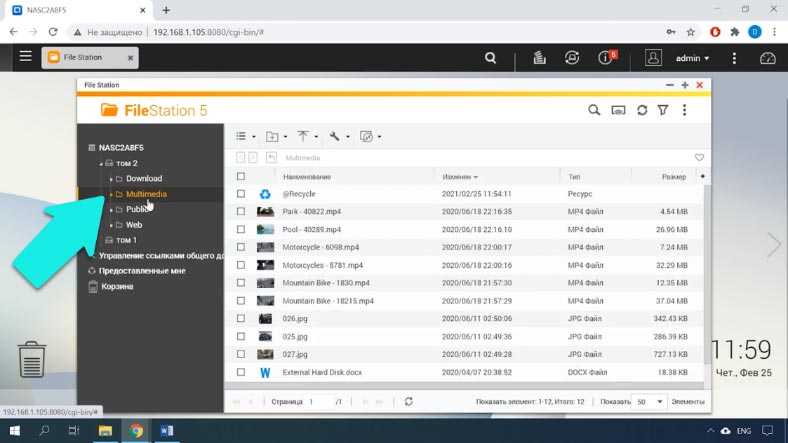
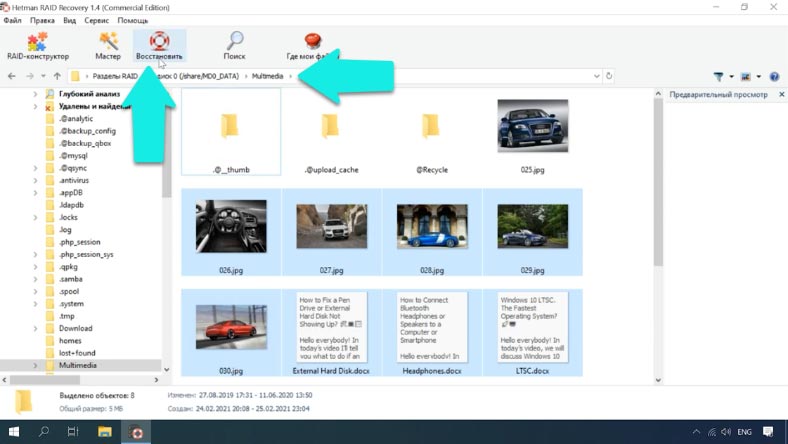
The data we need is located in the “Multimedia” directory, where they were uploaded via the device’s web interface.
We mark the files one by one that need to be restored, then press the “Restore” button. Specify the directory for saving files and click “Restore” again. After that, all recovered data will be saved in the previously specified directory.
Many users are wondering how to restore an array if one media fails? In theory, for RAID 5 the broken drive needs to be replaced and everything should work fine.
However, from time to time, something goes wrong and during recovery, a failure or other unpleasant situation may occur, which is guaranteed to lead to the loss of important files. QNAP uses the Linux md-raid driver to manage the array. If these entries are corrupted, the operating system will no longer be able to access the volumes. For the user, this situation looks like the loss of all information.
Hetman RAID Recovery is able to recover it, even if md records are damaged, as well as if one or more drives are damaged.
Conclusion
It is important to remember that the best way to prevent data loss is backing up. QNAP supports many third-party software for backing up information and drives to external storage devices, remote servers, and cloud-based backup services.
For the full version of the article with all additional video tutorials, see source…