Drawing generative mushrooms in javascript

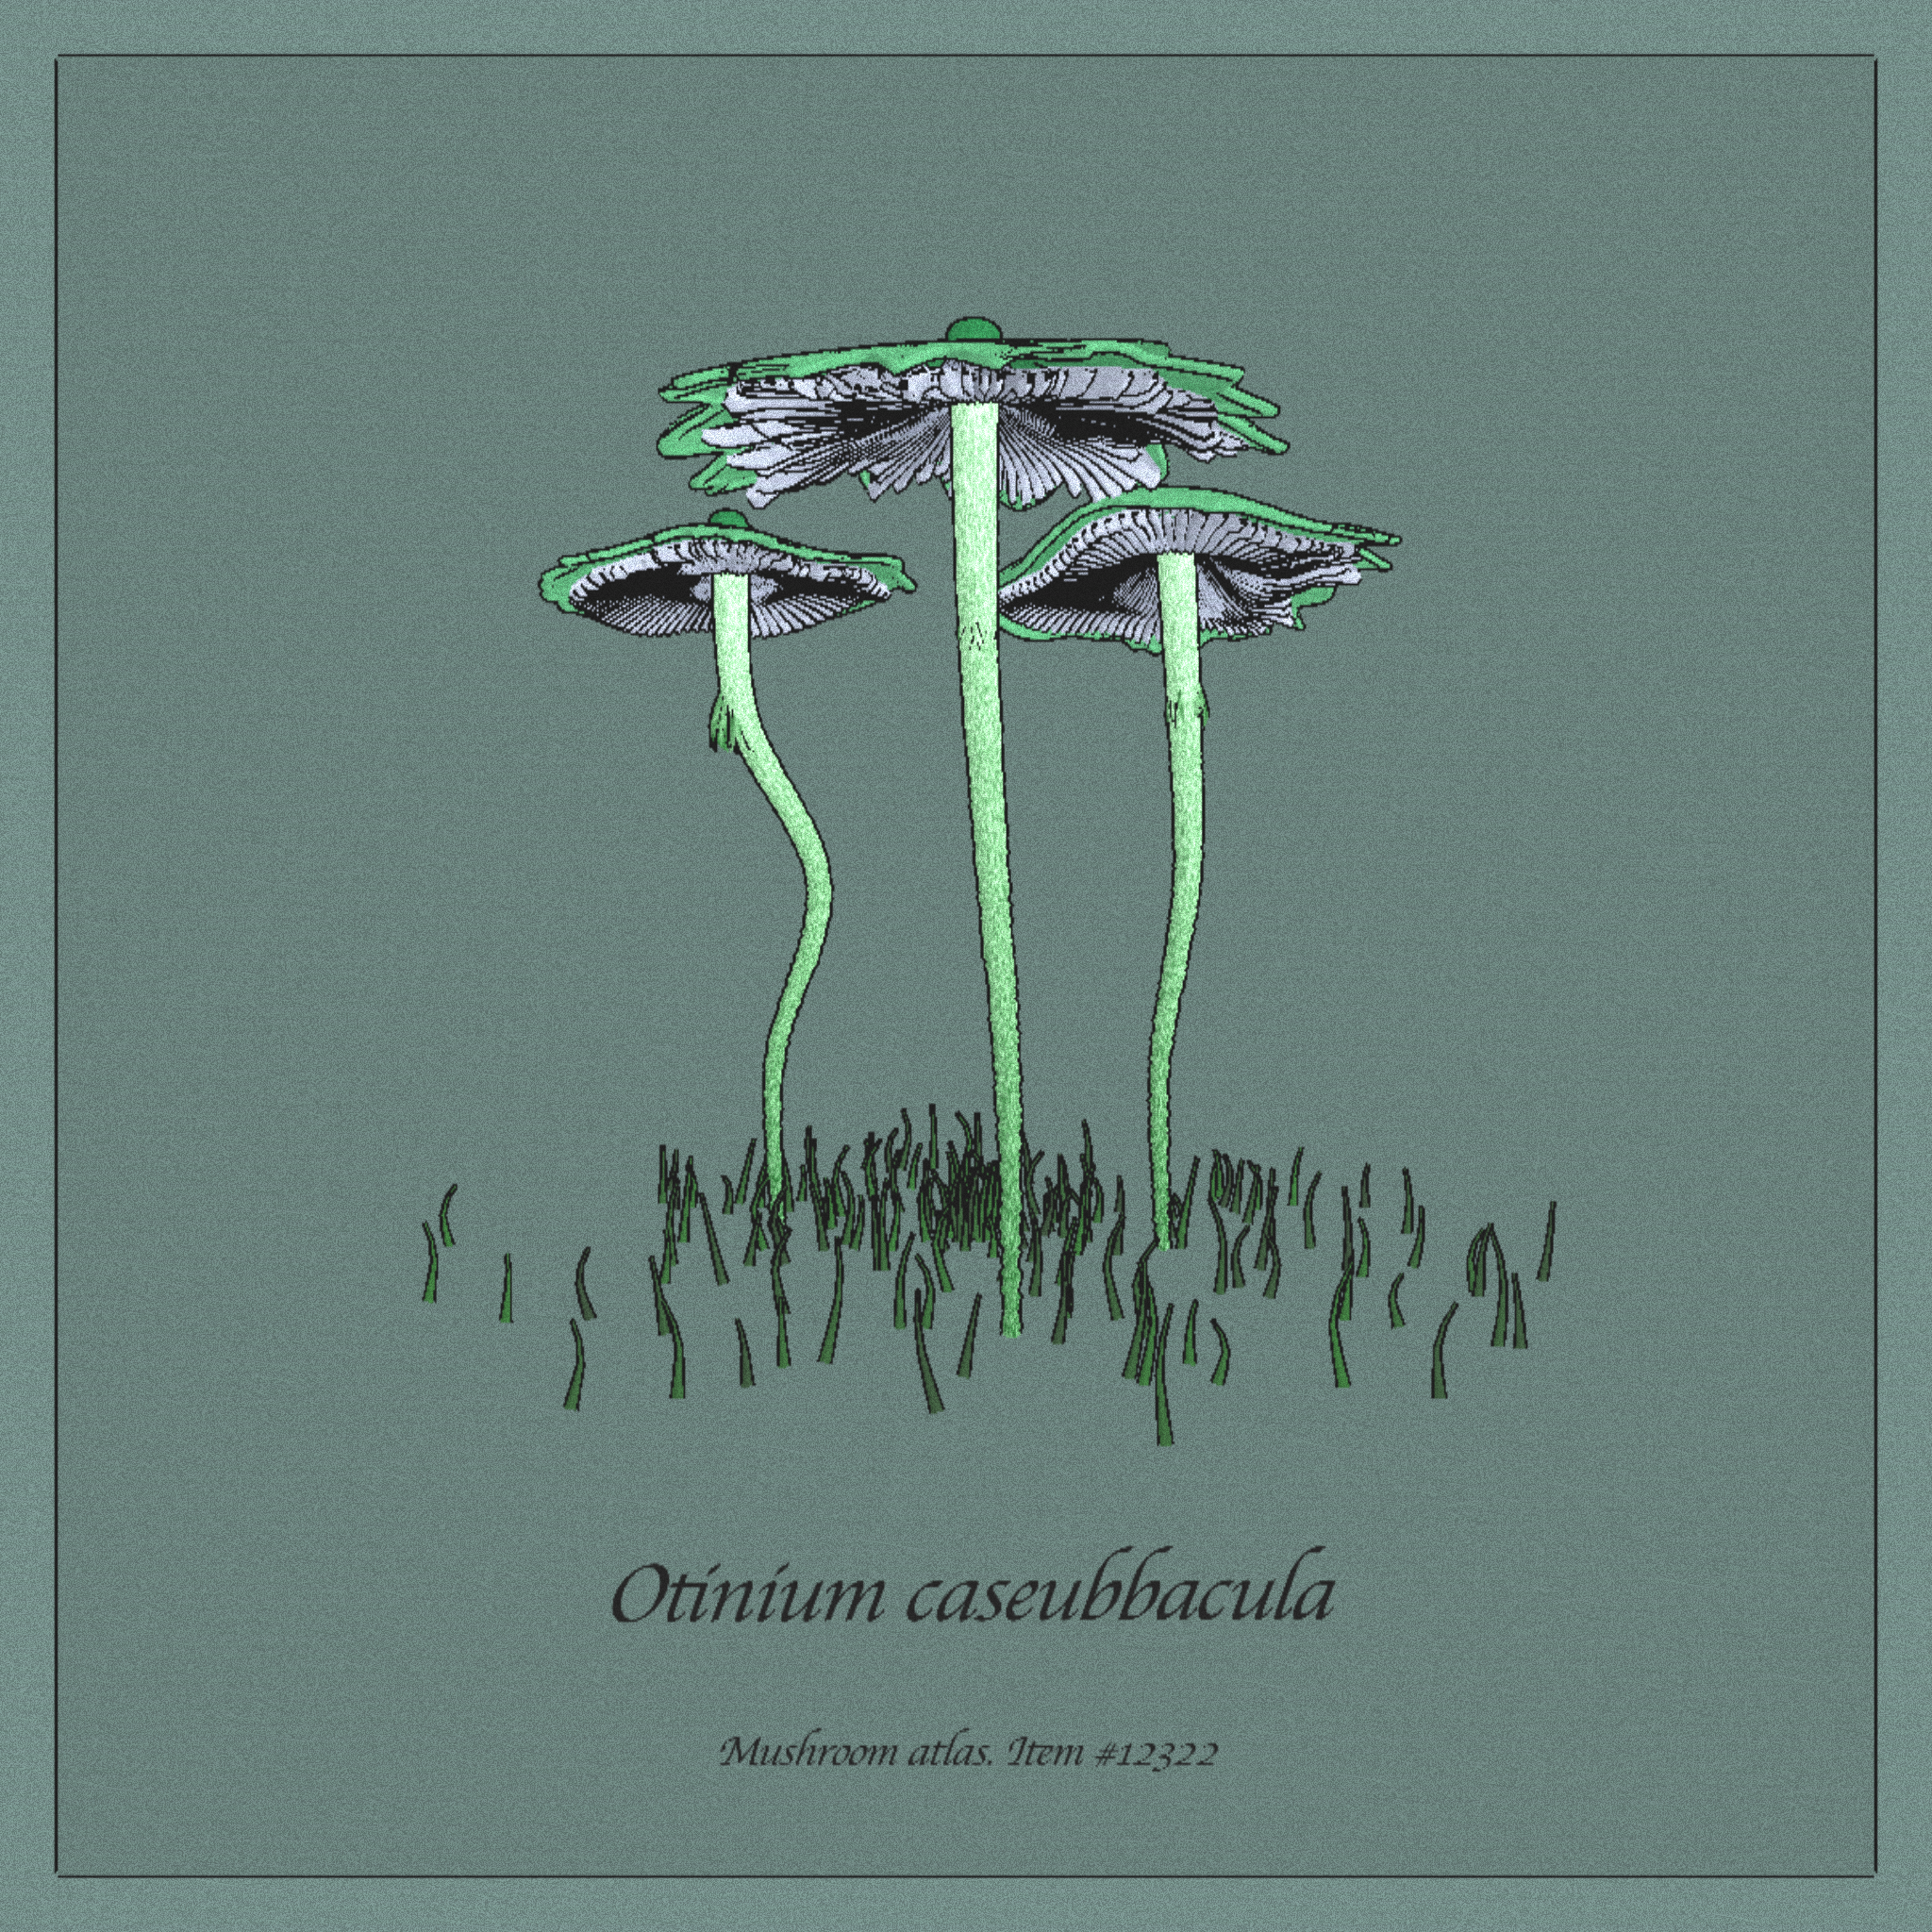
I continue to share my experience of immersion in the world genart and nft, this time with generative mushrooms. For those who are not quite in the subject of at least one of these words, I suggest that you first look at my previous publication, and in this article I will try to focus more not on the philosophy of what is happening at all, but on the technical implementation of procedural 3d graphics in three js.
What will we write on?
It would be possible to program mushrooms in a blender or touch designer and get (probably) much more serious results, but since the generator was originally conceived specifically for the nft context, I had to limit myself to javascript and webgl capabilities. As a framework for working with 3d graphics, I chose three.js, simply because this name was heard even by me far from the frontend. In general, I do not regret the choice, the api of the library turned out to be quite simple and understandable. In this article, I will not analyze the basic principles of working with three js, about them can be read here.
Draw a leg
Let’s start drawing the mushroom from the stem. Let’s not look for easy ways, but create 3D geometry parametrically, directly from points and faces. The idea is this: let’s take a smooth curve and begin to move some closed contour along it, generating points as we move. Then we stretch the edges on these points and get a curved cylinder – a kind of mushroom leg. And by varying the radius of the contour and its shape along the curve, we will make the leg more organic and realistic.
Leg geometry
Define the shape of the leg as catmulla-roma spline on several randomized key points. The cut shape of the leg is also a spline, but closed, drawn along 4 points, the radius of which is given as a function of the angle and relative position of the slice on the first spline. With a radius that does not depend on the angle, this spline is close to a circle, and it would seem – why not use a circle instead? But in fact, its parameterization will later be useful to us in order to beautifully impose noise on the shape of the mushroom stem. Below is an example of code based on the BufferGeometry api, where mushroom stem points are created and its faces are indexed, and more about working with buffer geometry can be read here.
Leg generation
shroom_height = 10;
stipe_vSegments = 20;
stipe_rSegments = 20;
stipe_points = [];
stipe_indices = [];

// радиус ножки, как функция угла и позиции на сплайне
function stipe_radius(a, t) {
	return 1;
}

// форма ножки
stipe_shape = new THREE.CatmullRomCurve3( [
  new THREE.Vector3( 0, 0, 0 ),
  new THREE.Vector3( 1, shroom_height * 0.25, 0 ),
  new THREE.Vector3( 2, shroom_height * 0.5, 0),
  new THREE.Vector3( 0, shroom_height * 0.75, 0),
  new THREE.Vector3( 1, shroom_height, 0 ),
], closed=false );

// t - относительное положение среза на stipe_shape, от 0 до 1
for (var t = 0; t < 1; t += 1 / stipe_vSegments) {
  // форма среза ножки
  var curve = new THREE.CatmullRomCurve3( [
    new THREE.Vector3( 0, 0, stipe_radius(0, t)),
    new THREE.Vector3( stipe_radius(Math.PI / 2, t), 0, 0 ),
    new THREE.Vector3( 0, 0, -stipe_radius(Math.PI, t)),
    new THREE.Vector3( -stipe_radius(Math.PI * 1.5, t), 0, 0 ),
	], closed=true, curveType="catmullrom", tension=0.75);

  // вычисляем точки на срезе ножки
  var local_points = curve.getPoints( stipe_rSegments );

  // добавляем точки к мешу
  for (var i = 0; i < local_points.length; i++) {
    var v = local_points[i];
  	stipe_points.push(v.x, v.y, v.z);
  }
}

// задаём индексы точек, образующих грани, по 2 треугольника на грань
for (var i = 0; i < stipe_vSegments - 1; i ++) {
  for (var j = 0; j < stipe_rSegments; j ++) {
    stipe_indices.push(i * (stipe_rSegments + 1) + j,
                       i * (stipe_rSegments + 1) + j + 1,
                       (i + 1) * (stipe_rSegments + 1) + j);

    stipe_indices.push(i * (stipe_rSegments + 1) + j + 1,
                       (i + 1) * (stipe_rSegments + 1) + j + 1,
                       (i + 1) * (stipe_rSegments + 1) + j);
  }
}

// создаём буферную геометрию из точек и индексов граней
var stipe = new THREE.BufferGeometry();
stipe.setAttribute('position', new THREE.BufferAttribute(new Float32Array(stipe_points), 3));
stipe.setIndex(stipe_indices);
stipe.computeVertexNormals();
Noises
To make the leg look more realistic, you can add noise to the function that calculates its radius. The figure shows examples of how the radial noise from the code fragment below affects the shape of the stem depending on the coefficient noise_c. Noisy radius in this case depends on the height of the point on the leg, the higher – the smoother the surface of the leg.
Parameterization and noise reduction of the stem radius
base_radius = 1;
noise_c = 2;

// радиус ножки, как функция угла и позиции на сплайне
function stipe_radius(a, t) {
	return base_radius + (1 - t)*(1 + Math.random())*noise_c;
}
Draw a hat
Hat geometry
Similarly to the leg, we will generate a hat from points and faces. Let the cap cut be described by some spline (see the left figure). We will rotate this spline around the end of the stem, generating points and uniting them with faces.
Hat Generation
pileus_points = [];
pileus_indices = [];

// точка поверхности шляпки как функция радиальных координат
function pileus_surface(a0, t0) {
  // вычисляем относительное положение точки
  // на кривой с учётом возможного радиального шума
  var t = t * (1 + radnoise(a, t));
  // проверка того что мы не вышли за кривую
  if (t > 1) t = 1; if (t < 0) t = 0;

  // вычисляем нормаль, ортогональную поверхности
  // в данной точке (единичный вектор ортогонального шума)
  var shape_point = pileus_shape.getPointAt
  var tangent = pileus_shape.getTangentAt
  var orth_noise_v = new THREE.Vector3(0,0,0);
  const z1 = new THREE.Vector3(0,0,1);
  orth_noise_v.crossVectors(z1, tangent);

  // вычисляем значение угла с учётом углового шума и
  // положение точки с учётом обновлённого угла
  var a = angnoise(a0, t);
  var surface_point = new THREE.Vector3(
    Math.cos(a) * shape_point.x,
    shape_point.y,
    Math.sin(a) * shape_point.x
  );

  // вычисляем множитель ортогонального шума
  var surfnoise_val = orthnoise(a, t);

  // финальные координаты точки (a0, t0) с учётом всех шумов
  surface_point.x += orth_noise_v.x * Math.cos(a) * surfnoise_val;
  surface_point.y += orth_noise_v.y * surfnoise_val;
  surface_point.z += orth_noise_v.x * Math.sin(a) * surfnoise_val;

  return surface_point;
}

// формируем поверхность шляпки с разрешением
// pileus_rSegments * pileus_cSegments
for (var i = 1; i <= pileus_rSegments; i++) {
  var t0 = i / pileus_rSegments;
	for (var j = 0; j < pileus_cSegments; j++) {
    var a0 = Math.PI * 2 / pileus_cSegments * j;
    var surface_point = pileus_surface(a0, t0);
    pileus_points.push(
      surface_point.x,
      surface_point.y,
      surface_point.z
    );
	}
}

// индексная магия, соединяющая точки гранями
for (var i = 0; i < pileus_rSegments - 1; i ++) {
  if (i == 0) {
    for (var j = 0; j < pileus_cSegments; j ++)
      pileus_indices.push(
        0,
        (j + 1) % pileus_cSegments + 1,
        j + 1
      );
  }
  for (var j = 0; j < pileus_cSegments; j ++) {
    pileus_indices.push(
    	i * pileus_cSegments + 1 + j,
      (i + 1) * pileus_cSegments + 1 + (j + 1) % pileus_cSegments,
  		(i + 1) * pileus_cSegments + 1 + j
		);

    pileus_indices.push(
      i * pileus_cSegments + 1 + j,
      i * pileus_cSegments + 1 + (j + 1) % pileus_cSegments,
      (i + 1) * pileus_cSegments + 1 + (j + 1) % pileus_cSegments
    );
	}
}

// объединяем всё что нагенерили в буфферную геометрию
pileus.setAttribute('position', new THREE.BufferAttribute(new Float32Array(pileus_points), 3));
pileus.setIndex(pileus_indices);
pileus.computeVertexNormals();
Noises
Now let’s add noise to the hat to make its shape more realistic. In my code, I divided the noise of the hat into 3 components: radial – variation of the cap radius depending on the angle, angular is the angle distortion as a function of the angle, and orthogonal – shift of the coordinate of the point in the direction of the vector orthogonal to the original spline of the hat at this point. Since the hat is given by radial coordinates, it is convenient to apply some noise here, which is a continuous function of coordinates, for example, 2d perlin noise. For this I used the library noisejs.
hat noise
NOISE.seed(Math.random());

function radnoise(a, t) {
  return -Math.abs(NOISE.perlin2(t * Math.cos(a), t * Math.sin(a)) * 0.5);
}

function angnoise(a, t) {
  return NOISE.perlin2(t * Math.cos(a), t * Math.sin(a)) * 0.2;
}

function orthnoise(a, t) {
  return NOISE.perlin2(t * Math.cos(a), t * Math.sin(a)) * t;
}
Plates, skirt, dots on the hat
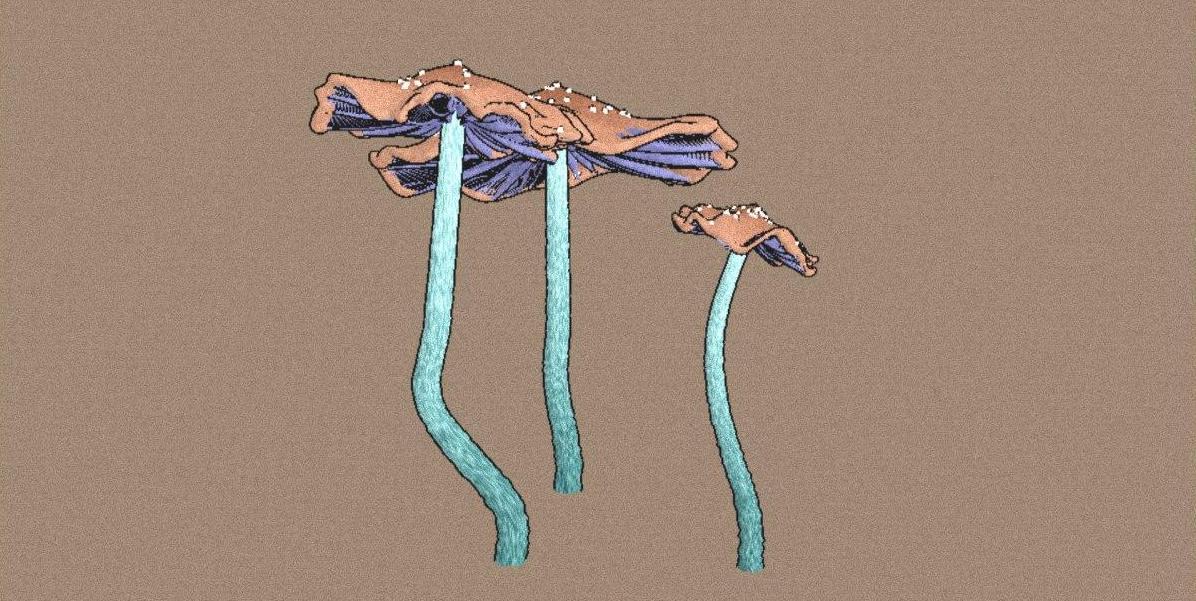
By analogy with the hat, you can generate 2 more recognizable parts of the mushroom – plates and a skirt. And to draw points on the hat (like a fly agaric), we will generate random point clouds and build a closed geometry using the method ConvexGeometryand then combine them all into one buffer geometry through mergeBufferGeometries.
fly agaric point generation
var bufgeoms = [];
var N = 10;

for (var i = 0; i < dots_num; i++) {
  var dot_points = [];

	// выбираем случайный центр точки на шляпке
  var a = Math.random() * Math.PI * 2;
  var t = Math.random();
  var dot_center = pileus_surface(a, t);

	// генерируем случайное облако точек вокруг центра
  for (var j = 0; j < N; j++) {
    dot_points.push(new THREE.Vector3(
      dot_center.x + (1 - Math.random() * 2) * dot_radius,
      dot_center.y + (1 - Math.random() * 2) * dot_radius,
      dot_center.z + (1 - Math.random() * 2) * dot_radius
		);
  }

	// создаём замкнутую геометрию на основе облака точек
  var dot_geometry = new THREE.ConvexGeometry( dots_points );
  bufgeoms.push(dots_geometry);
}

// объединяем все мухоморные точки в одну буфферную геометрию
var dots = THREE.BufferGeometryUtils.mergeBufferGeometries(bufgeoms);
Collision check
One mushroom is good, but many are better. But if you place random mushrooms randomly in space, then sooner or later they will begin to intersect with each other in various impossible ways. To prevent this from happening, I honestly stole from here snippet checking object collisions with each other. And so that the collision check does not take too much time – together with the main mushroom, I generate its simplified model with a small number of vertices.
Name generation
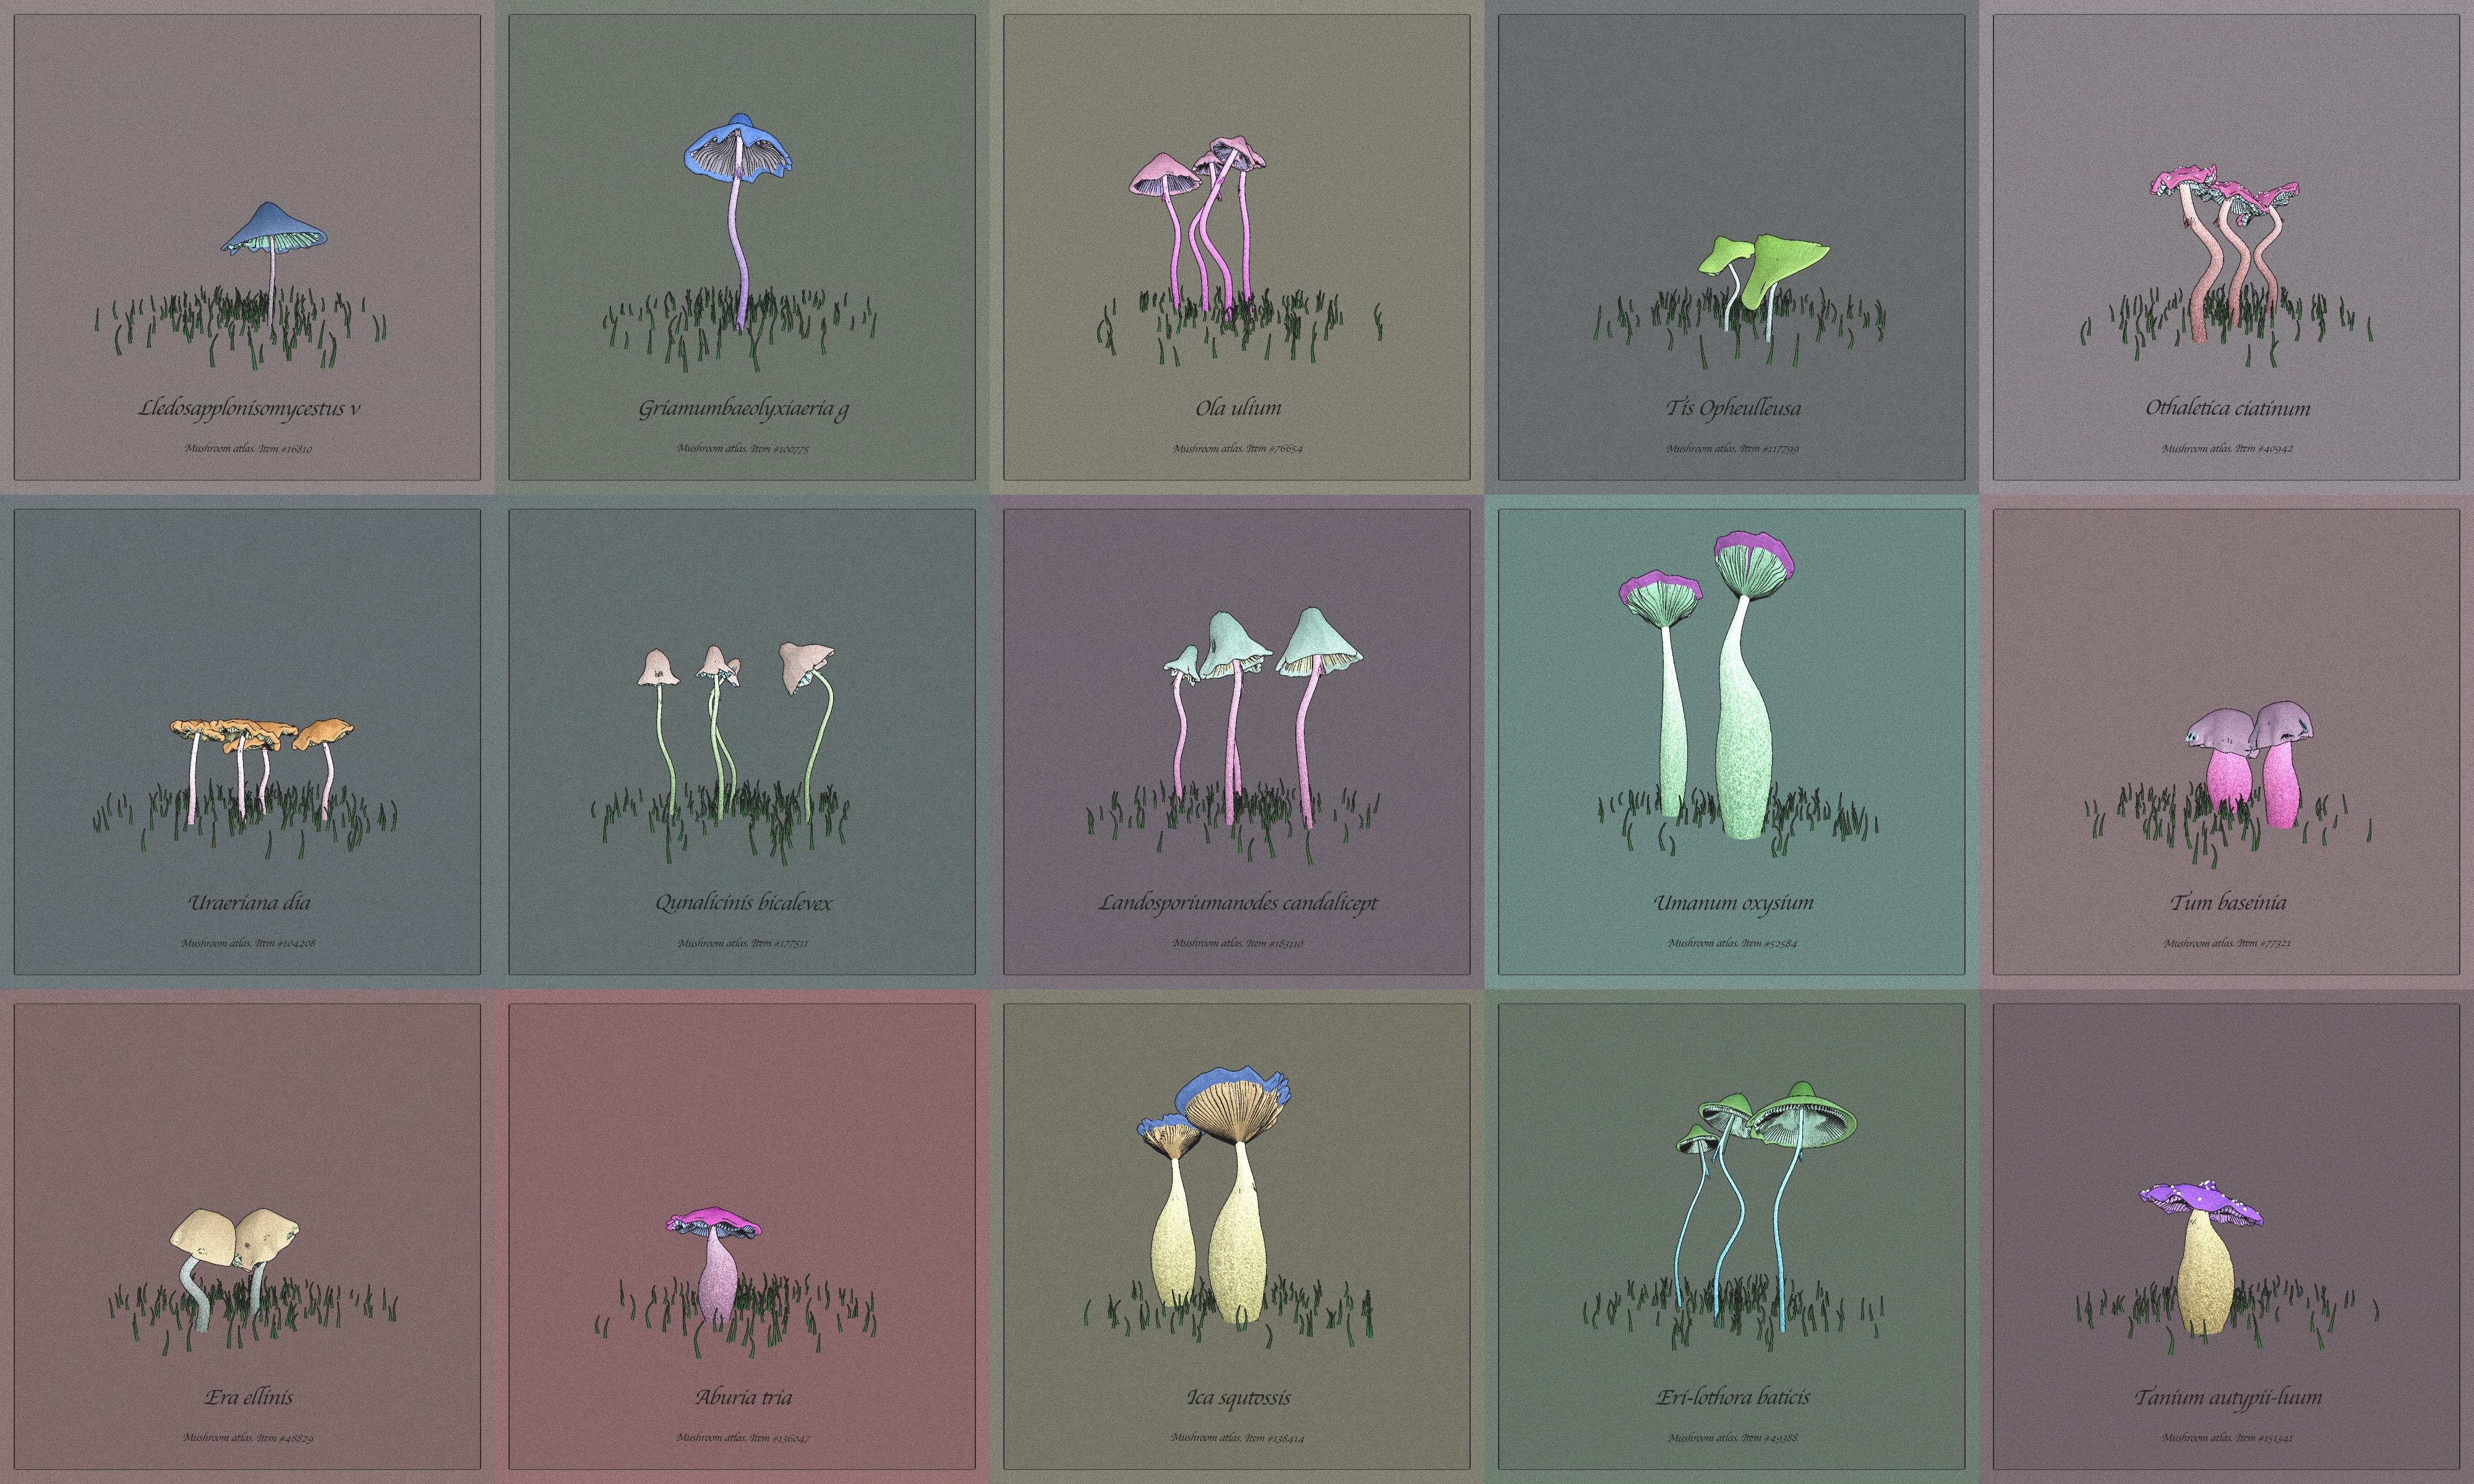
To generate the names of mushrooms, I used a self-written Markov chain trained on a thousand names of real mushroom species from here. The first step was to break the training texts into a certain number of common tokens, from which the generative text would then be formed. I used tokenizer YouTokenMe, divided the names into 200 tokens and calculated the probabilities of their transition into each other and wrote the resulting matrix of transition probabilities in json. All the JS code does is just read this matrix and randomly select the next token based on the transition probabilities from the previous one until a few words accumulate.
Rendering and styling
Outline stroke
To get the stroke effect I used OutlineEffect from here. Together with the white texture and the lack of shadows, these outlines give a cool sketchy effect.
Color
But I wanted color, but I also didn’t want to generate a UV-map. Here, the opportunity to set the colors of the buffer geometry vertices came in very handy. Just like geometry noise, vertex color can be parameterized as a function of the angle and the relative position of a point on the base spline. As an example, let’s add a few lines that color the vertices to the leg generation code.
We paint the leg
stipe_colors = [];

c = [100, 100, 100] // базовый цвет
v = [100, 100, 100] // диапазоны вариации цвета

function stipe_color(a, t) {
  return [c[0] + t * v[0], c[1] + t * v[1], c[2] + t * v[2]];
}

...
	stipe_points.push(v.x, v.y, v.z);
	stipe_colors.push(...stipe_color(a, t));
...

var stipe = new THREE.BufferGeometry();
...
stipe.setAttribute('color', new THREE.Float32BufferAttribute(stipe_colors, 3));
“film” noise

Since I don’t know much about shaders, I used Effect Composer – a thing that greatly facilitates post-processing in three js. You can see how to use it for example here. Many effects have already been written for it, including the noise I need.
Results

As a result, I got a generator magical mushrooms running in the browser. poke mushrooms and you can look at their variations on the fxhash platform.
Links
three js – official three js documentation
Genclub – Russian-speaking community of Genart lovers
Twitter – my twitter here with all these generative things


