Do-it-yourself retro console Part 2. Installing and configuring RetroPie
IN previous article we have selected all the necessary components to assemble our homemade retro console. It’s time to breathe life into it! RetroPie will help us with this – an operating system based on the Linux distribution of Raspbian OS and which is a collection of emulators of various game consoles of the past and a convenient manager for working with your game library in one person. Although this is by no means the only solution available, in our opinion, this particular assembly is best suited for a beginner, since it requires minimal skills for basic installation and configuration, while being distinguished by stability and a fairly wide range of capabilities. So let’s get started.
1. Preparing a microSD card
The first thing to do is install RetroPie on a memory stick that will act as the system storage. The size of the card depends entirely on how you plan to use the console. If you are going to play exclusively in 8/16-bit projects or run games from external media (and RetroPie also supports this feature), then you will be enough SanDisk Ultra 32GB… Otherwise, you should buy a microSD card with a capacity of 128–256 GB: you will hardly need to store in the memory of the retro console all the games that have ever been released for the PlayStation and DreamCast, and this volume should be enough for selected releases.
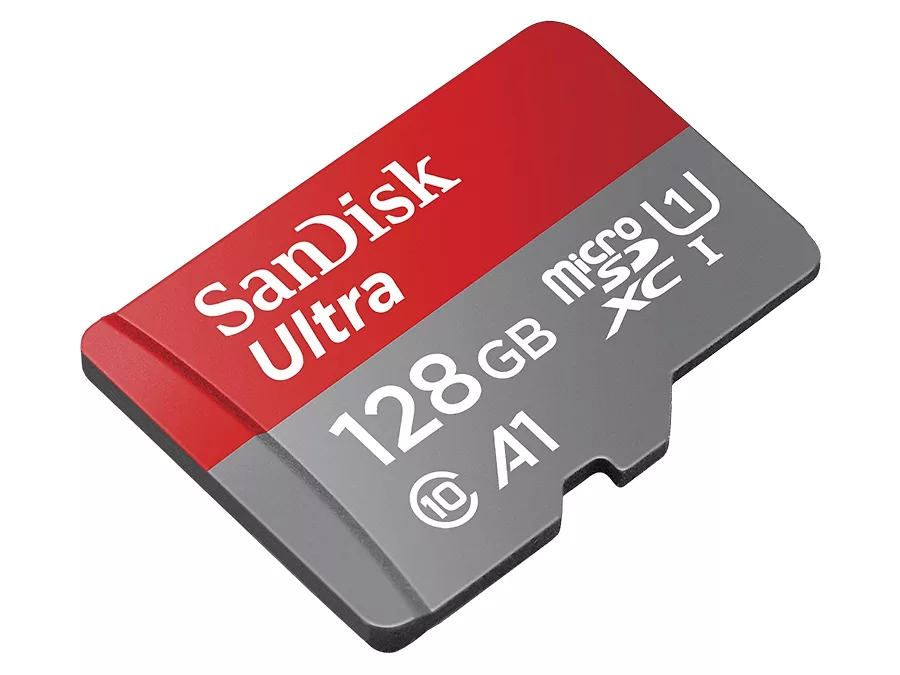
Memory cards in this series are classified as A1 (Application Performance Class). This means that even in the worst conditions, their performance does not fall below 1500 IOPS for random reads and 500 IOPS for writing files, while the data transfer rate in sequential operations reaches 100 MB / s. Thus, on the one hand, you can quickly load even large ROMs into the console’s memory, and on the other hand, you will not experience problems when working with RetroPie or while playing games.
If your computer or laptop does not have a built-in card reader, you can use the SanDisk MobileMate USB 3.0 to connect a flash card. Due to the compact size of the device, it will be quite convenient to use it with the retro console itself, if you suddenly have such a need.

The easiest way to install RetroPie is Raspberry Pi Imager – an installer with the function of automatically downloading distributions from the network, available in versions for Windows, Mac OS and Ubuntu operating systems. After connecting the memory card to your PC or laptop, launch the utility, click on “CHOOSE OS”, and then select “Emulation and game OS” —> “RetroPie” —> “RetroPie version_number (RPI 4/400)”.
Now click on “CHOOSE SD CARD”, select the desired flash card and start the RetroPie installation by clicking on the “WRITE” button. Wait until the end of the procedure.
2. Setting up the gamepad
Insert the memory card into the microSD slot of the Raspberry Pi, connect the gamepad via USB cable and turn on the retro console. Immediately after power-up, the system setup procedure is initiated, which takes about 1.5-2 minutes on average.

Upon completion of all operations, a welcome window will appear on the screen. Since we have already connected the gamepad by wire, the system will automatically detect it and offer to configure it. Press any button on the controller to start the wizard.
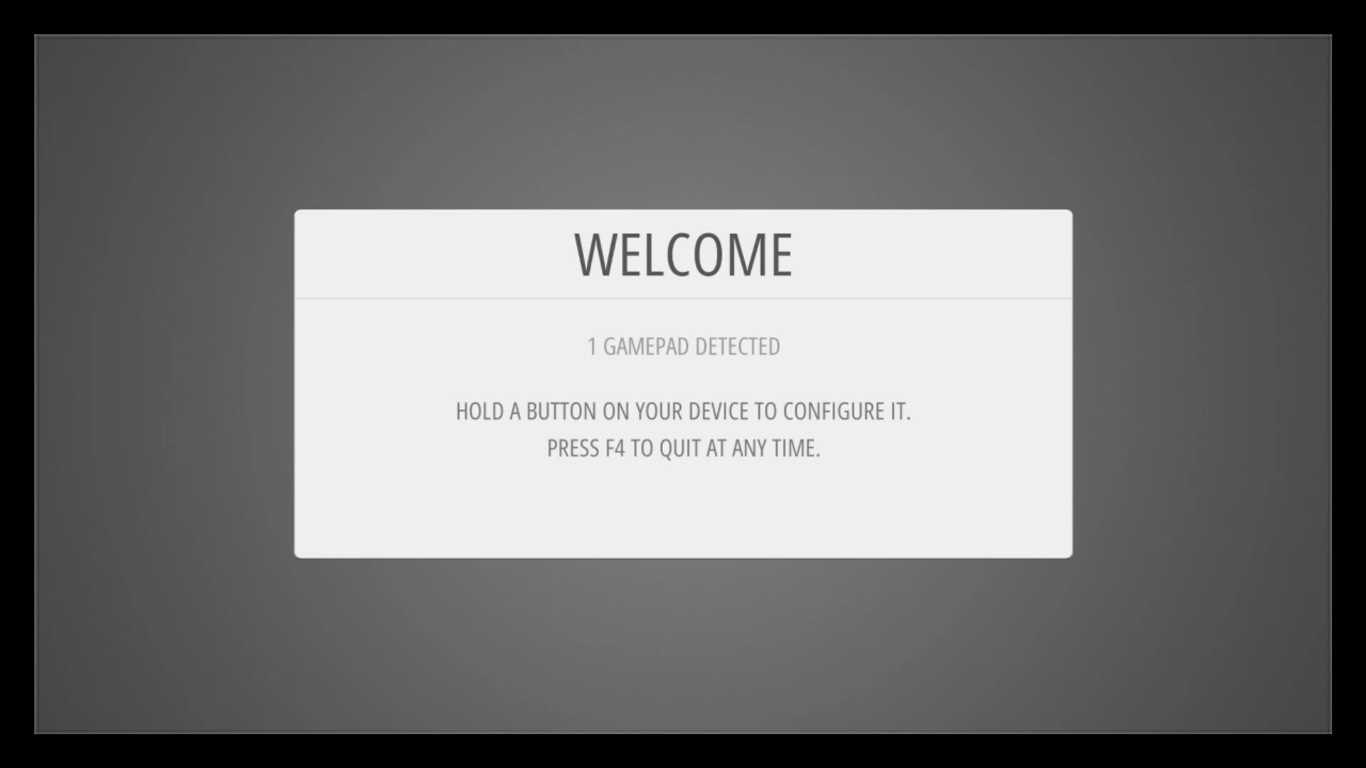
All that is required further is to sequentially press the necessary buttons on the gamepad in accordance with the prompts on the screen.

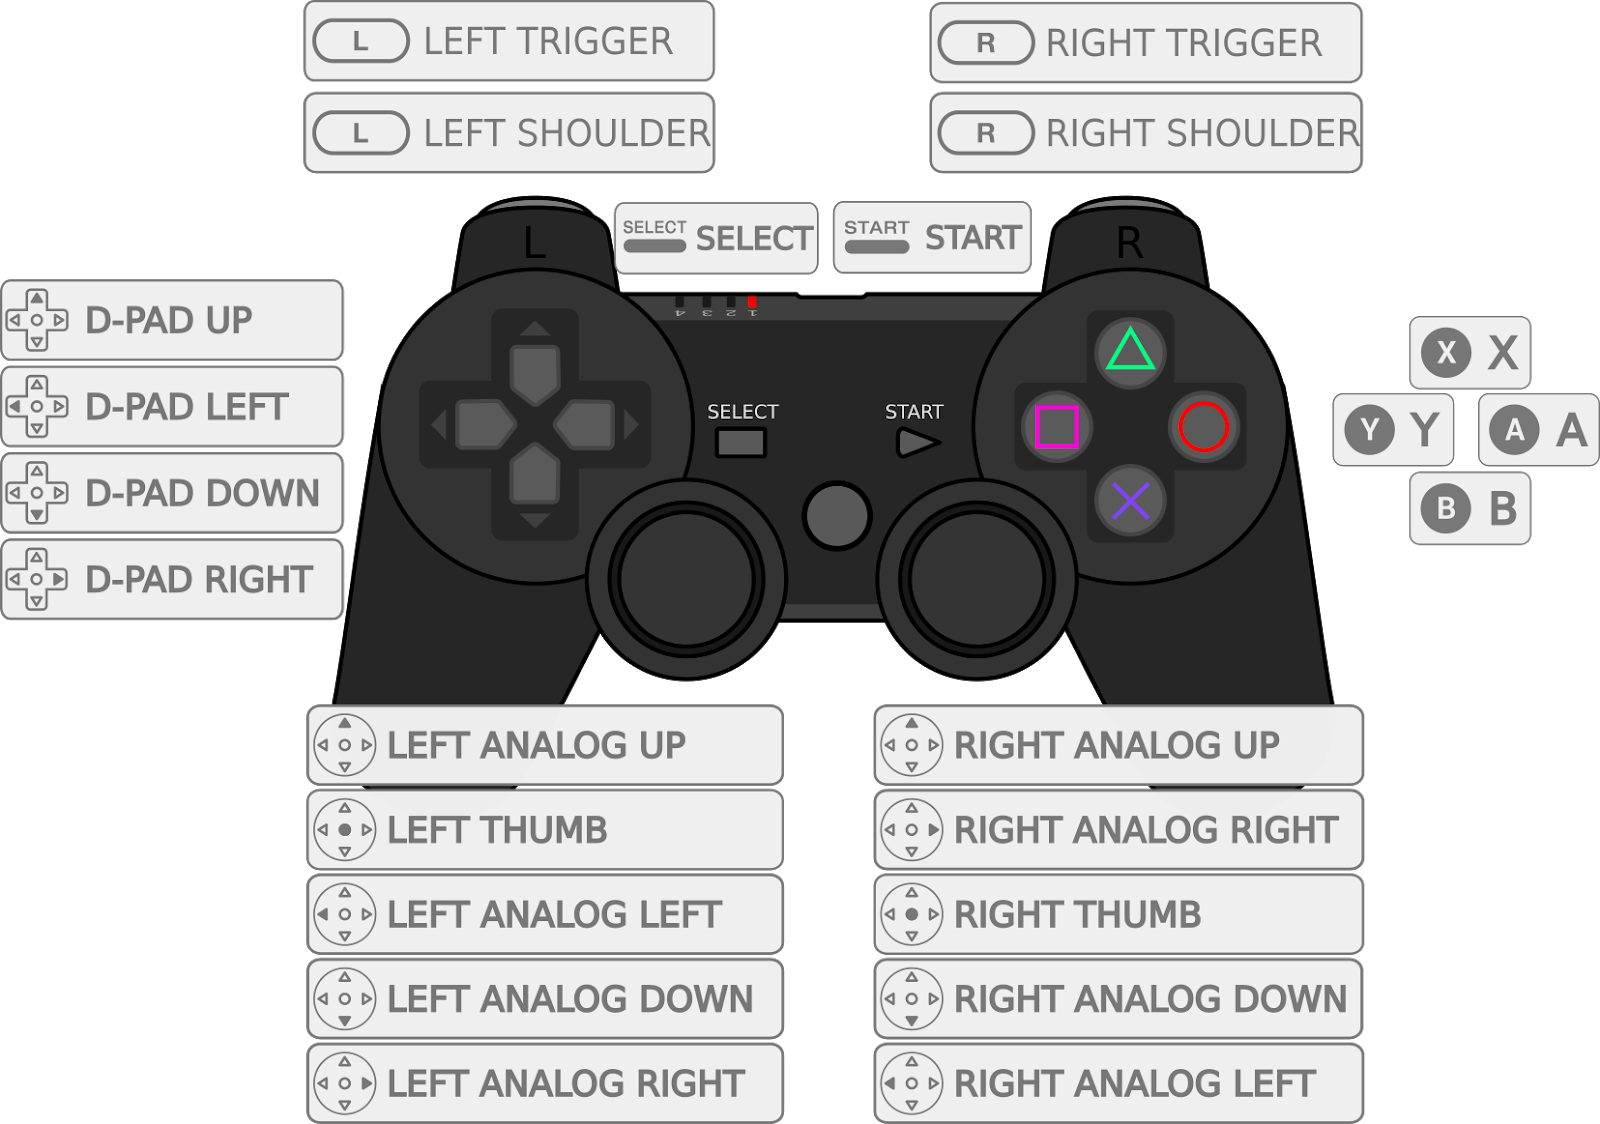
If you are at a loss with a choice, we bring to your attention the standard layout for the DualShock family of controllers and their analogues.
Note. At the very end, RetroPie will ask you to set a Hotkey button. It is best to choose the “Home” button as a hotkey, since it is not used in games. If your gamepad does not have one (for example, you are using a replica of the original controller for the SNES), then the “Select” button is quite useful for its role. Hotkeys give access to additional features of RetroArch / Libretro-based emulators included in RetroPie. The available combinations are listed in the table below.
Shortcut keys | Team |
Hotkey + Start | Output |
Hotkey + Right bumper | Save the game |
Hotkey + Left bumper | Load save |
Hotkey + Right | Next save slot |
Hotkey + Left | Previous save slot |
Hotkey + X | In-game menu |
Hotkey + B | Reset |

3. Activate full screen mode
After switching on for the first time, you will surely notice the presence of a black border around the edge of the screen.

Let’s get rid of it.
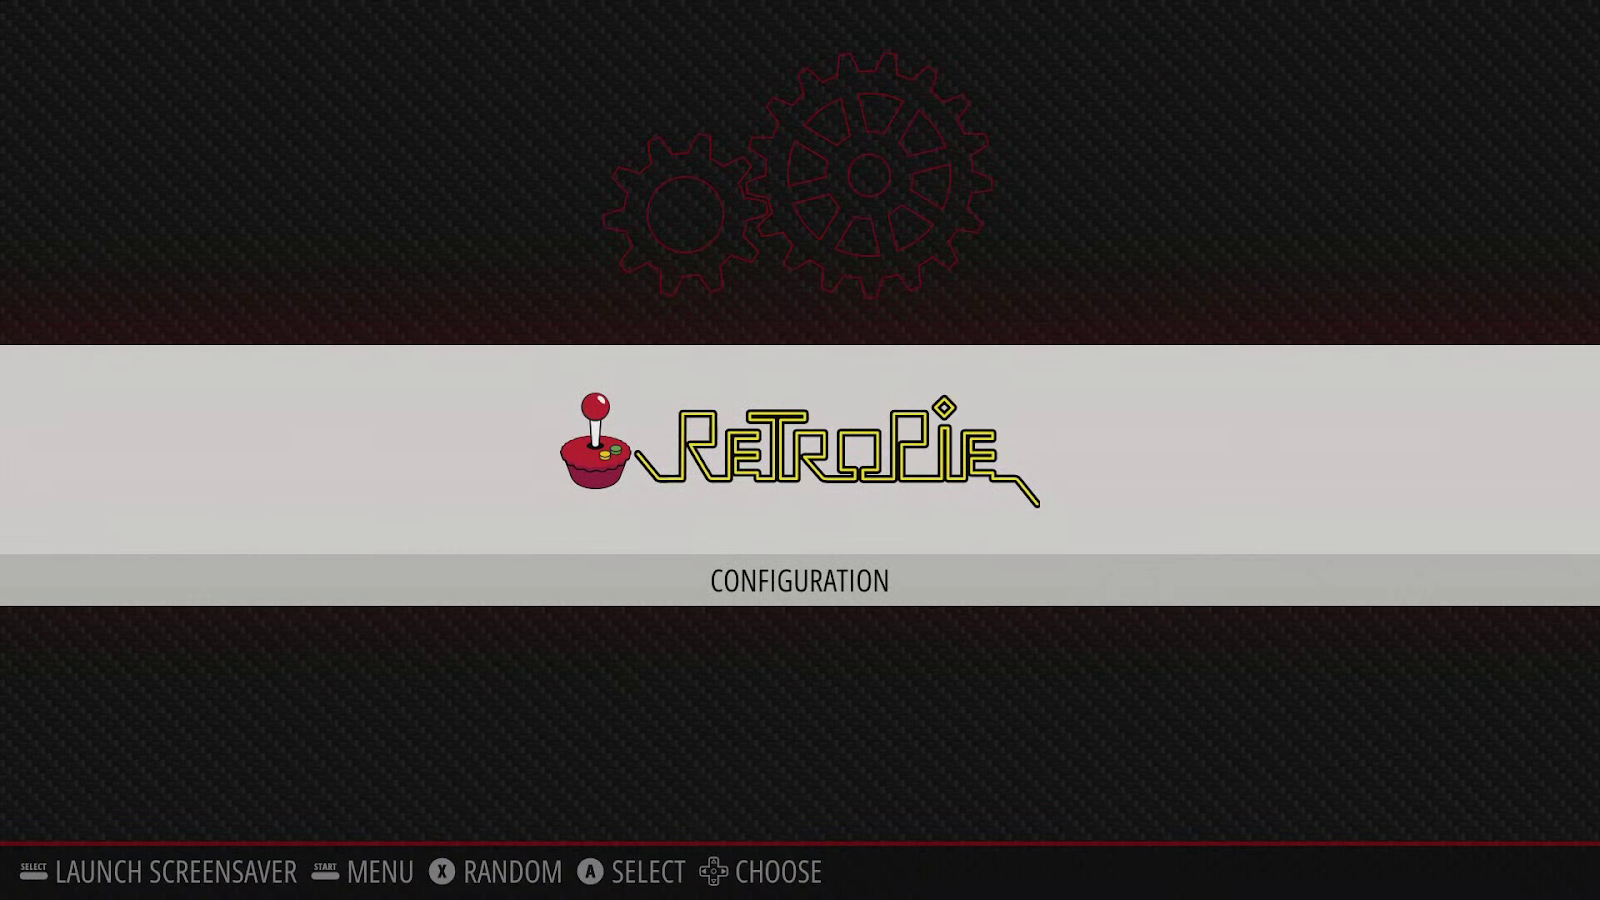
1. Go to the “CONFIGURATION” menu by pressing the “A” button on your controller, and go to the “RASPI-CONFIG” section.

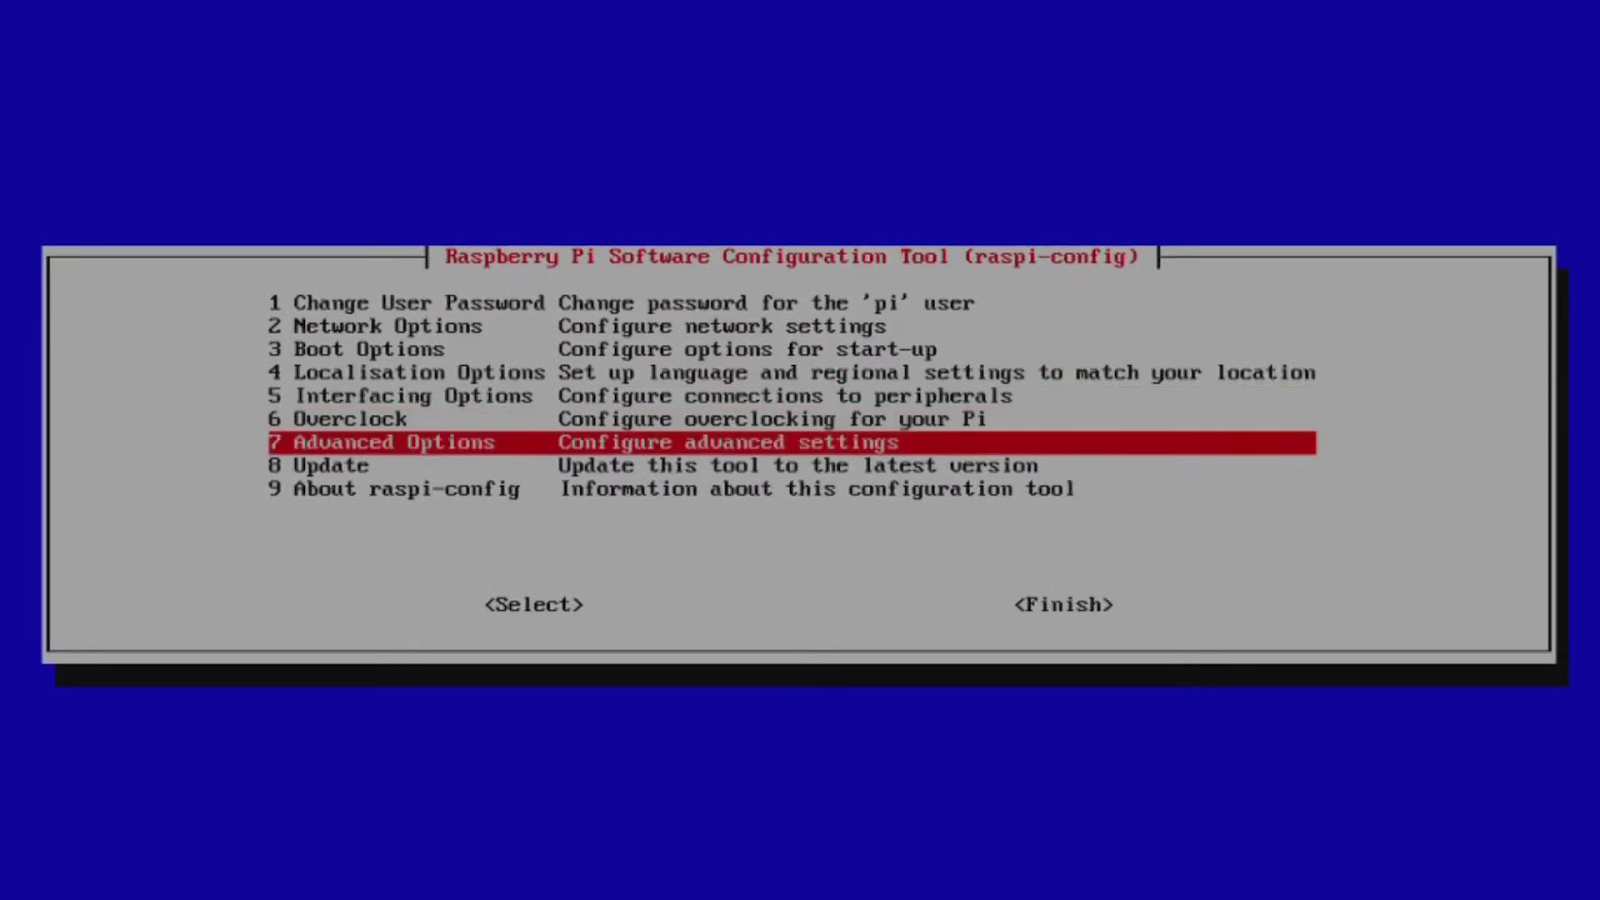
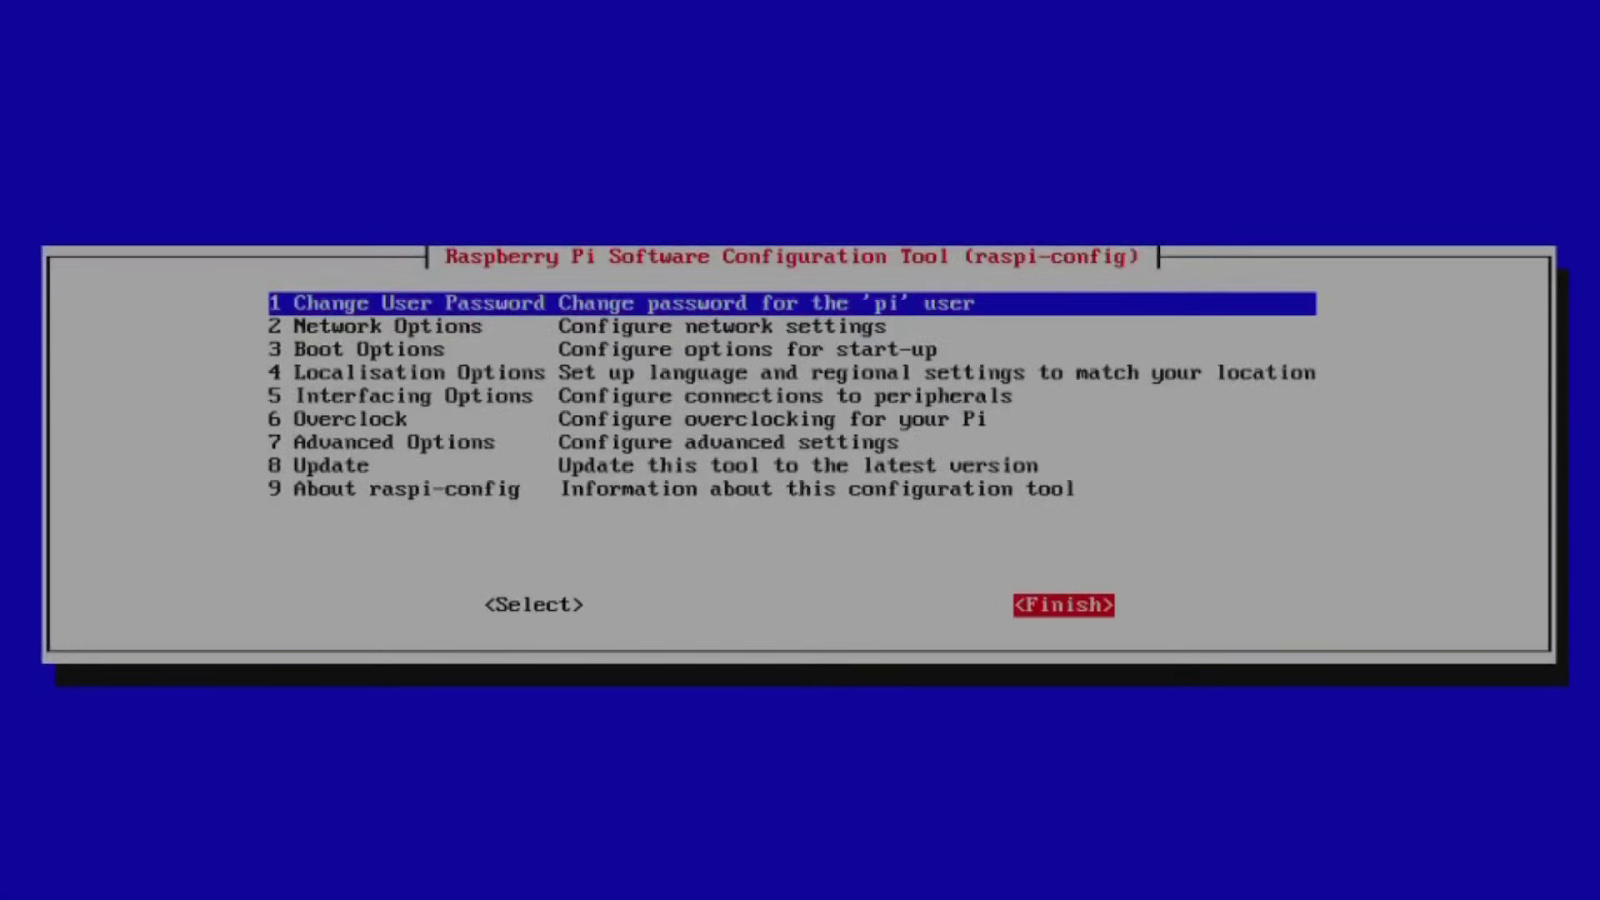
2. Select “7 Advanced Options”.
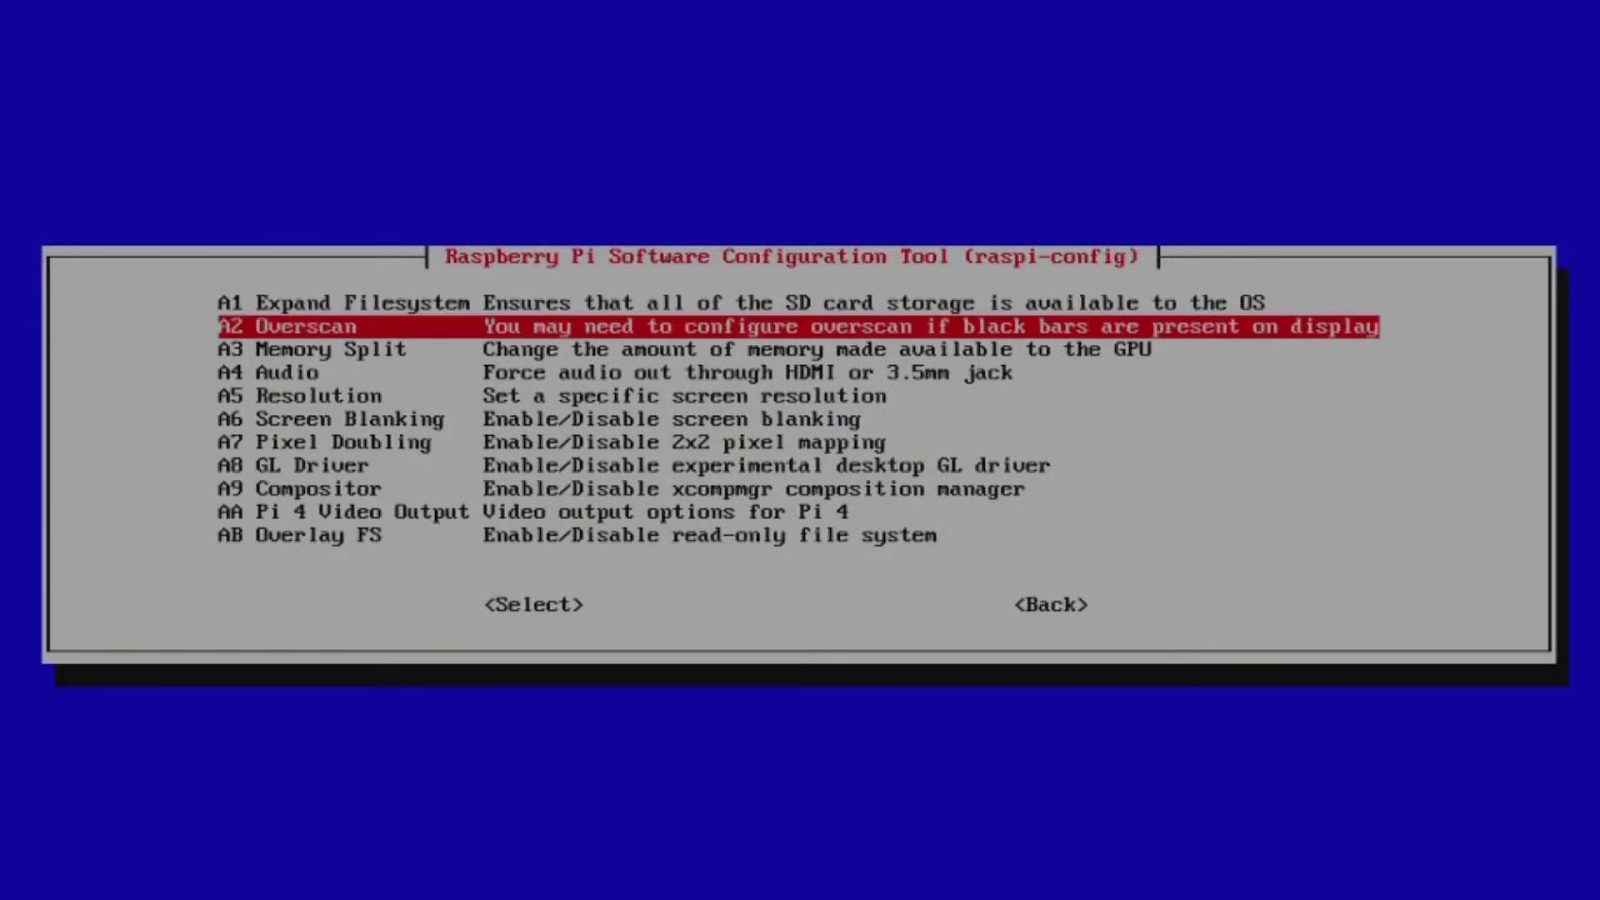
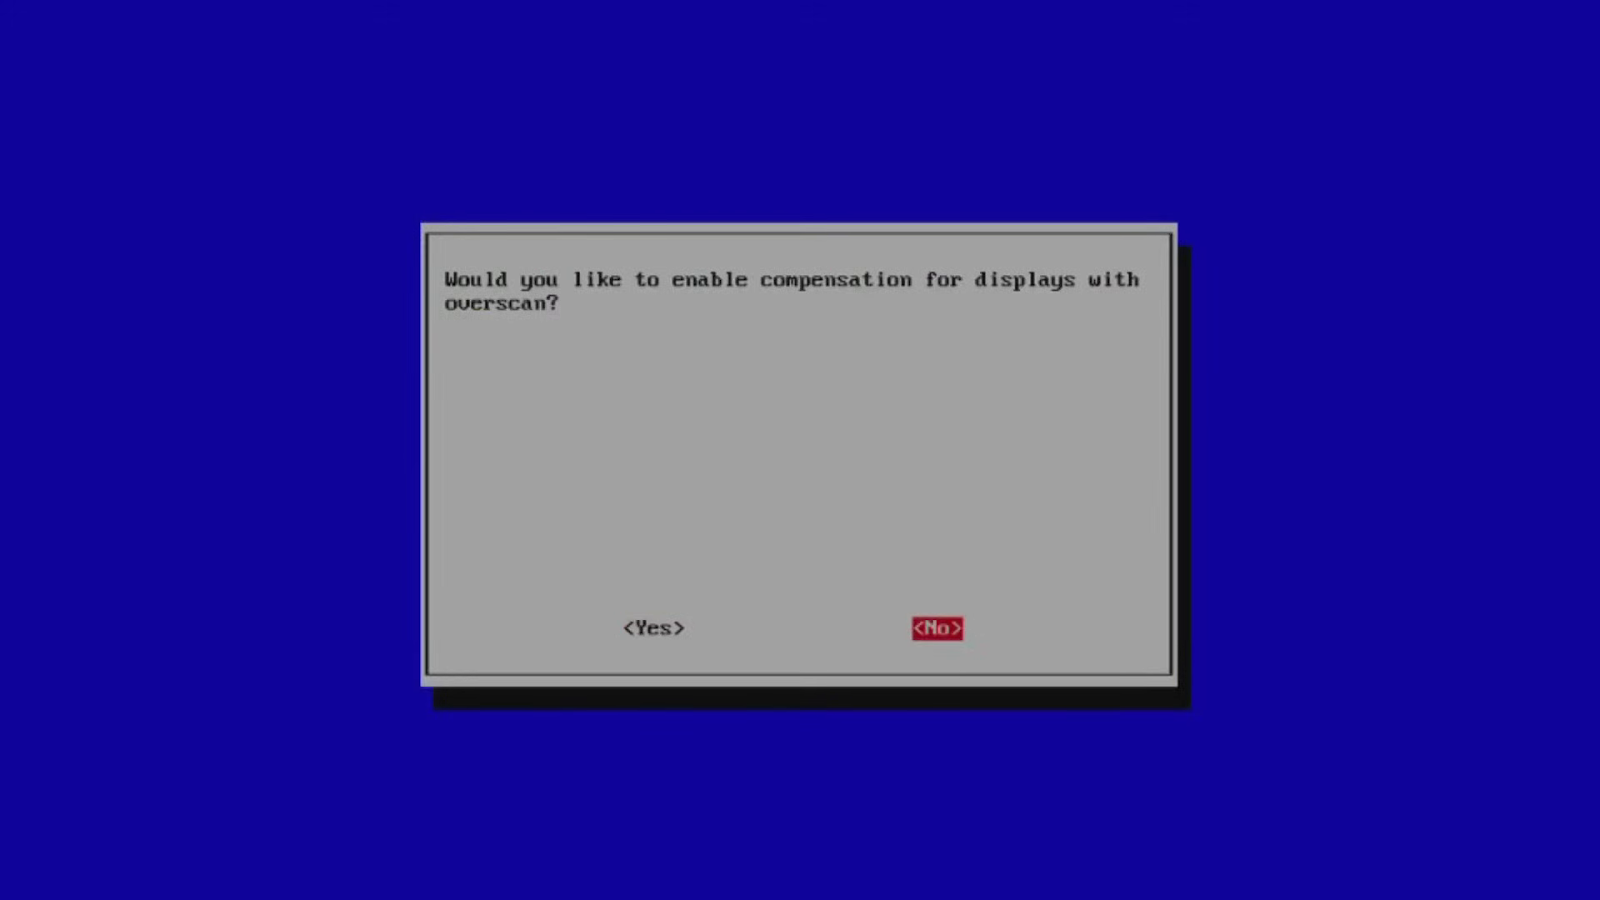
3. Go to A2 Overscan.
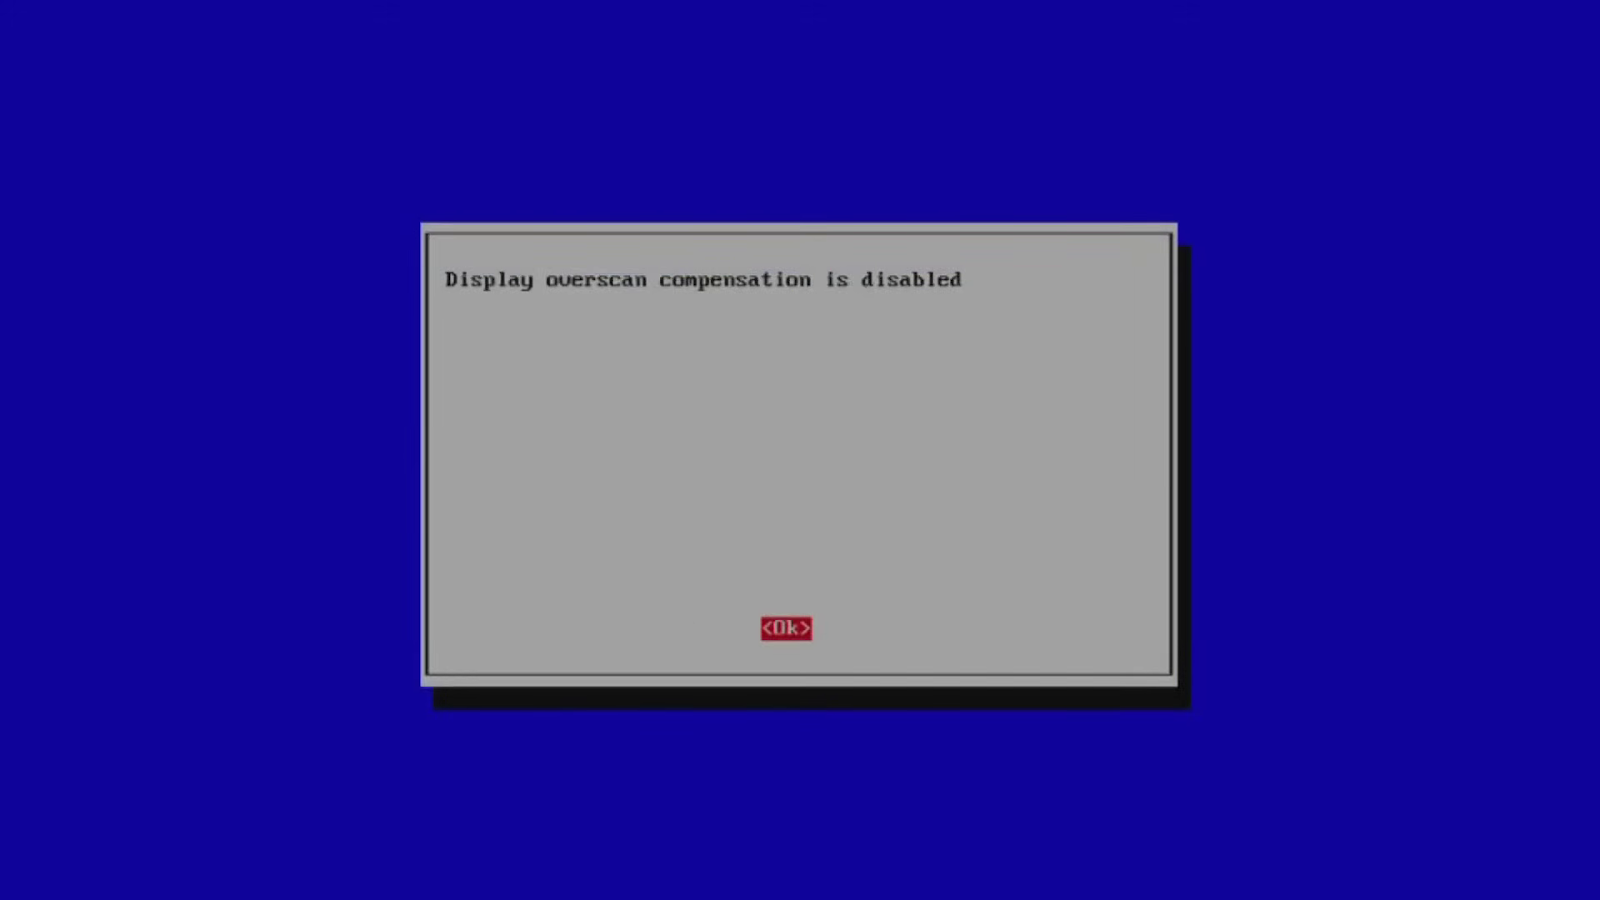
4. Select “No”.
5. Click Ok.
6. Click “Finish” to complete the setup process.
7. The system will prompt you to reboot for the changes to take effect.
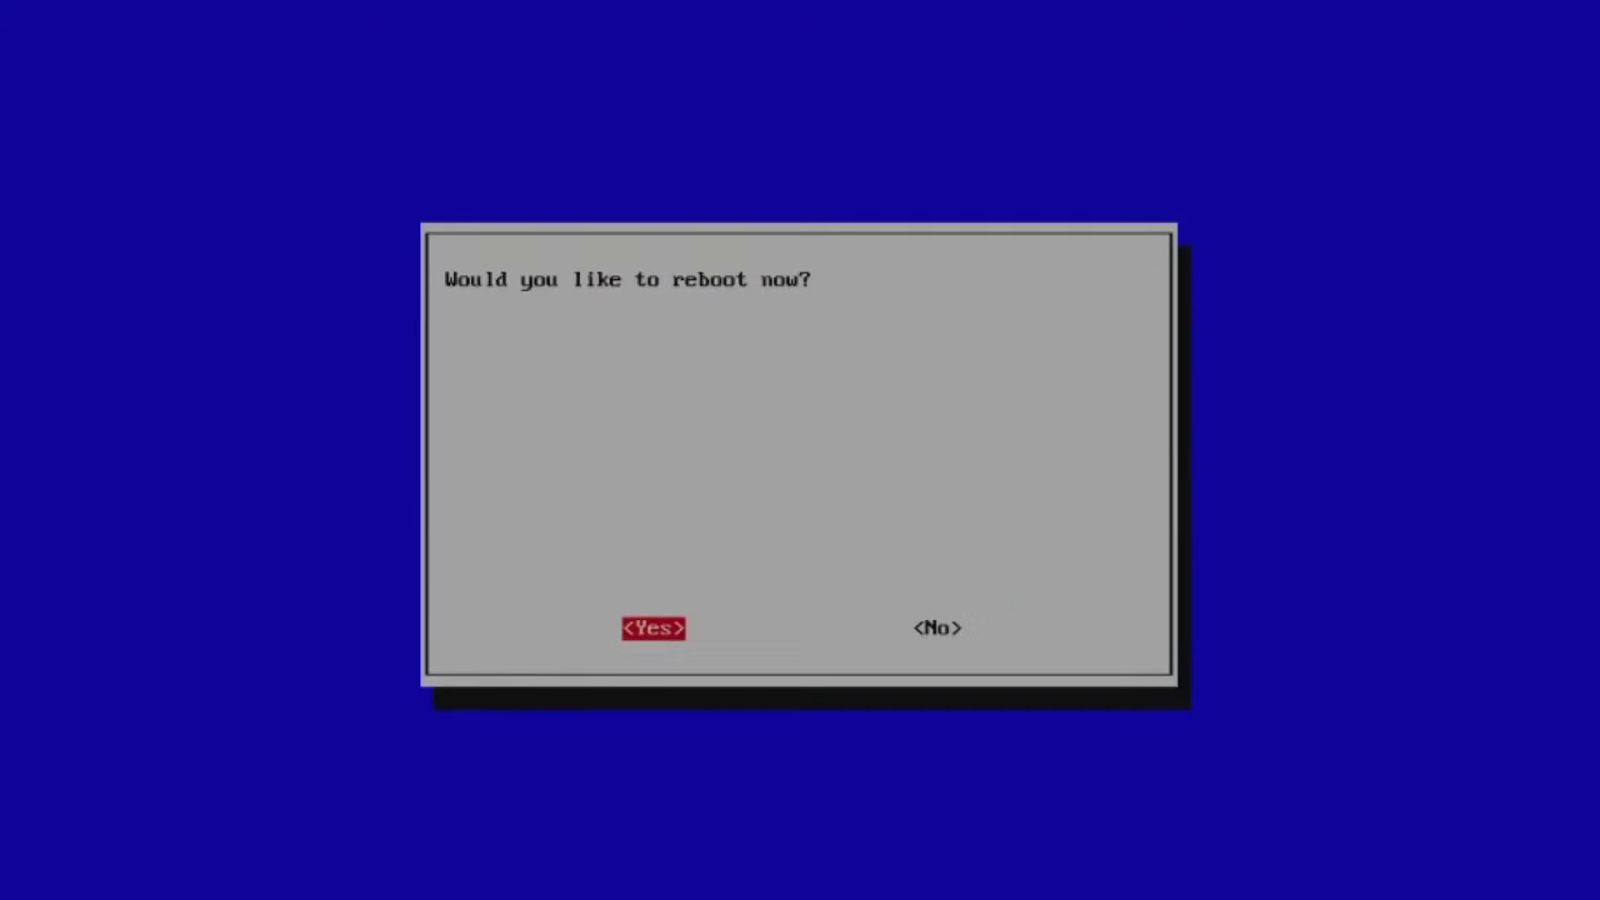
After restarting RetroPie will run in full screen mode.
4. Connecting wireless devices via Bluetooth
RetroPie supports most game controllers and wireless keyboards, so you shouldn’t have any connection issues. Nevertheless, let’s see how to do this using the example of the 8BitDo SN30 Pro gamepad. Please note that before performing the actions described below, you need to update the device firmware to the current one using the utility with official site manufacturer, and then turn on the device by simultaneously pressing the “Y” + “Start” buttons, and switch it to pairing mode by pressing the “Pair” button located on the top of the gamepad and holding it for 3 seconds.
Now you can start setting up.
1. Enter the “CONFIGURATION” menu again and go to the “BLUETOOTH” section.
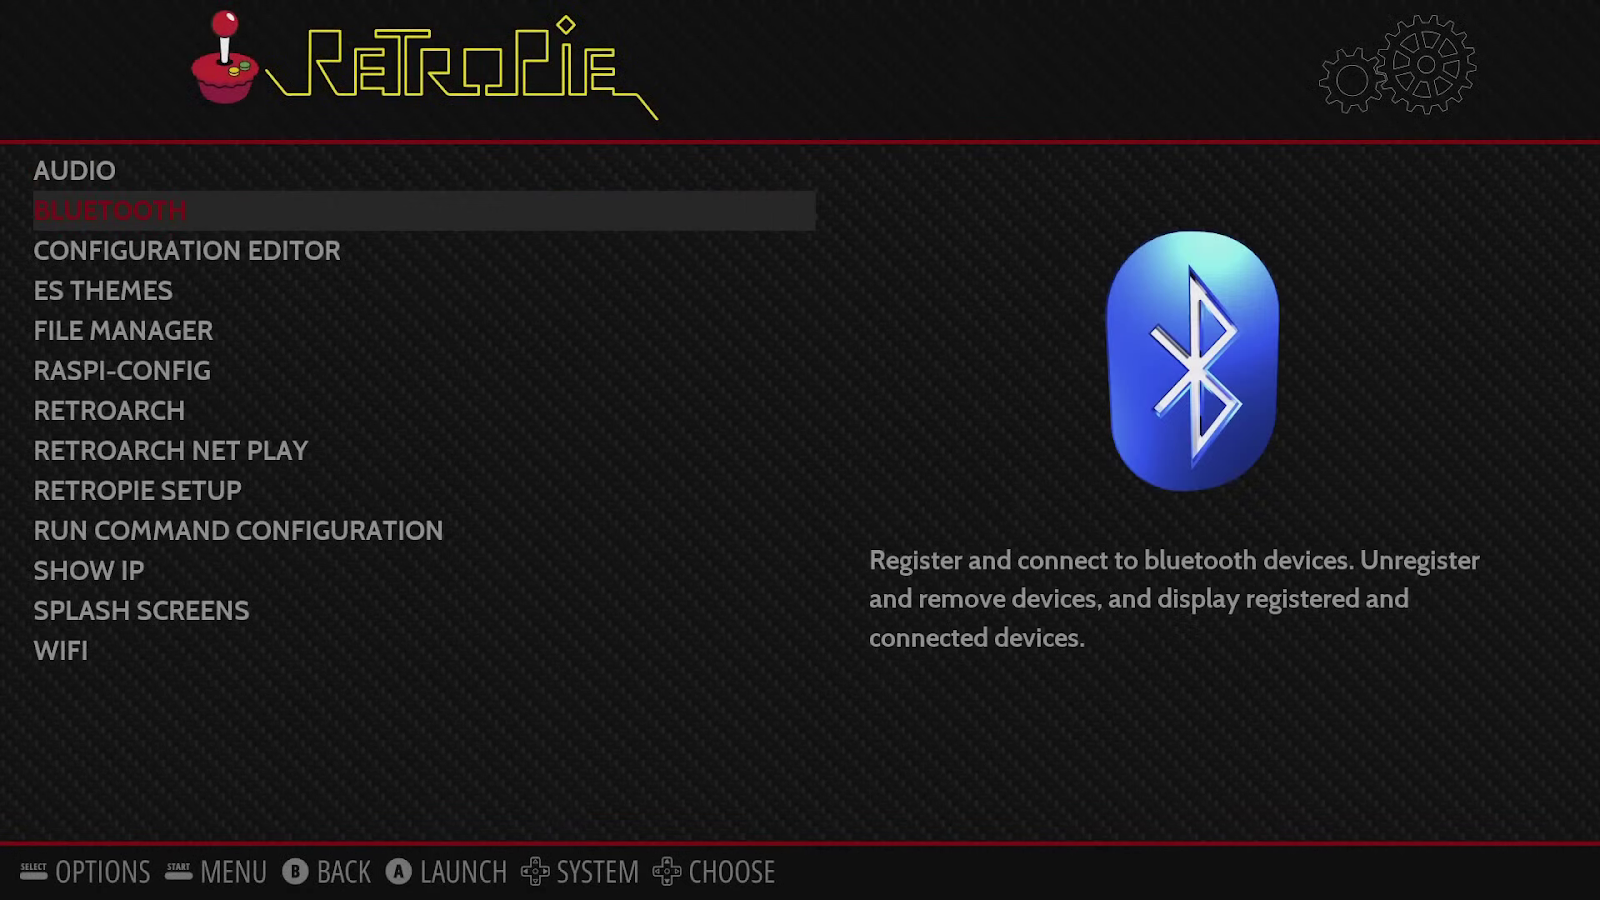
2. Activate the “8BitDo mapping hack”.
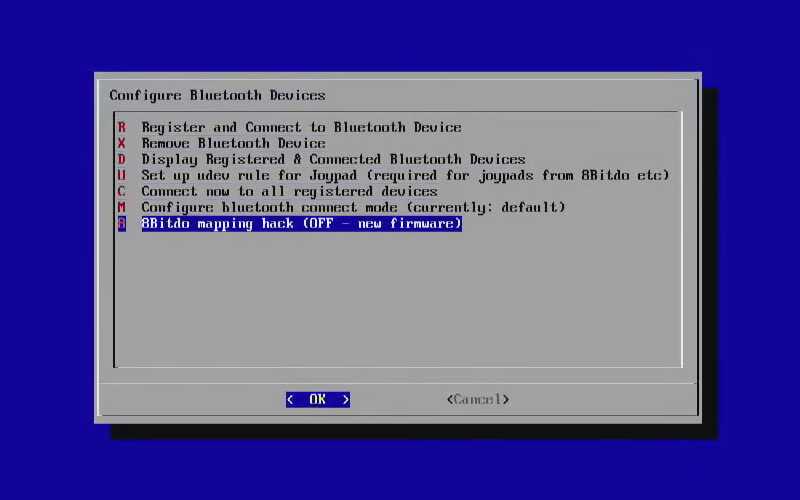
Note. It is recommended to enable “Mapping hack” for all 8BitDo gamepads with firmware version below 4.0. If you are using, for example, an 8BitDo SN30 Pro + controller with the current firmware version (5.01 at the time of this writing), just skip this step.
3. Go to the “Register and Connect to Bluetooth Device” section.
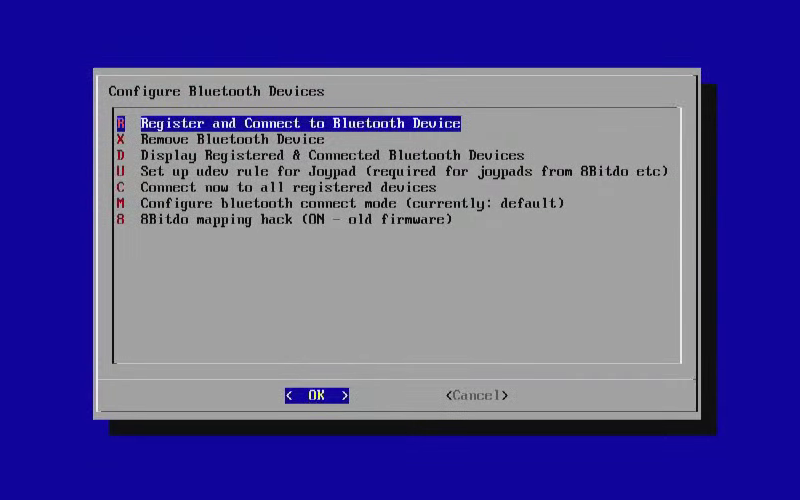
4. RetroPie will initiate a search for available devices and then display a list of them on the screen. Select the 8BitDo gamepad from the list.

5. In the next step, select the “DisplayYesNo” option.

6. The system will inform you that the device has been successfully registered and connected.

A wireless keyboard can be connected in the same way. By the way, we will need it at the next stage.
5. Connecting the retro console to WiFi
To be able to update software, install new packages, or copy games from your PC using network folders, your console must be connected to your home network.
1. As before, go to “CONFIGURATION” and select “WiFi”.

2. Next go to “Network Options”.

3. Go to the “Wi-fi” section.

4. Select your country from the list.

5. Go to the “Connect to WiFi network” section.
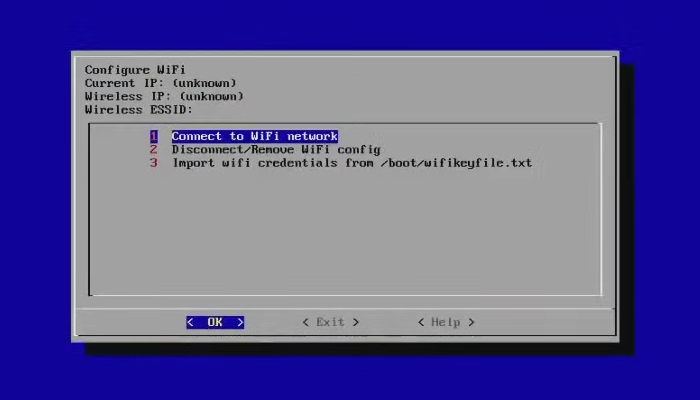
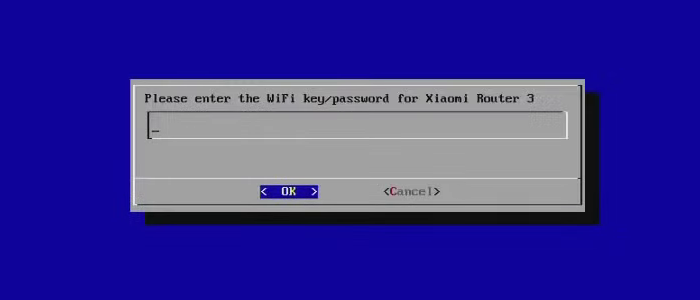
6. Select your router from the list of available devices.

7. Enter the password to connect to the network.
8. The Raspberry Pi will connect to the router. Now on the WiFi setup screen, the local IP address of the device will be displayed in the upper left corner Write it down.

6. Download games and BIOS
The basic configuration of the console is now complete. It remains to load the games into the device’s memory, and you can enjoy retro-style gaming! This can be done directly from a PC located in the same local network. Type “retropie” or the IP address assigned to the console by the router in the explorer line. The available network folders are displayed on the screen.
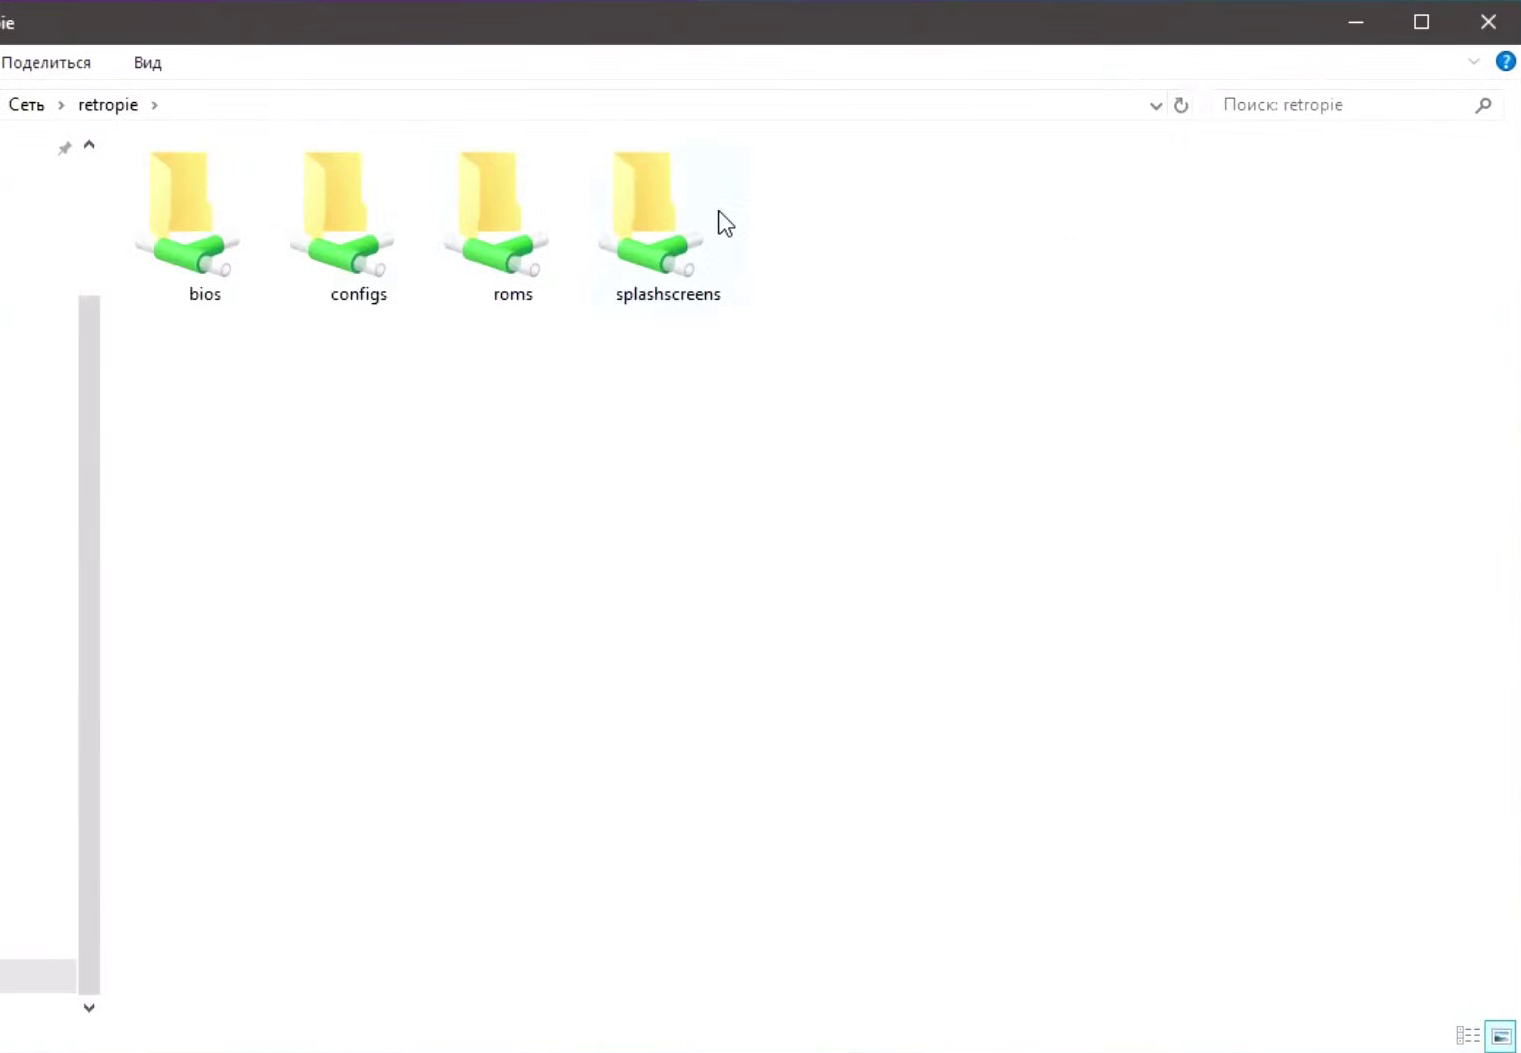
The purpose of each directory can be easily guessed by its name:
The “bios” folder is intended for loading BIOS dumps of game consoles, which are necessary for the functioning of some emulators.
The configs folder contains configuration files for emulators.
The “roms” folder is intended for loading game images.
You can load your own splash screens into the splashscreens folder.
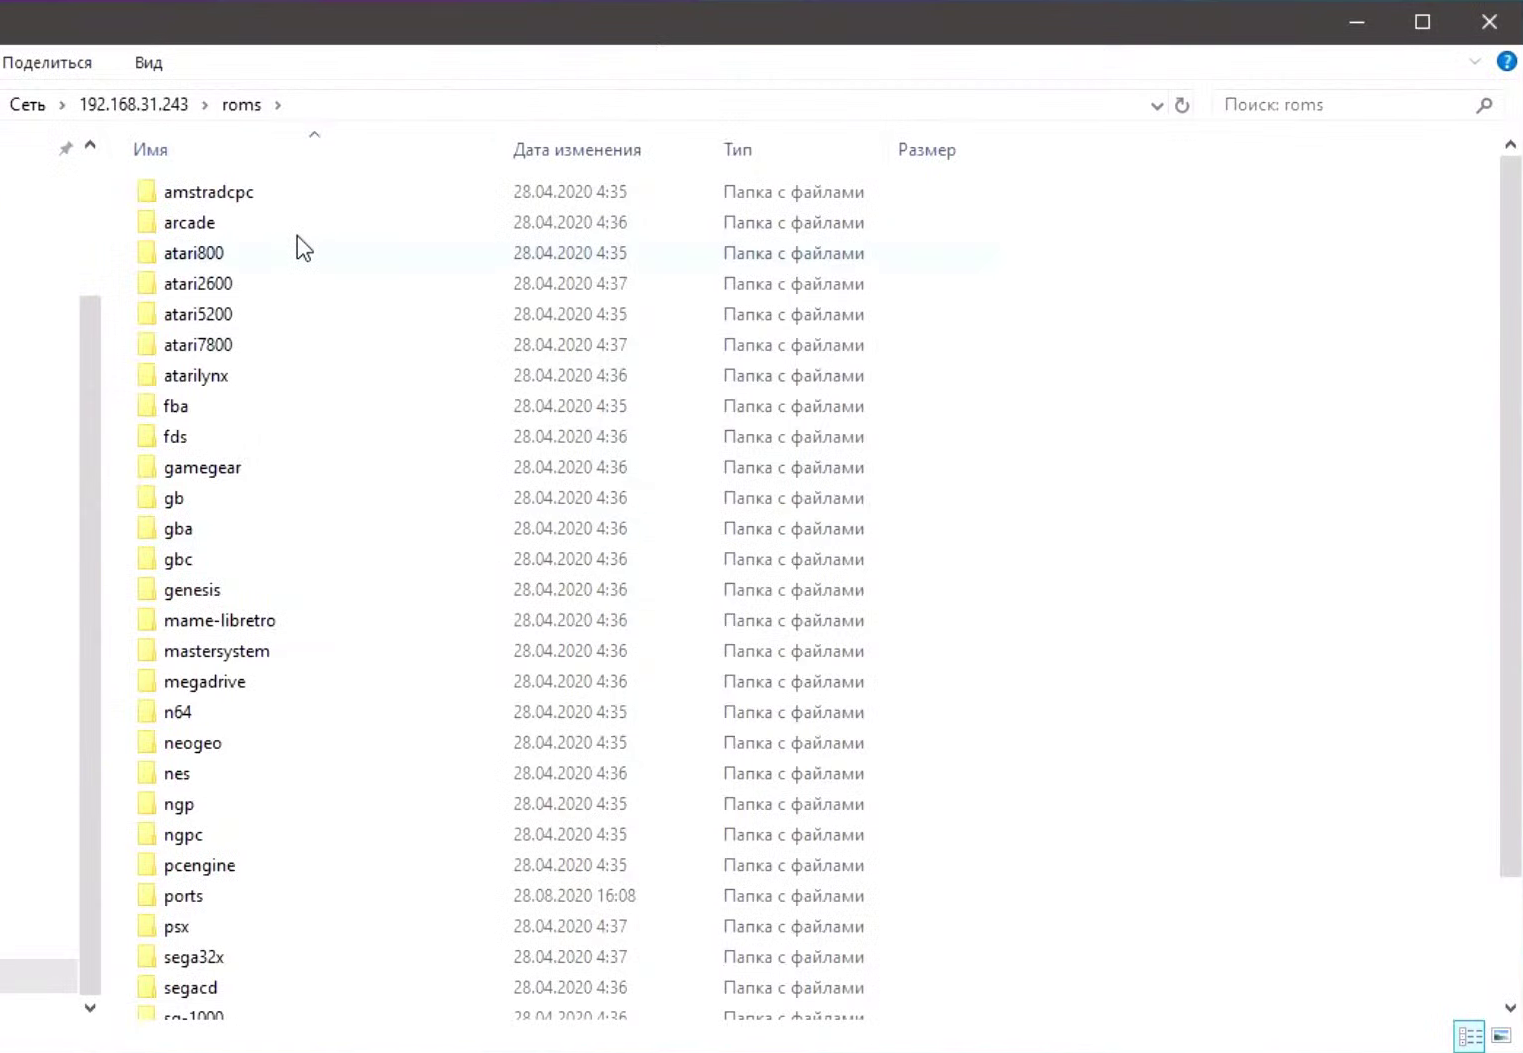
The “bios” and “roms” directories have an identical structure: in each of them you will find many subfolders, the names of which correspond to the names of the emulators installed in RetroPie. Thanks to this, it is very convenient to navigate in them. For example, to load a collection of games for the Sega Mega Drive into the memory of the retroconsole, it is enough to transfer the necessary images to the genesis subfolder of the roms catalog, and the games for the Nintendo Entertainment System must be copied to the nes subfolder.
After transferring the images of the games to the appropriate folders, restart the device. Now the emulators for which you added games will appear in the main menu.

If you followed our advice by purchasing the NESPi 4 case, you can connect a 2.5-inch SSD to the retro console, using it as ROM storage. To do this, the drive must first be formatted and a folder named “retropie” must be created on it.
Once connected to the console, RetroPie will recognize the SSD as external storage and will automatically create all the folders and subfolders it needs. At the end of the process, you can download the images of the games to the solid-state drive in the same way as to the system memory card, copying the ROMs into the subfolders of the corresponding emulators. This method is also suitable for USB sticks.
This completes the RetroPie setup. Now you have the ultimate gaming harvester at your disposal, capable of plugging any branded retro console like the PlayStation Classic or NES Classic Mini into your belt. And if desired, this device can be easily turned into a full-fledged multimedia server. But we will tell you how to do this sometime next time.