Do-it-yourself autonomous LTE router
I’ll start from the bottom sorry for the pun. Already towards the end of the simulation, I remembered the balancing act with mounting the setup with RPI in the village (one of the examples was in the first part) and the idea dawned on me “Why not do as flashlight manufacturers do and implement mounting to surfaces with magnets”
I took neodymium magnets from the HDD, it’s not for nothing that we collect them. Someone may object “They are large and may not fit in size.”
And he will be right. But only until I take the gas wrench and pliers) I broke it off in size, rolled it into heat shrink, put it on cyanoacrylate – profit. And under the magnets themselves in the bottom, recesses are made on the inside. Heat shrink is needed so that the sharp metal shell does not cut anything.
Use it, especially if this method was not obvious to someone. Of course, it was possible not to show off and order magnets for Ali “who argues”, but you still have to wait for them exactly.
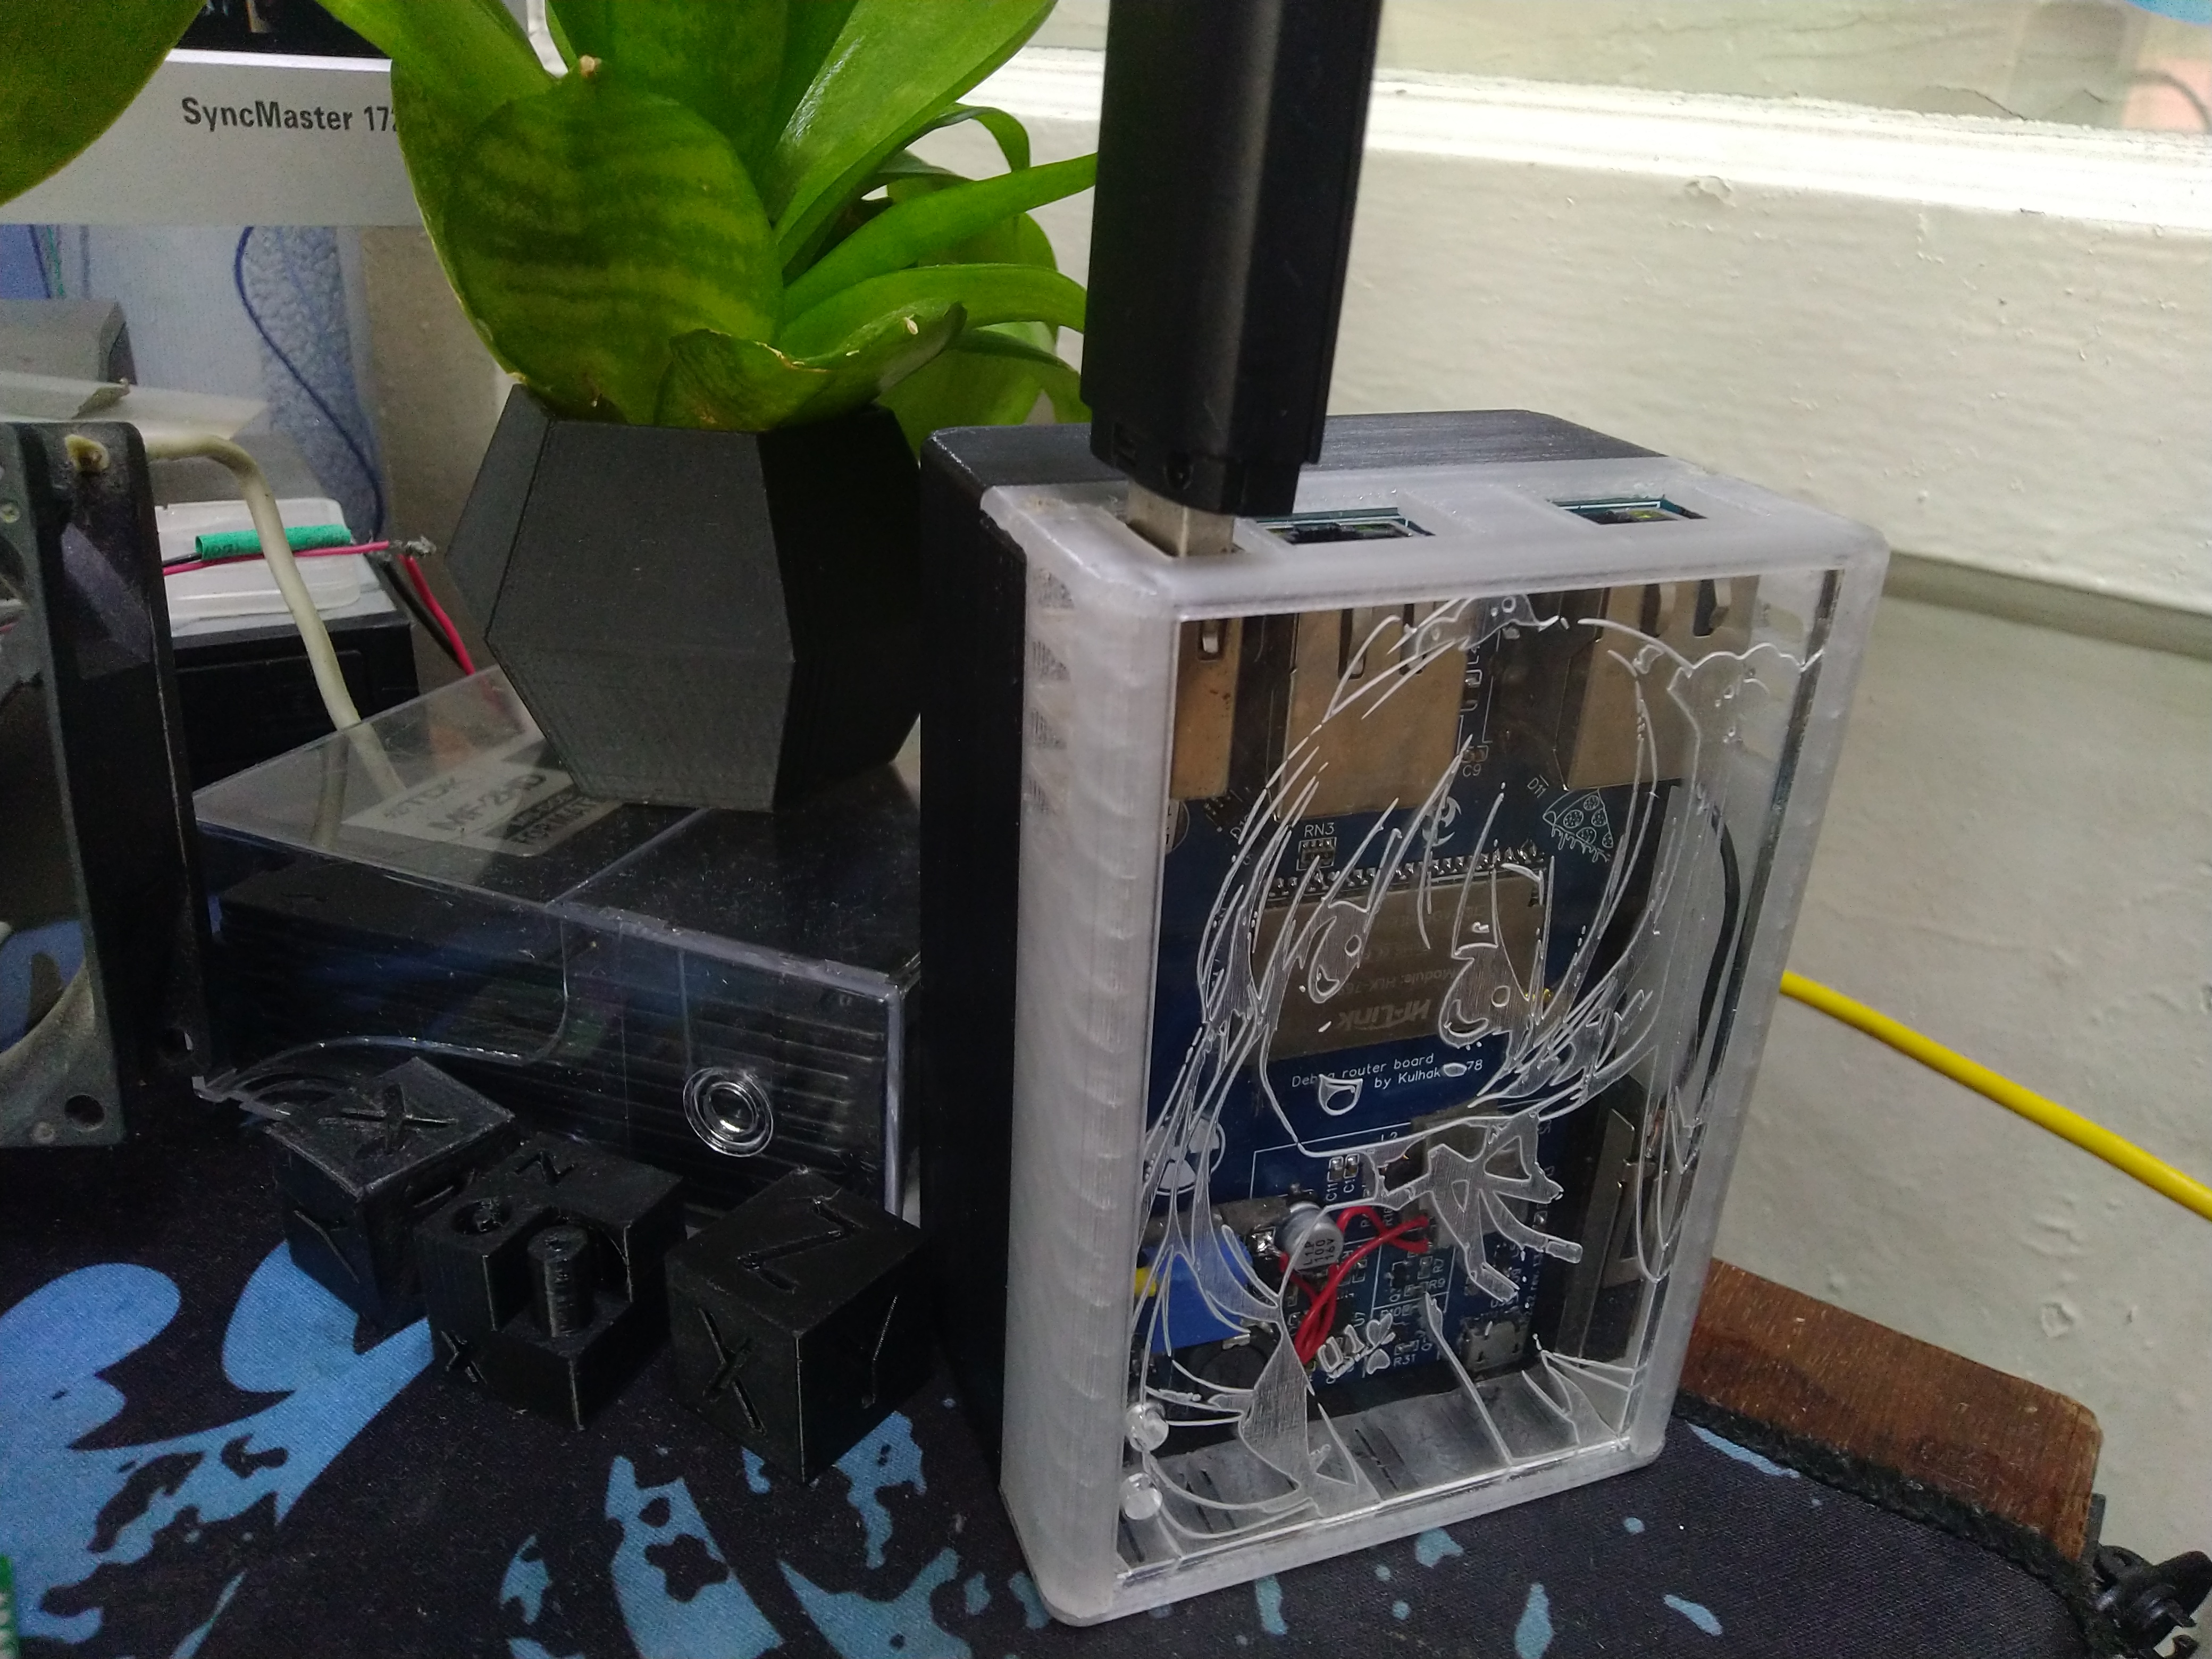
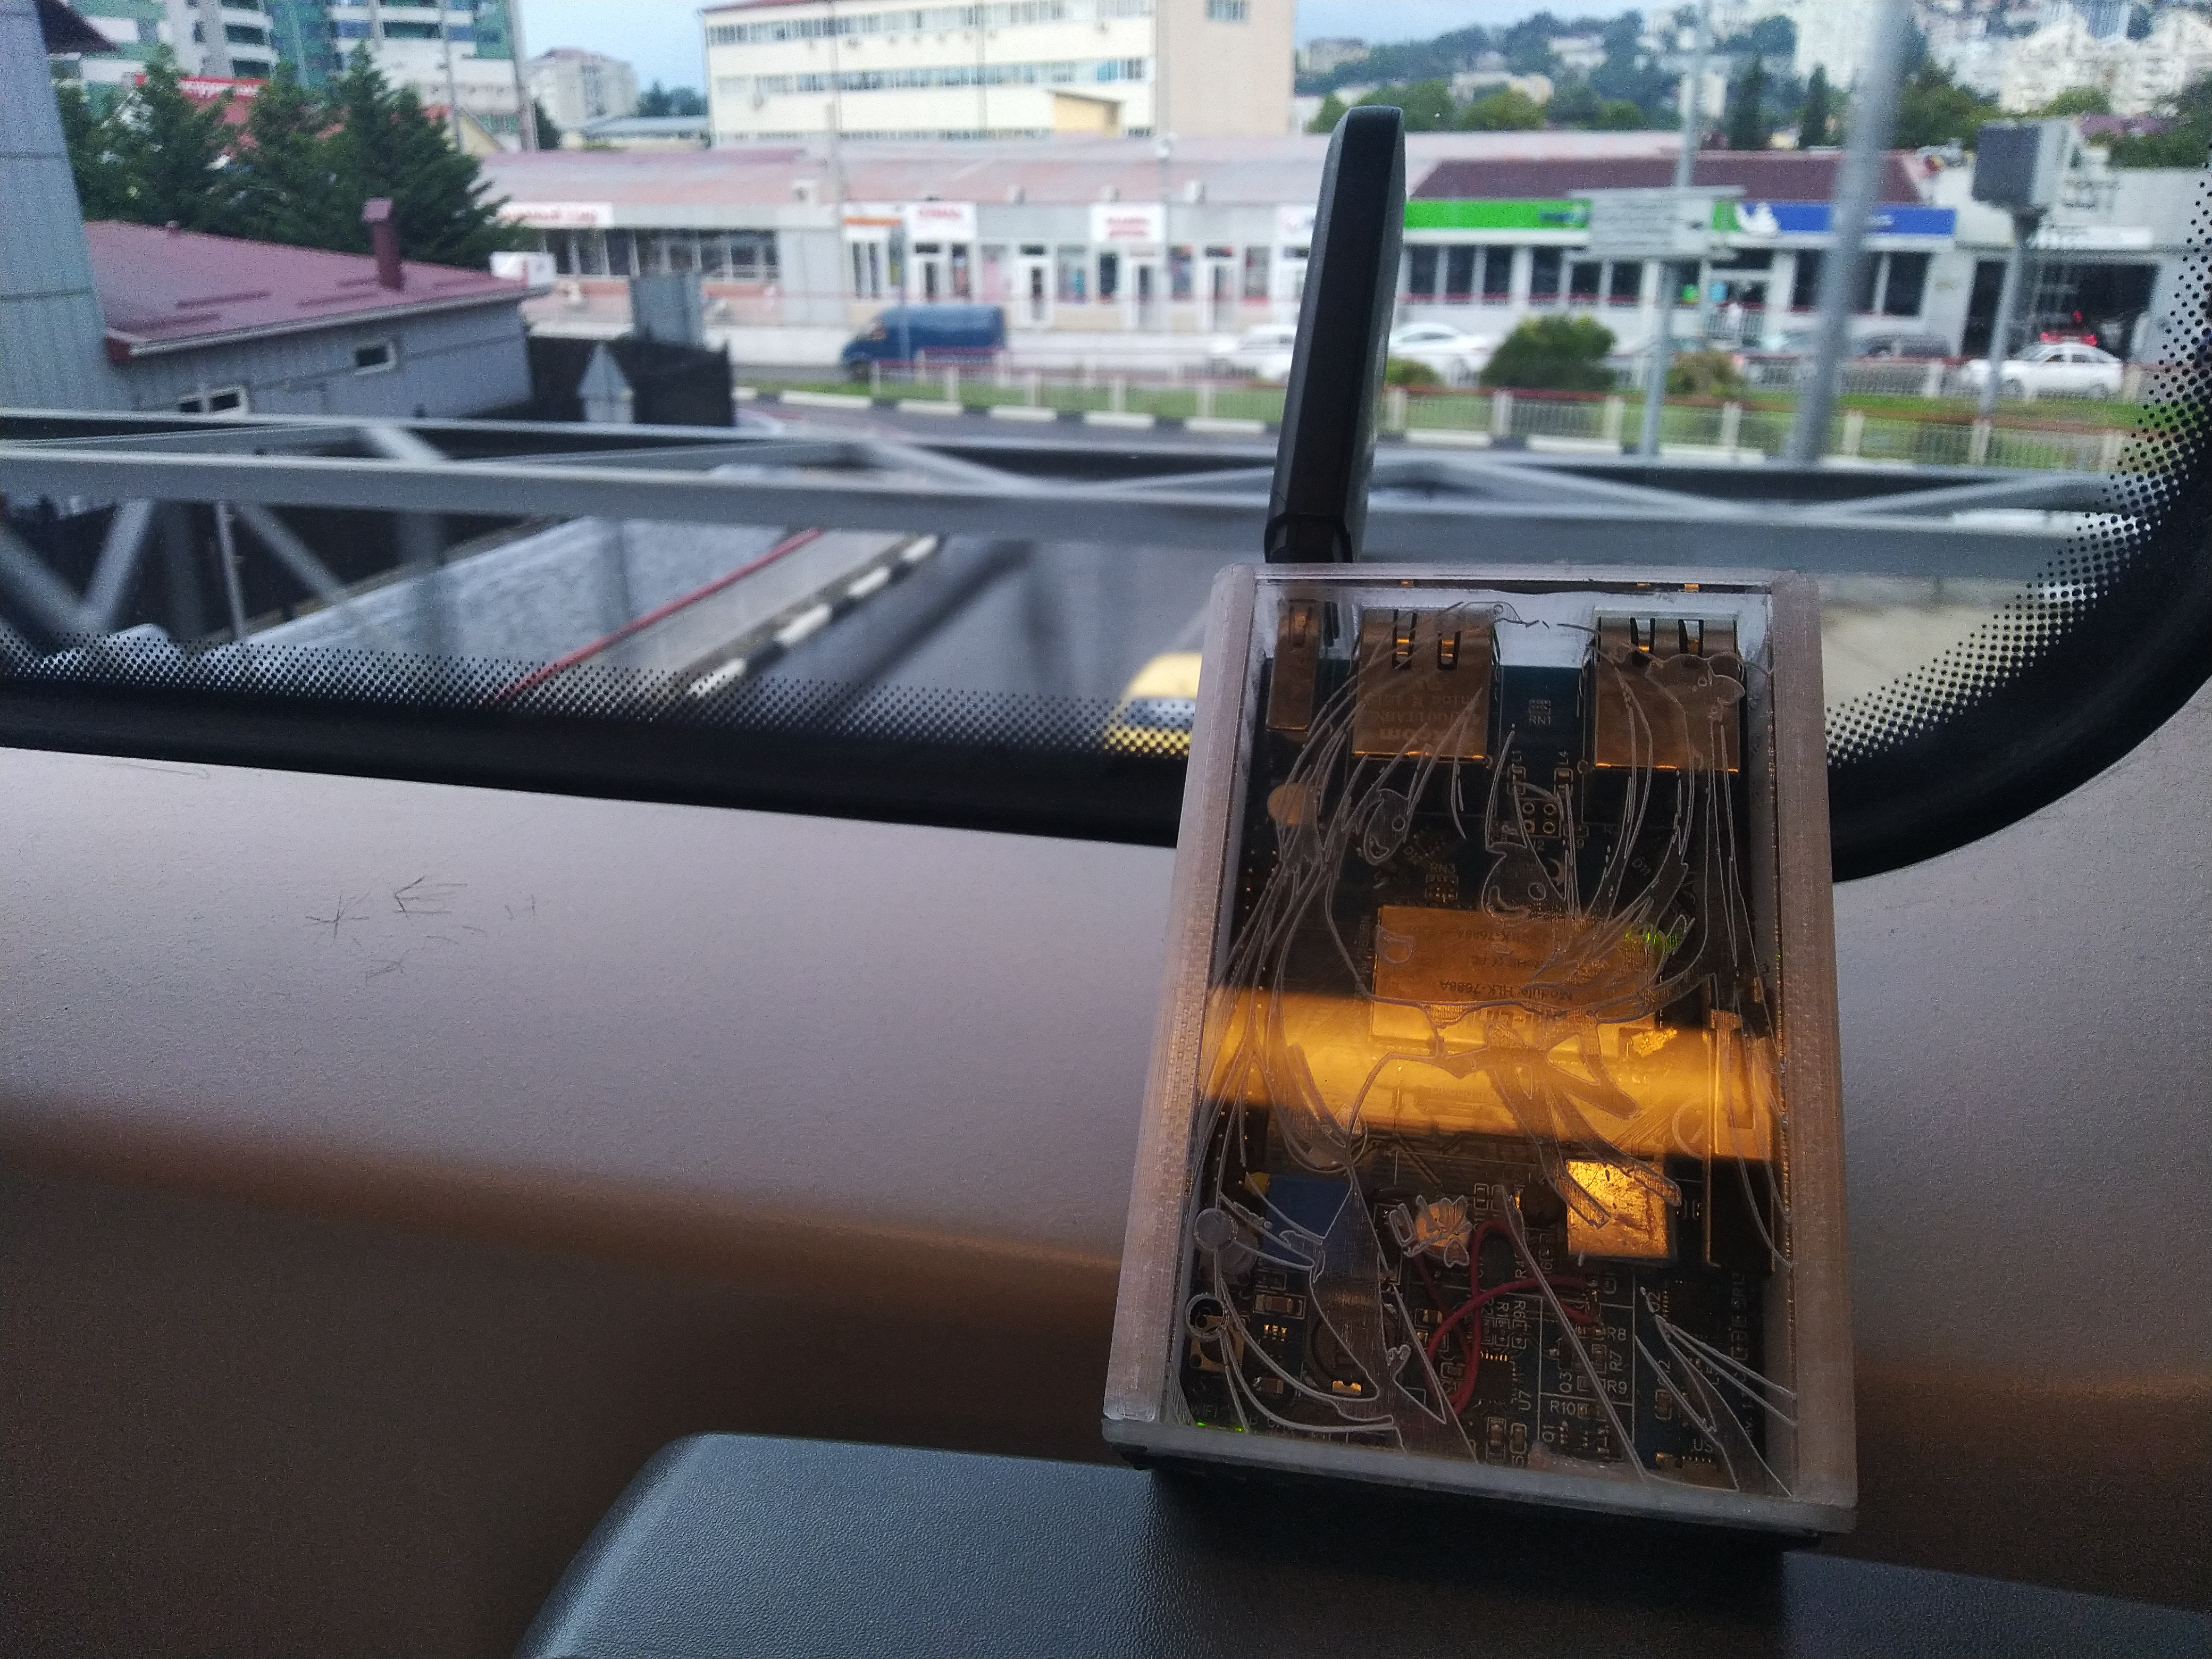
As a result, in use it looks like this:

If you are now tormented by the question “Won’t it be bad for batteries from being close to magnets?”, then you should know that you are not alone. To be honest – I still do not understand, share in the comments if you know for sure.
Speaking of batteries, I almost forgot about them. Frankly speaking, I didn’t want to simply fasten the cans into holders or on thermal snot directly to the bottom. Therefore, I decided once again to try something new and tighten them into a special sleeve:

They are used in factory battery assemblies and come in a wide variety of sizes. It sits down with hot air and it turns out this beauty:

Self-made assembly of course with protection, everything is as it should be. I was lucky and in the bins of my homeland I found a suitable scarf from the battery of a dead tablet. True, I had to dismantle the NTC thermistor and make an external one, it will be better that way.
Even during assembly, a jamb with a reset button was opened. Let’s look at the block diagram with buttons:

The conclusions, although they have a pull-up to the power supply, but PORST_N still somehow managed to conflict with QON (I don’t remember exactly how this manifested itself in practice, but this doesn’t cancel the fact of the jamb). The problem was solved with a crutch in the form of a diode, which was carefully introduced into the PORST_N > 4 circuit, the output of the button:

You will laugh, but a similar plantain came in handy somewhere else. As we remember from the last part, I did start a USB <> UART converter, but after that, 5V generation stopped working for me …
In its circuit and board, it is much easier to understand and the problem was quickly identified.
Somehow, the UART pull-up voltage passed through the USB<>UART converter and got to it input. 3.2 volts turned out to be enough and the OTG hardware switching circuit naturally tigered on them, because if you remember the datasheet, then two conditions are needed for switching:

That’s why the output didn’t work. Fix photo attached:

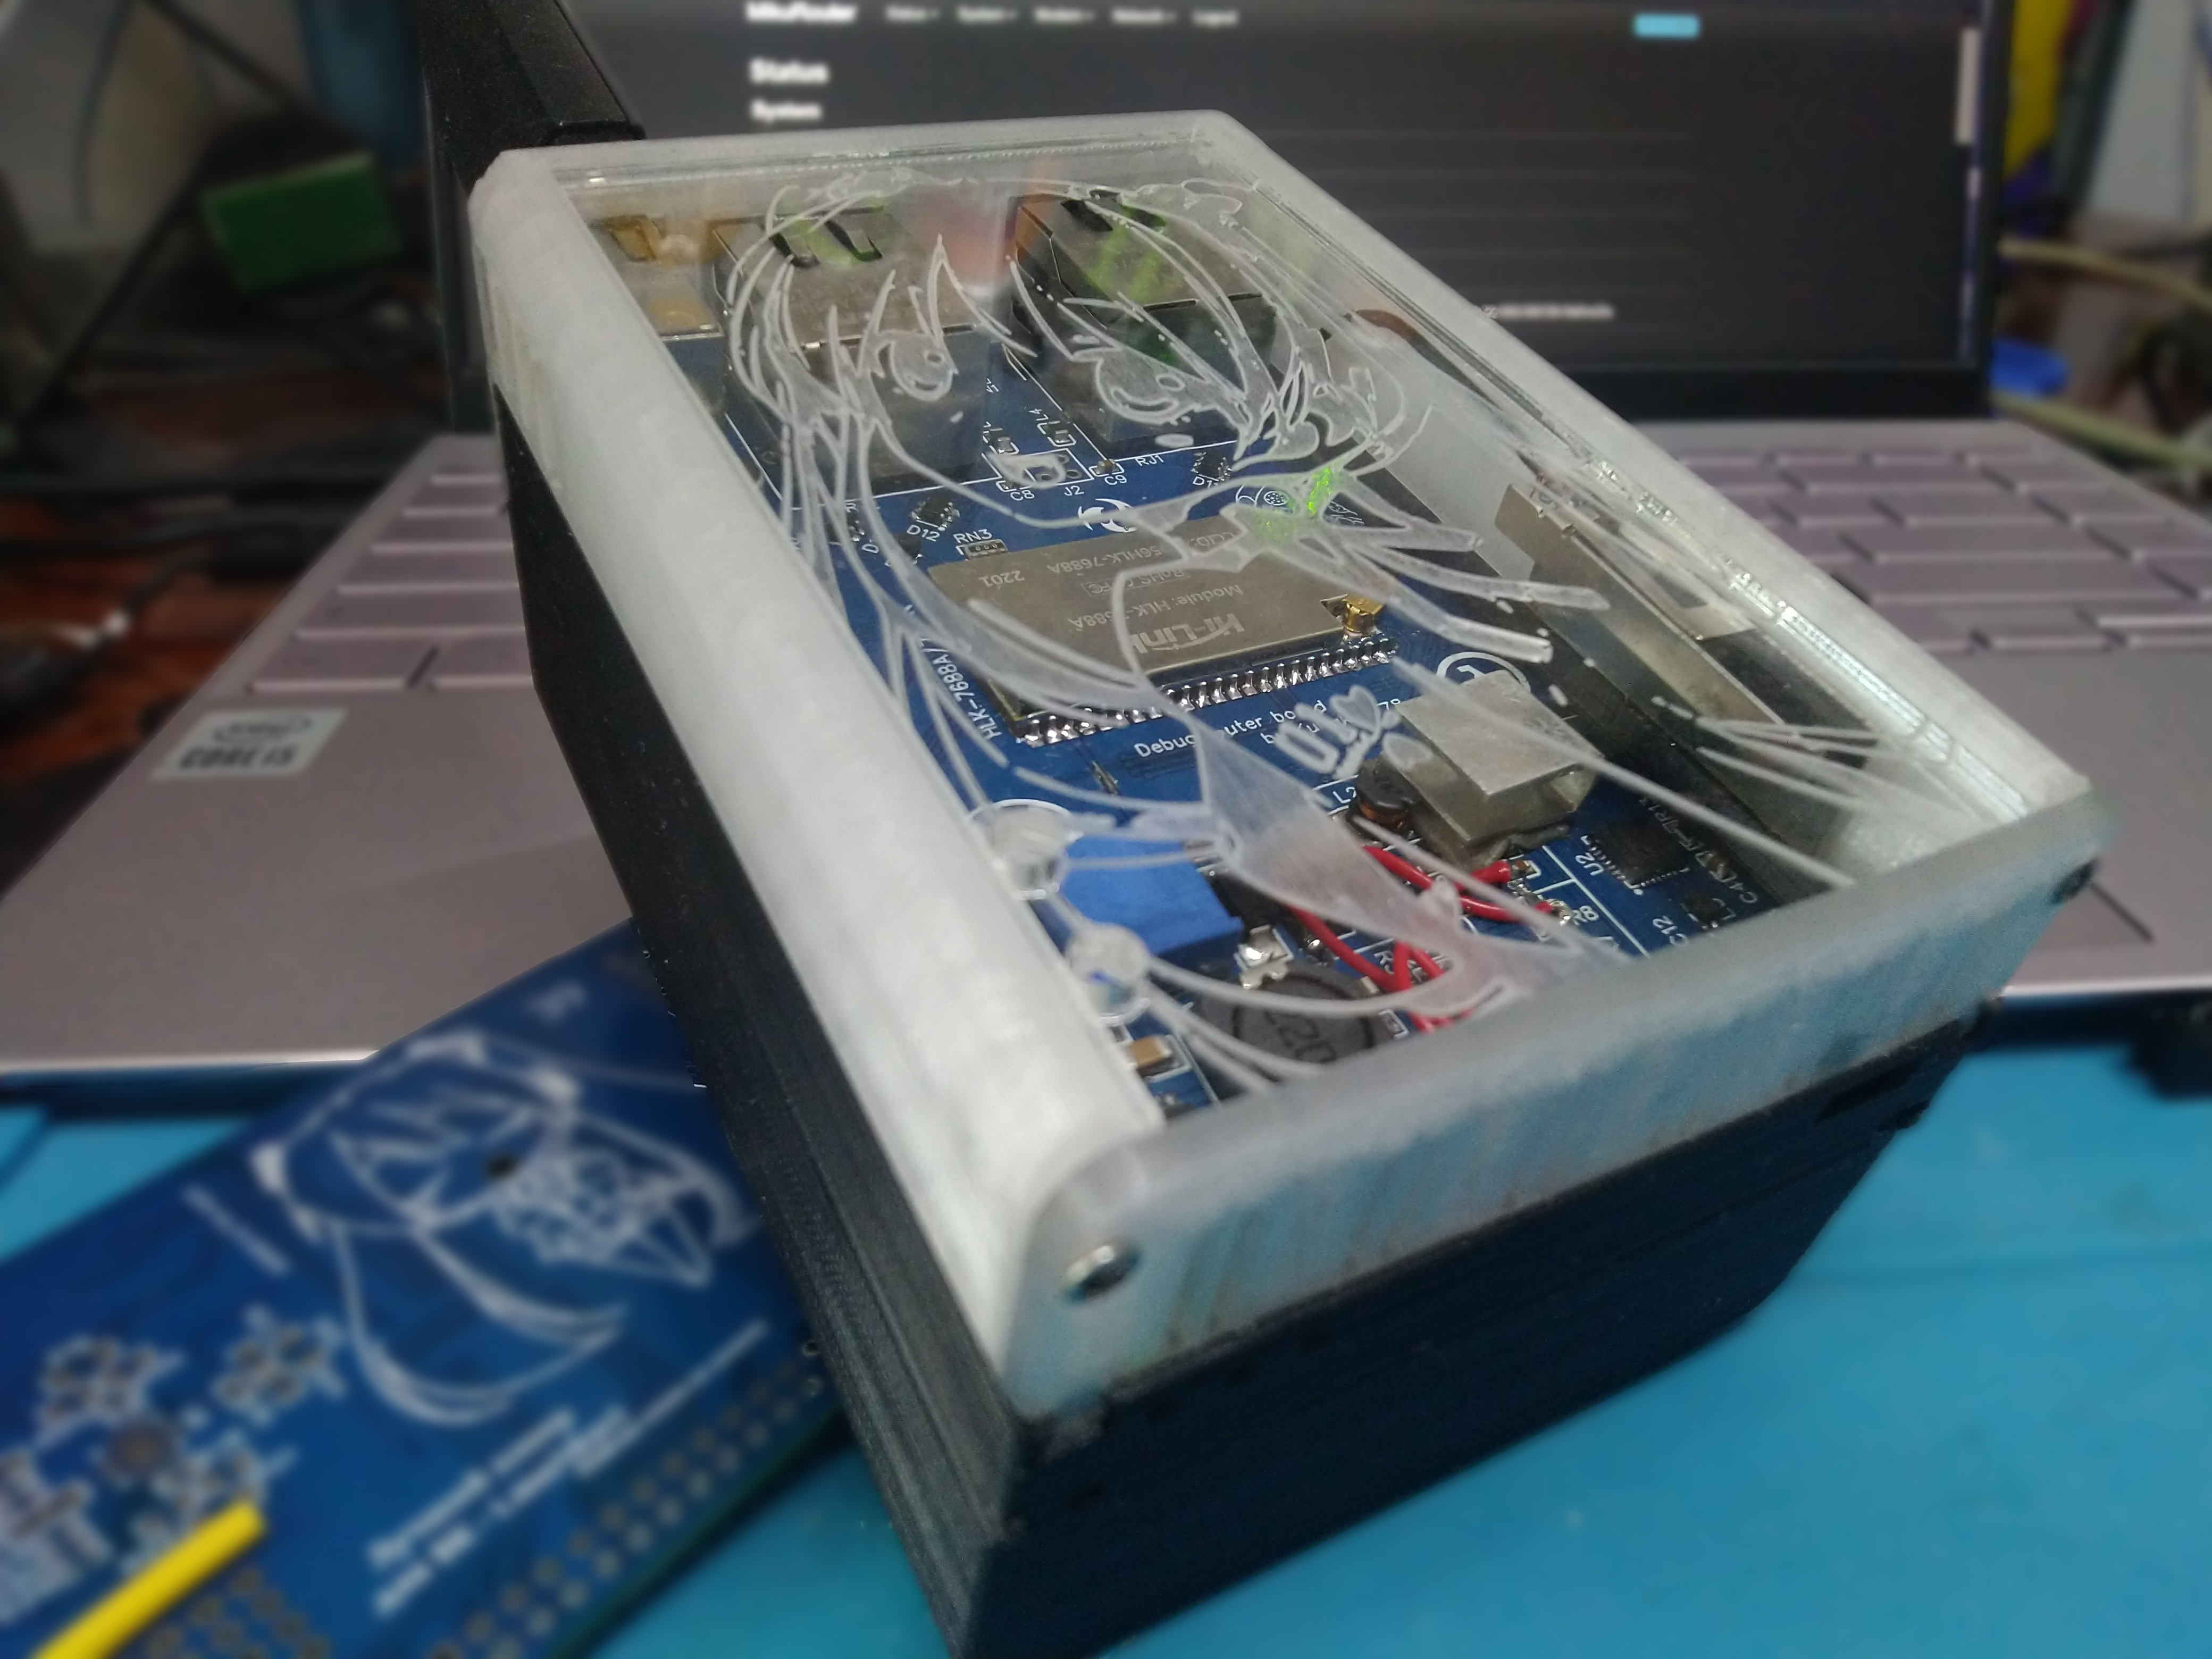
By the way, about the photos. “But what about the photos with a view of the first version of the hull?” – you rightly ask. I have them and I even spoiled them in my cart:
Crash test
Have I already written about weak magnets? So:

“How did it happen?” Once, returning from a walk and already at home, I hung (or stuck?) A router on the front door … well, it slid from a meter height to the floor. The diseased tooth was quickly found:

It seems that the thickness of 2 walls is a bit small for this kind of connection. It remains only to get to the TPU print.
Battle trials. Debriefing
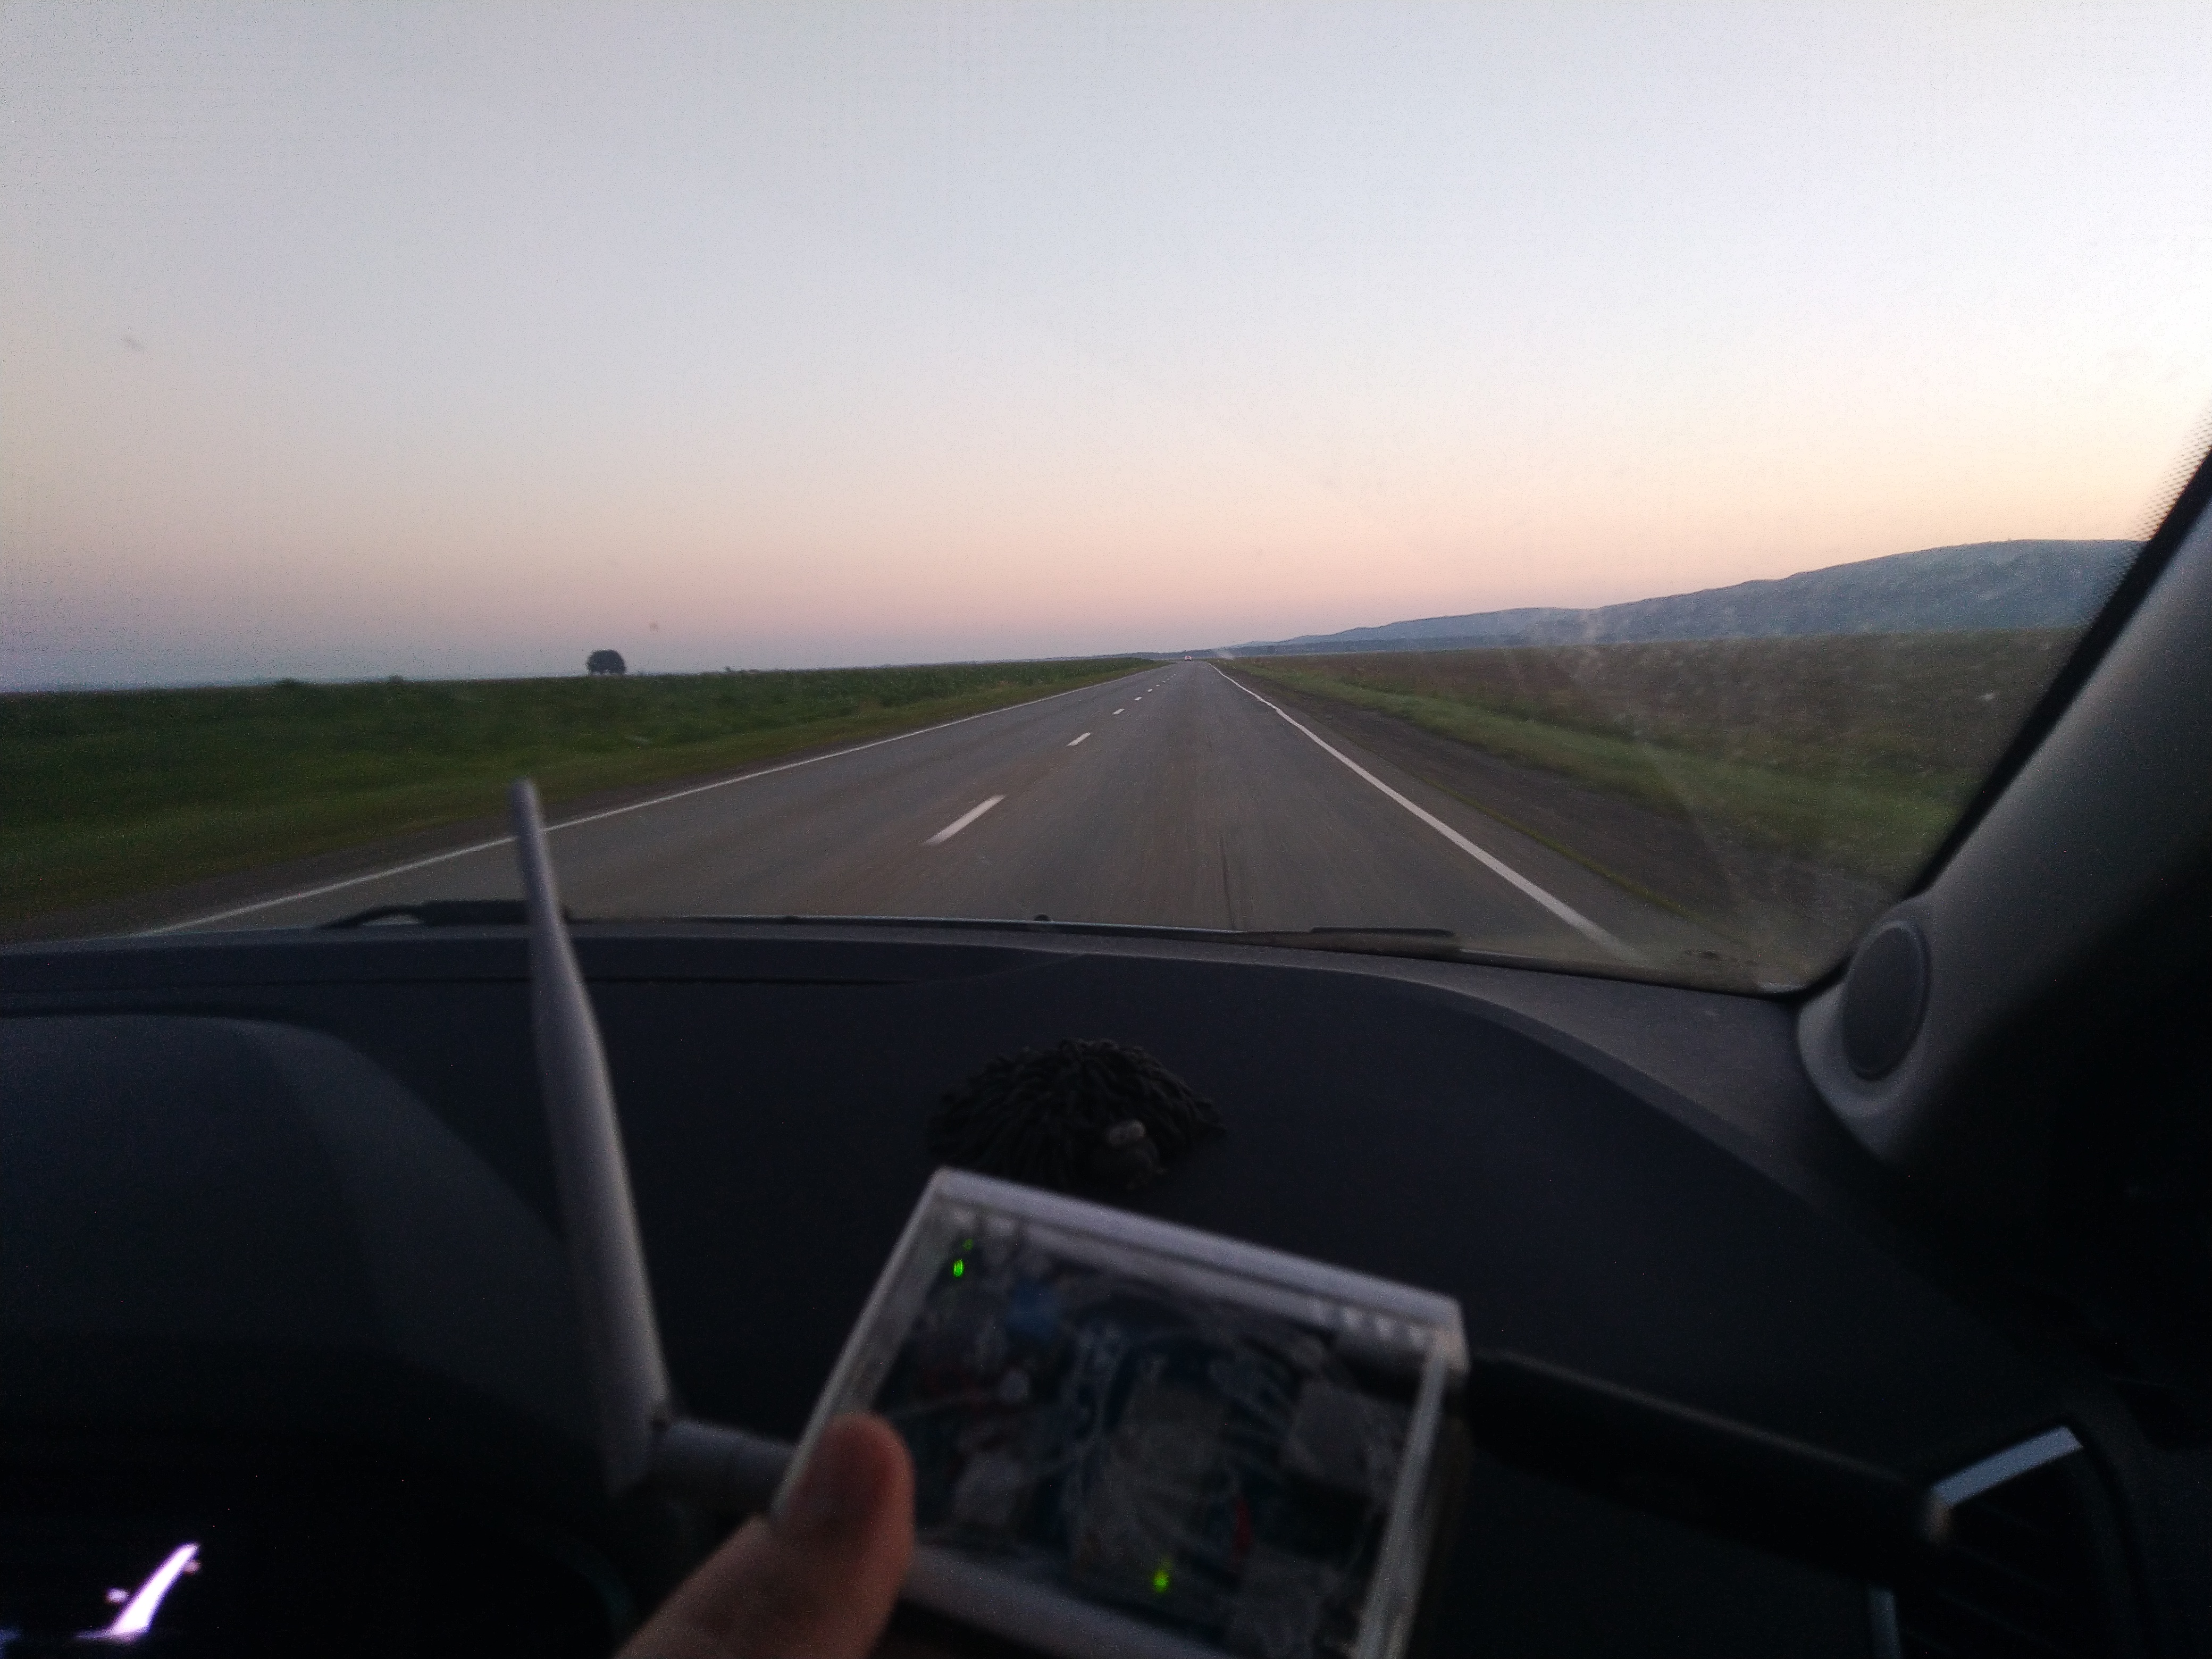
Surprisingly, the router survived the Sochi>Maikop trip and back, but not everything turned out to be so rosy.
Zero – brick ergonomics and a protruding modem. Everything is clear about the first I can’t model the author has a bad imagination, it is solved by a new version of the case and the board. Modem … He spoke very well about him @zhovner let me quote an article about choosing an industrial LTE router:

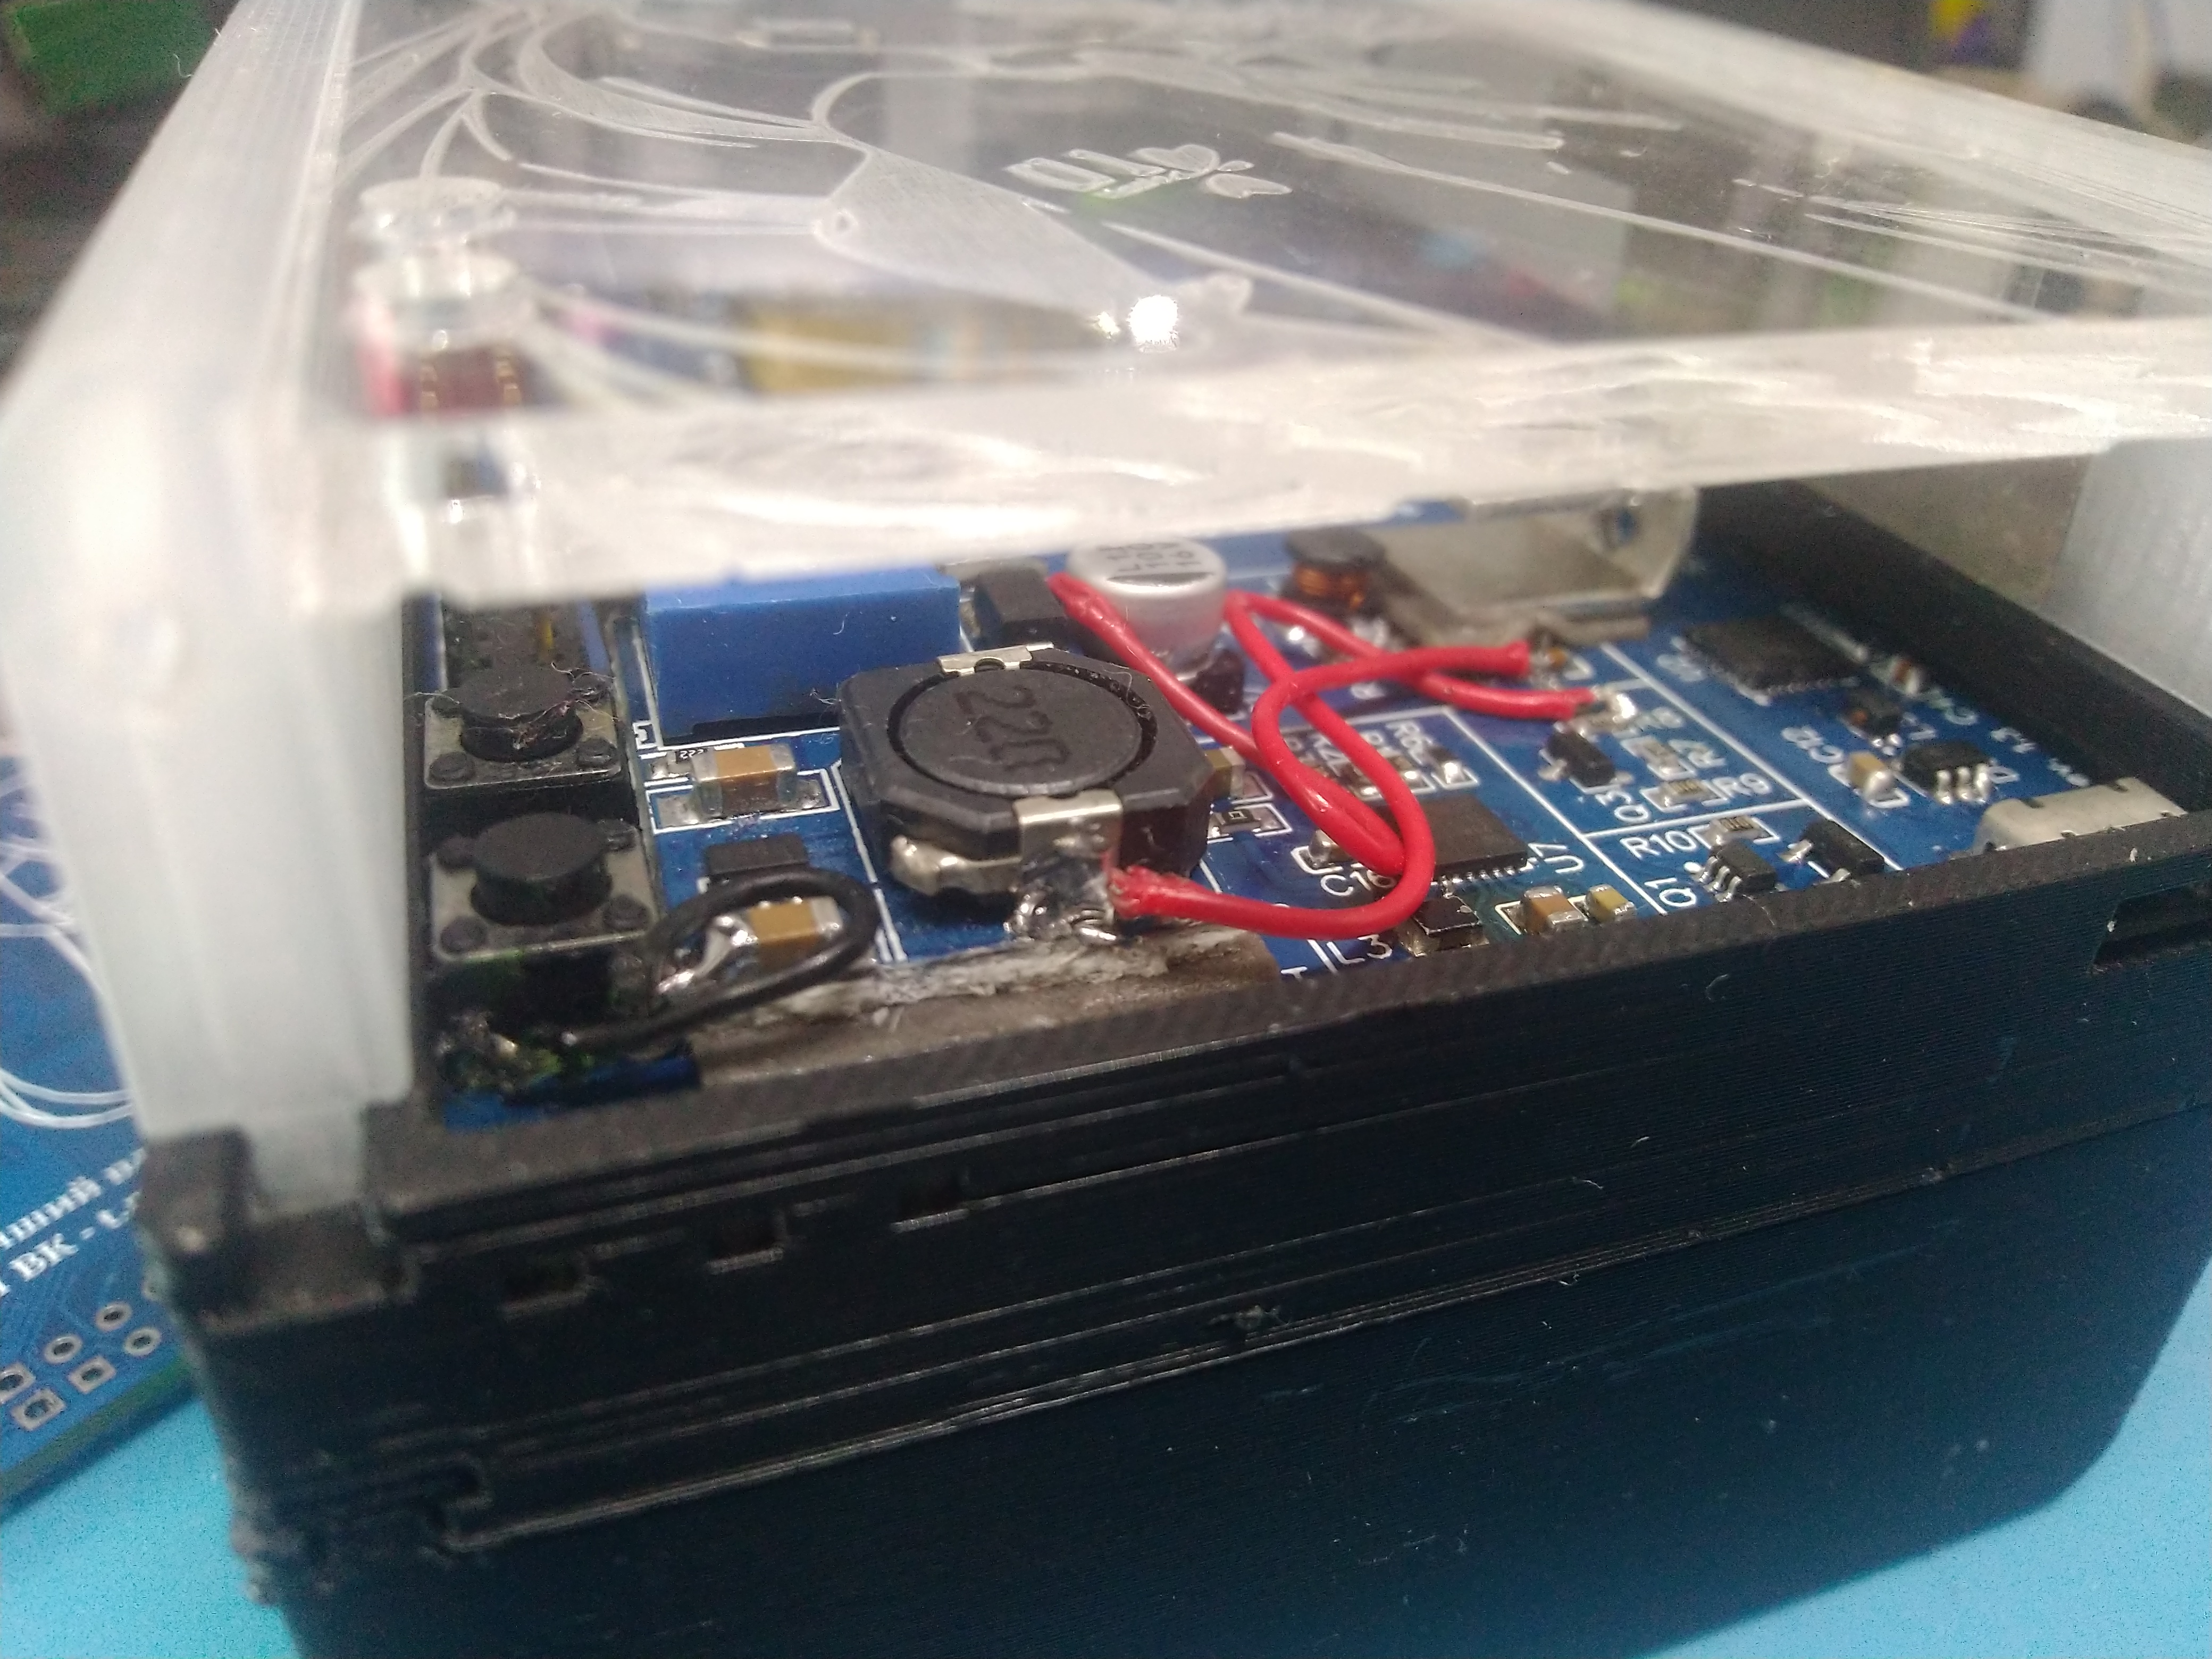
First – heating. Old MIPS + food jambs make themselves felt. It was thanks to the mistake with the choice of DC-DC that the collective farm was born with red wiring and a booster up to 5V
A visual demonstration of both jambs looks like this:
 and got ready")
Second – antenna. Initially, I used an internal antenna from a laptop:

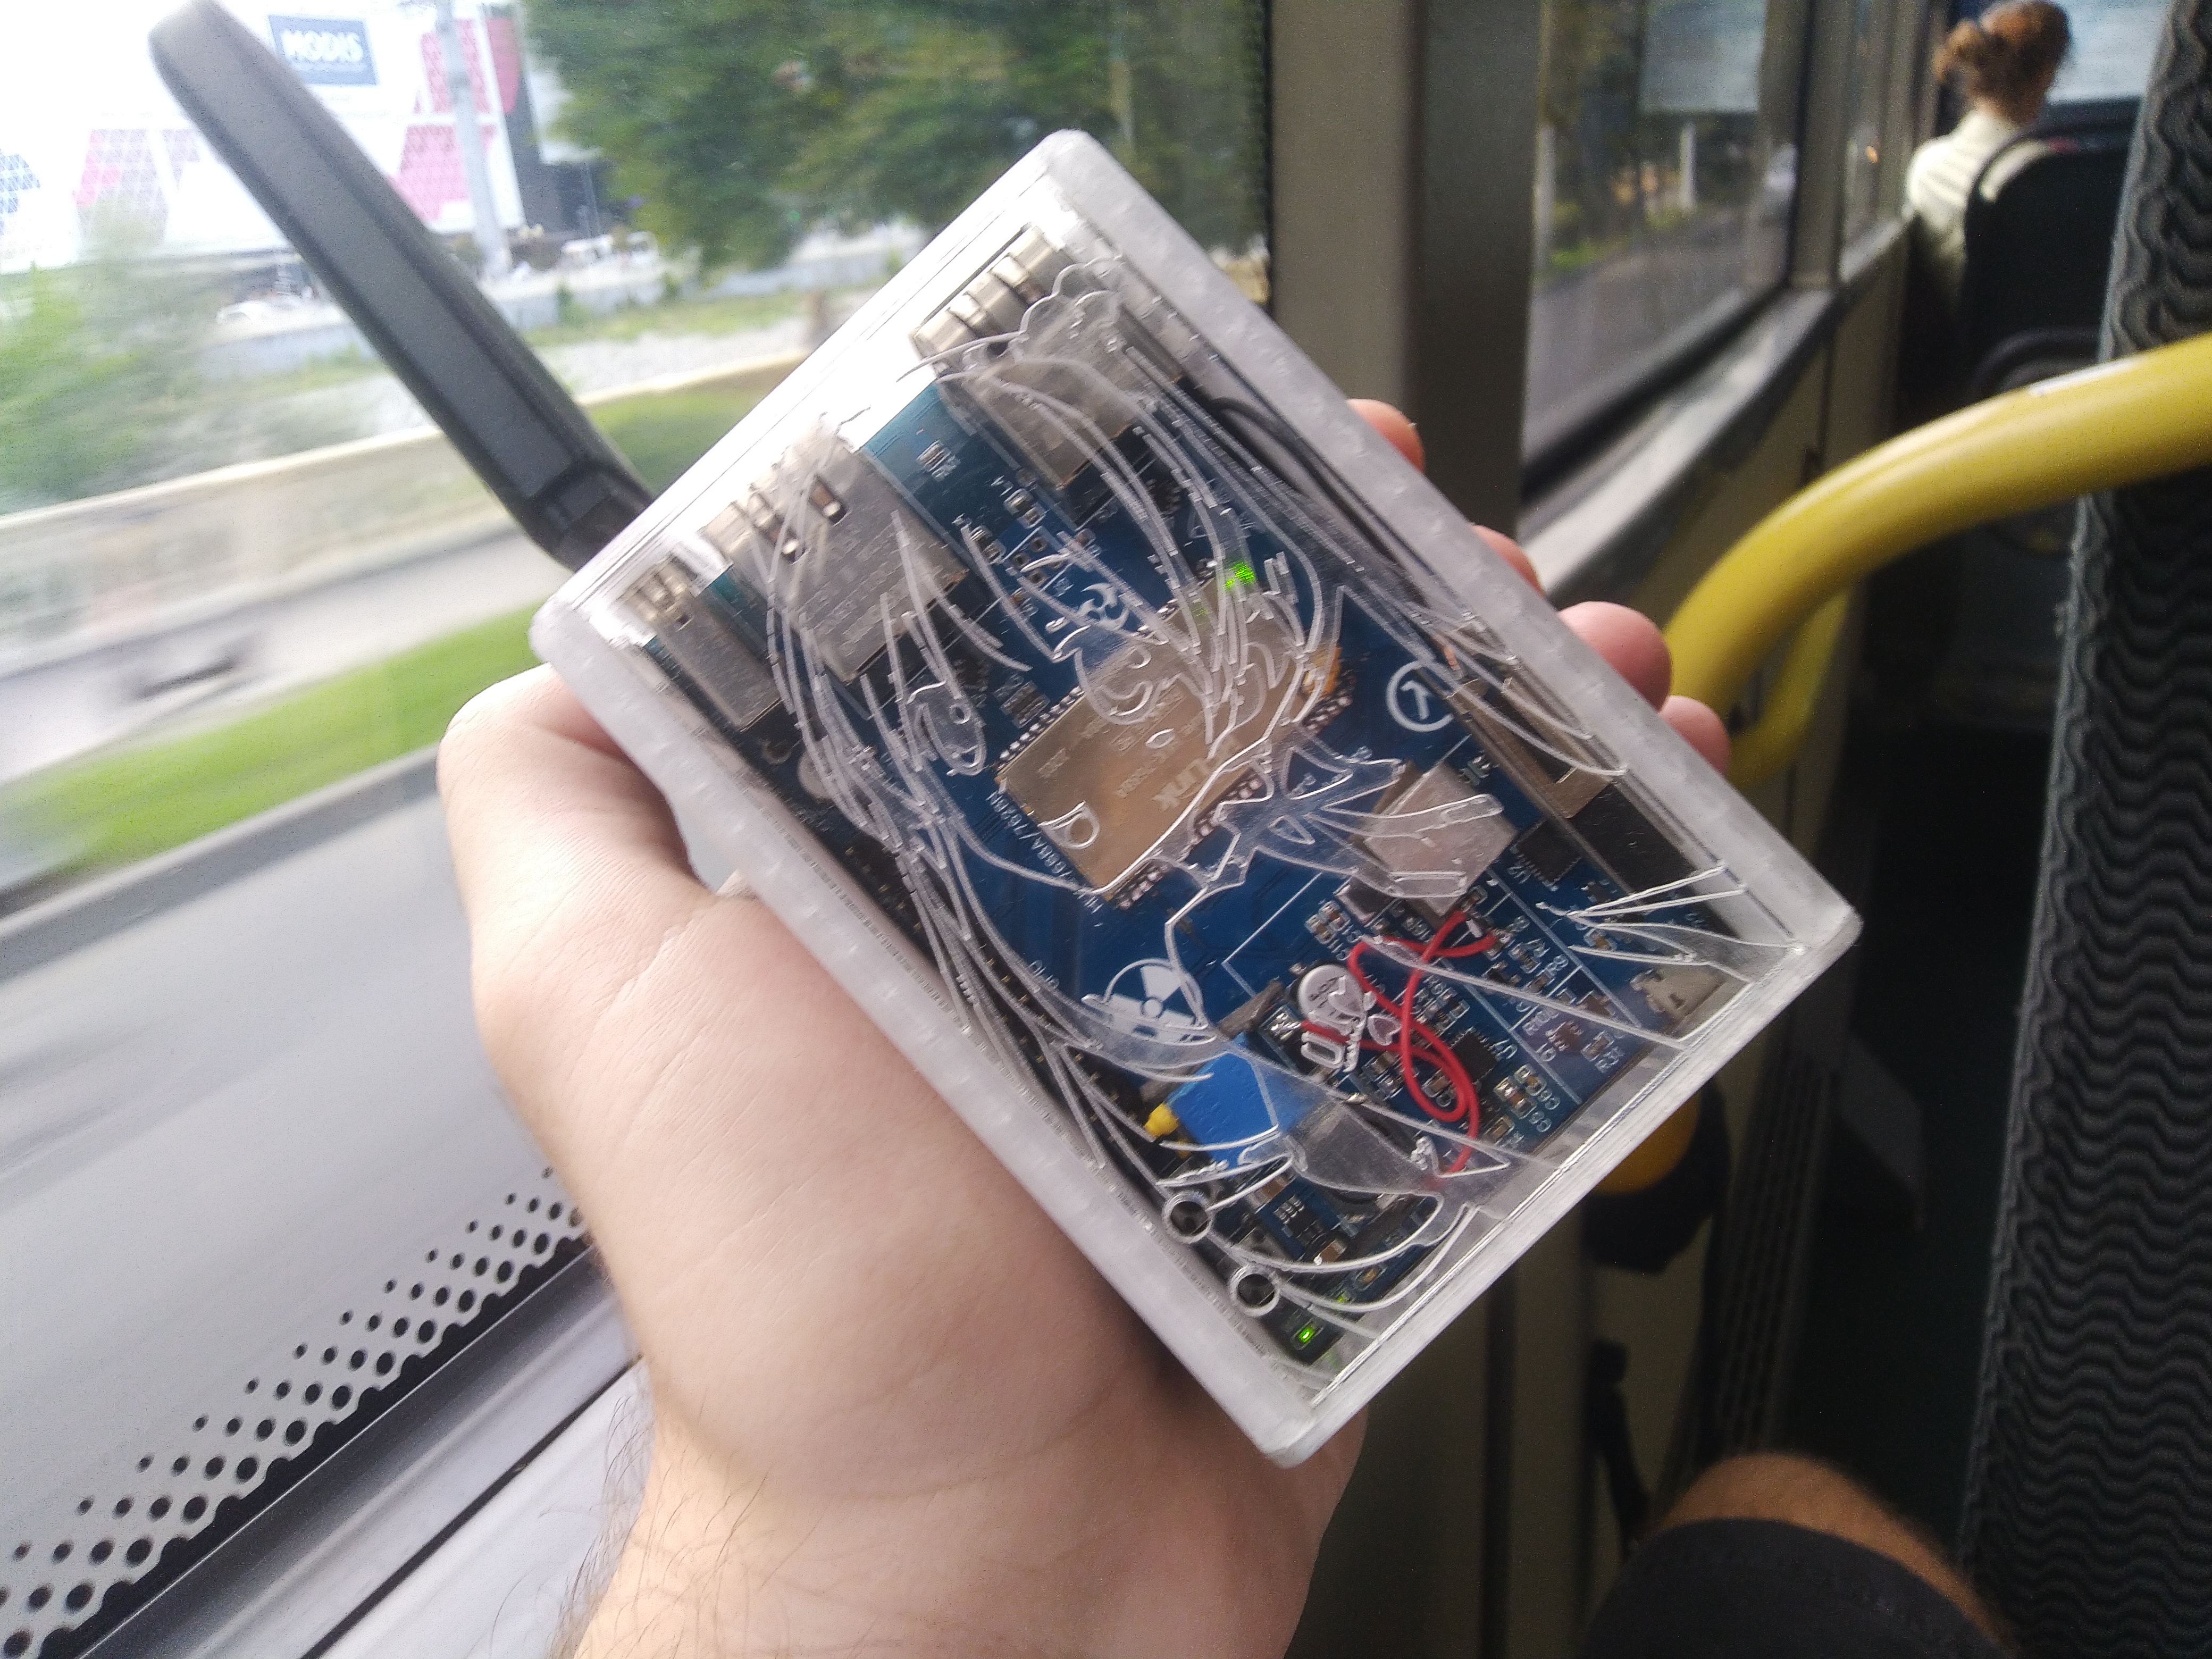
In this form, the signal barely penetrated one room and was jammed by a refrigerator. I quickly got tired of it, I freaked out and found at an unnamed flea market, an old ADSL router with a removable SMA antenna:

A couple of hours for a trip from the village to the urban-type settlement and back, 500 rubles and the antenna was replaced:

It seems that I have described all the jambs and I have nothing more to add. So let’s finish
Results
I do not regret that I started this long-term construction. Yes, of course, he sometimes bothered and had to switch to something else, but as I know among homemade people, this is quite the norm.
As for the financial side of the project, then actually here:

Was it worth it? Definitely! Trite experience gained is worth it. Was it possible to buy a ready-made device? Definitely, but then you wouldn’t be reading these lines.
As for plans. First, I’m going to take a break from routers and “clear my mind”, collect something useful on the MK, naturally writing an article about it along the way. By the way, I spoiled the table with the total number of projects in the second part. Then, to start developing version 1.5 or 2.0, to be honest, I haven’t decided yet.
For version 2.0, it will be necessary to find an energy-efficient SoC that will not eat 200 milliamps in idle time. If you can recommend something – write in the comments. Naturally, this will be a gigabit version with LTE Cat.6 and channel balancing.
Since the release of this part was a little delayed, so that I am writing these lines, lying in bed with a temperature, then let me congratulate you on the outgoing 2022 and wish you that your projects do not turn into long-term construction. See you in the new year :3
Thanks💙
Well, where without them, let’s add a little to the list:
@yeyeyeyipa – For co-painting 3D models of the router and amazing renderings in Fusion 360

Try Super Fast VPS in Russia by AdminVPS