7 kilos of portability, or an Amstrad ALT-386SX laptop from 1988. Part 2 – dismantling the uberdevice
What kind of device, please tell me
Before we start, let me remind you what kind of laptop it is and what its characteristics are. It has a battery, a monochrome screen and a full keyboard. Plus a lot of ports and connectors, and also small switches that control some functions. By the way, the kit also included instructions for working with MS-DOS (my copy does not have it, unfortunately), which was a full-fledged thick book of about 500 pages.
The main characteristics of the device:
- Processor: 80386SX
- Math coprocessor: there is a socket, you can install additionally
- Speed: 16MHz (frequency can be changed to 8MHz)
- RAM: 1Mb (can be upgraded to 2MB/4MB)
- Expansion slot: 1 x 16-bit
- Power Saver: Turn off screen and hard drive
- Hard disk: 40 MB (access time 25 ms)
- FDD: 1 x 3.5″ x 1.44Mb
- External FDD: 1 x 3.5″ x 720Kb or 1.44Mb
- Graphics: VGA/EGA/CGA/MDA/Hercules
- Parallel port: 1 x 25-pin D-type
- Serial port: 2 x 9-pin D-type
- Keyboard: 85 keys, 12 function keys and numbers
- reset: yes
- Interfaces: VGA Monitor Port
- Software: MS-DOS 3 30 Operating System
- Size: width 318 mm, height 280 mm, length 380 mm
- Weight: 7 kg with battery / 6 kg without battery
- Screen: LCD, 640*480
Now, on to disassembly!
To be honest, I have never taken apart such old laptops. The oldest one dates back to the 90th year of the last century. Well, anyway, those old devices looked like… well, like laptops, not suitcases. I was afraid that disassembly would take a long time. Once I had to disassemble some not the oldest IBM Lenovo, about 2005, or something. It was difficult and long. He had a huge pile of screws – probably fifty, for sure, and all of them – of different sizes and types. A lot of fasteners, seals, all kinds of intermediate gaskets, etc.
It seemed to me that it would be even more difficult here. But no – the development team has created an almost modular device that is simply disassembled and simply assembled. There are 20 pieces of screws – about the same as in modern devices. True, almost all are of different sizes, but since there are a small number of them, it’s okay.
We start by removing the battery – it is large and heavy, it can be removed from the case without any problems.

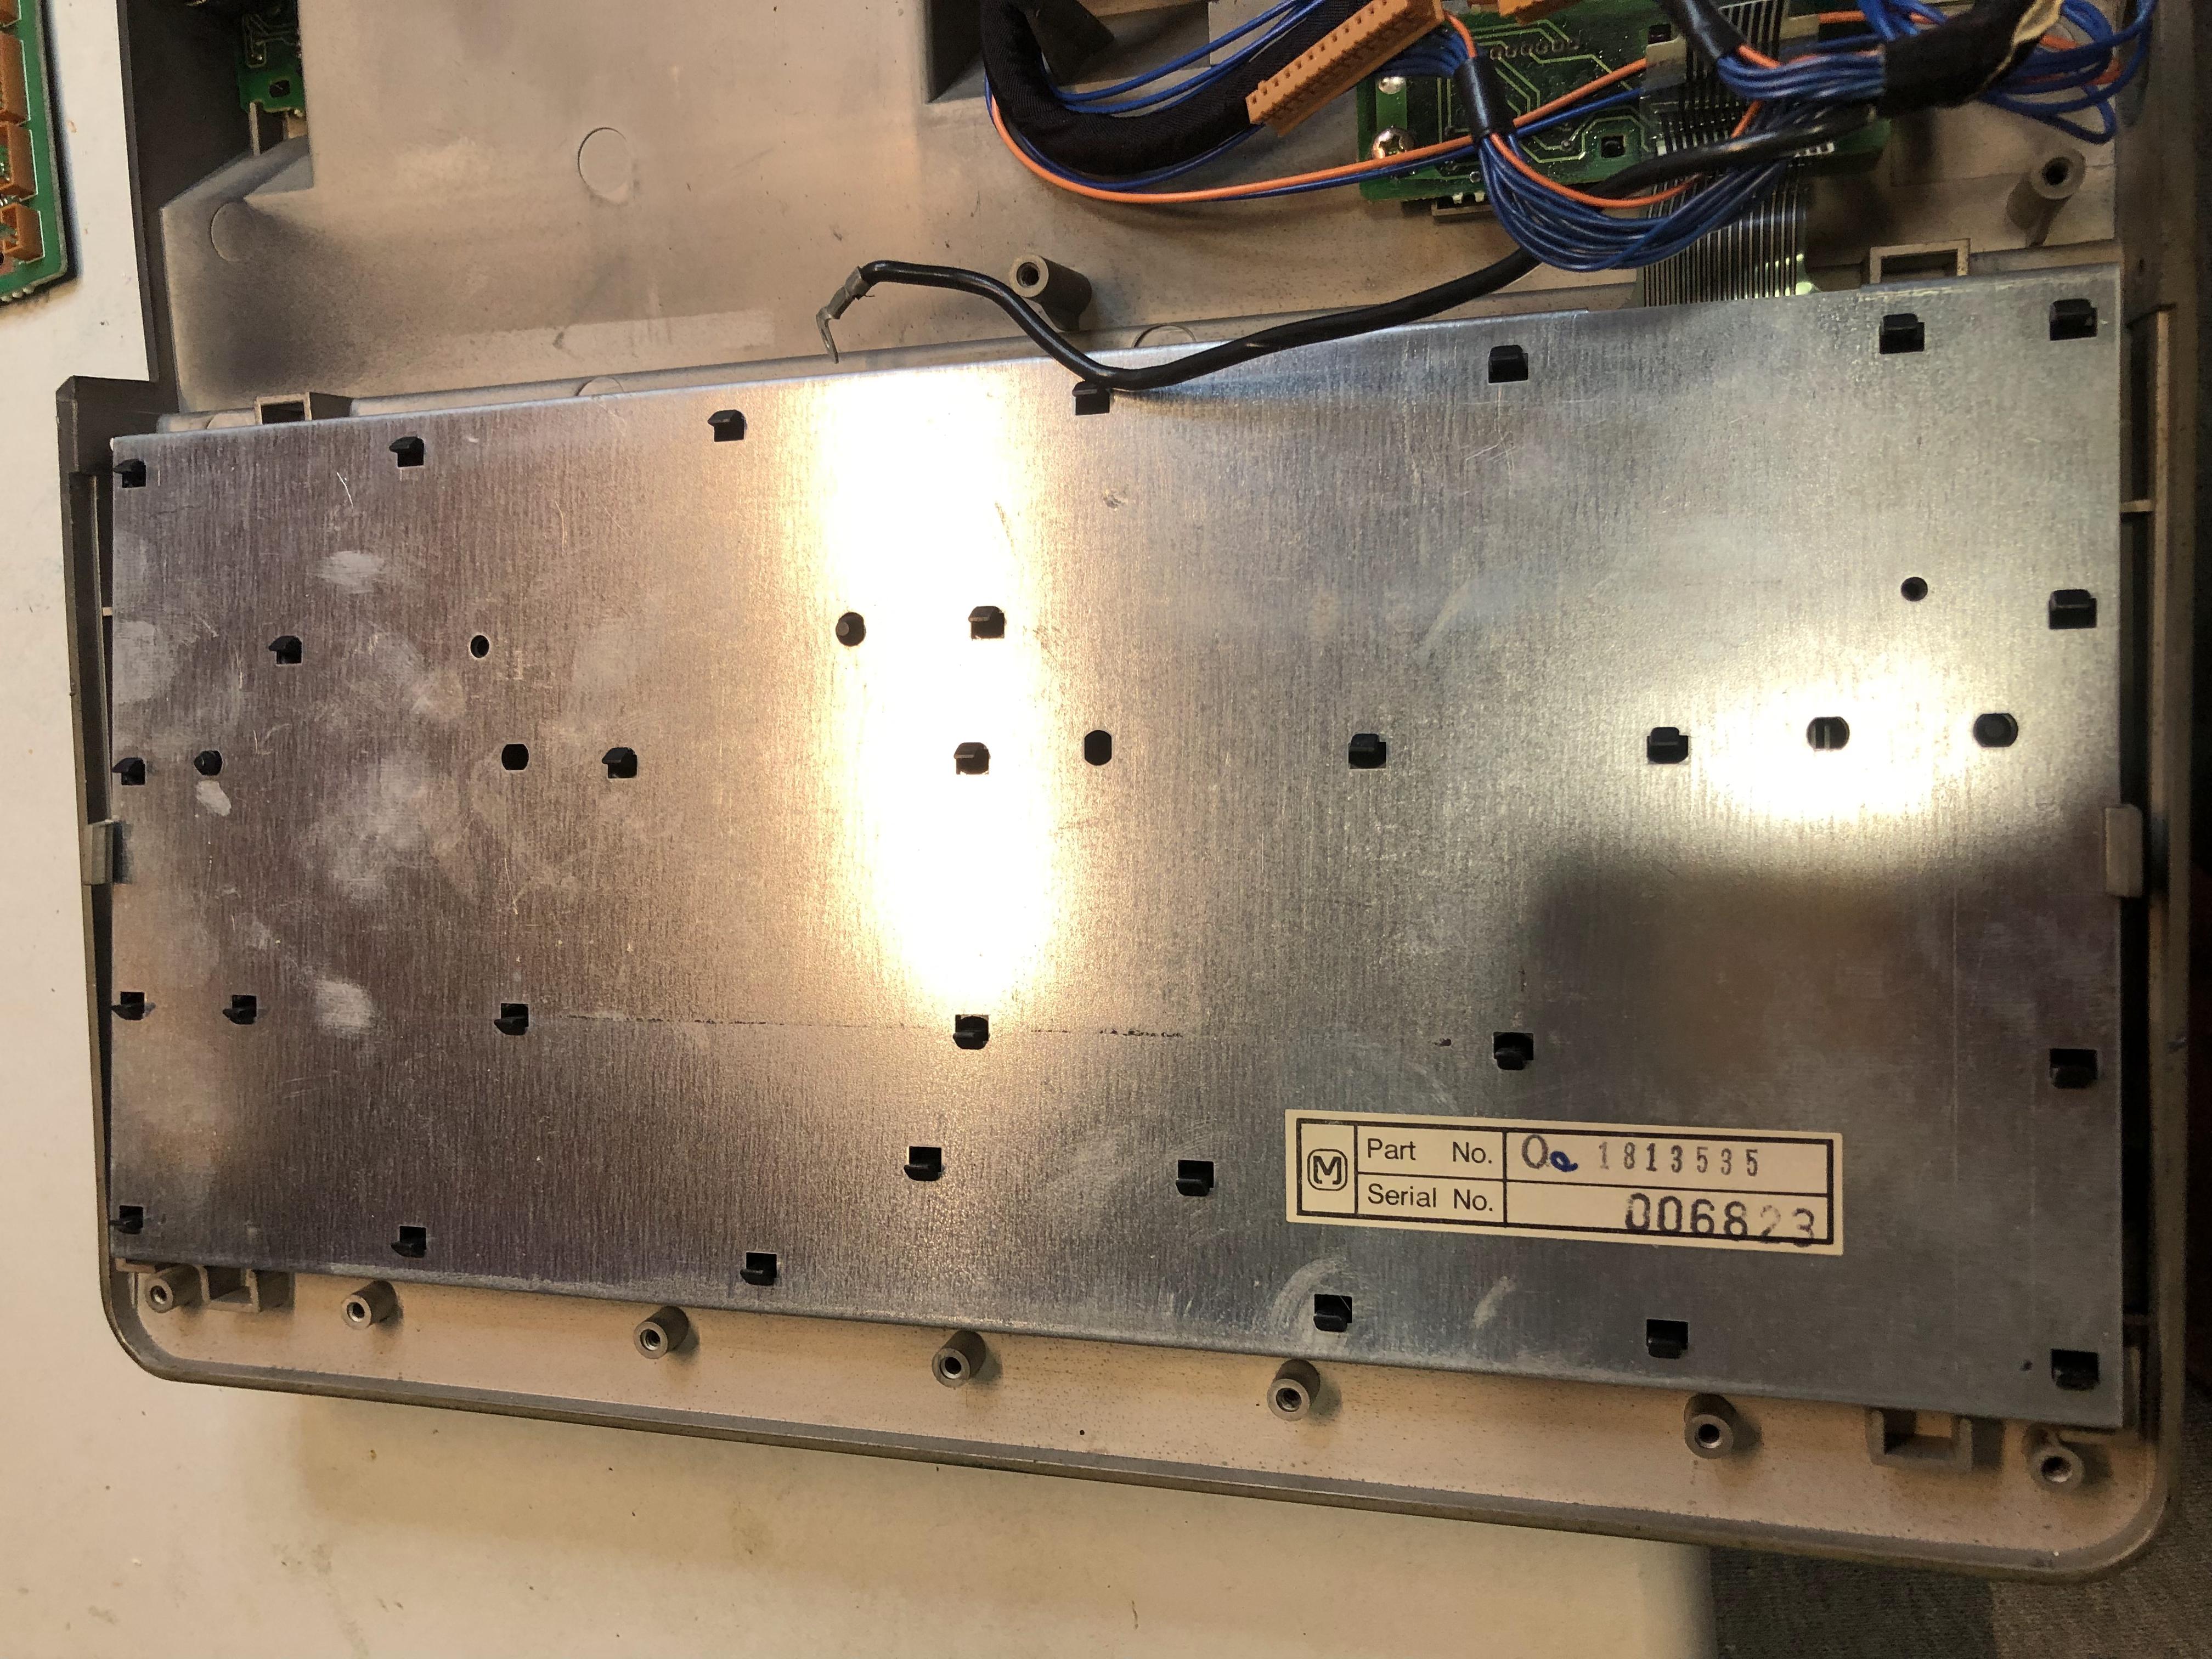
After all the fixing screws are unscrewed, the laptop is divided into two parts without any problems. The upper one is the keyboard and display, the lower one is almost all control electronics, power supply module, expansion module, motherboard, etc. The developers really made a modular laptop, where in half an hour you can replace anything – from the motherboard to the keyboard.
By the way, I forgot to say. RAM, processor and coprocessor can be changed without disassembling the laptop. Below there is a small plastic cover, if you remove it – we get access to all these modules. I forgot to take a picture, but there is in the video below – at the very end of the article.
By the way, I had a coprocessor somewhere, in one of the non-working laptops of about the same years. So if I can fix this device, I’ll put a co-processor in it to add some features.

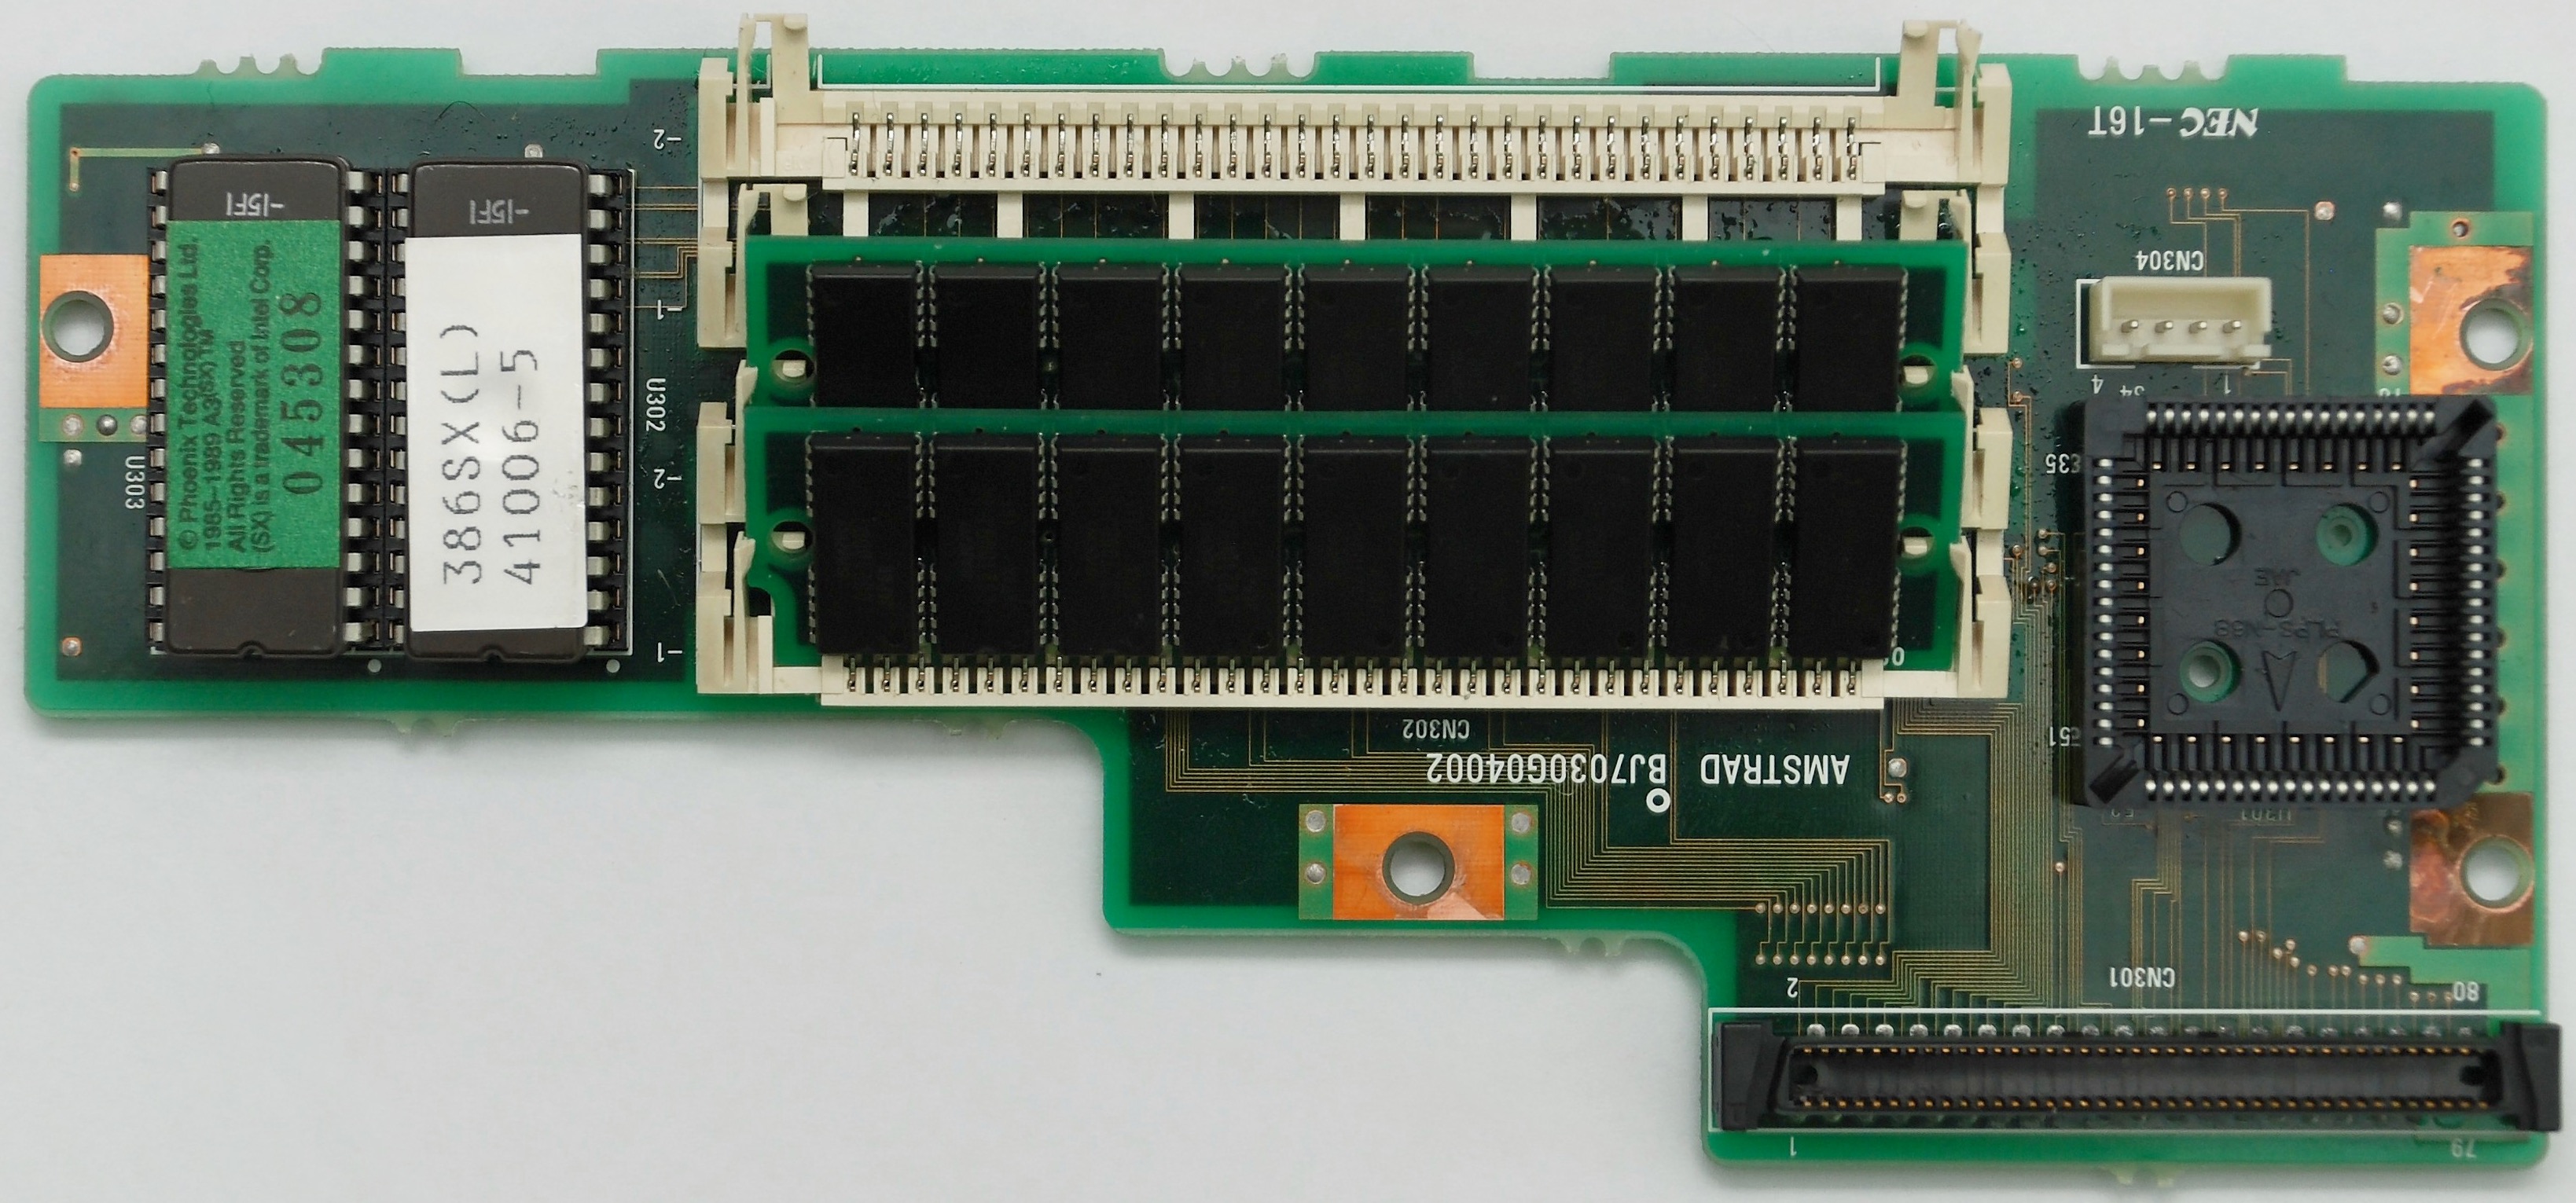
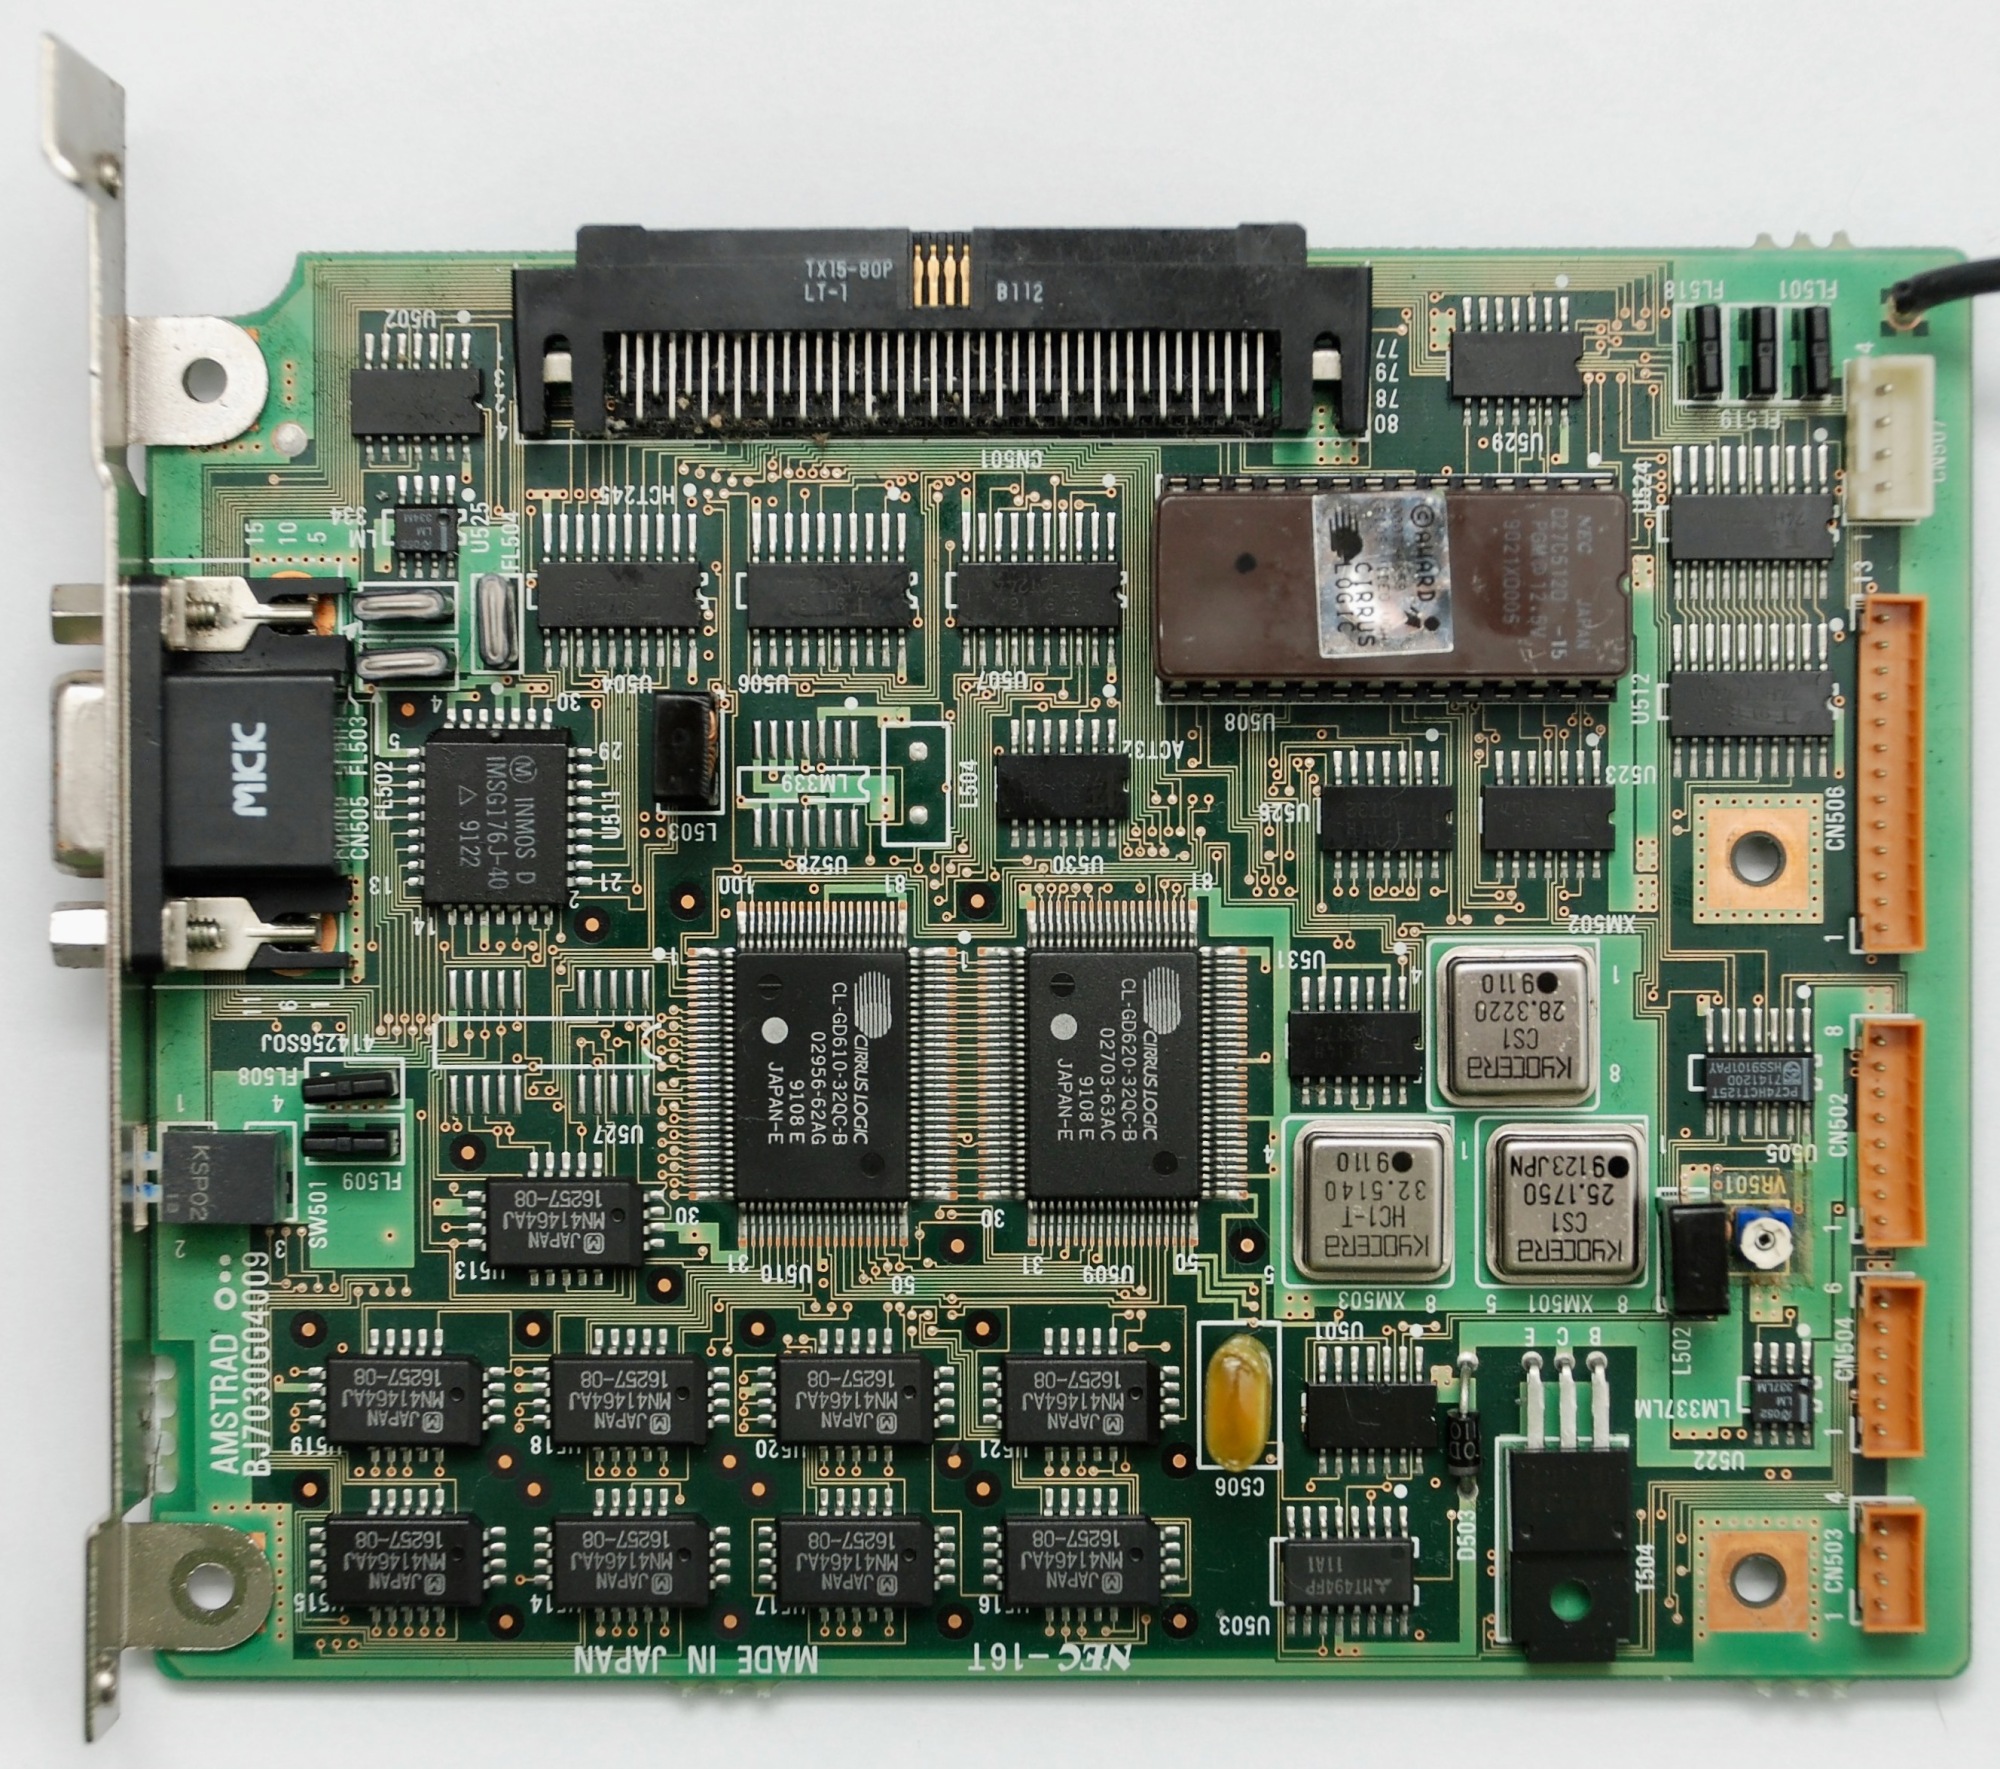
This is how the ISA board looks like

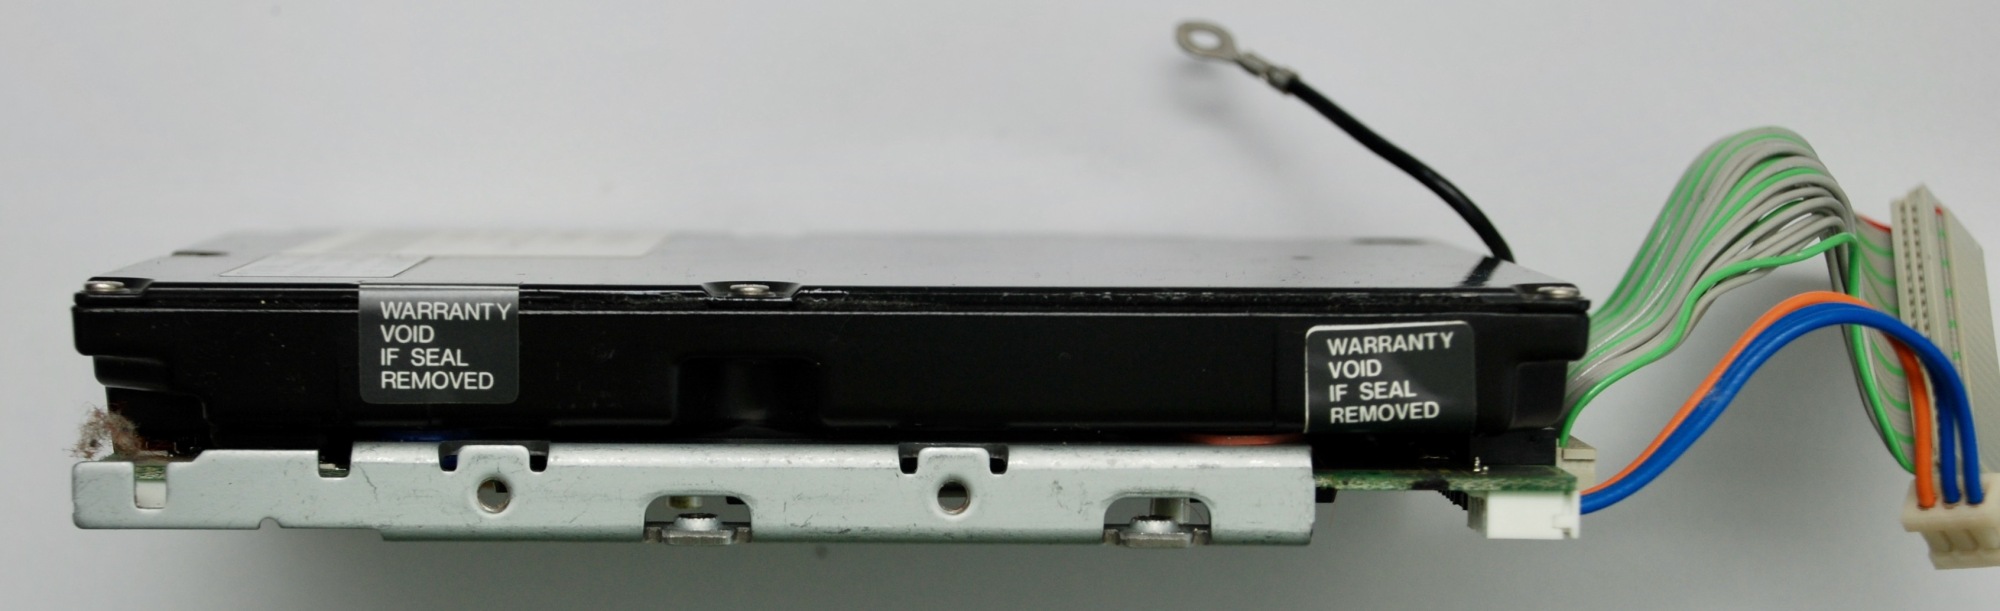
You can also remove the hard drive, it looks like this.


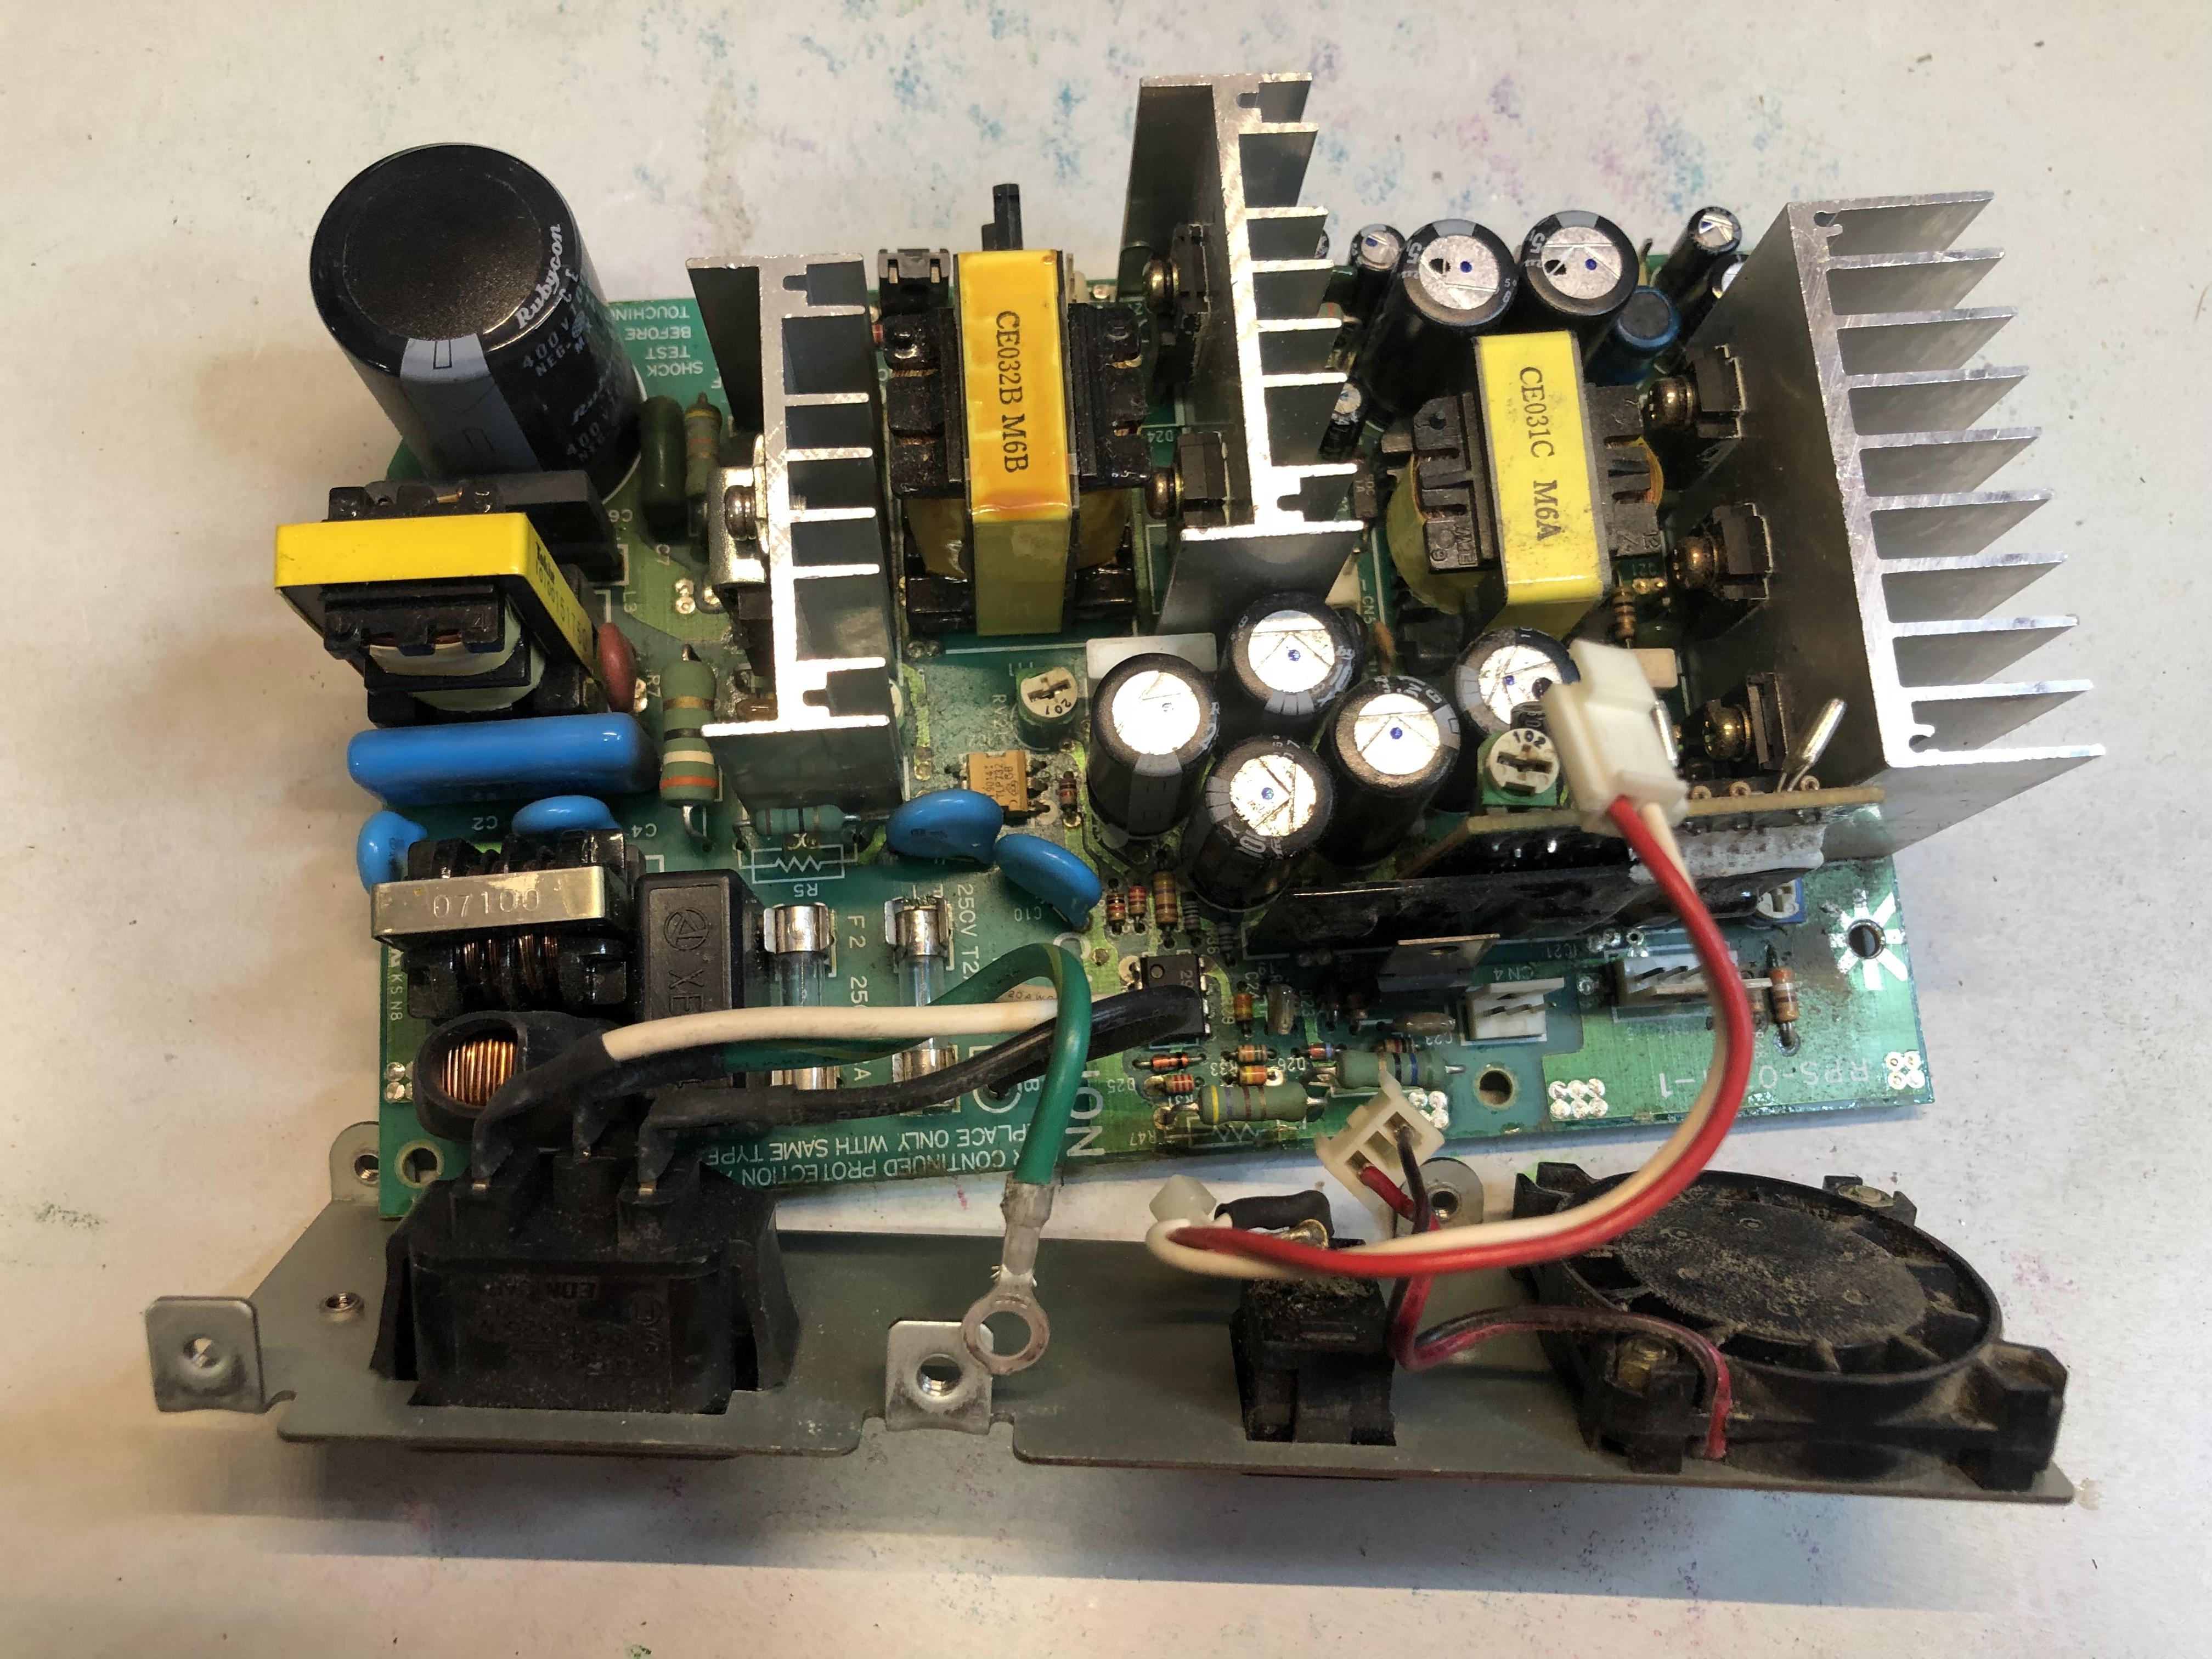
Here is the power module that is responsible for turning on the device. As far as I can tell, this is the problem, because, firstly, there is some kind of sticky coating on the board, and secondly, the coating has a smell, and in my opinion, this is just a dried electrolyte that has leaked out of the capacitor / capacitors .
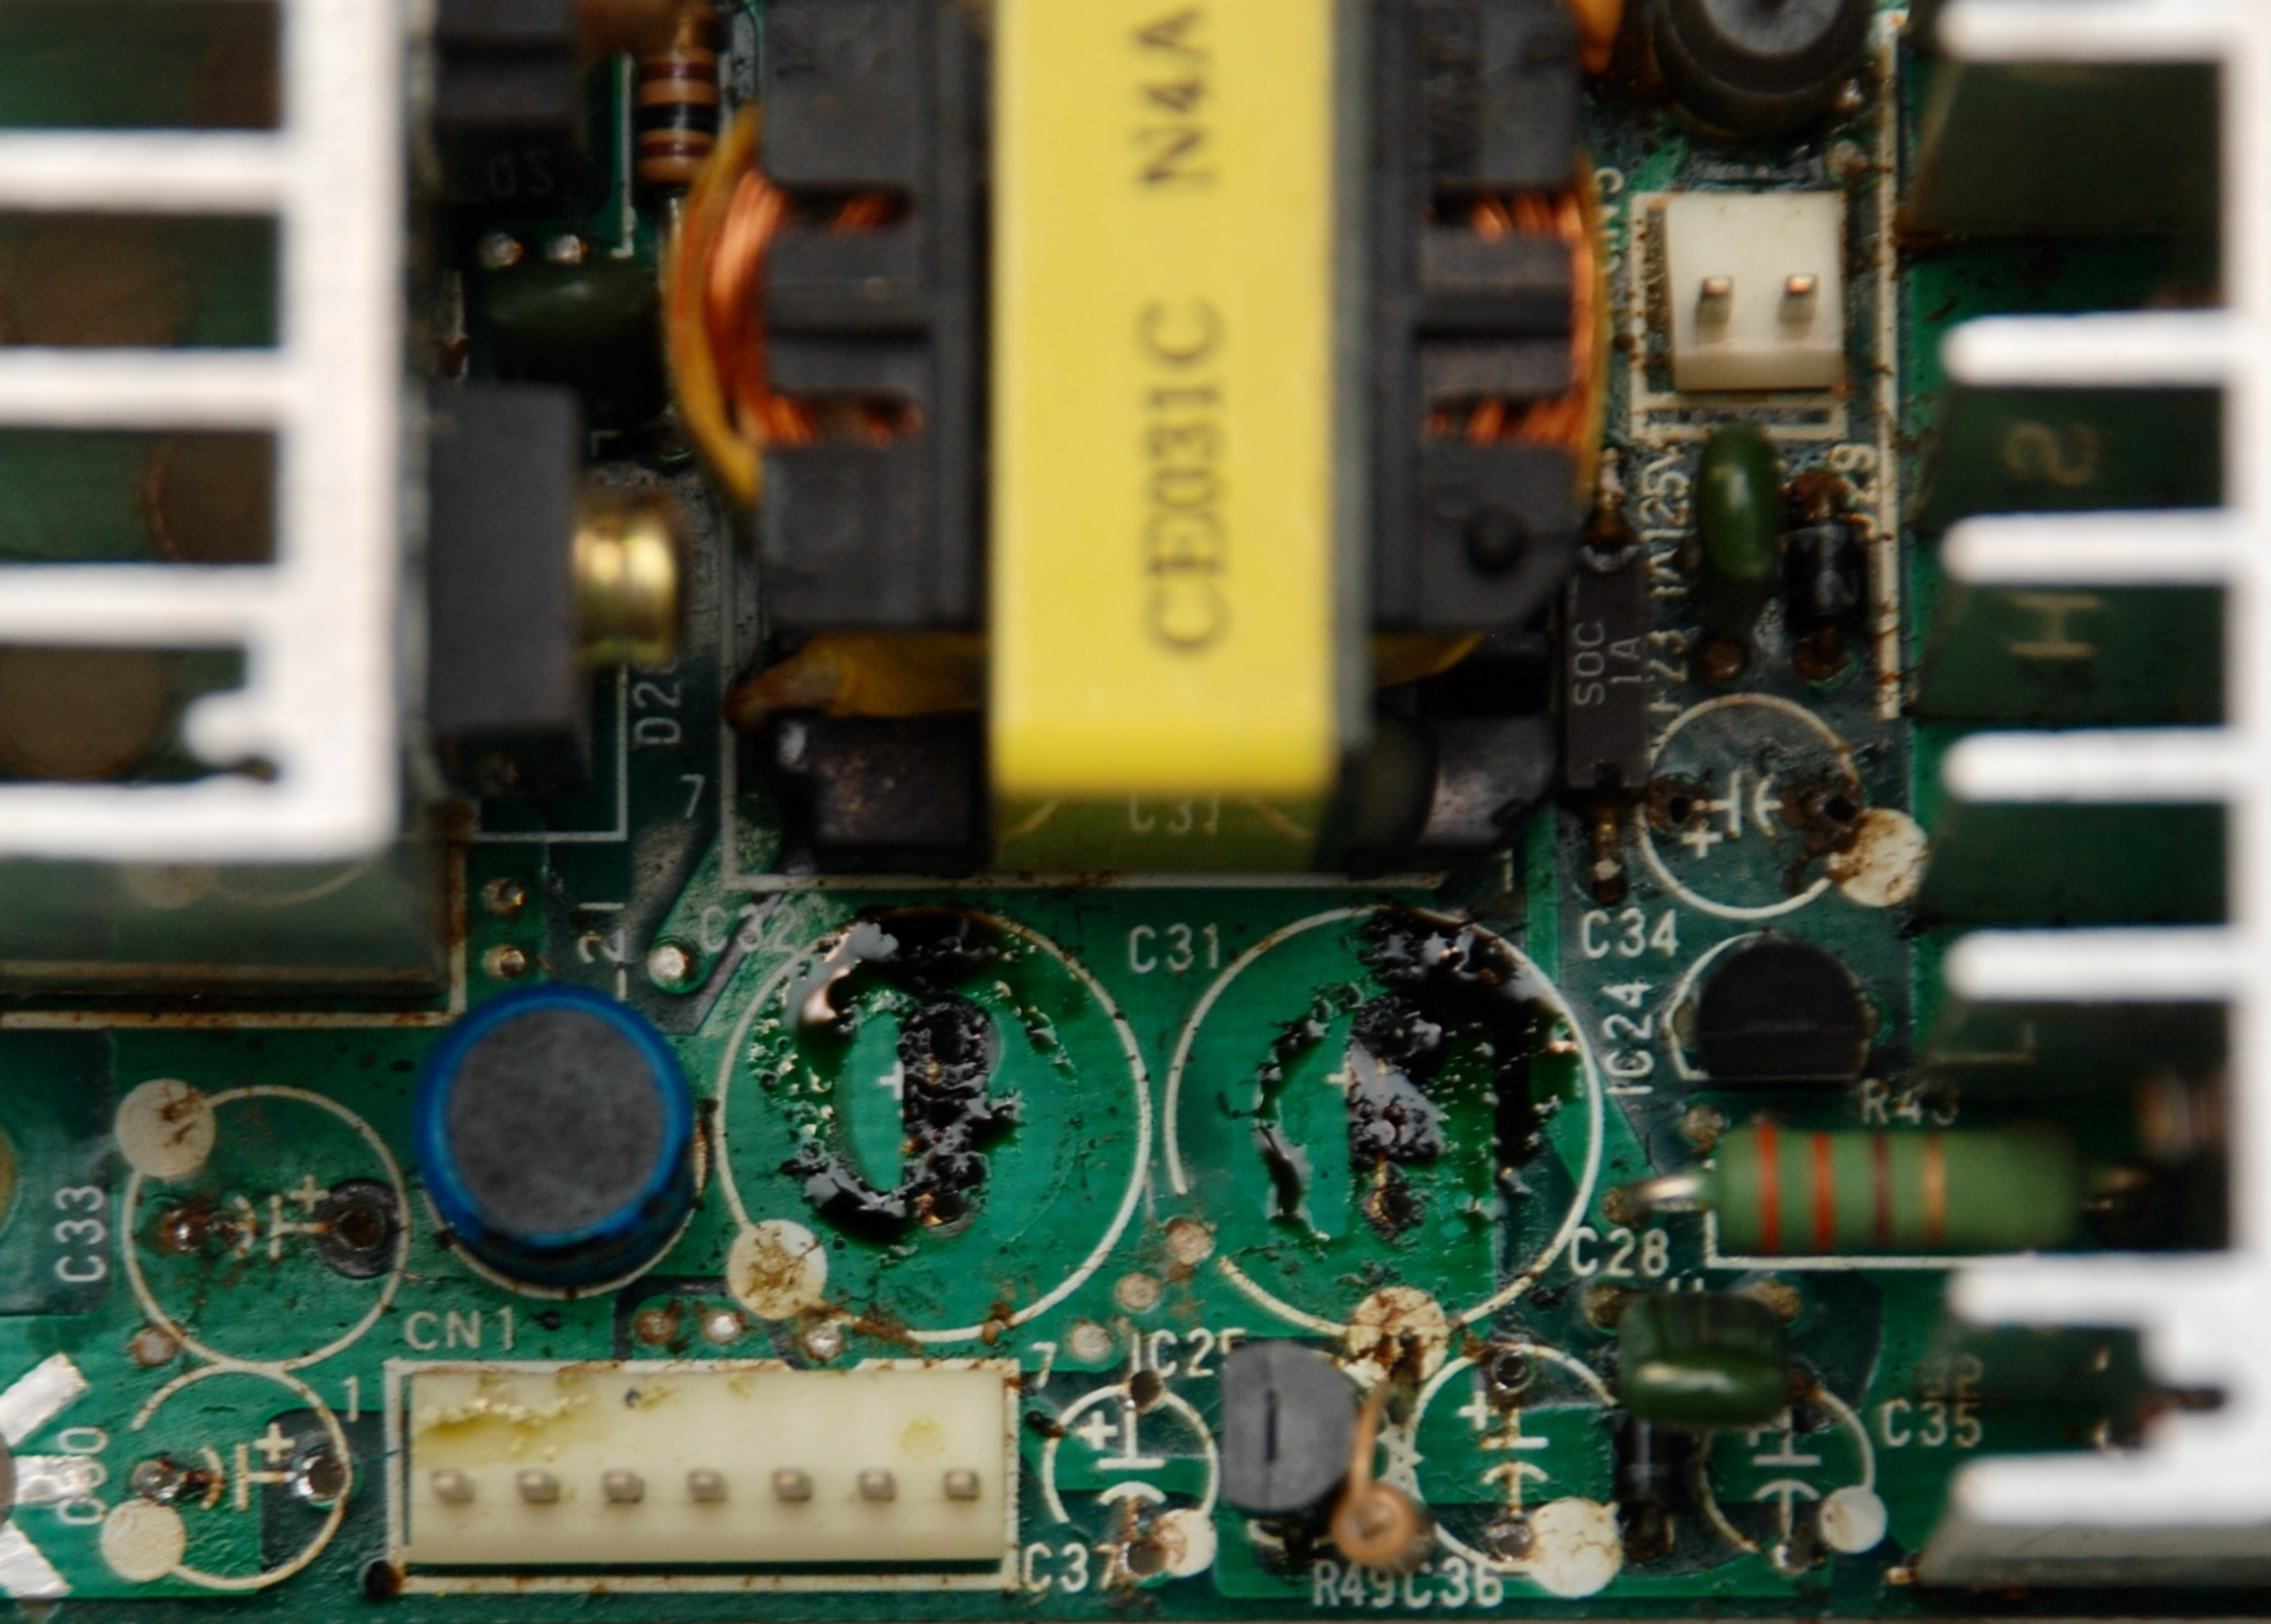
My considerations are further supported by photographs of the board of another laptop of the same model, taken by another lover of vintage devices. He has already removed the capacitors from the board and it looks like this.
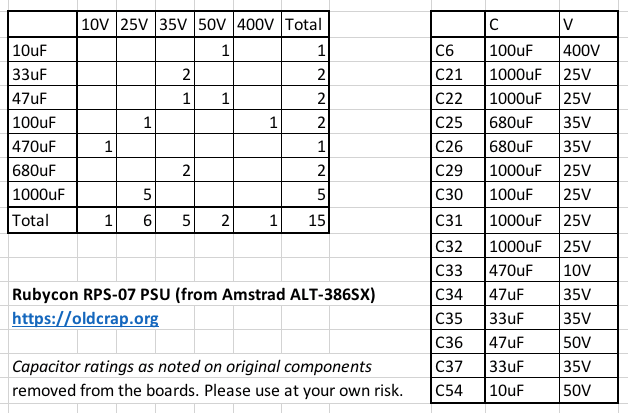
The same author compiled a list of capacitors with a face value to make it easier, for which many thanks to him.
I’ll take care of it next weekend, so there will be a third part of the article – already with a video of repairing and assembling (hopefully) the repaired device.
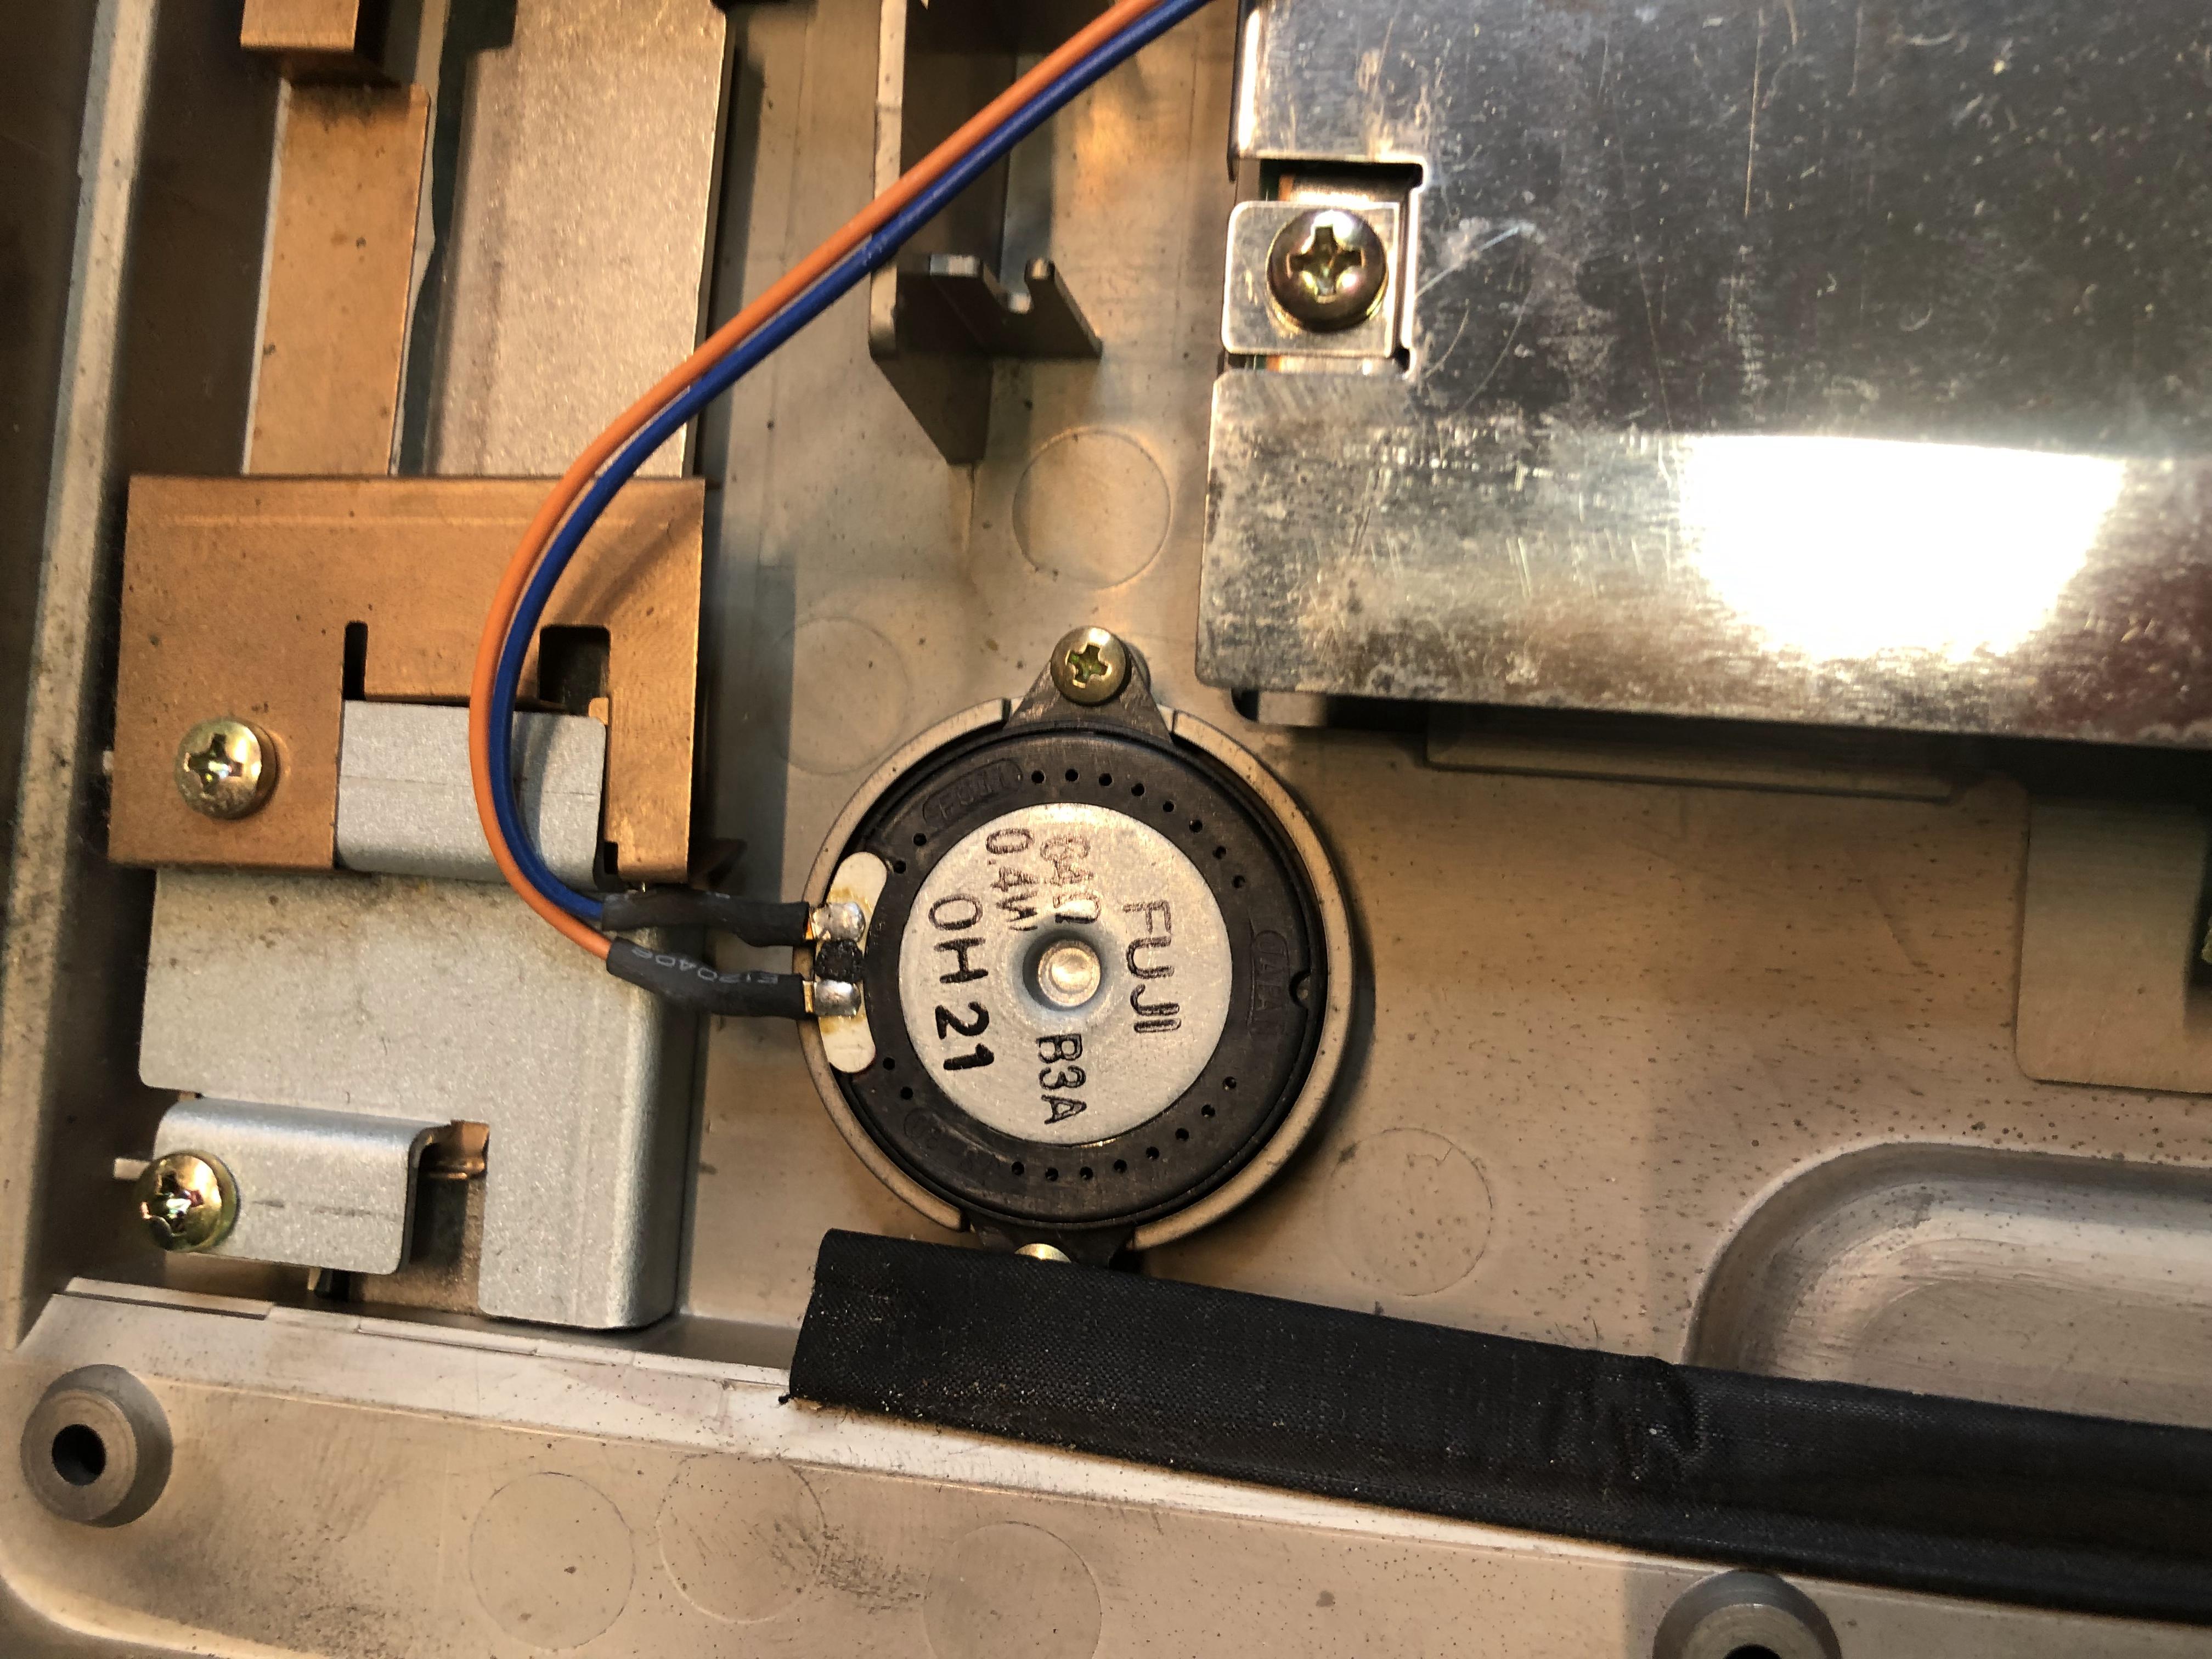
In the meantime, here are a few more photos. Here, for example, is a snapshot of the 1.1 audio system (just kidding, yes). This is an ordinary tweeter, which served as a sound source in the old devices of those years.
And another photo of the graphics adapter.
Of course, a photo of the motherboard (this is not from my device, but from a third-party site, I took it to show that there could be another problem – a leakage of the board battery). But in my case everything seems to be ok. Probably the battery is not working, but still not leaked.
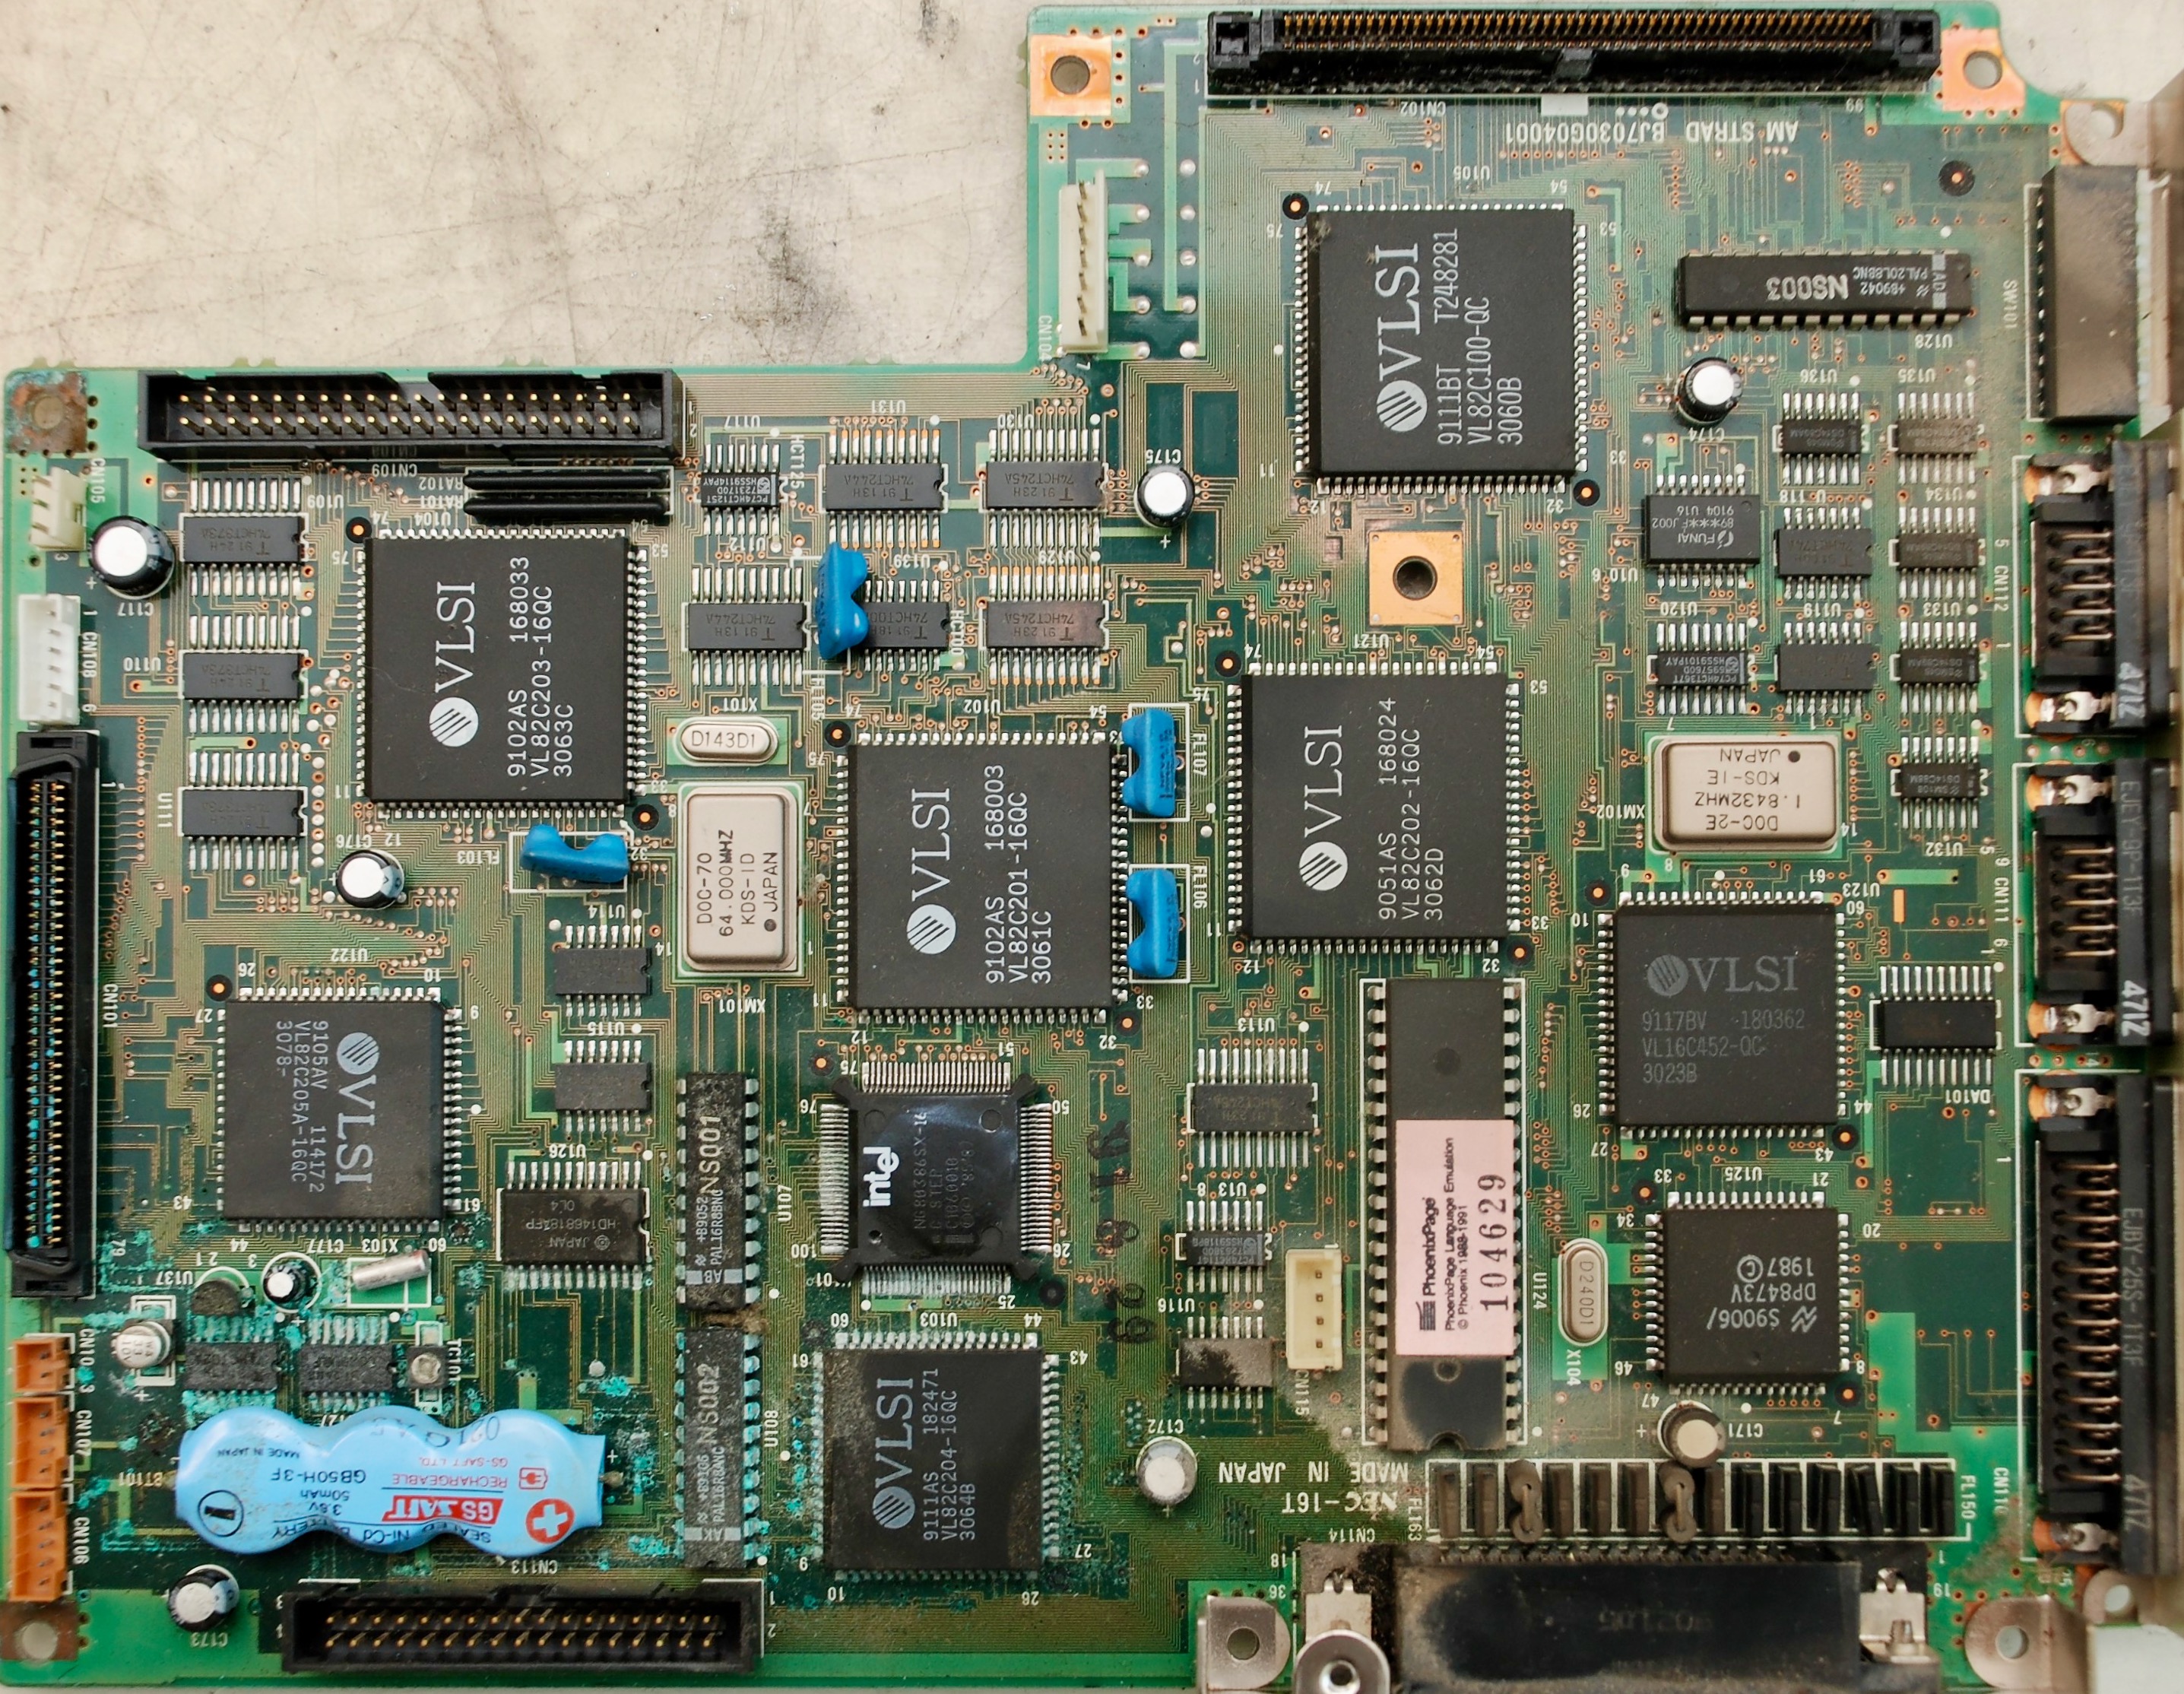
If so, then the repair would be much more extensive and complex than soldering electrolytes from the power module. A battery leak threatens with large-scale oxidation of a bunch of parts that are either not there now, or they are expensive and not easy to find. Lucky to say.
What surprised you about this device?
1. I repeat, but it is worth highlighting – it is assembled very rationally. Even beginners will not have any special problems with assembly / disassembly, not to mention the masters of service centers or just DIY lovers. This distinguishes the device from a number of similar models, in which there are just a mountain of screws, adhesive joints, mountains of wires, loops, etc. Here it is also there, but the minimum amount.
2. At the very beginning of the disassembly, when I removed the cover that closed the compartment with RAM and chips, I saw that one of the chips was half pulled out of the mount. The microcircuit was hanging with half of its legs in the air, and the legs were pretty bent. I already decided that this was the cause of the breakdown, aligned the legs, put it back in and … nothing happened, the laptop still refused to turn on. All this is in the video below. Nevertheless, the work was done not in vain – if you fix the power module, then the laptop will most likely turn on.
3. Despite the fact that outwardly this device looks like a suitcase, not a laptop, in fact, its architecture is quite modern. Moreover, it is modular. Modules can be added and removed, plus RAM, processor, coprocessor, hard drive, and floppy drive.
As for future plans — then next weekend I’ll have to repair. I’ll clean the boards, remove the capacitors and replace them with new ones. I’ll look at other elements – perhaps the problem is somewhere else.
Until then, don’t switch.