10 useful Angular features you missed

If you regularly write applications in Angular and have spent more than one hundred hours on it, you most likely know about these functions. But, nevertheless, to be sure – read 🙂
Before we move on to Angular functions, one very useful tool is worth mentioning. Bit (Github) makes it easy to work on Angular components together and share them. I sincerely recommend it to maintain a consistent interface, speed up development and minimize the number of errors in the code.

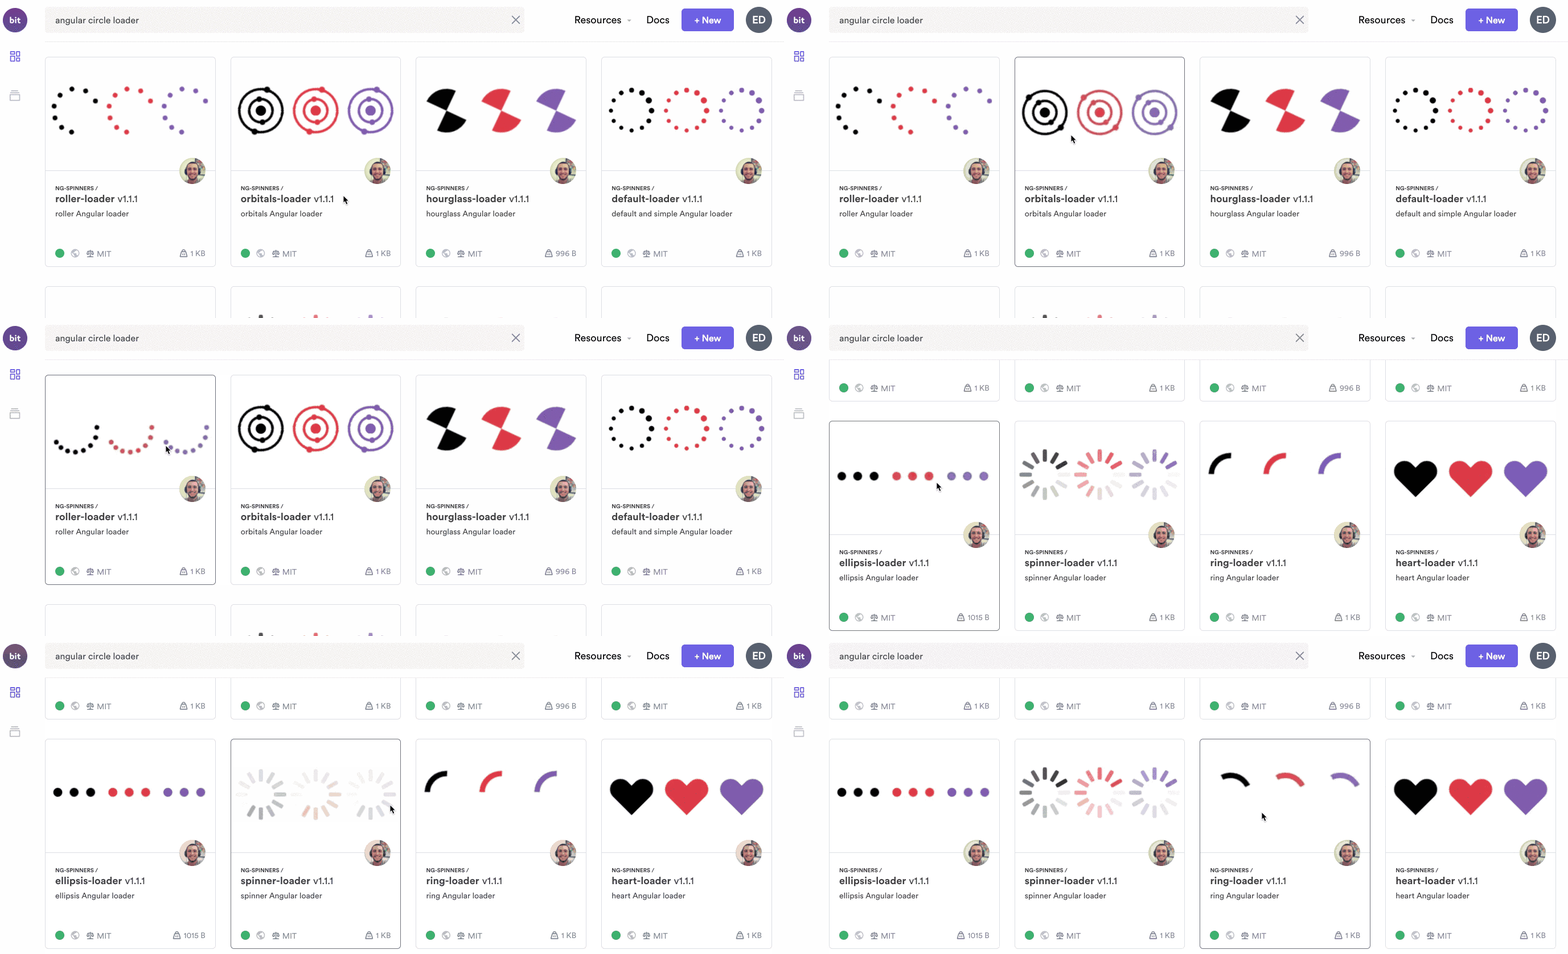
Example: Circular loaders for Angular with bit.dev
1. Title
The title tag is an HTML element that defines the title of a web page. Headings appear on the search results page (SERP) as a clickable title for the result. They are very important for usability, SEO and social promotion. networks.
Angular applications take the title from the tag … in index.html. By default, the transition between components in Angular does not change this header.
Did you know that a title can be set separately from each component?
Angular has a Title service in angular / platform-browser. You can easily embed it in other components and use the setTitle method to override the title.
import { Title } from "@angular/platform-browser"@Component({
   ...
})
export class LoginComponent implements OnInit {
   constructor(private title: Title) {}    ngOnInit() {
       title.setTitle("Login")
   }
}
When navigating to the LoginComponent in the application, the title of the browser window will change to “Login”.
The same can be done in any component and, accordingly, as you navigate inside the application, the title will change in response to user actions.
2. Meta
Angular application meta tags are also taken from index.html. And to set them from components, the Meta service from angular / platform-browser is useful.
And again: the use of meta tags is useful in terms of SEO and page promotion in social. networks, they contain information about a web page that is used by search engines to correctly rank and display correctly in search results.
To use the meta tag component, import Meta from angular / platform-browser and embed it in the desired component.
import { Meta } from "@angular/platform-browser"@Component({
    ...
})
export class BlogComponent implements OnInit {
    constructor(private meta: Meta) {}    ngOnInit() {
        meta.updateTag({name: "title", content: ""})
        meta.updateTag({name: "description", content: "Lorem ipsum dolor"})
        meta.updateTag({name: "image", content: "./assets/blog-image.jpg"})
        meta.updateTag({name: "site", content: "My Site"})
    }
}
BlogComponent can now correctly display on Twitter, Facebook, etc. At the same time displaying descriptions, headings and images in the correct, readable form.
Have you heard about this too? Then here’s something more interesting.
3. Overriding pattern interpolation
The standard interpolator in patterns is {{}}. If you enter a variable between {{and}}, its value will be displayed in the final DOM.
Do you know that it is possible to override the standard encapsulation delimiters on any characters? It’s simple. You only need to specify the new values in the interpolation property in the Component decorator.
@Component({
   interpolation: ["((","))"]
})
export class AppComponent {}
The interpolation used in the AppComponent template has changed to (()), and {{}} no longer works.
@Component({
   template: `

           ((data))
In the browser, you will see that the string “dataVar” will be displayed in place of ((data)).
4. Location
We can get the current URL of the page opened in the browser using the Location service. Depending on which LocationStrategy is used, Location will be stored either by the path in the URL (/ example / page /) or by the part of the URL after the pound (# test / page /).
With Location, we can go to the URL, go forward in the story, go back, change the current URL, or replace the top element in the story.
The Location service from CommonModule will help here.
import { Location } from "@angular/common"@Component({
   ...
})
export class AppComponent {
   constructor(private location: Location) {}    navigateTo(url) {
       this.location.go(url)
   }    goBack() {
       location.back()
   }    goForward() {
       location.forward()
   }
}
5. Document
Sometimes you need to get a document model in order to perform DOM operations directly from an Angular application.
DOCUMENT just serves this purpose. DOCUMENT is a DI token representing the main rendering context. In the browser, this is a DOM Document. It provides DOM operations regardless of the runtime.
Note: Document may not be available in the Application Context if the Application and Rendering contexts do not match (for example, when starting the application in Web Worker).
Let’s say we have some kind of HTML element:
To get a canvas HTMLElement, implement DOCUMENT:
@Component({})
export class CanvasElement {
   constructor(@Inject(DOCUMENT) _doc: Document) {}
}
Get the HTMLElement canvas using getElementById ()
@Component({})
export class CanvasElement {
   constructor(@Inject(DOCUMENT) _doc: Document) {}    renderCanvas() {
       this._doc.getElementById("canvas")
   }
}
Warning: use DOCUMENT carefully! Interacting with the DOM is directly dangerous and increases the risk of XSS.
6. Decorator @Attribute
Basically, in an Angular application, they use the Component, Module, and Directive decorators.
However, there is still an Attribute decorator that allows you to pass a static string without unnecessary performance overhead, bypassing the change check.
Attribute decorator values are checked only once. Used similarly to the Input decorator:
@Component({
   ...
})
export class BlogComponent {
   constructor(@Attribute("type") private type: string ) {}
}
7. HttpInterceptor
HttpInterceptor is a very powerful feature in Angular that allows you to intercept HttpRequest requests and process them.
Most interceptors convert the outbound request before passing it to the next interceptor in the chain by calling next.handle (transformedReq).
In rare cases, interceptors can completely process the request themselves, and not delegate the rest of the chain further. This behavior is allowed.
The HttpInterceptor is most often used in:
- Authentication
- Caching
- Fake backend
- URL Transformation
- Header Subversion
To use this interceptor, you need to create a service and implement the HttpInterceptor interface.
@Injectable()
export class MockBackendInterceptor implements HttpInterceptor {
   constructor() {}    intercept(req: HttpRequest, next: HttpHandler): Observable> {
       ...
   }
}
Insert it into the main module:
@NgModule({
   ...
   providers: [
       {
           provide: HTTP_INTERCEPTORS,
           useClass: MockBackendInterceptor,
           multi: true
       }
   ]
   ...
})
export class AppModule {}
8. AppInitializer
Sometimes, when launching an Angular application, it is necessary to initialize a particular piece of code. For example, load settings, load cache, load any configurations or perform checks. The AppInitialzer token is created specifically for this.
APP_INITIALIZER: function executed immediately upon application launch.
Suppose we need to run some runSettings function when starting an Angular application:
function runSettingsOnInit() {
   ...
}
To do this, let’s move on to the main AppModule module and add it to the NgModule decorator providers section:
@NgModule({
   providers: [
       { provide: APP_INITIALIZER, useFactory: runSettingsOnInit }
   ]
})
9. Bootstrap Listener
By analogy with AppInitialzer, Angular has a function that allows you to track the loading of a component. This is APP_BOOTSTRAP_LISTENER.
All callbacks returned by this token will be called for each downloadable component.
You can use this feature to track the boot of components in many cases. For example, the Router module uses it to destroy and create components based on route navigation.
To use APP_BOOTSTRAP_LISTENER, you need to add it to the providers section in the AppModule with a callback function:
@NgModule({
   {
       provide: APP_BOOTSTRAP_LISTENER, multi: true,
       useExisting: runOnBootstrap
   }
   ...
})
export class AppModule {}
10. NgPlural
Pluralization is a headache for programmers. The task of grammatical adjustment of word forms depending on the use of the singular / plural arises constantly. Some sites simply use the ending (s) for this. For instance:
1 component(s) removed
3 component(s) removed
That is, the reader himself must understand what number is meant 🙂
Angular suggests solving this problem in a more civilized way, using the NgPlural directive.
NgPlural adds or removes DOM sub-branches based on a numeric value. For pluralization, this is what you need.
To use this directive, you must specify an attribute. [ngPlural] an element container as a switch expression. Internal elements with attribute [ngPluralCase] will be displayed depending on the specified conditions:
   1 component removed
   {{components}} components removed
Now you can throw away “(s)”. The NgPlural directive will help to derive the correct word form depending on the meaning. Total:
// if 1 component
1 component removed

// if 5 components
5 components removed


